AL-MT9 - Lighting Aputure - Free user manual and instructions
Find the device manual for free AL-MT9 Aputure in PDF.

User questions about AL-MT9 Aputure
0 question about this device. Answer the ones you know or ask your own.
Ask a new question about this device
Download the instructions for your Lighting in PDF format for free! Find your manual AL-MT9 - Aputure and take your electronic device back in hand. On this page are published all the documents necessary for the use of your device. AL-MT9 by Aputure.
USER MANUAL AL-MT9 Aputure
- For security, please do not leave the product in excessive heat areas or expose in moist conditions.

WARNING: Avoid storing the lamp where there are corrosive chemicals.
- Please have the product checked by an authorized service or agent if your product has a problem. The malfunctions caused by your no allowed disassembling are not under the warranty.
- The product is certificated by RoHS and CE. Please operate the product in full compliance with the operation standards. Please note that this warranty does not apply to repairs arising from malfunction, although you may request such repairs on a chargeable basis.
- The instructors and information in this manual are based on thorough, controlled company testing procedures. Further notice will not be given if the design change.
Components
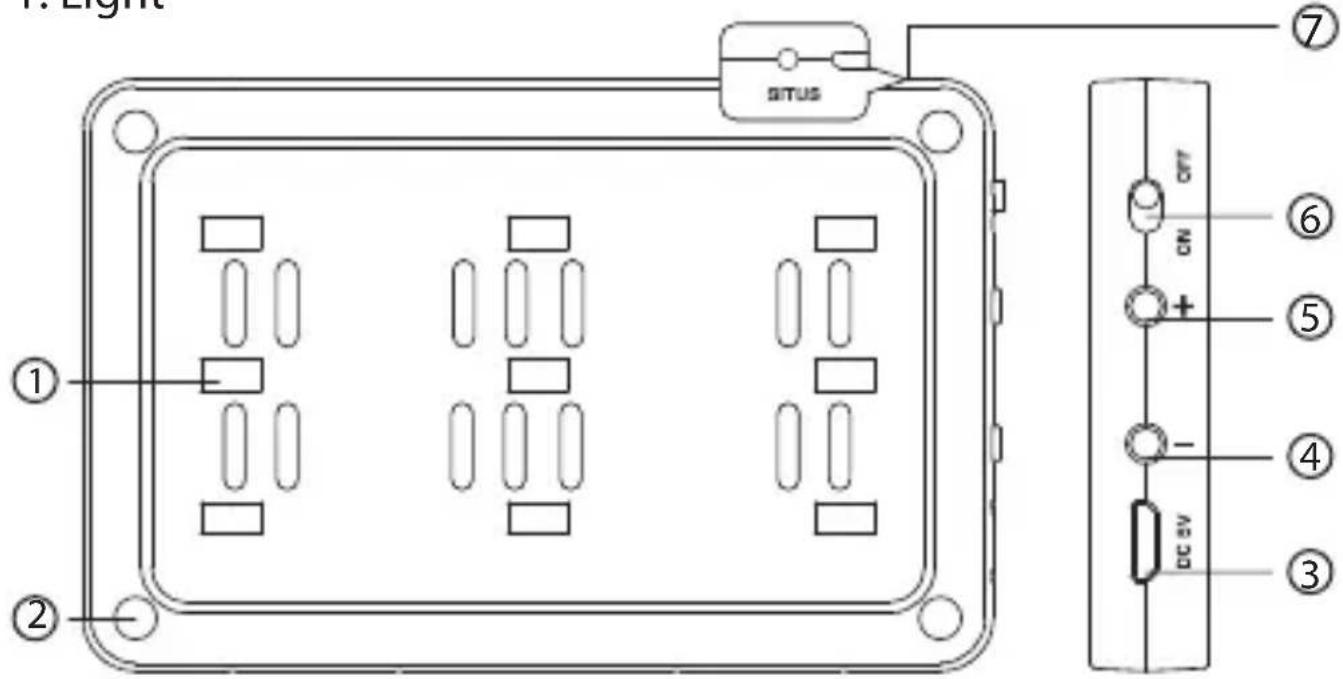
1. Light
text_image
1. Light SITUS ① ② ⑦ ⑥ ON + ⑤ - ④ DC 5V ③① Lamp beads
② Magnet column
③ USB Charging Port
④ Brightness “-” button
⑤ Brightness “+” button
⑥ Power switch
⑦ Indicator
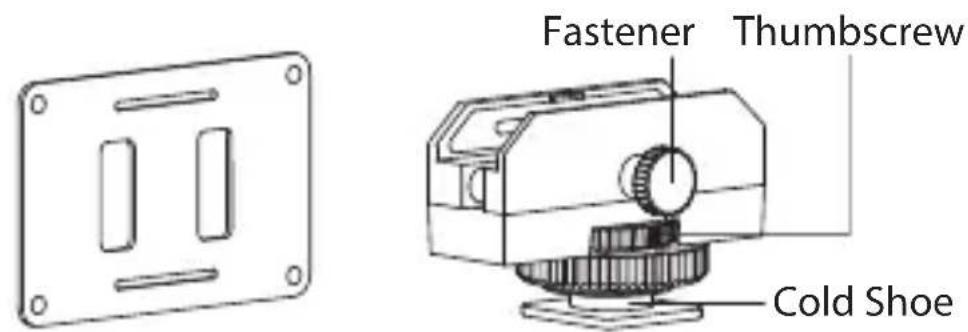
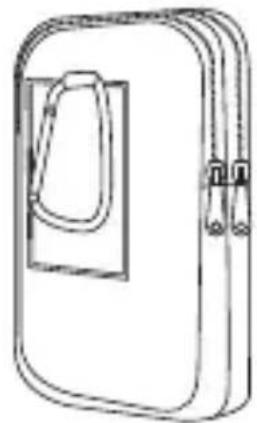
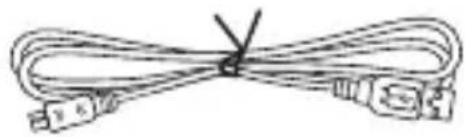
2. Accessories
text_image
Fastener Thumbscrew Cold ShoeDiffuser Universal Adapter
natural_image
Line drawing of a closed book or notebook with a handle and spines (no text or symbols)Carrying Case
natural_image
Coiled cable with connectors and a V symbol (no text or labels)USB Charging Cable


Warranty CardProd
Installation
- Install the diffuser on the lamp body.

natural_image
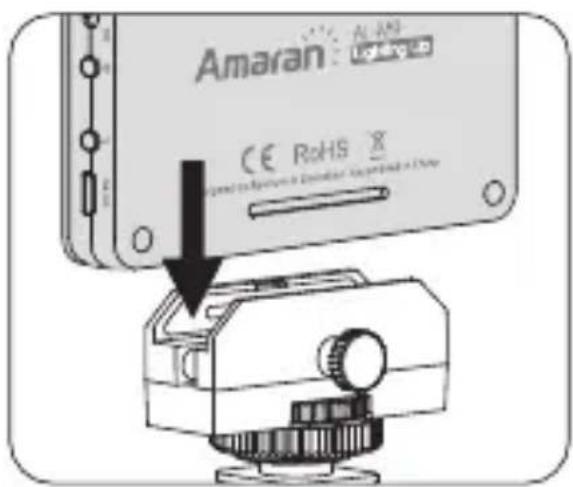
Diagram of a device panel with internal components and an arrow indicating a directional movement (no text or symbols)- Place the lamp in the universal adapter, then fix the screw clockwise.
text_image
Amaran CE RoHS X Standard to install a VR headset (including a Chap)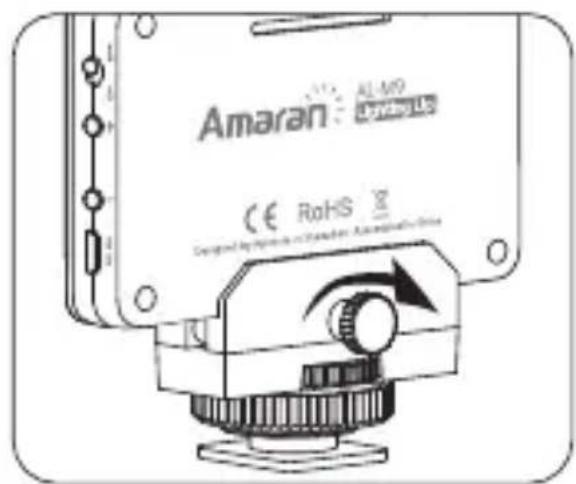
text_image
Amaran AL-MO Bluetooth CE RoHS3. Diagram
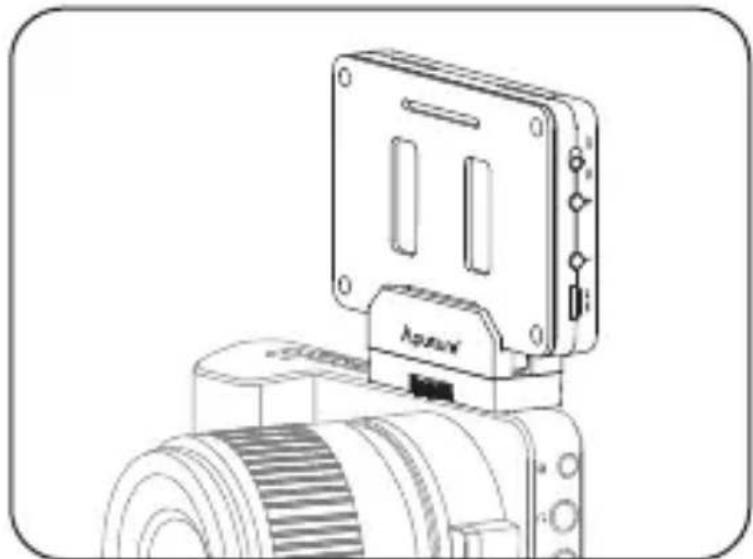
1) Install the lamp with cold shoe.

natural_image
Line drawing of a camera with a mounted sensor or sensor device (no text or symbols)
natural_image
Line drawing of a mechanical device with no visible text or symbols2) Disassamble the cold shoe, then use the thumbscrew to install the lamp with 1/4 screw into camera's 1/4 screw hole.
natural_image
Technical line drawing of a mechanical device with a mounted rectangular component and a cylindrical base (no text or symbols)3) Handheld

natural_image
Line drawing of a person holding a smartphone and a small device (no text or symbols)Operations
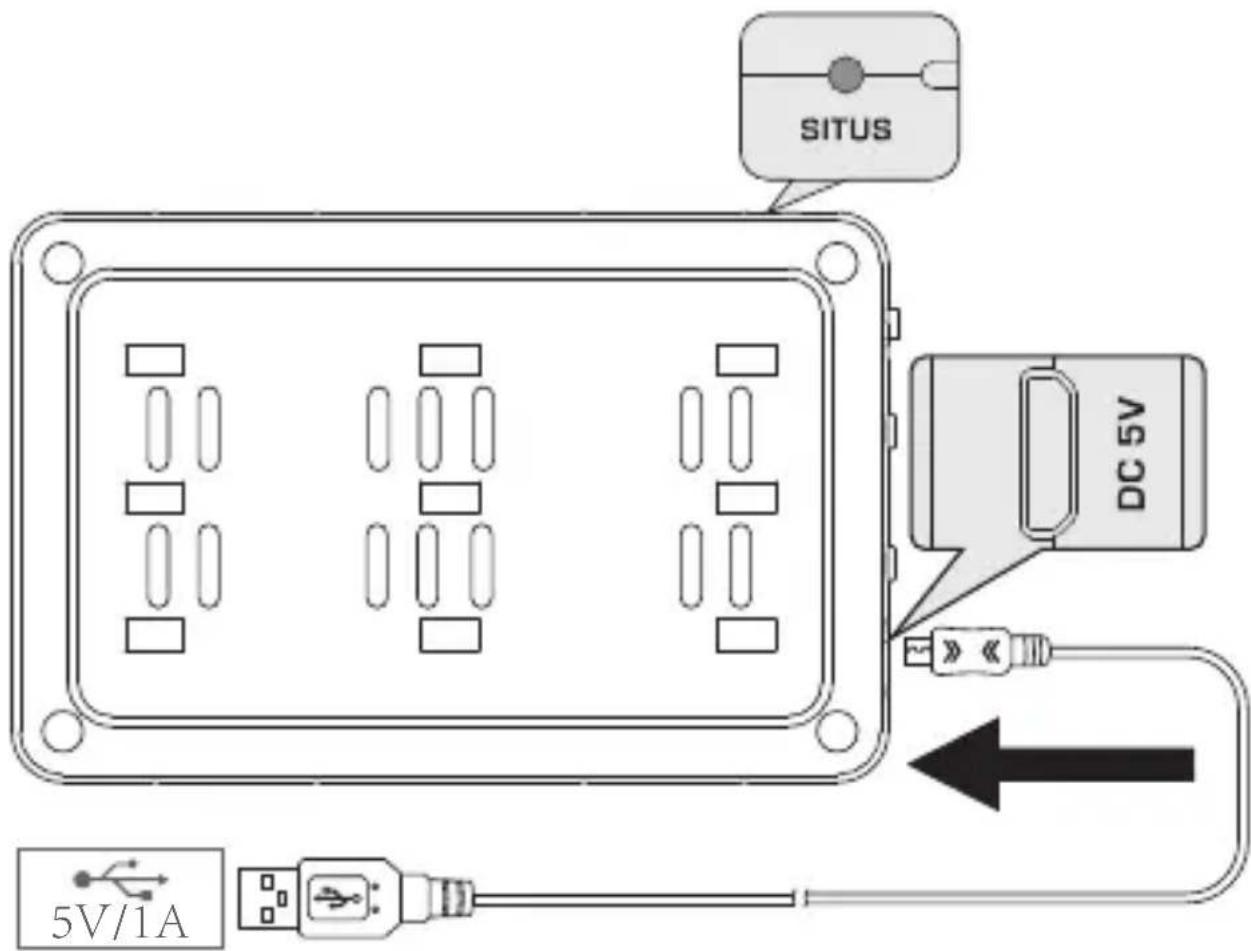
1. Charging
text_image
SITUS DC 5V 5V/1A* The indicator lights red in charging, then goes off when the lamp is fully charged.
* The indicator flashes red a few times, the lamp will automatically shut down.
* The indicator lights blue in working time.
2. Power ON/OFF
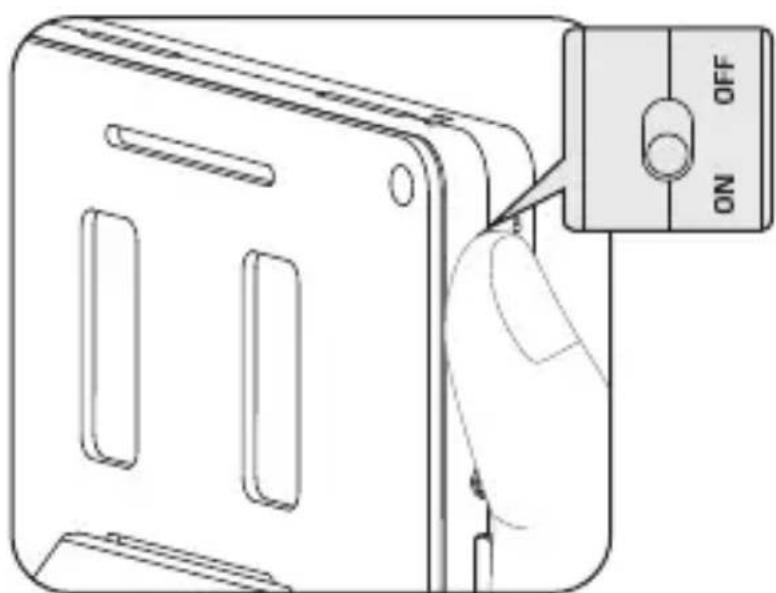
text_image
ON OFF3. Adjust the Brightness
Short press “+” and “-” buttons to change the brightness, long press “+” or “-” buttons to switch the brightness quickly.

natural_image
Diagram of a device with a hand holding a switch and a battery labeled with positive and negative terminals (no text or symbols on the diagram itself)Specifications
| Color Temperature | 5500±200K | |||
| CRI | >95 | |||
| TLCI | >95 | |||
| Illuminance | Distance | 0.3 m | 0.5 m | 1 m |
| Brightness | ≥900LUX | ≥350LUX | ≥80LUX | |
| Number of LEDs | 9 | |||
| Battery Type | Lithium-polymer battery(3.7V 1800mAh) | |||
| Voltage | DC 5V | |||
| Current | 1A | |||
| Battery Working Time | >1.75h (maximum brightness) | |||
| Dimension 87*56*1 | 1 mm | |||
Detailed product manual for AL-M9 can be found on the movie solution page on www.aputure.com.