VT-10126 - Lighting V-TAC - Free user manual and instructions
Find the device manual for free VT-10126 V-TAC in PDF.

User questions about VT-10126 V-TAC
0 question about this device. Answer the ones you know or ask your own.
Ask a new question about this device
Download the instructions for your Lighting in PDF format for free! Find your manual VT-10126 - V-TAC and take your electronic device back in hand. On this page are published all the documents necessary for the use of your device. VT-10126 by V-TAC.
USER MANUAL VT-10126 V-TAC
WEEE Number: 80133970
INSTRUCTION MANUAL
LED DESIGNER HANGING LIGHT
TECHNICAL DATA
| MODEL VT-10126 |
| SKU 23431, 23432 |
| POWER 45W |
| INPUT VOLTAGE A: 220-240V, 50Hz |
| CURRENT 1050mA |
| LUMENS 5500Lm |
| BEAM ANGLE Sphere 120° |
| CRI >80 |
| LIFE SPAN 20,000 Hours |
| ON/OFF CYCLE >15.000 Times |
| IP RATING IP20 |
| MATERIAL Metal+Silicone |
| DIMENSION 620x1200 mm |

natural_image
Modern pendant light with a circular ring and vertical connecting rods (no text or symbols)02 YEAR WARRANTY*

ADJUSTABLE UP/DOWN
INTRODUCTION & WARRANTY
Thank you for selecting and buying V-TAC product. V-TAC will serve you the best. Please read these instructions carefully before starting the installation and keep this manual handy for future reference. If you have any another query, please contact our dealer or local vendor from whom you have purchased the product. They are trained and ready to serve you at the best. The warranty is valid for 2 years from the date of purchase. The warranty does not apply to damage caused by incorrect installation or abnormal wear and tear. The company gives no warranty against damage to any surface due to incorrect removal and installation of the product. The products are suitable for 10-12 Hours Daily operation. Usage of product for 24 Hours a day would void the warranty. This product is warranted for manufacturing defects only.
WARNING
- Please make sure to turn off the power before starting the installation.
- Installation must be performed by a qualified electrician.
- For indoor use only

text_image
QR code image containing encoded data, no visible human-readable textMULTI-LANGUAGE MANUAL QR CODE
Please scan the QR code to access the manual in multiple languages.
*This product contains a light source of energy efficiency class
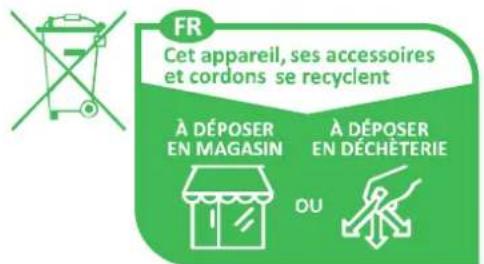
This marking indicates that this product should not be disposed of with other household wastes.
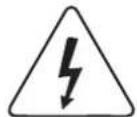
Caution, risk of electric shock.

text_image
LED REplaceable (LED Only) light source by a professionalINSTALLATION DIAGRAM
text_image
1 B A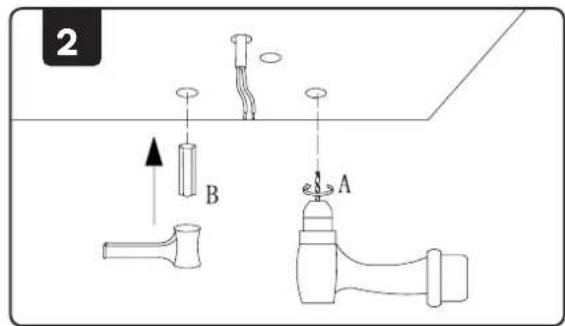
text_image
2 B A
text_image
3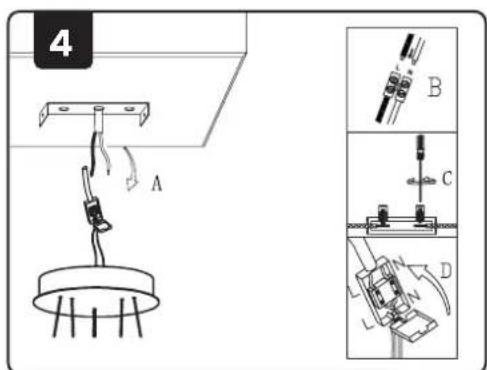
text_image
4 A B C D
text_image
5 A B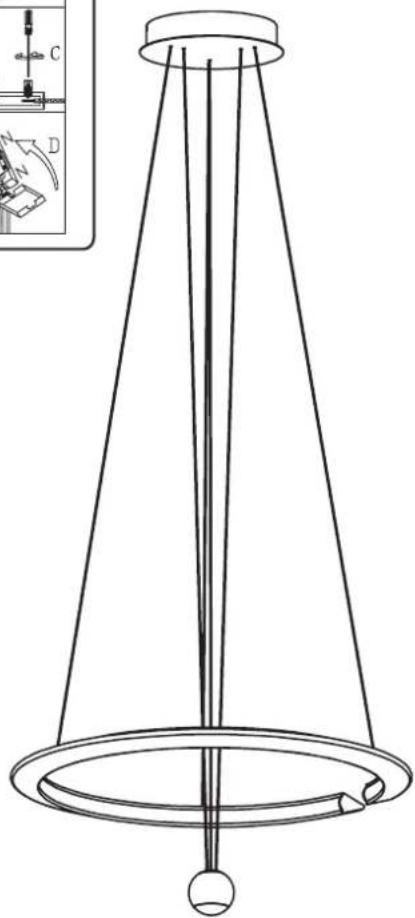
natural_image
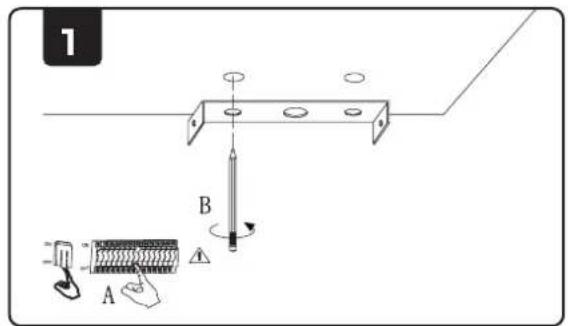
Technical line drawing of a conical device with a central hub and base, showing internal components and wiring (no text or symbols)INSTALLATION INSTRUCTIONS
- Mark the Position: Identify the appropriate position on the roof for installation.
- Drill the Hole: Drill a hole at the marked point. Then, insert the screw fixture into the hole.
- Attach the Bracket: Secure the bracket to the roof using screws.
- Wire Connection: Connect the wires as indicated in the diagram.
• Fix the Light Basement: Attach the light basement to the installed bracket. - Adjust the Light Height: Adjust the height of the light by pulling it up or down as needed.
- Power On: Turn on the power and test the light to ensure proper installation.
HIGHT ADJUSTMENT FUNCTION
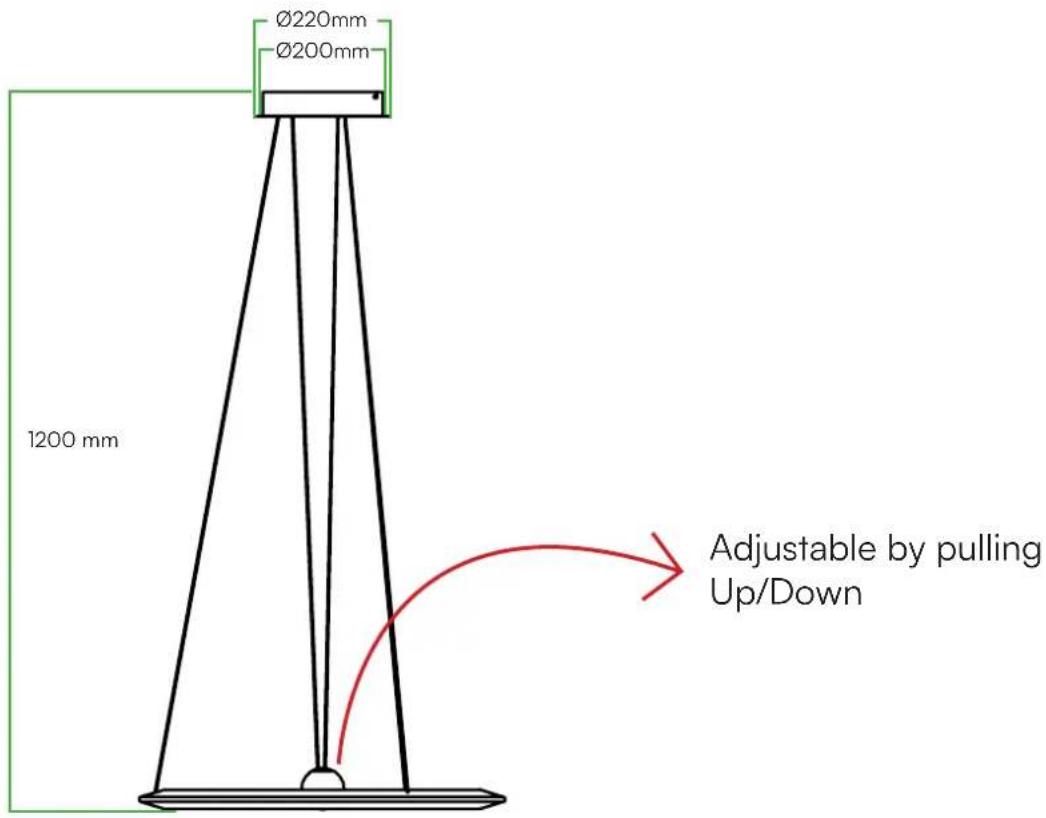
text_image
Ø220mm Ø200mm 1200 mm Adjustable by pulling Up/DownRoHS