
KH 2173 - Radio SILVERCREST - Free user manual and instructions
Find the device manual for free KH 2173 SILVERCREST in PDF.



| Product type | Bathroom radio |
| Brand | SILVERCREST |
| Model | KH 2173 |
| Dimensions (L x H x D) | 11.5 × 5.4 × 11 cm |
| Weight | Approx. 180 g |
| Power supply | 3 AA 1.5 V batteries (type Mignon) |
| FM reception | 87.5 to 108 MHz |
| AM reception | 526.5 to 1606.5 kHz |
| Output power | Approx. 150 mW |
| Splash-proof protection | IPX4 |
| Clock functions | Time display, alarm, hourly signal, date |
| Controls | SET and MODE buttons, AM/FM selector, volume/on/off wheel, tuning wheel |
| Display | Digital |
| Placement | Hanging by the cord or placed on its stand |
| Included accessories | 3 AA batteries, instruction manual |
| Cleaning | With a dry or slightly damp cloth, without abrasive detergent |
| Maintenance | Maintenance-free, do not open the casing |
| Repairability | Contact customer service in case of failure |
| Warranty | 3 years |
| Category | Radio |
Frequently Asked Questions - KH 2173 SILVERCREST
User questions about KH 2173 SILVERCREST
0 question about this device. Answer the ones you know or ask your own.
Ask a new question about this device
Download the instructions for your Radio in PDF format for free! Find your manual KH 2173 - SILVERCREST and take your electronic device back in hand. On this page are published all the documents necessary for the use of your device. KH 2173 by SILVERCREST.
USER MANUAL KH 2173 SILVERCREST
Operating instructions
Cz Koupelnové rádio
Návod k obsluze
SK Rádio do kúpelne
Návod na obsluhu
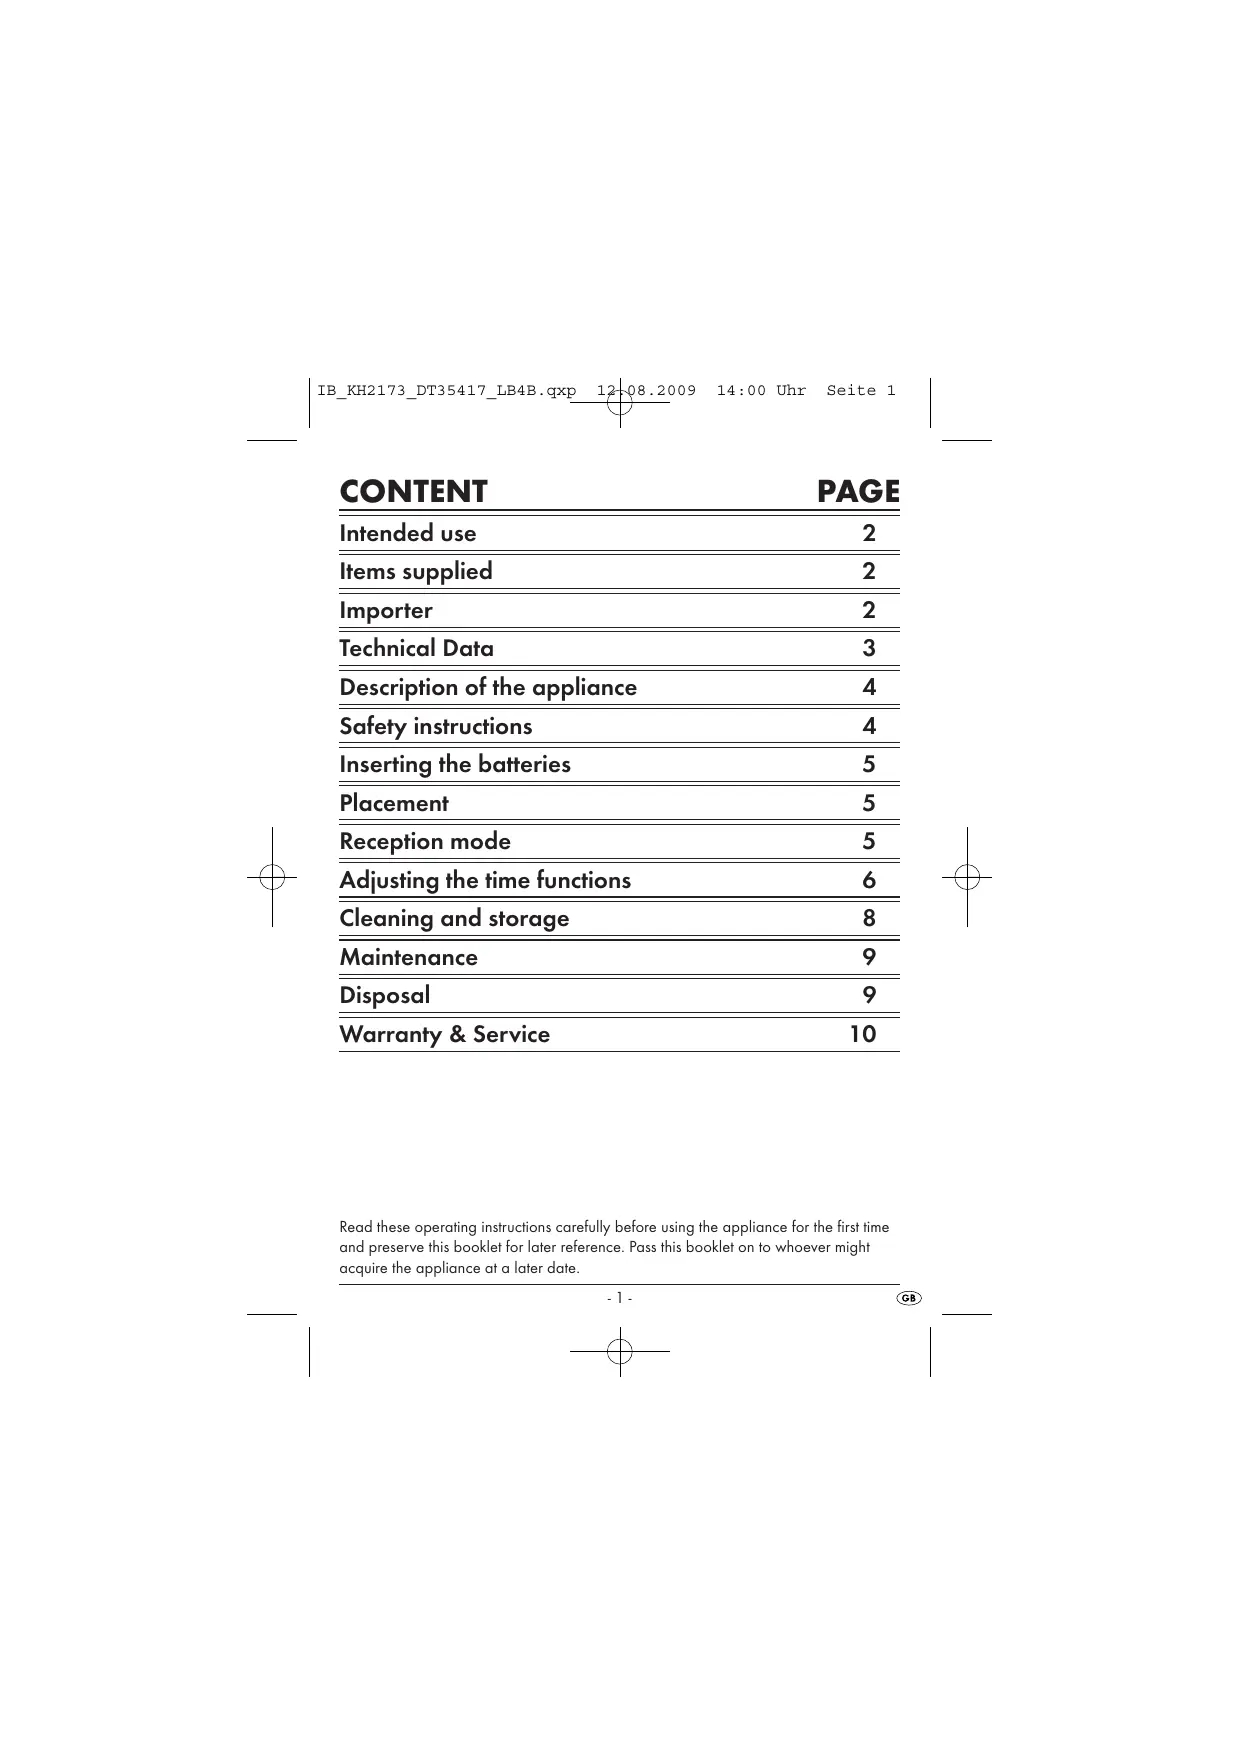
| Intended use | 2 |
| Items supplied | 2 |
| Importer | 2 |
| Technical Data | 3 |
| Description of the appliance | 4 |
| Safety instructions | 4 |
| Inserting the batteries | 5 |
| Placement | 5 |
| Reception mode | 5 |
| Adjusting the time functions | 6 |
| Cleaning and storage | 8 |
| Maintenance | 9 |
| Disposal | 9 |
| Warranty & Service | 10 |
Read these operating instructions carefully before using the appliance for the first time and preserve this booklet for later reference. Pass this booklet on to whoever might acquire the appliance at a later date.
Intended use
This appliance is spraywater protected (IPX4) - thus, it can be utilised in areas where it may be subject to being sprayed/splashed with water, e.g. bath and washrooms, in domestic households.
This appliance is not watertight - it is therefore not intended for utilisation in areas with high humidity or where it could come into direct contact with water e.g. in the very close vicinity of a shower or bath, for use outdoors and in commercial or industrial applications.
Items supplied
1 x Appliance with cord
3 × 1.5 ~V Batteries Type AA/Mignon
1 x Operating instruction
- Check to ensure that the appliance is undamaged, all component parts are present and that packaging remnants are removed from it.
Importer
KOMPERNASS GMBH
BURGSTRASSE 21
D-44867 BOCHUM
www.kompernass.com
Reception range FM: 87.5 - 108 MHz
Reception range AM: 526.5 - 1606.5 kHz
Output level: approx. 150mW
Batteries: 3 × 1.5 ~V Type AA/Mignon
Dimensions: 11,5 × 5,4 × 11 ~cm
Weight: approx. 180 g
Spray water protected: IPX4
The technical features of this appliance enable an adjustable reception range that exceeds the permitted frequency range of FM 87.5 - 108 MHz and 526.5 - 1606.5 kHz. In some countries, different national regulations may apply to the assigned radio frequency ranges. Take note that information received from outside the assigned radio frequency ranges may not be utilised, passed on to third parties or misused in any way.
CE Conformity
This device has been tested and approved regarding conformance with the fundamental requirements and other relevant regulations of the EMV directive 2004/108/EC. A complete copy of the original conformity declaration is available from the importer.
Description of the appliance
Cord
2 Tuning regulator
3 Selector switch "AM"/"FM"
4 SET button
MODEButton
Display
ON/OFF switch, volume regulator
3 Battery compartment lock
Battery compartment
Support stand
Safety instructions
- If you do not intend to use the appliance for an extended period, remove the batteries - batteries can discharge themselves and then leak.
- Should the batteries leak: Clean the battery compartment with a dry cloth whilst wearing protective gloves. Use ONLY the type of battery detailed in the Technical Data as replacements for discharged batteries.
- Always exchange all batteries at the same time. Always use batteries of the same type as replacements.
- Keep batteries and cells away from small children. Should a battery be swallowed, seek medical attention IMMEDIATELY, as life is at risk.
- Check to ensure that the appliance is in a serviceable condition before taking it into use. Should there be visible damage to the appliance, do not take it into use.
- Do not attempt to recharge batteries. Risk of explosion!
- Ensure that sources of direct heat (e.g. heating, sunlight) cannot have an effect on the appliance.
- Do not allow liquids to permeate into the appliance, do not submerse it in water. Avoid also a possible penetration by foreign objects.
Inserting the batteries
- Turn the battery compartment locking device ⑧ to the position "OPEN" and open the battery compartment ⑨.
- Insert the batteries, 3 × 1.5V Type AA/Mignon, into the battery compartment. Ensure that the polarities comply with the markings in the battery compartment. Close the battery compartment. The appliance is now ready for use.
- When the batteries are exhausted, always replace all of them at the same time. For replacements, use ONLY the type of battery detailed in the Technical Data. In this regard, also take note of the notices contained in the section "Disposal".
Placement
- You can suspend the appliance on the cord ① or use the support stand ⑩ . Select a location where the appliance will not fall into water and also where it will not be seriously damaged by a fall.
Reception mode
a) Switching the appliance on/off, sound volume
- To switch the appliance on, turn the volume regulator ⑦ from the position "OFF" to the right. With this you can also regulate the sound volume.
- To switch the appliance off, turn the volume regulator ⑦ all the way to the left until it is again in the position "OFF" (Click).
b) Adjusting the reception
- Select the reception range AM (MW) or FM (VHF) by placing the selector switch ③ in the relevant position.
- Then search for the desired radio station by slowly turning the tuning regulator ② until you have clear reception. From the lettering above the tuning regulator ② you can read off the currently tuned frequency - for "FM" in the unit "MHz" (Megahertz) and, for "AM" in the unit "kHz" (Kilohertz), this is then be multiplied by 10.
Adjusting the time functions
a) Programming the alarm time
- Press the button MODE ⑤. In the display all positions blink and the indicator "AL" (Alarm time) appears.
- Press on the button MODE ⑤ again, so that only the figures for the hours are shown in the display (e.g. "1: A") and, at the same time, the indicator "AL" (Alarm time).
- Press repeatedly on the button SET ④ until the hour figure is correctly shown, e.g. "7: A". The letter "A" after the figure means "AM" (mornings), "P" means "PM" (afternoons).
- Press the button MODE ⑤ once again, so that only the figures for the minutes are shown in the display (e.g. "00") and, at the same time, the indicator "AL" (Alarm time).
- Press repeatedly on the button SET 4 until the minute figure is correctly shown, e.g. "30".
b) Setting the date
- Press the button MODE ⑤ once again, until only the number for the month is shown in the display, e.g. "1".
- Press repeatedly on the button SET 4 until the figure for the month is correctly shown, e.g. "12".
- Press the button MODE ⑤ once again, until only the number for the day is shown in the display, e.g. "1".
- Press repeatedly on the button SET 4 until the figure for the day is correctly shown, e.g. "31".
c) Setting the clock
- Press the button MODE ⑤ once again, until only the number for the hours is shown in the display, e.g. "1: A". Ensure that the indicator "AL" does not appear, as you would then be setting the alarm time, not the time display itself.
- Press repeatedly on the button SET 4 until the hour figure is correctly shown, e.g. "10: A". The letter "A" behind the number indicates "AM" (morning), "P" indicates "PM" (afternoons) and "H" signifies a 24 hour time display.
- Press the button MODE ⑤ once again, until only the number for the minutes is shown in the display, e.g. ".01". Ensure that the indicator "AL" does not appear, as you would then be setting the alarm time, not the time display itself.
- Press repeatedly on the button SET ④ until the minute figure is correctly shown, e.g. "15".
d) Starting the clock
- Press the button MODE 5 to accept the programmed minutes and to display the time, e.g. "10:15".
- Press the button SET 4 to accept the programmed time and to start the clock. As a control, the double-point in the display starts to blink.
e) Alarm function and hour signal
- Press the button MODE ⑤. In the display all positions blink and the indicator "AL" (Alarm time) appears.
- To switch the alarm function on, repeatedly press the button SET 4 until three lines are shown above the double-point in the display. To switch the alarm function off, repeatedly press the button SET 4 until the three lines are no longer shown.
- To have a signal tone sound on every full hour, press repeatedly on the button SET ④ until a bell symbol appears in the display below the double-point. To switch the hourly signal tone function off, repeatedly press the button SET ④ until the bell symbol is no longer shown.
f) To leave the adjustment mode
- Repeatedly press the button MODE ⑤ until only the time is shown.
- Using the button SET 4 you can flip through all adjustments.
When everything is programmed as described, a signal tone will sound at the scheduled alarm time and continue until you press any button. For as long as the alarm function remains activated, the appliance will repeat the alarm notification every day.
Cleaning and storage
- Clean the appliance with a dry or lightly moistened cloth only. To avoid potential damage to the surfaces, do not use any detergents or abrasive cleaning agents.
-
If you do not intend to use the appliance for longer than a year, remove the batteries. Store the appliance in a dry location.
-
With the exception of the battery compartment, NEVER open any parts of the appliance. Arrange for the appliance to be repaired by specialists only. The appliance is maintenance-free. In the event of malfunction or apparent damage, make contact with Customer Services.
Disposal
Disposing of the appliance

Do not, under any circumstances, dispose of the appliance with household waste. Dispose of the appliance through an approved disposal centre or at your community waste facility. This appliance is subject to the European Guidelines 2002/96/EC. Observe the currently applicable regulations. In case of doubt, please contact your waste disposal centre.
Disposal of batteries/accumulators
Used batteries/rechargeable batteries may not be disposed of in household waste. Every consumer is legally obliged to dispose of batteries at a collection site of his community/city district or at a retail store. The purpose of this obligation is to ensure that batteries are disposed of in a non-polluting manner. Only dispose of batteries when they are fully discharged.
Disposal of packaging

Dispose of all packaging materials in an environmentally friendly manner.
The warranty for this appliance is for 3 years from the date of purchase.
The appliance has been manu-factured with care and meticulously examined before delivery. Please retain your receipt as proof of purchase. In the case of a warranty claim, please make contact by telephone with our service department.
Only in this way can a post-free despatch for your goods be assured.
The warranty covers only claims for material and manufacturing defects, not for wearing parts or for damage to fragile components. This product is for private use only and is not intended for commercial use.
The warranty is void in the case of abusive and improper handling, use of force and internal tampering not carried out by our authorized service branch.
Your statutory rights are not restricted in any way by this warranty.
GB DES Ltd
Tel.: 0870/787-6177
Fax: 0870/787-6168
e-mail: support.uk@kompernass.com
IE Kompernass Service Ireland
Tel: 1850 930 412 (0,082 EUR/Min.)
Standard call rates apply. Mobile operators may vary.
e-mail: support.ie@kompernass.com
OBSAH
STRANA


- Intended use
- Items supplied
- Importer
- CE Conformity
- Description of the appliance
- Safety instructions
- Inserting the batteries
- Placement
- Reception mode
- b) Adjusting the reception
- Adjusting the time functions
- a) Programming the alarm time
- b) Setting the date
- c) Setting the clock
- d) Starting the clock
- e) Alarm function and hour signal
- f) To leave the adjustment mode
- Cleaning and storage
- Disposal
- Disposing of the appliance
- Disposal of batteries/accumulators
- Disposal of packaging
- GB DES Ltd
- IE Kompernass Service Ireland
- OBSAH
- STRANA
Brand : SILVERCREST
Model : KH 2173
Category : Radio