
WFA54 - TV Stand SANUS - Free user manual and instructions
Find the device manual for free WFA54 SANUS in PDF.


| Product Type | TV Stand |
| Brand | Sanus |
| Model | WFA54 |
| Material | Real hardwood and resonance dampening MDF |
| Number of Doors | 2 (one large, one small) |
| Shelves Included | 2 bottom shelves and 4 adjustable mid shelves |
| Adjustable Shelves | Yes, mid shelves can be placed at desired heights using shelf pins |
| Assembly Required | Yes |
| Tools Required | Phillips screwdriver |
| Hinge Adjustment | Yes, multi-directional adjustment for doors |
| Door Handles Included | Yes, with mounting hardware |
| Back Panel Included | Yes |
| Safety Warning | Improper installation may cause damage or serious injury. Consult qualified contractor if unsure. |
| Replacement Parts | Available by contacting Sanus at 800.359.5520 or www.sanus.com |
| Country of Origin | Not specified |
| Warranty | Not specified; contact Sanus for details |
| Intended Use | Home theater furniture for TV and media components |
Frequently Asked Questions - WFA54 SANUS
User questions about WFA54 SANUS
0 question about this device. Answer the ones you know or ask your own.
Ask a new question about this device
Download the instructions for your TV Stand in PDF format for free! Find your manual WFA54 - SANUS and take your electronic device back in hand. On this page are published all the documents necessary for the use of your device. WFA54 by SANUS.
USER MANUAL WFA54 SANUS
Assembly Instructions for Model: WFA54
Thank you for choosing Sanus Systems Woodbrook Furniture. The Woodbrook Furniture is constructed of real hardwood and resonance dampening MDF.
Safety Warning: If you do not understand these directions, or have any doubts about the safety of the installation, please call a qualified contractor or contact Sanus at 800.359.5520 or www.sanus.com. Check carefully to make sure that there are no missing or defective parts. Our customer service representatives can quickly assist you with installation questions and missing or damaged parts. Replacement parts for products purchased through authorized dealers will be shipped directly to you. Never use defective parts. Improper installation may cause damage or serious injury. Do not use this product for any purpose that is not explicitly specified by Sanus Systems. Sanus Systems can not be liable for damage or injury caused by incorrect assembly, or incorrect use. Please call Sanus Systems before returning products to the point of purchase.
Required Tools: Phillips screw driver
Supplied Parts and Hardware: Some parts may be pre-assembled together*

natural_image
Line drawing of a simple cabinet with two doors and two side drawers (no text or symbols)Hardware: Shown as actual size


(4) Wood Screw - f
(4) Spacer - g
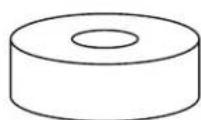
(4) Phillips Bolt - h

(2) Door Handle - i*


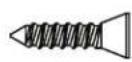
(8) Hinge Screw - j

(8) Hinge Plate Screw - k

natural_image
Technical line drawing of a mechanical clamp or bracket assembly (no text or symbols)(4) Hinge - 1*
(4) Hinge Plate - m*
Parts: Not Shown as actual size

(1) Top - n


Parts List (Cont)

(2) Bottom Shelf - q
(4) Mid Shelf - r
(1) Small Door - s


natural_image
Technical line drawing of a two-panel metal frame structure with mounting holes (no text or symbols)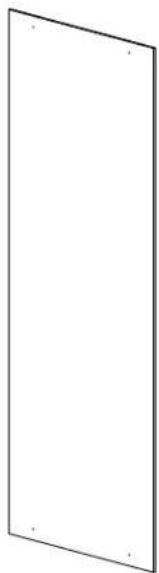
natural_image
Blank white rectangular frame with no text, symbols, or markings
natural_image
Simple line drawing of a rectangular frame with a vertical divider and a horizontal bar (no text or symbols)
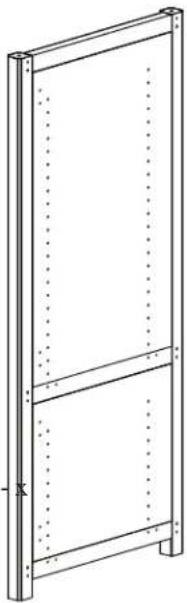
(1) Left Side Panel - t
(1) Right Side Panel - u
(1) Back Panel - v
Step 1: Prepare the Side Panels
Thread a Cam Pin (a) into each of the smaller holes in the Side Panels (t,u). Tighten each Cam Pin with a Phillips screw driver. Insert a Dowel (d) into the larger adjacent hole in the Side Panels. See Diagram 1 for assistance.

Step 2: Prepare Stretchers
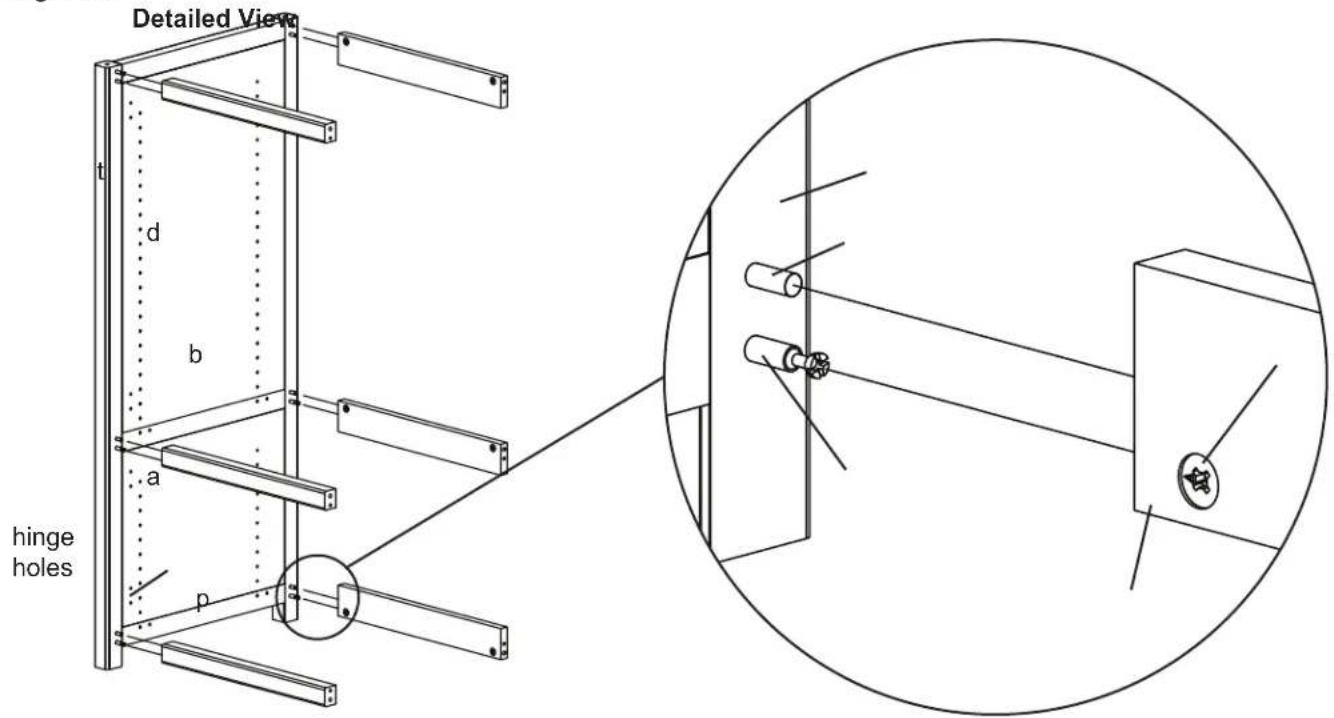
Add a Cam (b) to each Front Stretcher (o) and Back Stretcher (p). Make sure the arrow in each Cam faces the hole on the side of the Stretchers. See Diagram 2 for assistance.

Step 3: Add Stretchers
Add the Front and Back Stretchers (o,p) to the Side Panel (t), by aligning the Cam Pin (a) with the hole which the Cams (b) point to and the Dowel (d) goes into the adjacent hole. Make sure the stretchers are oriented so the Cams face inward. Tighten each Cam closest to the Side Panel in a clockwise motion until the stretchers are secured. Note: Front stretchers attach to the same side as the hinge holes are on.
Diagram 3
Step 4: Add Side Panel
Press fit the Side Panel (u) against the Stretchers (o,p) so the Cam Pin (a) goes into the hole which the Cams (b) point to. The Dowel (d) fits into the adjacent hole. Tighten each Cam in a clockwise motion until the Stretchers are secured. Note: Make sure the hinge holes on the Side Panel are on the same side as the Front Stretchers.
Diagram 4

Step 5: Add Shelf Pins and Bottom Shelf
Thread the Shelf Pins (e) into the bottom hole in the line of holes in each Side Panel (t,u). Tighten Shelf Pins with a Phillips screw driver. Add the Bottom Shelf (q) by inserting it into the assembly and press fit it onto the Shelf Pins. Make sure the Bottom Shelf is flush against the Front Stretcher (o). If there is a gap in front, the shelf may be backward. See Diagram 5 for assistance.
Note: Diagram 5 is a Back View.

Step 6: Add Top
Gently tap a Dowel Pin (c) into the holes on the top of each Side Panel (t,u). Slide a Spacer (g) over each Dowel Pin. Press fit the Top (n) so it fits onto the Dowel Pins. See Diagram 6 for assistance.

Step 7: Add Door Handle
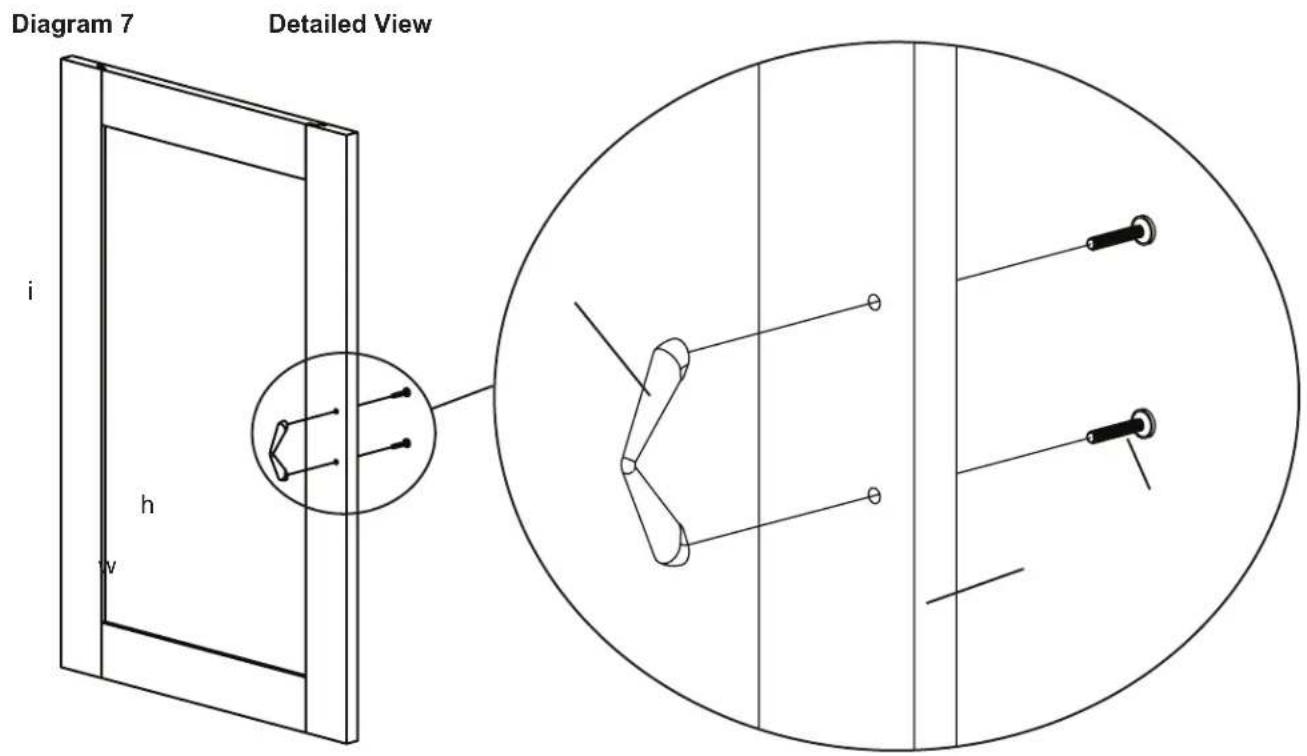
Insert each Phillips Bolt (h) through the Door (w) and into the Door Handle (i). Tighten with a Phillips screw driver. See Diagram 7 for assistance. Diagram 7 shows only the Large Door. Attach the Door Handle to the Small Door in the same manner. The Door Panels can be interchanged by removing and re-installing the plastic border from the perimeter of the Door's back side.
Step 8: Add Hinge Assembly to Door
Insert a Hinge Screw (j) through the Hinge (l) and thread it into the Door (w). Tighten each with a Phillips screw driver. Repeat process until each Hinge Assembly is secure. See Diagram 8 for assistance.

Step 9: Door Install
Position the Door (s,w) so the holes in the Hinge Plate (m) line up with the front pair of holes in the Side Panel (t,u). Insert a Hinge Plate Screw (k) through the Hinge Plate and thread it into each hole in the Side Panel. Tighten with a Phillips screw driver. Repeat process so each Hinge Assembly is secured. See Diagram 9 for assistance.

Step 10: Add Mid Shelves
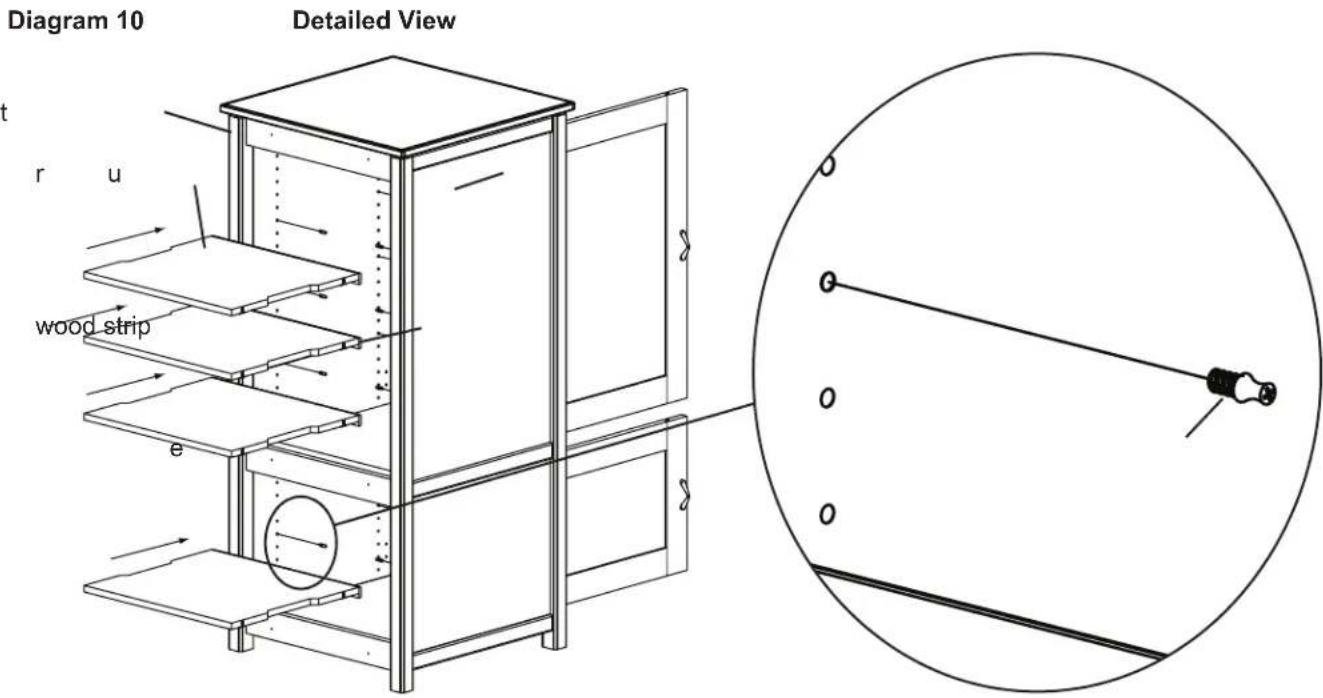
Thread a Shelf Pin (e) into the desired location in the Side Panels (t,u). For each shelf, four Shelf Pins will be required. Insert each shelf into the assembly and press fit onto the Shelf Pins. Make sure the wood strip on each shelf is facing toward the front. See Diagram 10 for assistance. Note: Diagram 10 is a Back View.
Step 11: Add Back Panel
Position the Back Panel (v) up against the assembly and thread a Wood Screw (f) through it and into the Back Stretcher (p). Repeat process until the Back Panel is secured with four Wood Screws. Tighten each with a Phillips screw driver. See Diagram 11 for assistance.

Step 12: Hinge Adjustment for Woodbrook Door
Each hinge Assembly is adjustable in multiple directions. See Diagram 12 for assistance.
Diagram 12


- Assembly Instructions for Model: WFA54
- Step 1: Prepare the Side Panels
- Step 2: Prepare Stretchers
- Step 3: Add Stretchers
- Step 4: Add Side Panel
- Step 5: Add Shelf Pins and Bottom Shelf
- Step 6: Add Top
- Step 7: Add Door Handle
- Step 8: Add Hinge Assembly to Door
- Step 9: Door Install
- Step 10: Add Mid Shelves
- Step 11: Add Back Panel
- Step 12: Hinge Adjustment for Woodbrook Door
Brand : SANUS
Model : WFA54
Category : TV Stand