H517-BG - Wall mount WindFall - Free user manual and instructions
Find the device manual for free H517-BG WindFall in PDF.

User questions about H517-BG WindFall
0 question about this device. Answer the ones you know or ask your own.
Ask a new question about this device
Download the instructions for your Wall mount in PDF format for free! Find your manual H517-BG - WindFall and take your electronic device back in hand. On this page are published all the documents necessary for the use of your device. H517-BG by WindFall.
USER MANUAL H517-BG WindFall
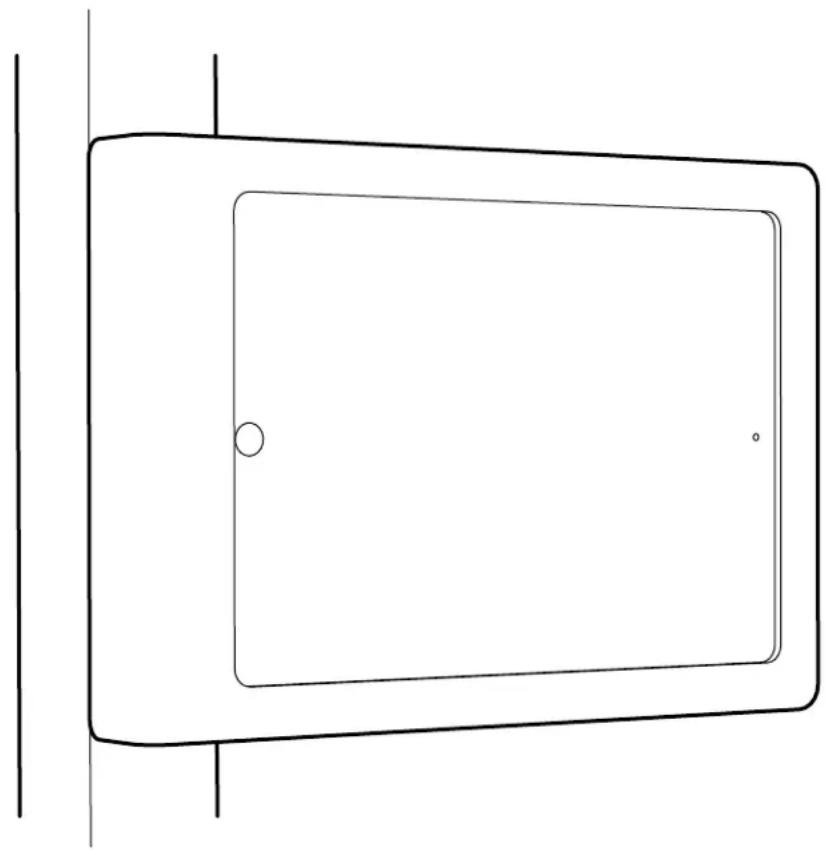
Assembly & Installation
natural_image
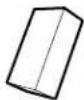
Simple line drawing of a rectangular frame with a circular hole and two dots, no text or symbols present.Compatible with:
iPad mini 1
iPad mini 2
iPad mini 3
iPad mini 4
Limited Warranty
Heckler Design warrants your product to be free from defect in material and workmanship for a period of two years from the original date of purchase. Electronic components are warranted to be free from defect for a period of one year from the original date of purchase. If you discover a defect, please contact service@hecklerdesign.com. Heckler Design will repair, at our discretion, using new or refurbished components. If repair is not possible, Heckler Design will replace the item.
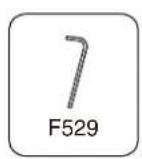
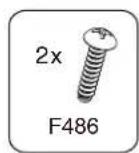
1x
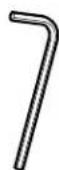
M3 Hex Key F529
2x
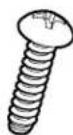
Thread-Forming Mounting Screw F486
4x
Foam for iPad Fit Adapter Clip E250

Keep your special assembly tool in a safe place. To purchase a replacement, please contact service@hecklerdesign.com.
natural_image
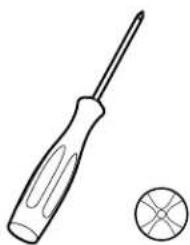
Line drawing of a screwdriver and a circular component (no text or symbols)Phillips Head Screwdriver
natural_image
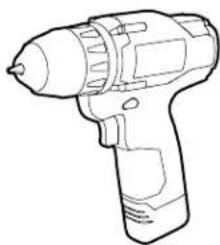
Line drawing of a handheld electric drill (no text or symbols)Drill (#17 drill bit or 5/32-inch drill bit)

Marker
1 Disassemble Front Mount
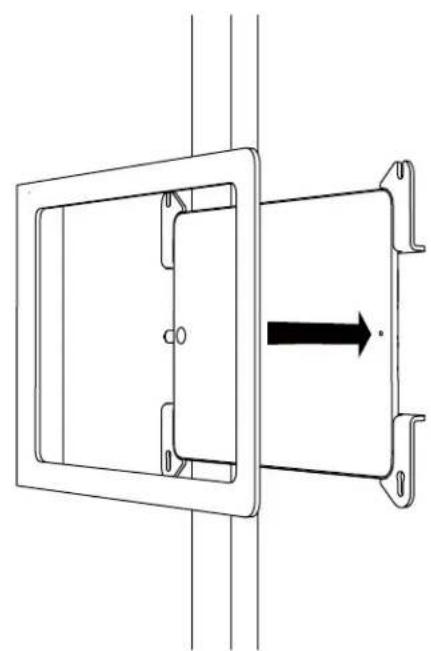
text_image
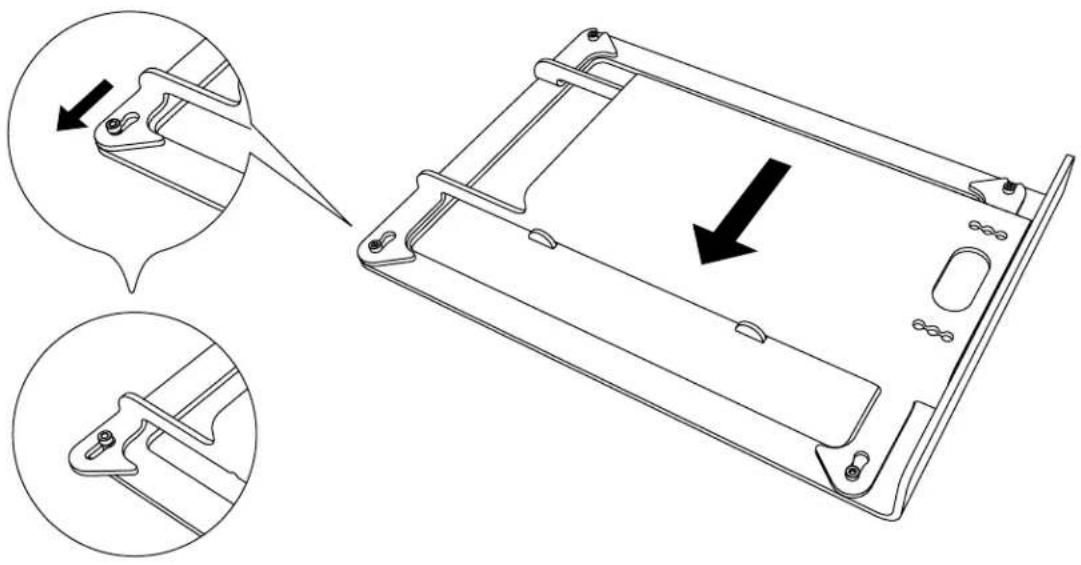
Technical diagram showing a mechanical component with two views of a device's internal structure, including directional arrows indicating movement or assembly.2 Remove Mounting Bracket From Front Bezel

natural_image
Technical line drawing of a mechanical housing component with mounting holes and a central panel (no text or symbols)Mark Hole Positions3

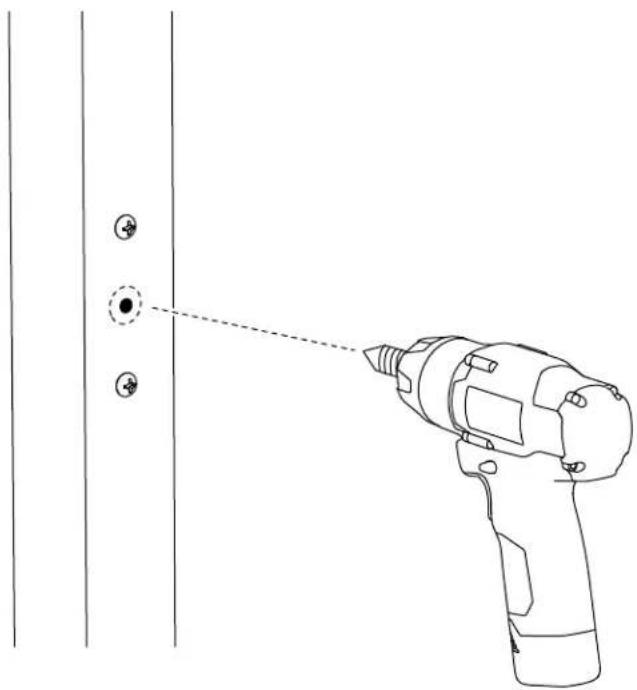
text_image
Please select the mounting positions that work best for your mullion.4 Drill Mounting Holes
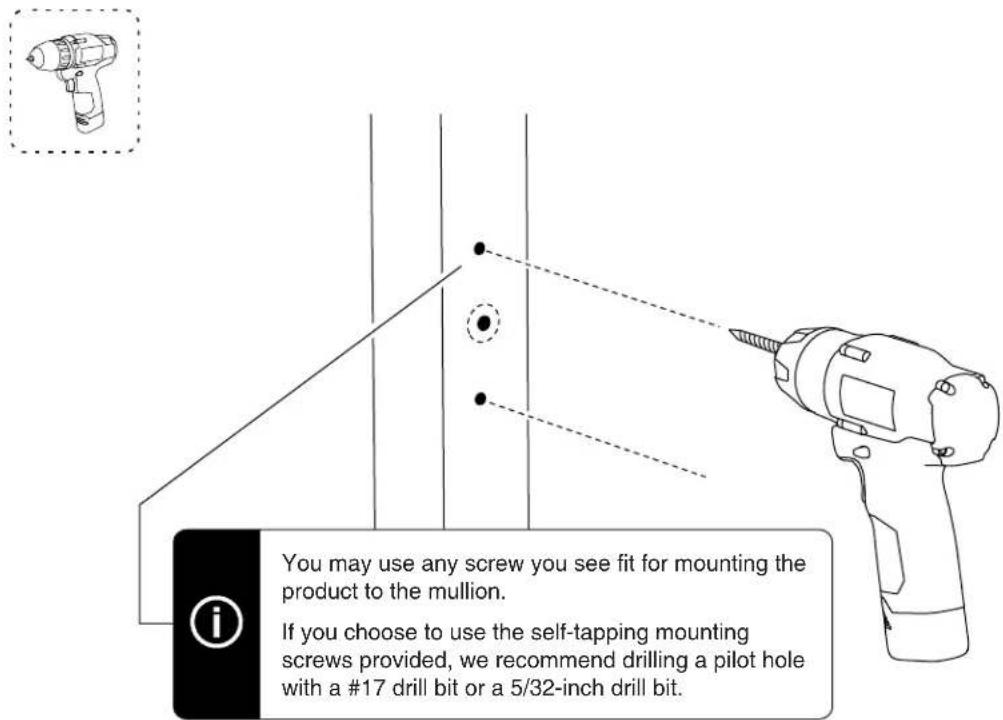
text_image
You may use any screw you see fit for mounting the product to the mullion. If you choose to use the self-tapping mounting screws provided, we recommend drilling a pilot hole with a #17 drill bit or a 5/32-inch drill bit.5 Form Mounting Hole Threads

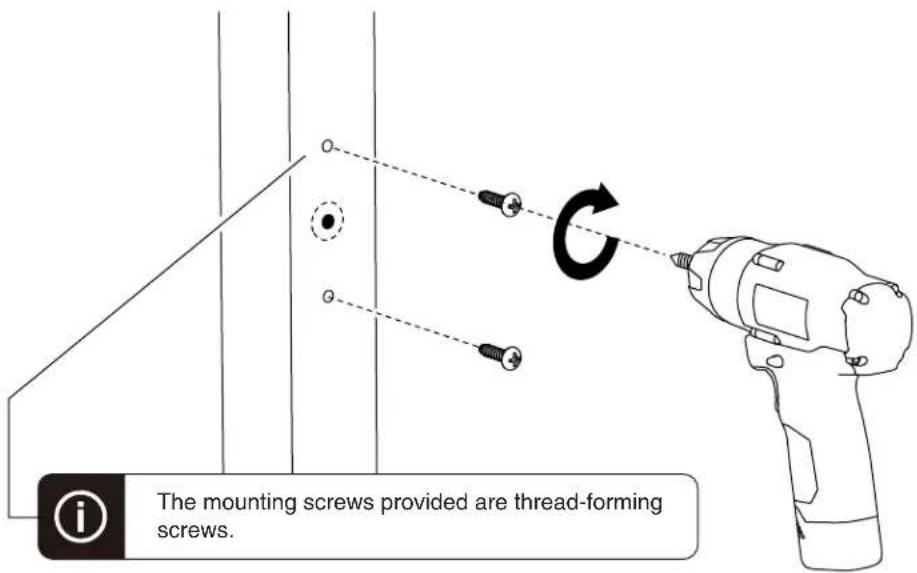
text_image
The mounting screws provided are thread-forming screws.
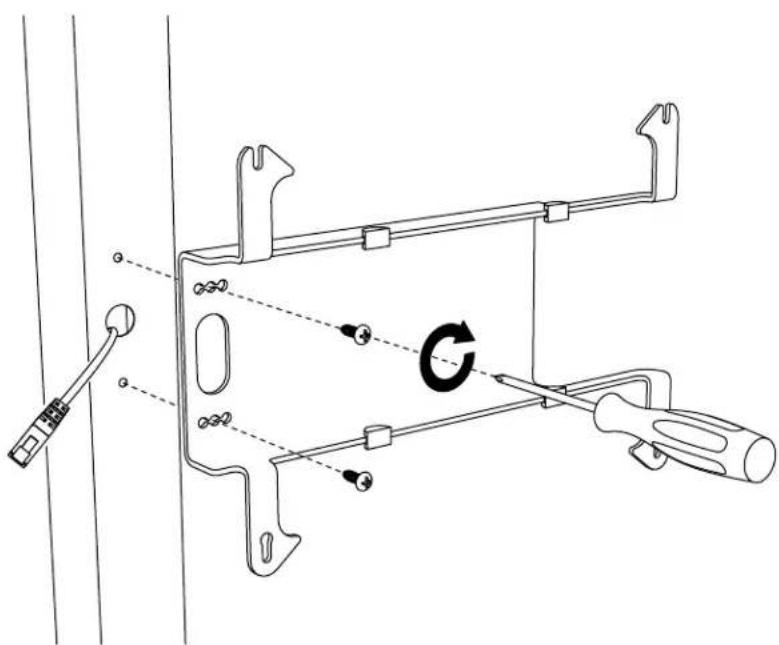
Ethernet Cable Hole
If your Ethernet cable has an RJ45 connector installed, drill a 5/8 inch hole in the position shown.
If you will install an RJ45 connector after the Ethernet cable is drawn through the mullion, a smaller hole can be created.
natural_image
Line drawing of a hand-drawn tool projecting onto a door panel with two circular buttons (no text or symbols)6 Remove Mounting Screws

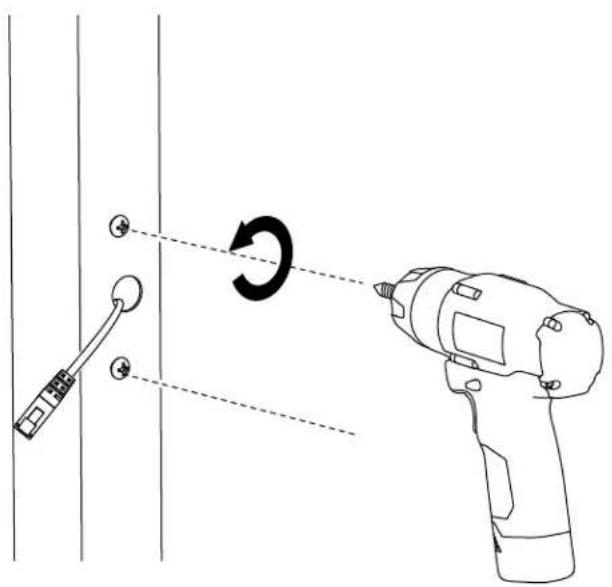
text_image
Diagram showing a drill bit being inserted into a wall, with a hand holding a screwdriver and a circular motion indicator.7 Faster Mounting Bracket to mullion

text_image
Technical diagram showing a mechanical assembly with labeled parts and a circular arrow indicating rotation or adjustment.Adapter Clips For iPad Mini 4

PoE Splitter (Power Only) PoE Splitter (With wired data connection)

natural_image
Pure electrical circuit lines without any symbols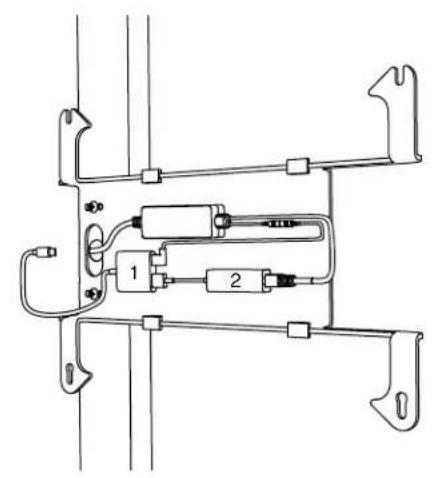
natural_image
Pure electrical circuit lines without any symbols-
Apple Lighting to USB 3 Camera Adapter
-
Apple USB Ethernet Adapter
Gigabit + PoE Adapter Battery Bank

natural_image
Pure electrical circuit lines without any symbols
natural_image
Pure technical line drawing of a mechanical bracket or mounting structure without any text, numbers, or symbols9 Install Tablet
natural_image
Pure technical line drawing of a mechanical or electrical component with no text, numbers, or symbols10 Install Front Bezel
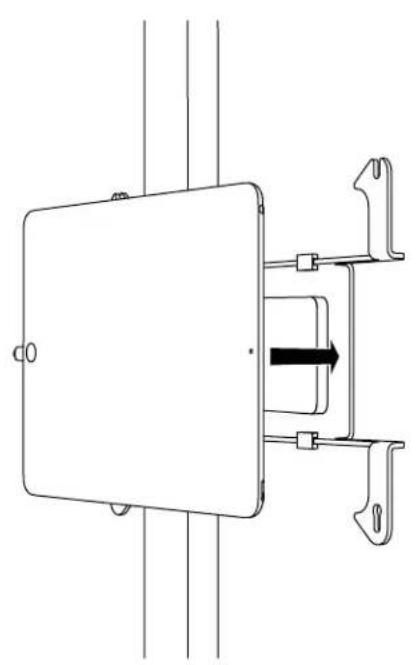
natural_image
Technical line drawing of a mechanical component with a rectangular frame and a directional arrow (no text or symbols)11 Slide Front Bezel Onto Mounting Bracket
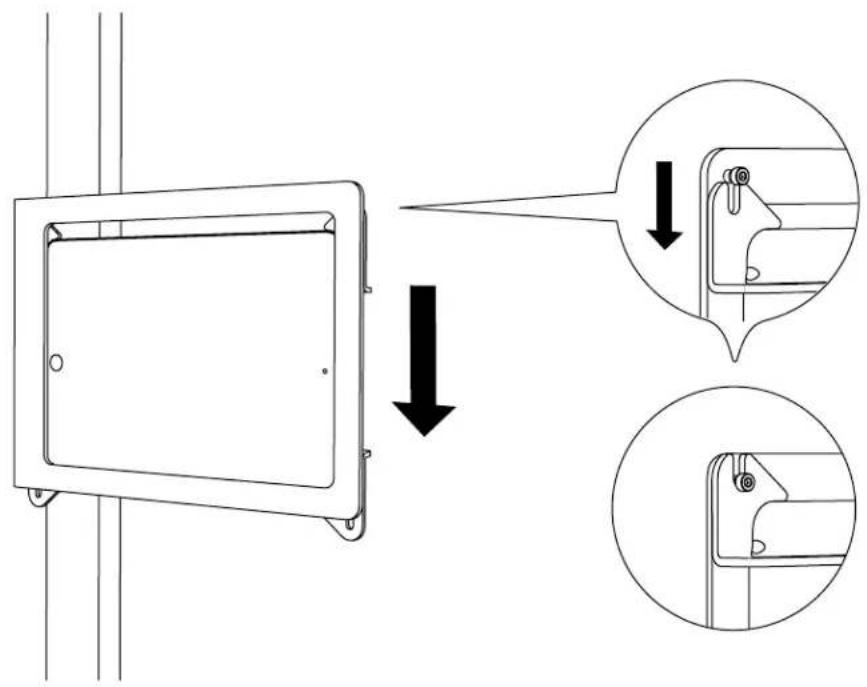
text_image
Technical diagram showing a device panel with directional arrows and close-up insets of the component detail12 Tighten Assembly Screws