My Touch NTV-KIT616 - Car accessory NAV-TV - Free user manual and instructions
Find the device manual for free My Touch NTV-KIT616 NAV-TV in PDF.

User questions about My Touch NTV-KIT616 NAV-TV
0 question about this device. Answer the ones you know or ask your own.
Ask a new question about this device
Download the instructions for your Car accessory in PDF format for free! Find your manual My Touch NTV-KIT616 - NAV-TV and take your electronic device back in hand. On this page are published all the documents necessary for the use of your device. My Touch NTV-KIT616 by NAV-TV.
USER MANUAL My Touch NTV-KIT616 NAV-TV
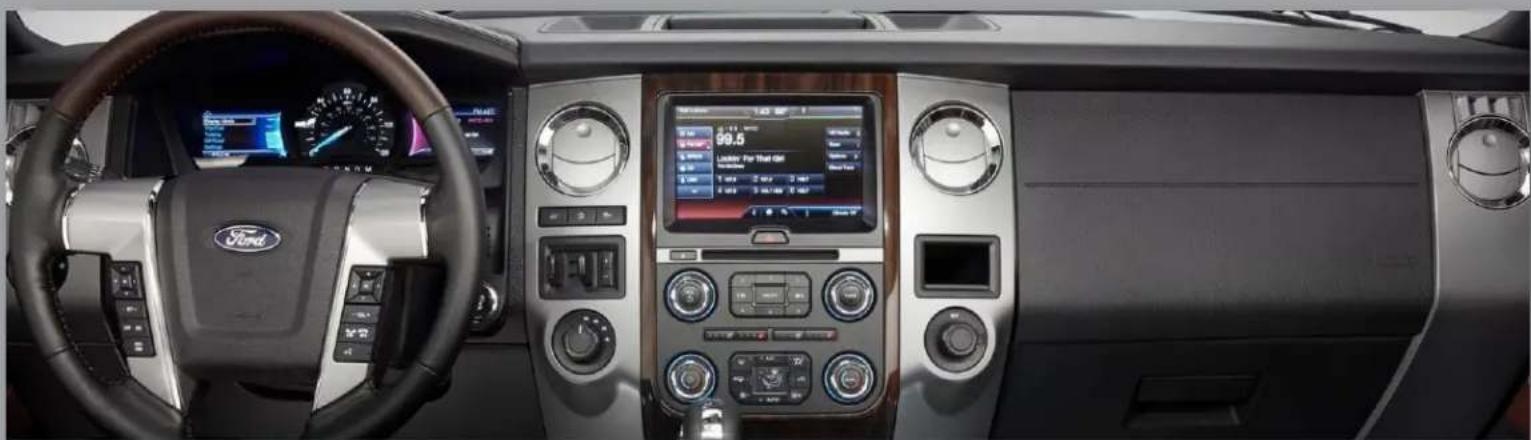
VIM & CIM for select Ford vehicles with 8.4" My Touch
NTV-KIT616
natural_image
Interior view of a Ford SUV with digital dashboard and steering wheel (no visible text or symbols)
natural_image
Exterior view of a black Ford SUV (no visible text or symbols)BHM
10/07/15
NTV-DOC231
Overview
The My Touch VIM V2 Kit enables viewing of DVD/IPOD video/AV input while in moon, as well as navigaon desnaon input for select 2011+ Ford vehicles equipped with the 8.4" My Ford Touch media system. Acvang Video in Moon/NAV Control in Moon is performed from wire trigger or factory dash buons for select vehicles.
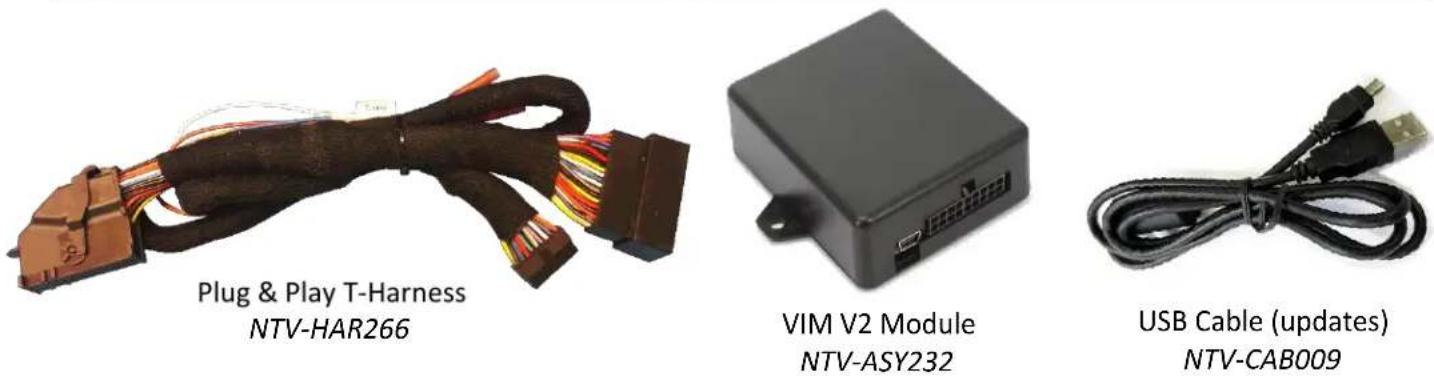
Kit Content
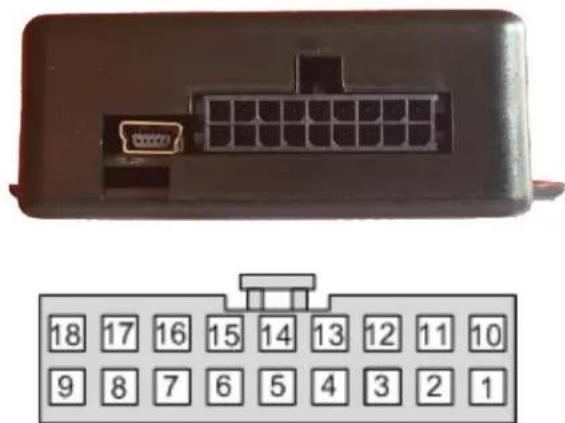
MY TOUCH VIM V2 Pinouts
| Pin # | Descripon | Color |
| 1 | 12v (+) Constant Power | Yellow |
| 2 | --Not Used (LIN)-- | White/Orange |
| 3 | --Not Used (LIN)-- | Orange |
| 4 | CAN (125k) HI (radio side) | Green |
| 5 | CAN (125k) HI (vehicle side) | Gray |
| 6 | CAN (500k) HI (radio side) | Purple/Black |
| 7 | CAN (500k) HI (vehicle side) | White/Black |
| 8 | DIFF VID (radio side) | White/Blue |
| 9 | DIFF VID (vehicle side) | White/Orange |
| 10 | Ground (-) | Black |
| 11 | --Not Used-- | Blue |
| 12 | INPUT 1 (+) VIM Acvaon | Red |
| 13 | CAN (125k) LO (radio side) | Green/Black |
| 14 | CAN (125k) LO (vehicle side) | Gray/Black |
| 15 | CAN (500k) LO (radio side) | Purple |
| 16 | CAN (500k) LO (vehicle side) | White |
| 17 | DIFF VID (radio side) | Blue |
| 18 | DIFF VID (vehicle side) | Orange |
natural_image
Front view of a black electronic device with a 24-pin connector and a separate grid of 18 numbered buttons below (no text or symbols on the main body)Wire Side View
Any wires not menoned here are not used for this install.
Installaon with radio removal (Edge)
-
Using a plasc pry tool, gently pry up side trim panel that run the length of the radio bezel and center console.
-
Once removed, there will be t20 Torx screws holding the shier plate and radio bezel in place. Remove these screws.
-
Place the vehicle in Drive or lower. Pry up the shift plate and move back.
-
With the shi plate moved the radio bezel will easily come out. Disconnect all wiring aached to the bezel.
-
Remove the (4x) 7mm screws holding the screen in place.
-
Disconnect all wiring and set the screen aside.
-
Gather the Plug & Play harness from the VIM V2 kit and connect the main OEM LCD harness (male) from the car into the female side of the provided Plug & Play T-Harness.
-
Connect the VIM V2 module to the 18-PIN connector.
-
Connect INPUT 1 (red) to a 12v ACC source through a toggle for VIM Acvaon. Mount this toggle in an easily accessible locaon.
-
Plug the male end of the Plug & Play T-Harness into the factory LCD.
-
Reconnect all plugs and test for proper funconality.

natural_image
Interior view of a car gear shift lever with visible brand number 'RNDM' on the intake tray (no text or symbols beyond branding)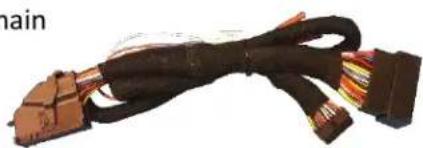
natural_image
Coiled black cable with multiple connectors, no visible text or symbolsBasic Installaon Diagram
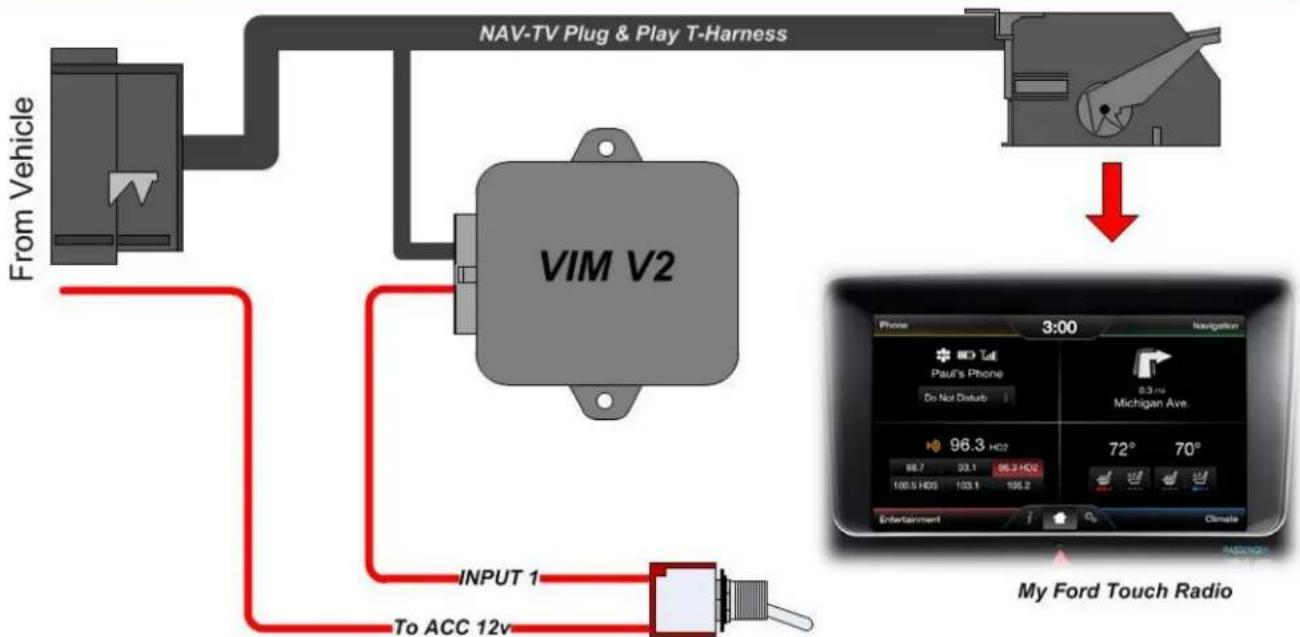
flowchart
graph TD
    A["From Vehicle"] --> B["VIM V2"]
    B --> C["NAV-TV Plug & Play T-Harness"]
    C --> D["↓"]
    D --> E["My Ford Touch Radio"]
    E --> F["Phone 3:00 Navigation"]
    F --> G["100.5 HD3 133.1 106.2"]
    G --> H["96.3 HD2 98.7 93.1 96.3 HD2"]
    H --> I["72° 70°"]
    I --> J["Entertainment Climate"]
    J --> K["INPUT 1 To ACC 12v"]
Toggle (not included)
Agreement: End user agrees to use this product in compliance with all State and Federal laws. NAV-TV Corp. would not be held liable for misuse of its product. If you do not agree, please discontinue use immediately and return product to place of purchase. This product is intended for off-road use and passenger entertainment only.
MY TOUCH-VIM V2 Operaon
Once all conncons are made, ip your connected toggle switch (send power to INPUT 2) for Video in Moon or NAV Control in Moon acvaon. This acon must happen upon every key cycle.
The best way to test proper funconality:
- Start the vehicle, leave in park
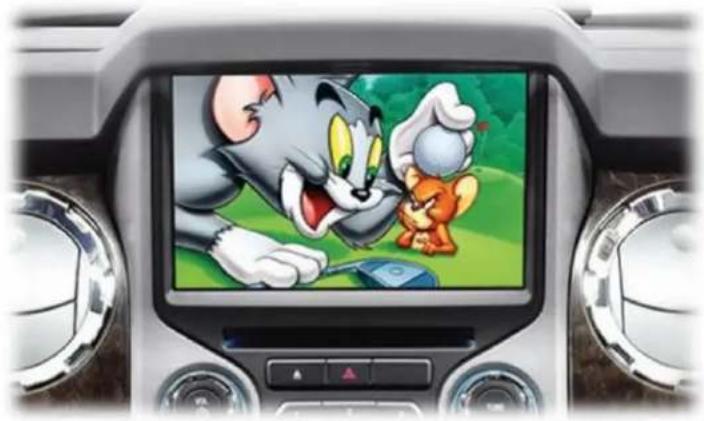
- Play a video on the main 8" media screen
- Place vehicle in drive, the video will disappear
- Flip installed toggle switch
- Video should return in a brief moment. Drive vehicle to conrm video does not disappear.
natural_image
Interior view of a car dashboard displaying a cartoon character on screen with a mouse, no visible text or symbolsNAV-TV
INTERFACING THE FUTURE

text_image
MADE IN U.S.A. PRODUCT
text_image
REGISTERED COMPANY ISO 9001 SGSAgreement: End user agrees to use this product in compliance with all State and Federal laws. NAV-TV Corp. would not be held liable for misuse of its product. If you do not agree, please discontinue use immediately and return product to place of purchase. This product is intended for off-road use and passenger entertainment only.