Corridor 6507 - Furniture BDI - Free user manual and instructions
Find the device manual for free Corridor 6507 BDI in PDF.

User questions about Corridor 6507 BDI
0 question about this device. Answer the ones you know or ask your own.
Ask a new question about this device
Download the instructions for your Furniture in PDF format for free! Find your manual Corridor 6507 - BDI and take your electronic device back in hand. On this page are published all the documents necessary for the use of your device. Corridor 6507 by BDI.
USER MANUAL Corridor 6507 BDI
Product Registration
Registering your new BDI product allows us to send you important product updates, service information and helpful hints related to your BDI products. Register today and you will be entered to win free a BINK table from BDI. www.bdiusa.com/product-registration/
Placement and Maintenance
Corridor® Office furniture is designed for indoor use on level floors. Clean glass with glass cleaner, and steel parts and wood veneer with a moist cloth.
Your Corridor® Office furniture is engineered for easy assembly. Carefully follow this procedure to prevent any damage. Do not use power tools for assembly of this product.
Step 1
Unpack and identify the parts listed below. The assembly workspace should be a non-marring surface such as carpet. For missing hardware pieces, please contact BDI Customer Service at customerservice@bdiusa.com. For all other concerns, please contact your BDI retailer.

H2 M4 x 38mm
Screw x 6
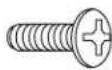
H5 Phillips Machine
Screw x 20
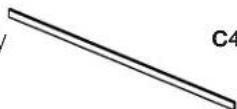
C2 Pull x 3
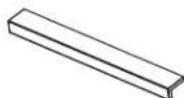
C4.1 Small File Bar x 2

C6 File Bar Clip x 4
natural_image
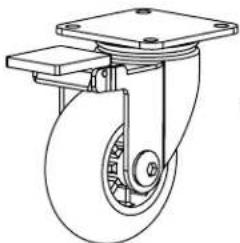
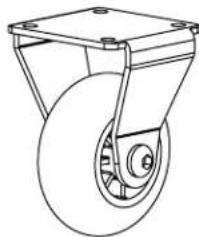
Technical line drawing of a mechanical component with a wheel and frame (no text or symbols)C8 Locking Swivel Caster x 4
natural_image
Line drawing of a wheeled cart with wheels and mounting holes (no text or symbols)C9 Fixed Caster x 1
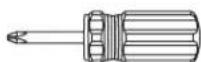
Tool Required:
Phillips screwdriver

natural_image
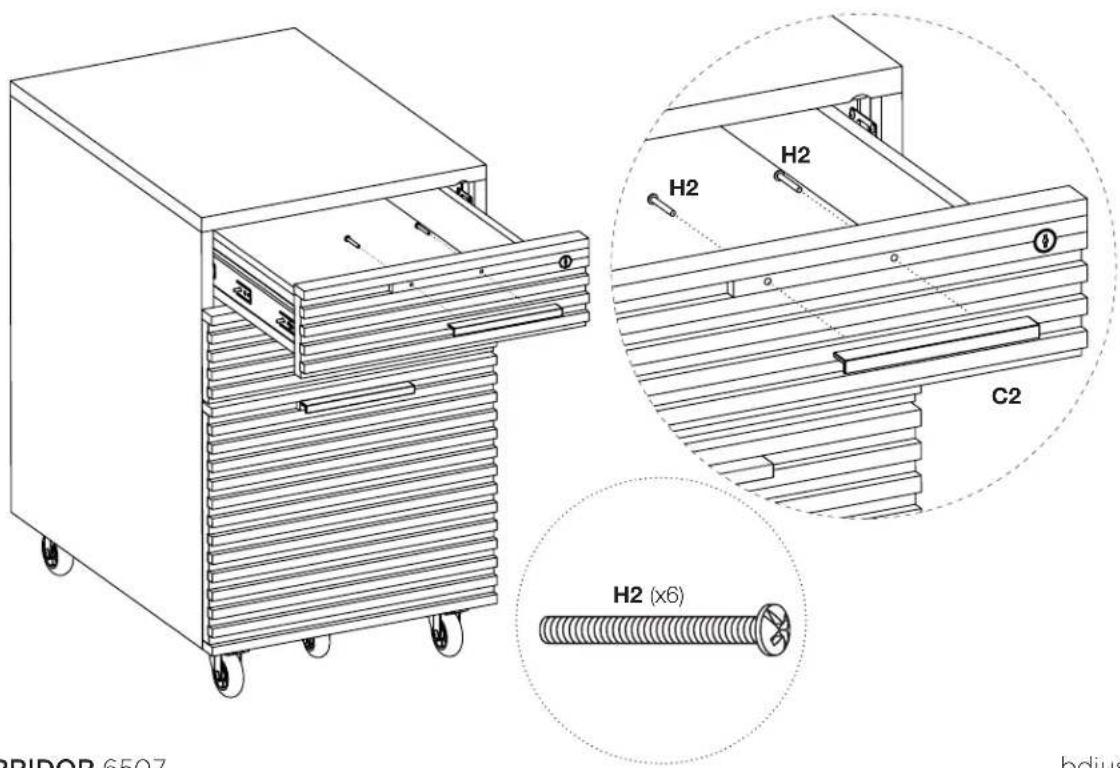
Line drawing of a multi-tiered cabinet with horizontal slats and labeled components (no text or symbols on the cabinet itself)Step 2 - Rest Cabinet on its back side. Attach Casters to Cabinet using Screws H5 and tighten with a Phillips screwdriver.

text_image
H5 (x20) C8 (x4) C9 (x1)Step 3 - Attach Pulls using Screws H2 and tighten with a Phillips screwdriver.
text_image
H2 (x6) C2 H2 H2 BRIDOR 6507 bdjusStep 4 - File Bar Installation (Letter File)
For letter files facing sideways, attach File Bar Clip C6 to both ends of Small File Bar C4.1 as shown. Place the file bar assembly in the notches located on the left and right drawer side panels. For front facing letter files, skip this step altogether.

Step 5 - Legal File Accommodation

natural_image
Line drawing of a two-door drawer cabinet with handle and side rails (no text or symbols)Corridor file cabinets are pre-assembled with matching locks. If you require unique locks for your home or office use, please contact BDI Customer Service at customerservice@bdiusa.com to purchase a unique lock and key replacement kit which includes a lock assembly and two keys. To replace the lock please follow the instructions below.
Optional - Lock Removal and Installation
- Open the drawer which houses the lock.
- Using a Phillip's screw driver, loosen the 2 screws that secure the lock assembly to the back of the drawer facia panel.
- Replace it with the new lock assembly and re-tighten the 2 screws.
