
PHOTO EASY 110 WIFI - Photo printer SAGEM - Free user manual and instructions
Find the device manual for free PHOTO EASY 110 WIFI SAGEM in PDF.

| Brand | SAGEM |
| Model | PHOTO EASY 110 WIFI |
| Category | Photo printer |
| Printing technology | Thermal dye-sublimation |
| Connectivity | USB 2.0 and Wi-Fi (external adapter) |
| Wi-Fi network modes | Infrastructure (access point) and Ad-hoc (peer-to-peer) |
| Wireless security | WEP 64-bit and 128-bit (WPA not supported) |
| Wi-Fi configuration | Automatic and manual |
| Compatible operating system | Mac OS X |
| Included software | Companion Photo |
| Number of print passes | 3 colors (Yellow, Cyan, Magenta) + protective varnish |
| Paper type | Photo paper (format not specified) |
| Status indicators | Two indicators near the print button (flash during Wi-Fi configuration) |
| Print button | Yes |
| Power supply | Power adapter (not specified) |
| Compatibility | Mac OS X (Windows not mentioned) |
Frequently Asked Questions - PHOTO EASY 110 WIFI SAGEM
User questions about PHOTO EASY 110 WIFI SAGEM
0 question about this device. Answer the ones you know or ask your own.
Ask a new question about this device
Download the instructions for your Photo printer in PDF format for free! Find your manual PHOTO EASY 110 WIFI - SAGEM and take your electronic device back in hand. On this page are published all the documents necessary for the use of your device. PHOTO EASY 110 WIFI by SAGEM.
USER MANUAL PHOTO EASY 110 WIFI SAGEM
Installing & Getting Started
Mac OS 10
Contents
1 Installing the Companion Photo. 5
1.1 Unzipping the Installer 5
1.2 Installing the Companion Photo 5
1.3 After Installation 9
1.4 Connecting the Printer to a USB Port 9
2 Companion Photo Control Panel 11
2.1 Control Panel Display 11
2.2 Meaning of the Icons 11
2.3 Status of the WiFi Connection 12
3 WiFi Configuration. 13
3.1 Wireless networks 13
3.2 Prior to Launching the Configuration Procedure 15
3.3WiFi Configuration mode possibilities 16
3.4WiFi Configuration:Automatic Mode Using 16
3.5 WiFi Configuration: Manual Mode Using 20
3.5.1 Configuration of your WIFI printer into a peer to peer network (ad Hoc) 20
3.5.2 21
3.5.3 WEP encryption capabilities configuration 30
4 Monitoring Print Jobs 36
5 Notes 37
1 INSTALLING THE COMPANION PHOTO
1.1 Unzipping the Installer
The PhotoEasyPM-X.Y.n pkg.zip zip file is unzipped by double-clicking on the icon.
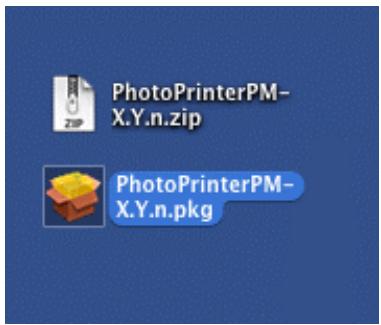
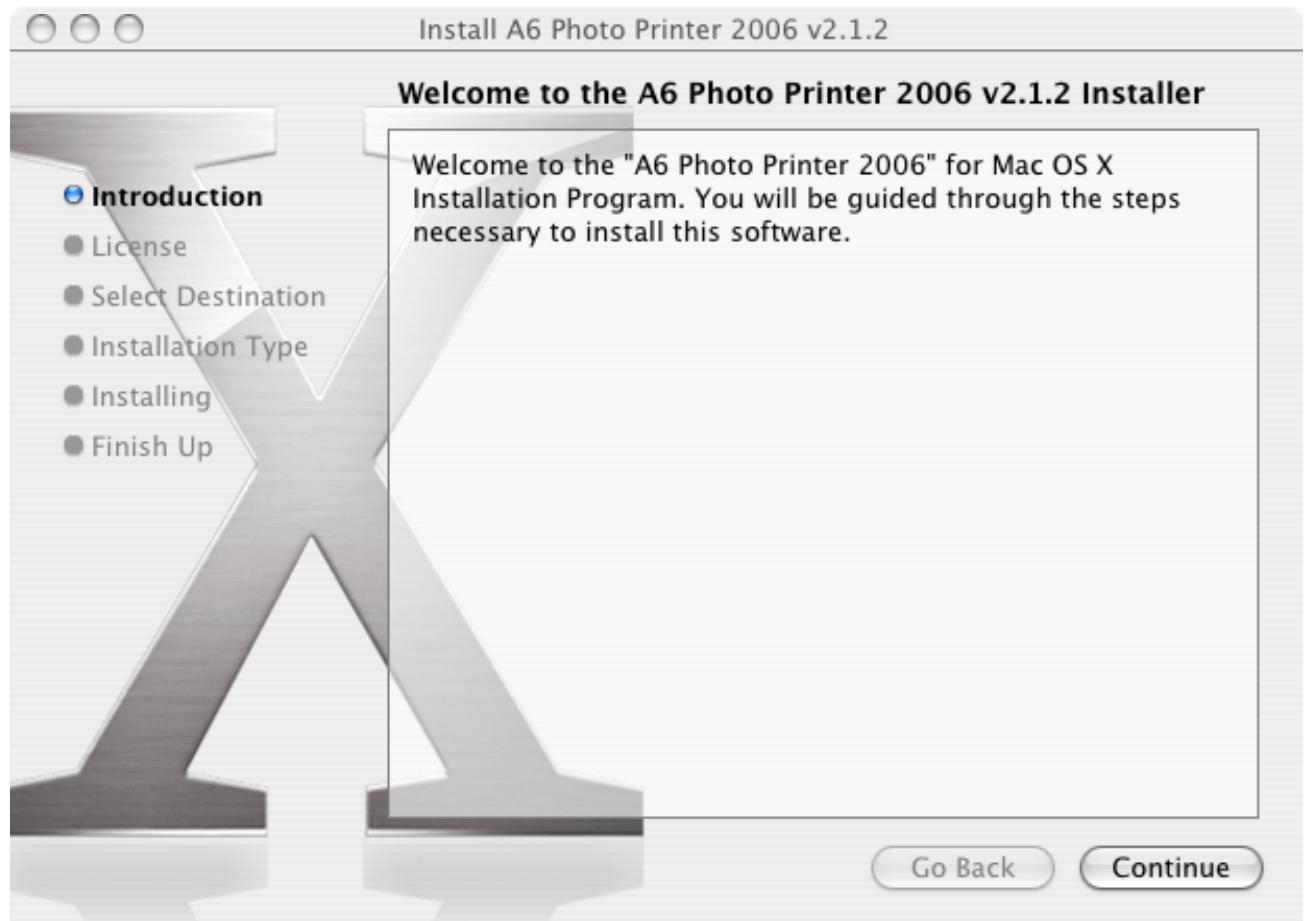
You must subsequently double-click on the resulting PhotoEasyPM-X.Y.n pkg file to run the installation program. The welcome window is shown as follows.
1.2 Installing the Companion Photo
Click on "Continue".
The following window is the Software Licence Agreement.

Click on "Continue"
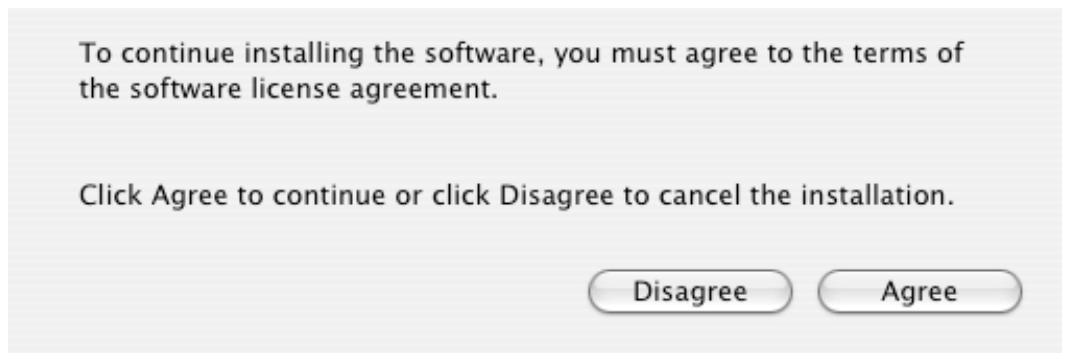
Click on "Agree".
The following window is used to select the drive on which the software is to be installed.
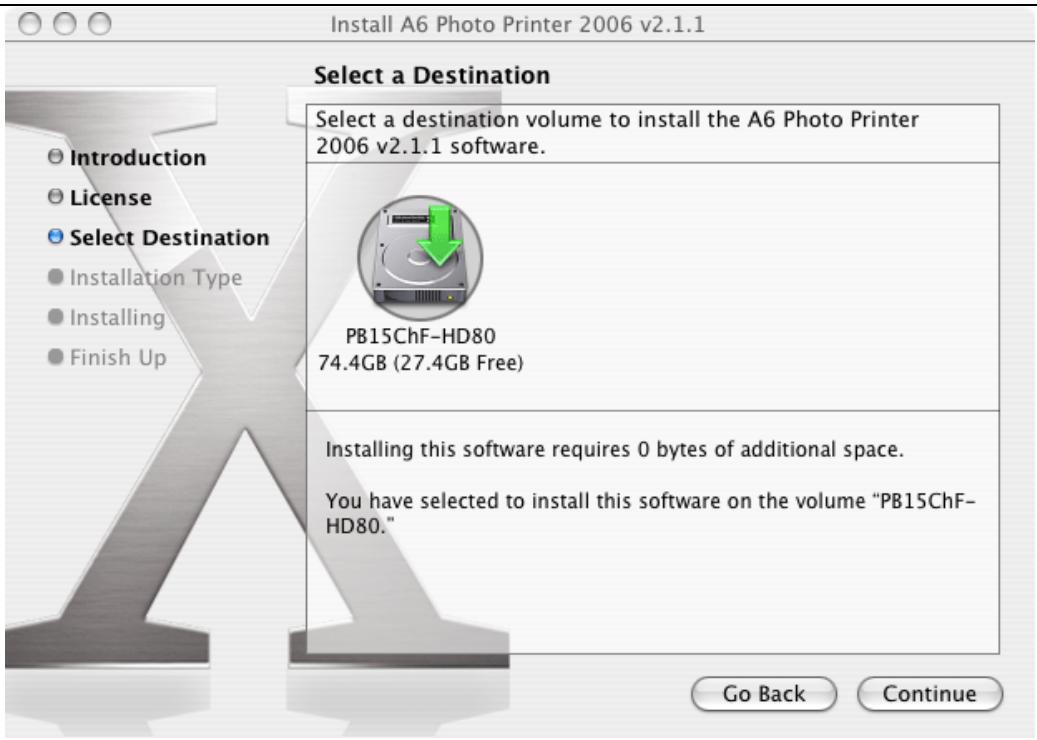
Then click on "Continue".
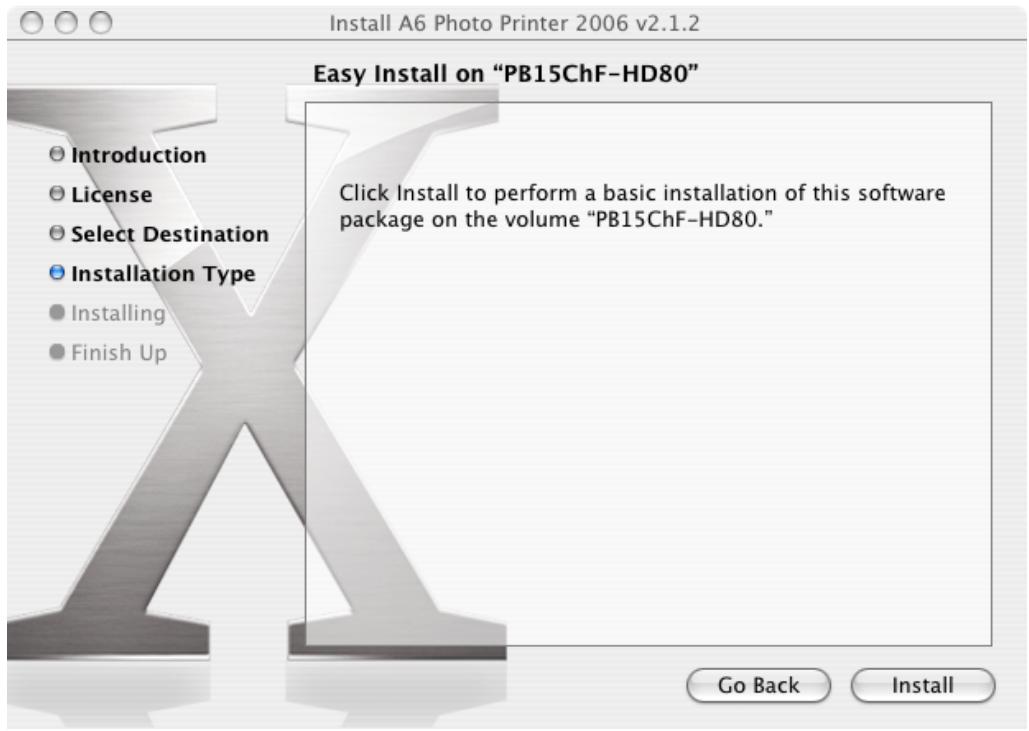
Note: the screen below may be displayed if the drivers have previously been installed, in which case the installer will prompt you to upgrade the drivers instead of performing a standard installation.
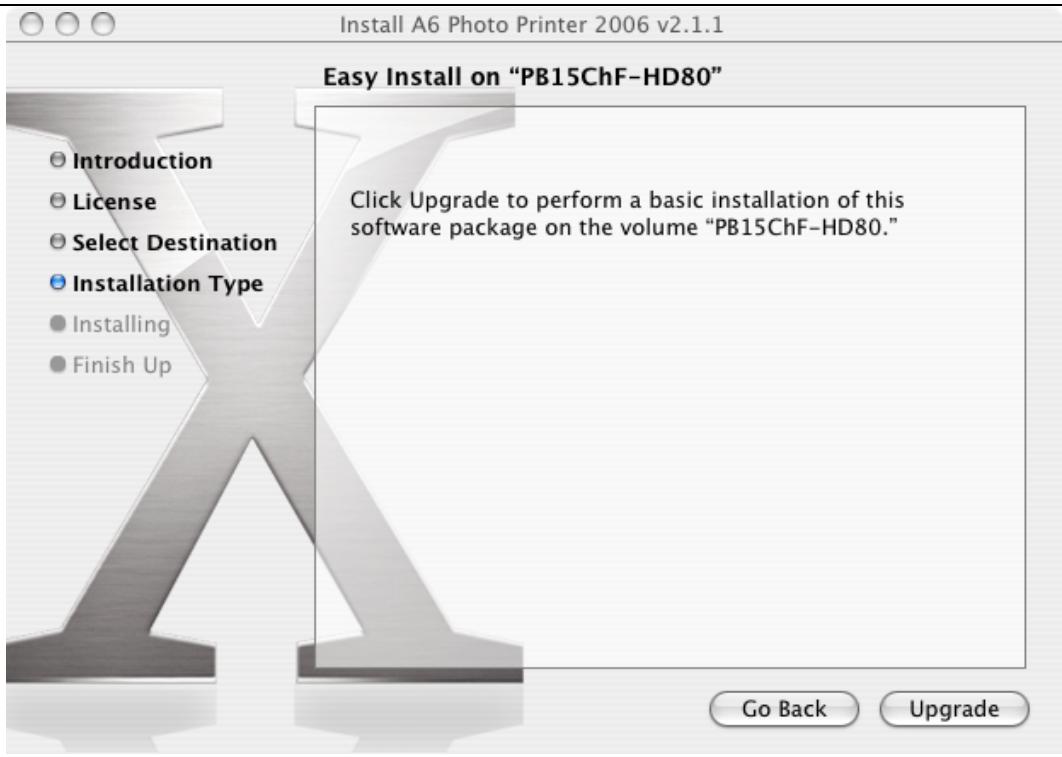
Then click on "Install" or "Upgrade" as appropriate.
If you are in administrator mode, installer requires that you type your password :

Enter required informations, the click on "OK".
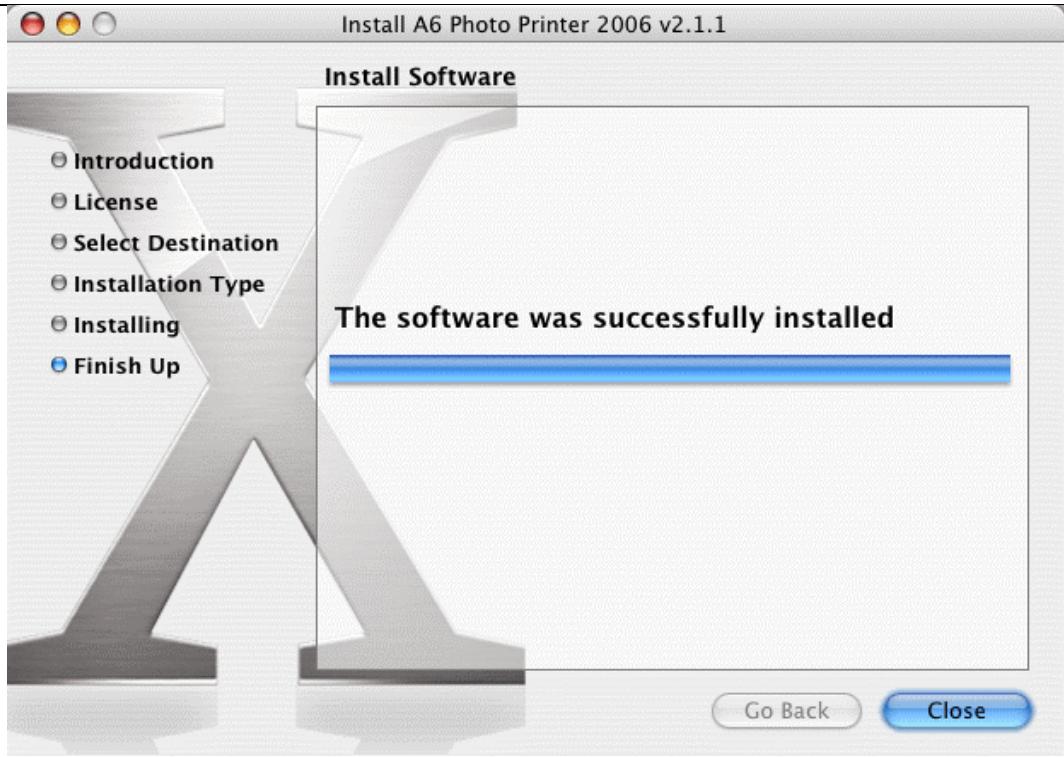
When the installer has terminated, click on "Close" to finish the installation.
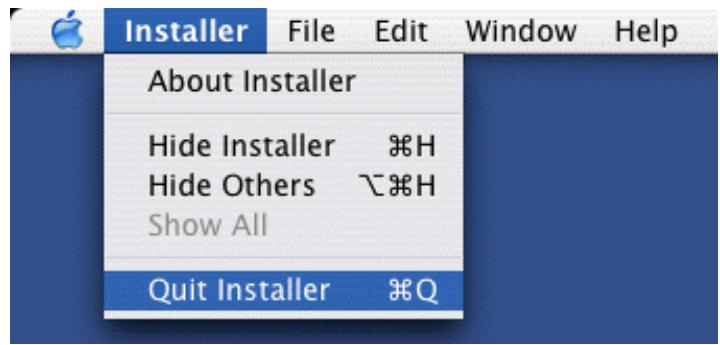
Note: you can interrupt the installer at any time before this window is displayed by clicking on "Quit Installer" in the "Installer" pull-down menu (see below).
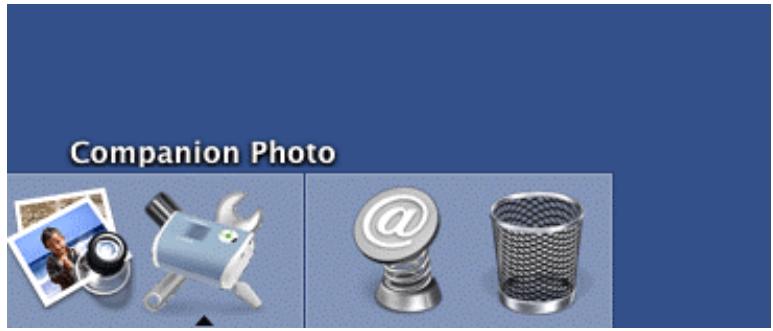
1.3 After Installation...
The Companion Photo is automatically launched and its icon is displayed in the Dock.
1.4 Connecting the Printer to a USB Port
As soon as a printer is connected to a USB port, the Companion Photo control panel is displayed on the screen.
2 COMPANION PHOTO CONTROL PANEL
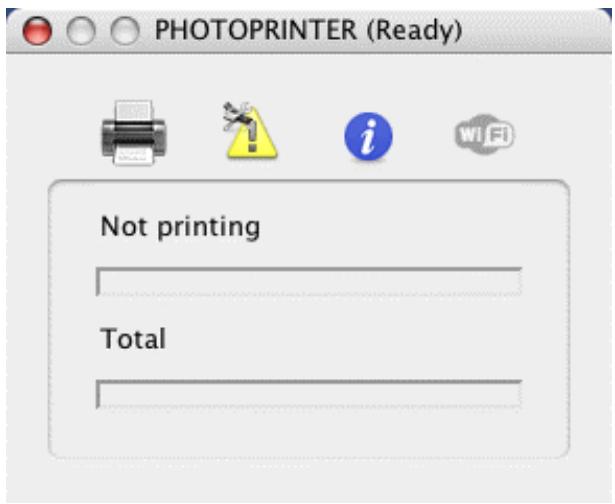
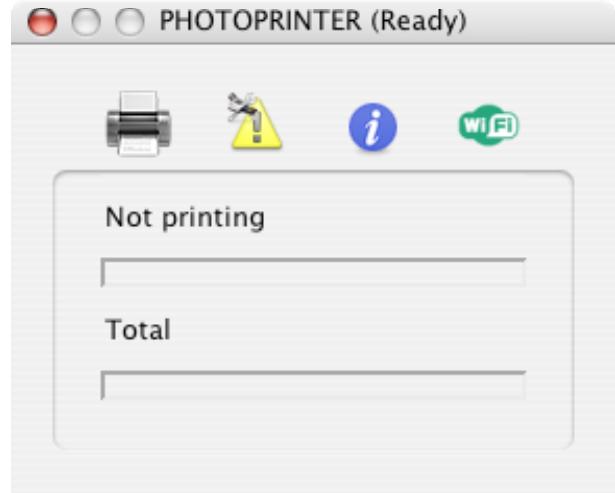
2.1 Control Panel Display

Notes:
- The Companion Photo control panel is displayed for approximately 10 seconds, following which it disappears if the printer is not in use.
- The control panel is displayed in the background if other programs are running. If necessary, the user's attention will be drawn by the Companion Photo icon "bouncing" in the Dock.
2.2 Meaning of the Icons

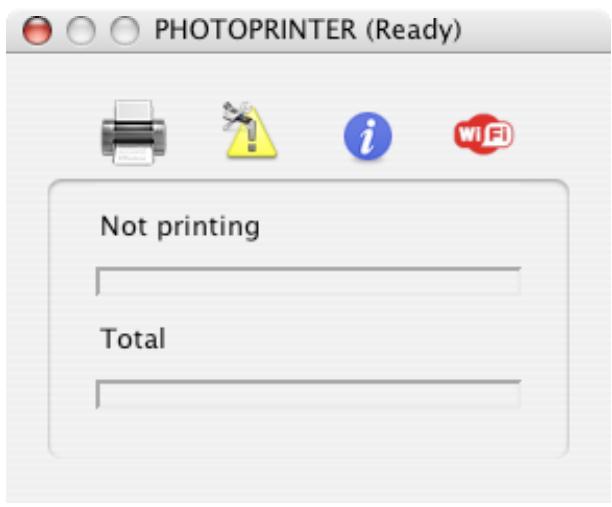
Current print status
Click on this icon to display the progress of the current print job.

Current error status of the printer
Click on this icon to display the current error status of the printer.

Information concerning the printer
Click on this icon to display a complete set of information concerning the printer.


Current status of the WiFi connection
Click on this icon to display the current status of the WiFi connection with the printer.
(See WiFi Configuration)
Note: a ToolTip is automatically displayed by holding the mouse pointer over each icon.
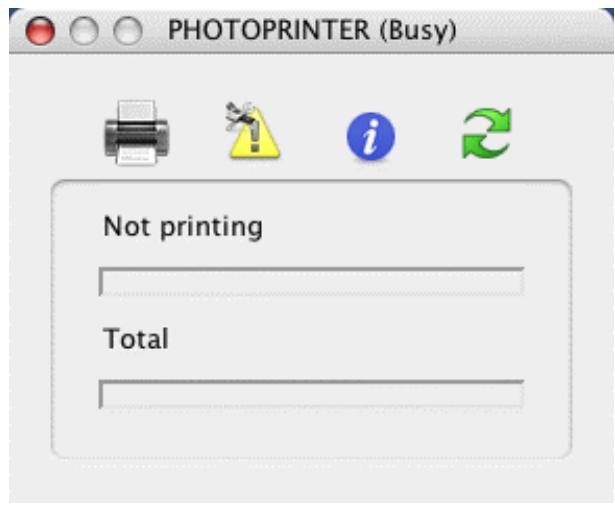
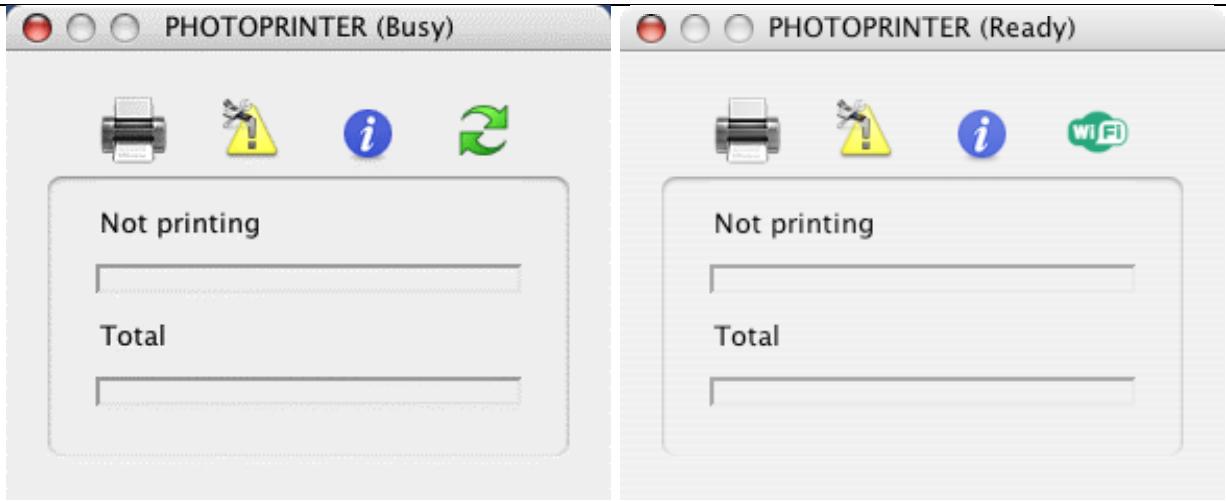
2.3 Status of the WiFi Connection
The WiFi icon in the Companion Photo control panel may display several statuses, depending on the status of the WiFi connection:
WiFi connection inactive & non-configurable

The WiFi connection cannot be configured and printing can only be performed via the USB link.
This status appears if the WiFi connection has never been tried and/or configured and if the printer is connected without the WiFi adapter.
WiFi connection incorrect & non-configurable

The printer is not connected in USB mode and the WiFi connection cannot be established, modified or configured. Printing cannot be performed.
This status is displayed when the printer is switched on with its WiFi adapter, but cannot be accessed in WiFi mode (configuration not performed or incorrect, or Airport disabled).
WiFi connection incorrect & configurable

The printer is connected to a USB port. The WiFi connection is incorrect, but can be configured. Printing can be performed via the USB connection.
This status is displayed when the printer is switched on with its WiFi adapter, but cannot be accessed in WiFi mode (configuration not performed or incorrect, or Airport disabled).
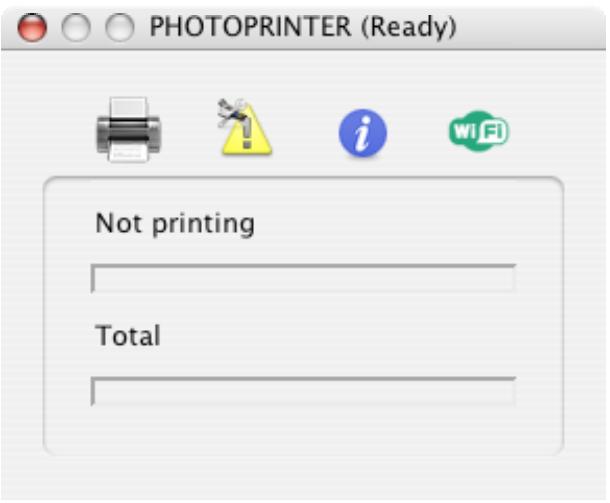
WiFi connection operational & non-configurable

The printer is not connected in USB mode, the WiFi connection is correctly established, but cannot be modified. Printing can be performed via the WiFi connection.
This is the "normal" status of a usable WiFi connection.
WiFi connection operational & configurable

The printer is connected to a USB port. The WiFi connection is established and can be modified if required. Printing can be performed via either connection.
This status is displayed when both connection modes are available.
3 WIFI CONFIGURATION
3.1 Wireless networks
A wireless local area network (WLAN) is simply a collection of two or more computers, printers and other devices linked by radio waves. It uses high-frequency airwaves (radio) to communicate information from one point to another.
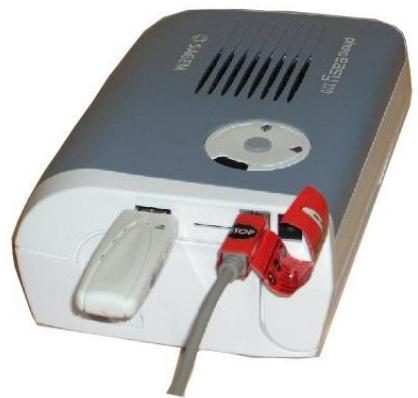
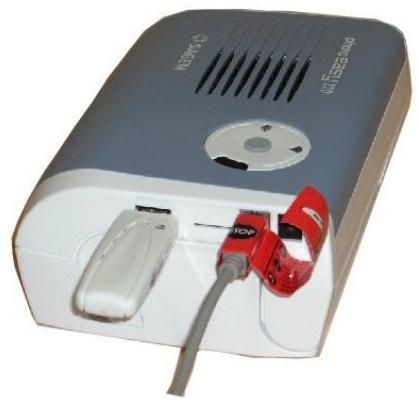
To connect a computer or device to a wireless network, the computer or device must have a wireless network adapter. Your photo printer uses an external WIFI dongle that contains a wireless network adapter and radio. No cabling is necessary between networked devices to print, although a USB connection is temporarily necessary for setup and configuration of your photo printer.
There are two primary types of wireless communication modes :
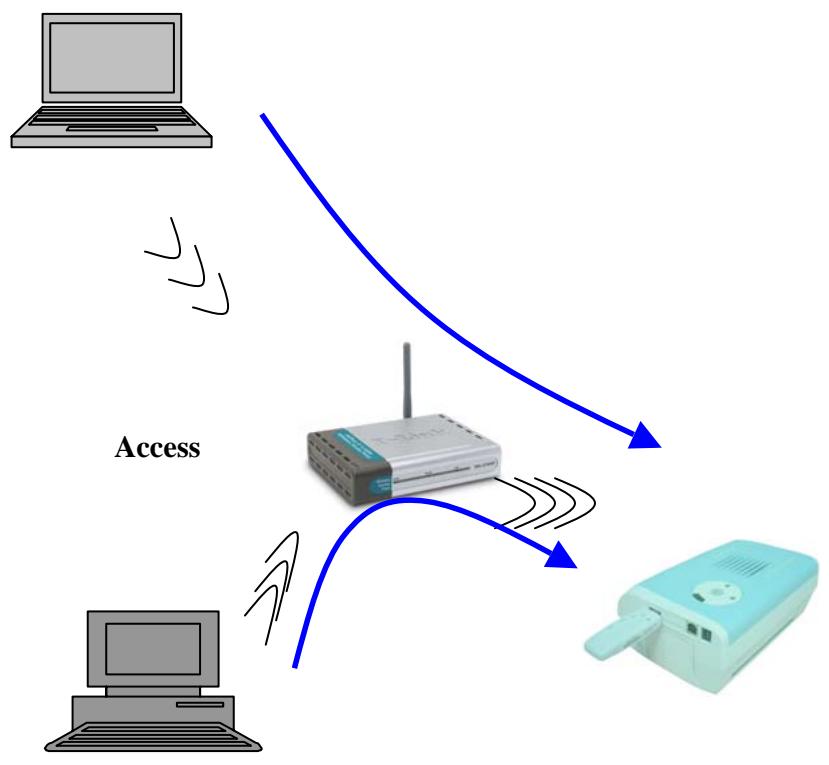
Infrastructure (Access Point)
In an infrastructure network, multiple devices (including your photo printer) communicate through a central access point. The access point acts as a central hub or gateway connecting wireless and, optionally, wired devices. An access point is usually an ADSL modem that has WiFi capabilities or it can be a device that you connect to your ADSL modem to share the internet access between several computers.
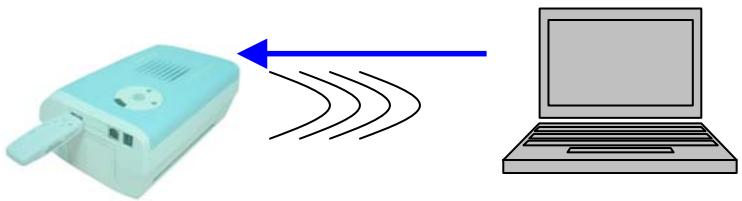
Ad-Hoc (Peer-to-Peer)
In an ad-hoc network, your photo printer communicates with your computer directly, rather than through an access point. Ad-hoc mode is usually limited to simple, small wireless network.
Your photo printer supports infrastructure and ad-hoc wireless communication modes.
Note : If you have an access point, it is recommended to install in infrastructure mode by using the access point rather than installing in Ad-Hoc mode.
Wireless network settings
All of the devices on a wireless network must have similar wireless settings. When you add your photo printer to your wireless network, it must be configured to the same network name (SSID), wireless channel and wireless security WEP key (if used) as the rest of the devices on the network.
To install a WIFI printer and after having installed the Companion Photo Software as described in section 1.
3.2 Prior to Launching the Configuration Procedure
Ensure that:
- The computer's Airport card is enabled.
- The computer is close to an operational WiFi access point (for a connection in automatic mode).
- You have the necessary access rights for the corresponding WiFi network.
- The printer is connected via its USB lead and equipped with the WiFi adapter.
- The Companion Photo Software has been installed as described in section 1.
To enable the Airport card, click on the Airport icon in the menu bar and choose the "Turn Airport On" option (see below).
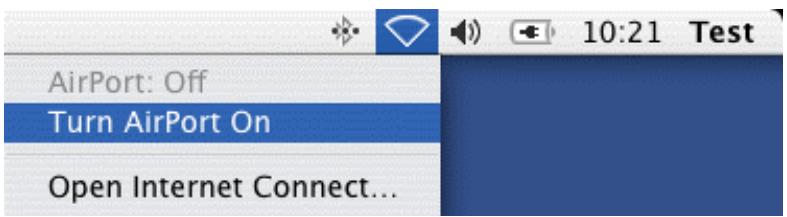
If the computer is the right distance from an operational WiFi access point, it should appear by clicking again on the Airport icon in the menu bar.

Otherwise, the Airport icon is greyed out. Check the status of the WiFi access point, as well as your access rights.

3.3 WiFi Configuration mode possibilities
For your WIFI printers, two configuration mode are offered : automatic mode and manual mode.
Automatic mode
Use this mode if:
- You are using a WIFI network with an access point (Infrastructure mode)
- Your computer is correctly configured in order to interwork with your access point
- You do not use any WEP encryption capabilities on your wireless network
Manual mode
Use this mode in all other cases, especially if :
- You want to use your WIFI printer with a peer to peer network (ad Hoc mode)
- You are using WEP encryption capabilities on your wireless network (ad Hoc or infrastructure modes)
(1) Please note that WPA encryption capabilities are not supported by your photo printer wireless network adapter. If WPA encryption capabilities are activated on your wireless network, you have to inhibit them in order to use your photo printer on your wireless network.
3.4 WiFi Configuration: Automatic Mode Using
Important:
Prior to configuring the WiFi connection, ensure that the printer is connected via the USB lead and equipped with the WiFi adapter.


①Once the WIFI dongle is inserted on your printer, the two lights near the printer key are blinking during WIFI parameters settings.
Use the automatic mode if:
- You are using a WIFI network with an access point (Infrastructure mode)
- Your computer is correctly configured in order to interwork with your access point
- You do not use any WEP encryption capabilities on your wireless network
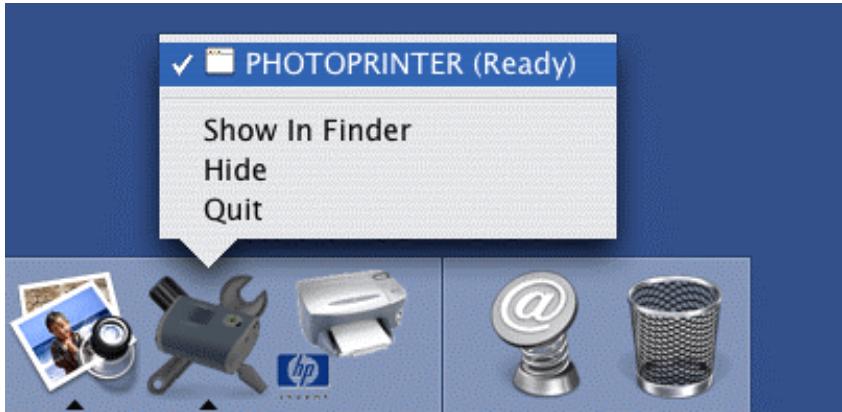
Display the Companion Photo control panel by selecting the printer in the menu bar

or by long-clicking (or right-clicking) on the Companion Photo icon in the Dock.

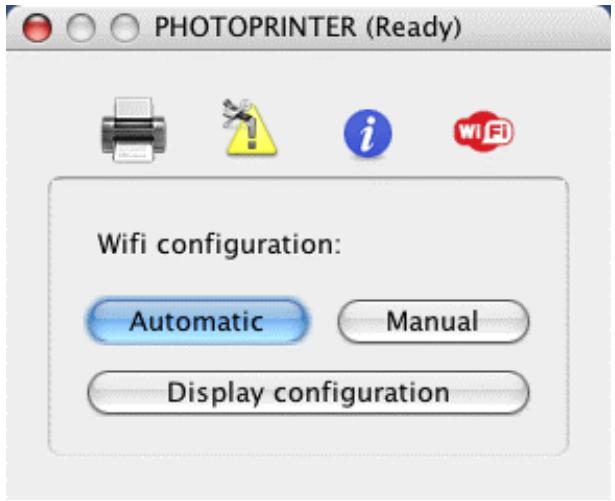
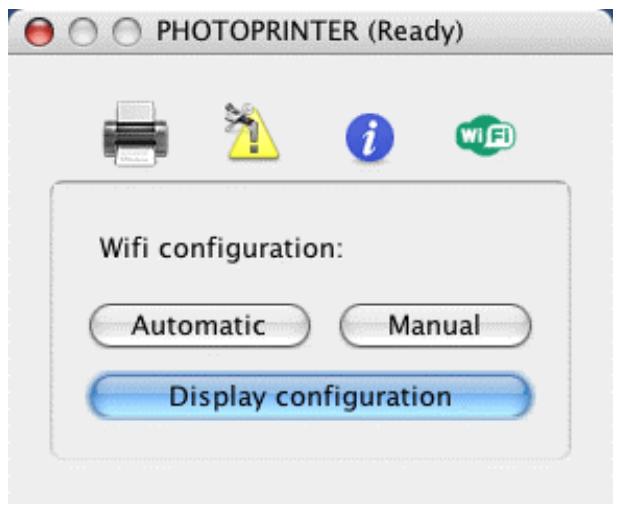
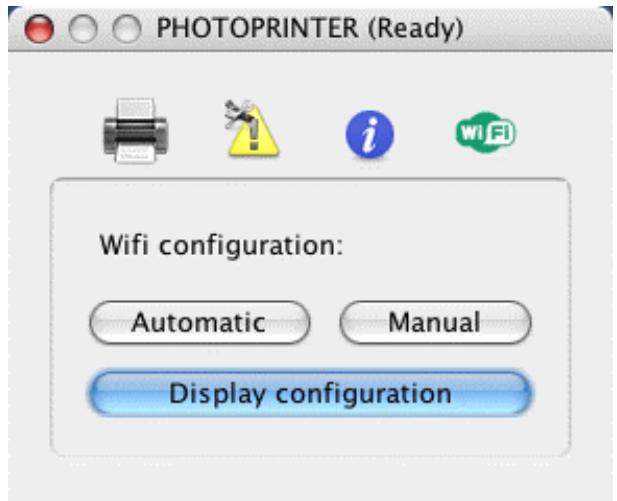
Then click on the WiFi icon and choose "Automatic" from the options proposed.
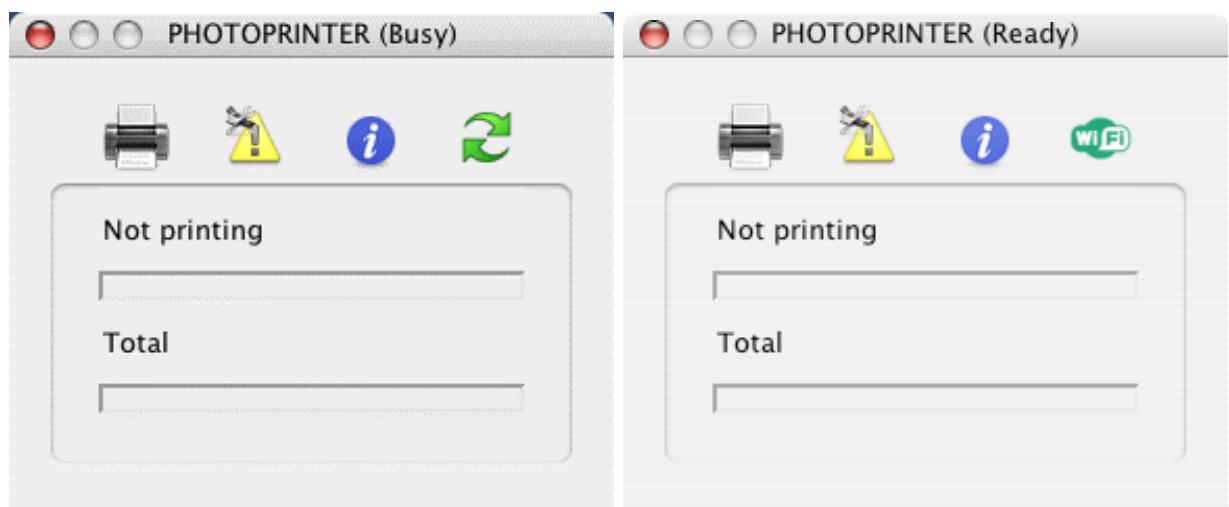
The Companion Photo launches the automatic procedure and then attempts a WiFi connection. Following configuration, the WiFi icon in the printer's control panel should be green.
The configuration settings of the WiFi connection can be displayed by choosing "Display configuration" in the Companion Photo control panel.

O
Current Wifi configuration
WiFi configuration mode: automatic
IP adress configuration: dynamic
Wifi network type: infrastructure
SSID: Airport Express
Wifi channel: 1
Encryption type: none
Authentication type: open
Key 64 bits #1: 00:00:00:00:00
Key 64 bits #2: 00:00:00:00
Key 64 bits #3: 00:00:00:00:00
Key 64 bits #4: 00:00:00:00:00
Key 128 bits #1: 00:00:00:00:00:00:00:00:00:00
Key 128 bits #2: 00:00:00:00:00:00:00:00:00:00
Key 128 bits #3: 00:00:00:00:00:00:00:00:00:00:00
Key 128 bits #4: 00:00:00:00:00:00:00:00:00:00:00
Active key: none
Wifi mode: g and b
Wifi signal strength: 0
Wifi link quality: 0
Wifi transmission rate: 0
IP adress: 10.0.1.4
Network mask: 255.255.255.0
Gateway: 10.0.1.1
Host name #1: PHOTOPRINTER
Host name #2: AZP0003C96233D5
MAC address: 00:03:c9:62:33:d5
Ok
3.5 WiFi Configuration : Manual Mode Using
Use the manual mode if:
- You want to use your WIFI printer with a point to point network (ad Hoc mode)
- You are using WEP encryption capabilities on your wireless network (ad Hoc or infrastructure modes)
3.5.1 Configuration of your WIFI printer into a peer to peer network (ad Hoc)
3.5.1.1 Creating a Manual Network in Mac OS
Prior to configuring the WiFi connection manually, create an ad hoc network to which the printer can be connected.
Click on the Airport icon and then choose the "Create Network..." option.
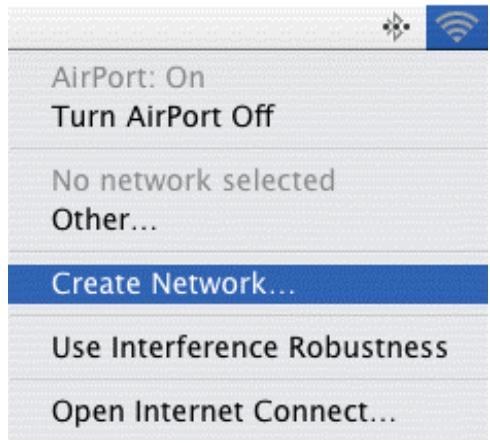
Enter the name attributed to the network created in the "Name" field and then click on "OK".
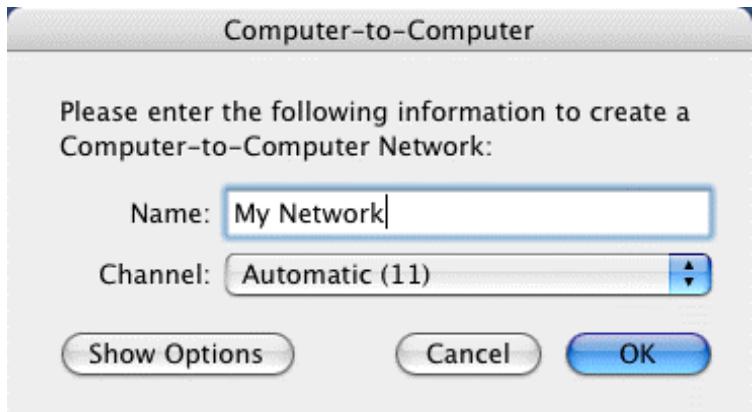
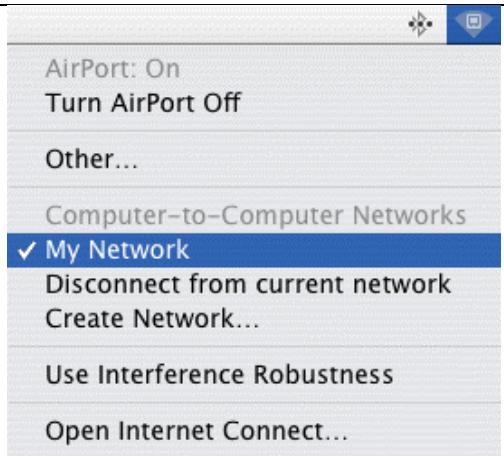
The Airport icon changes appearance and the network name appears in the pull-down menu.
3.5.2
3.5.2.1 Configuring the peer to peer (ad Hoc) Network with dynamic IP
Important:
Prior to configuring the WiFi connection, ensure that the printer is connected via the USB lead and equipped with the WiFi adapter.

①Once the WIFI dongle is inserted on your printer, the two lights near the printer key are blinking during WIFI parameters settings.
Display the Companion Photo control panel by selecting the printer in the menu bar

or by long-clicking (or right-clicking) on the Companion Photo icon in the Dock.
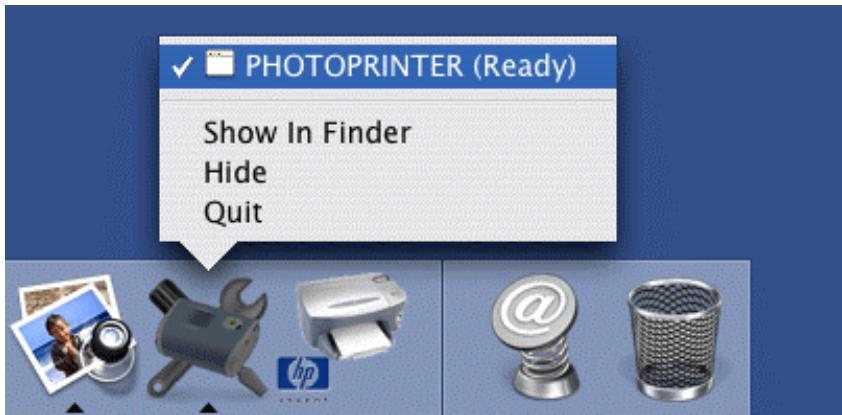
Then choose "Manual" from the options proposed.


PHOTOPRINTER (Ready)


Not printing
Total


OTOPRINTER (Ready)


Wifi configuration:
Automatic
Manual
Display configuration
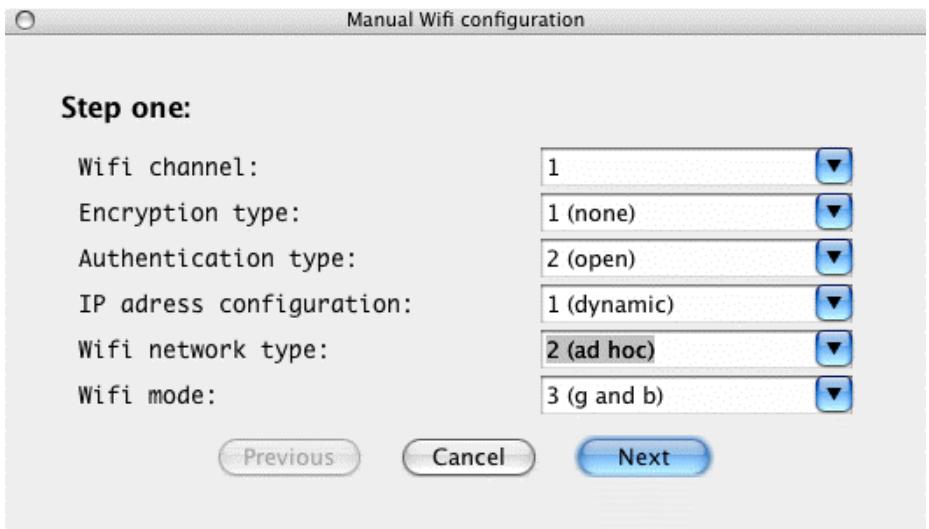
Choose "2 (ad hoc)" from the WiFi modes proposed and then click on "Next".
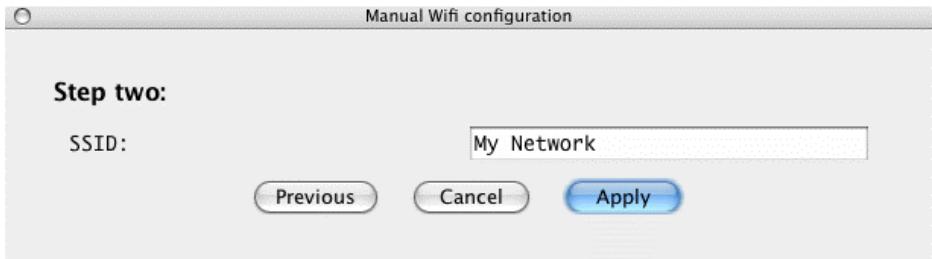
Enter the name of the network created during the previous step and then click on "Apply".
The Companion Photo executes the new configuration and attempts a WiFi connection. If the correct settings have been entered, the icon in the printer's control panel changes to green.
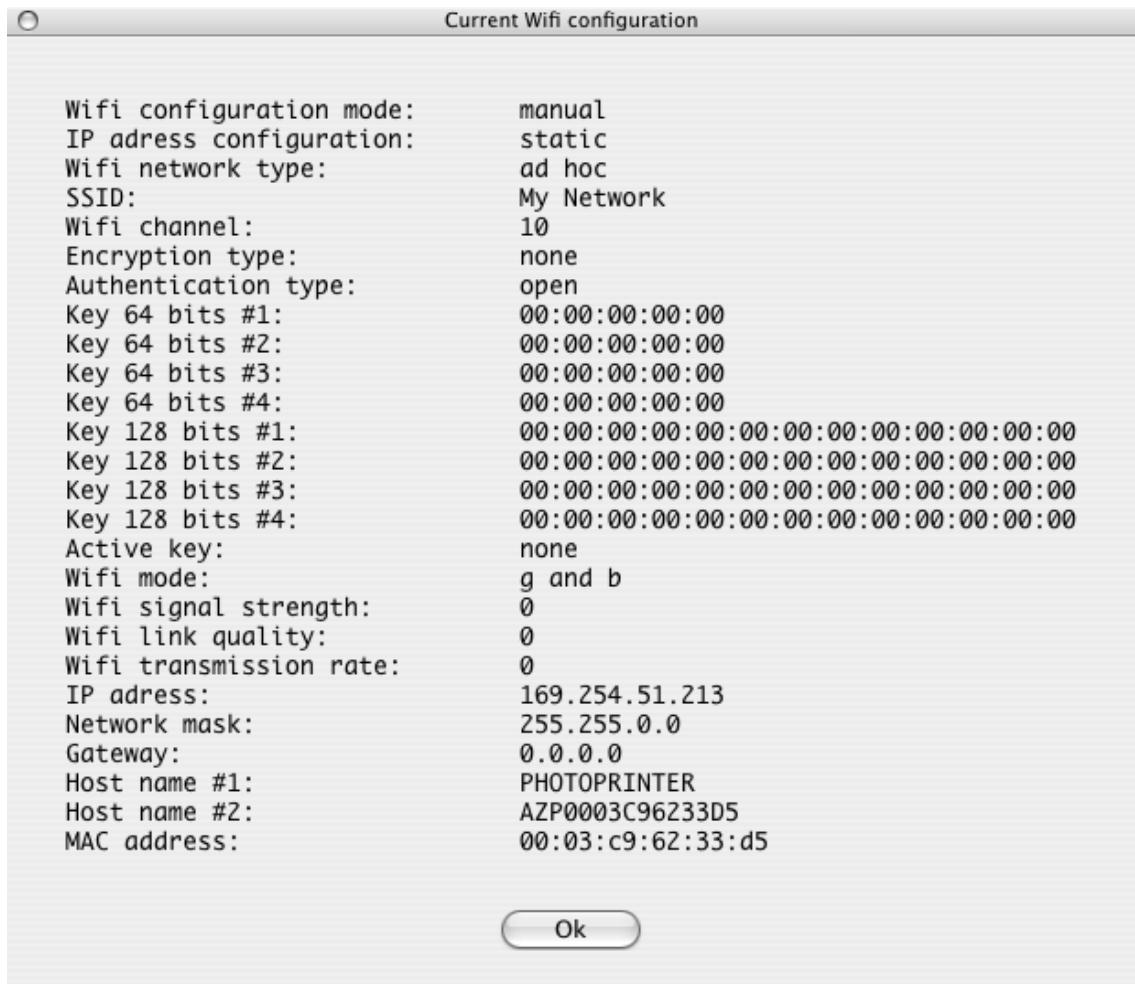
The configuration settings of the WiFi connection can be displayed by choosing "Display configuration" in the Companion Photo control panel.
Current Wifi configuration
Wifi configuration mode: manual
IP adress configuration: dynamic
Wifi network type: ad hoc
SSID: My Network
Wifi channel: 10
Encryption type: none
Authentication type: open
Key 64 bits #1: 00:00:00:00:00
Key 64 bits #2: 00:00:00:00:00
Key 64 bits #3: 00:00:00:00:00
Key 64 bits #4: 00:00:00:00:00
Key 128 bits #1: 00:00:00:00:00:00:00:00:00:00
Key 128 bits #2: 00:00:00:00:00:00:00:00:00:00
Key 128 bits #3: 00:00:00:00:00:00:00:00:00:00
Key 128 bits #4: 00:00:00:00:00:00:00:00:00:00:00
Active key: none
Wifi mode: g and b
Wifi signal strength: 0
Wifi link quality: 0
Wifi transmission rate: 169.254.51.213
Network mask: 255.255.0.0
Gateway: 0.0.0.0
Host name #1: PHOTOPRINTER
Host name #2: AZP0003C96233D5
MAC address: 00:03:c9:62:33:d5 Ok
3.5.2.2 Configuring the peer to peer (ad Hoc) Network with static IP
Important:
Prior to configuring the WiFi connection, ensure that the printer is connected via the USB lead and equipped with the WiFi adapter.


①Once the WIFI dongle is inserted on your printer, the two lights near the printer key are blinking during WIFI parameters settings.
Display the Companion Photo control panel by selecting the printer in the menu bar

or by long-clicking (or right-clicking) on the Companion Photo icon in the Dock.

Then choose "Manual" from the options proposed.


PHOTOPRINTER (Ready)


Not printing
Total


OTOPRINTER (Ready)


Wifi configuration:
Automatic
Manual
Display configuration
Choose the "2 (static)" option from the IP configuration modes, "2 (ad hoc)" from the WiFi modes proposed and then click on "Next".
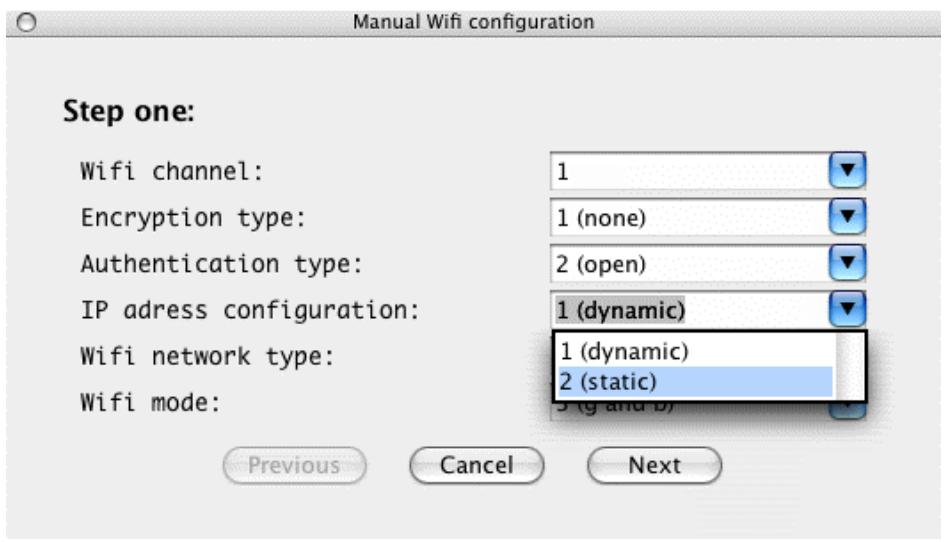
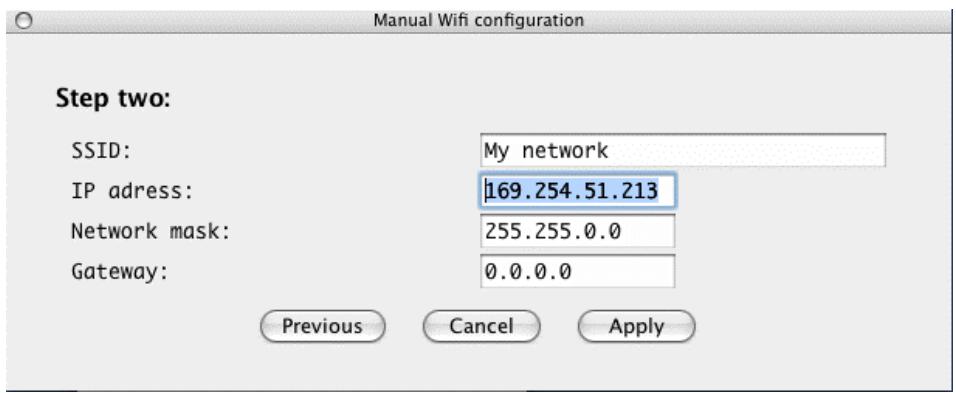
Enter the required IP address in the appropriate field and then click on "Apply".
The Companion Photo executes the new configuration and attempts a WiFi connection. If the correct settings have been entered, the icon in the printer's control panel changes to green.
The configuration settings of the WiFi connection can be checked by choosing "Display configuration" in the Companion Photo control panel.

3.5.2.3
3.5.3 WEP encryption capabilities configuration
(1) Please check that security settings correspond to your wireless network configuration. If you do not know how to set the security parameters, set the "Encryption type" setting to "None"; thus the security will be disabled. If your security settings are not correct, it could prevent you from using your photo printer.
Important:
Prior to configuring the WiFi connection, ensure that the printer is connected via the USB lead and equipped with the WiFi adapter.

①Once the WIFI dongle is inserted on your printer, the two lights near the printer key are blinking during WIFI parameters settings.
Display the Companion Photo control panel by selecting the printer in the menu bar

or by long-clicking (or right-clicking) on the Companion Photo icon in the Dock.
Then choose "Manual" from the options proposed.


PHOTOPRINTER (Ready)


Not printing
Total


OTOPRINTER (Ready)


Wifi configuration:
Automatic
Manual
Display configuration
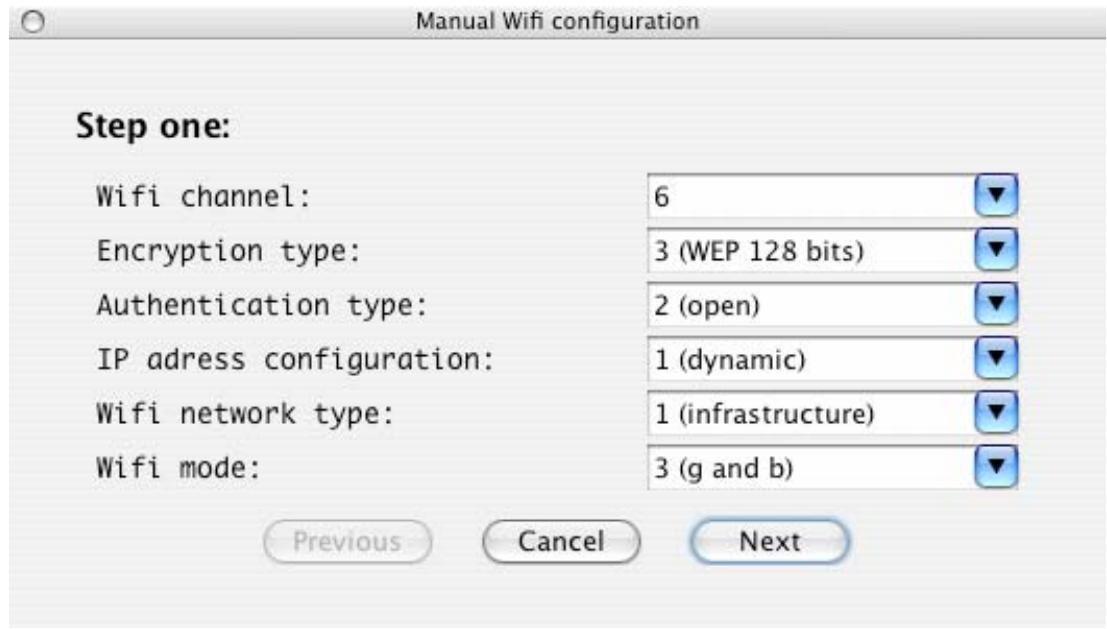
Select the WIFI network type between "infrastructure" and "ad hoc" modes, regarding your wireless network current settings.
Select "WEP 64 bits" or "WEP 128 bits" encryption type, regarding your wireless network current settings.
Then click on "Next".
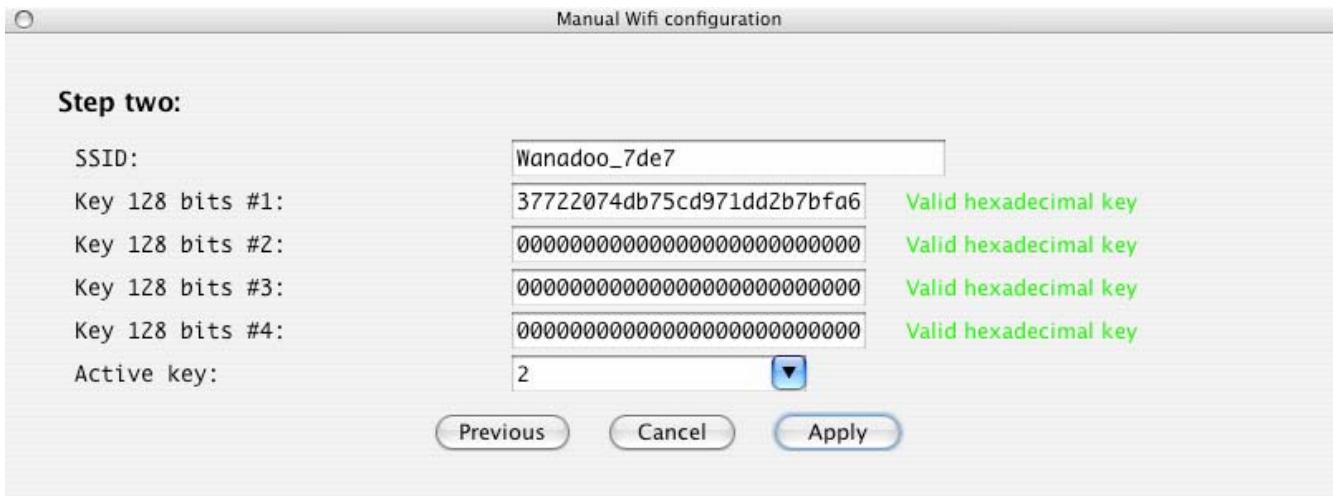
Enter the required wireless network SSID name.
Enter the encryption key value and encryption active key number.
Then click on "Apply".
The Companion Photo executes the new configuration and attempts a WiFi connection. If the correct settings have been entered, the icon in the printer's control panel changes to green.
The configuration settings of the WiFi connection can be checked by choosing "Display configuration" in the Companion Photo control panel.
Current Wifi configuration
WiFi configuration mode: manual
IP adress configuration: dynamic
WiFi network type: infrastructure
SSID: Wanahoo_7de7
Wifi channel: 6
Encryption type: WEP 128 bits
Authentication type: open
Key 64 bits #1: 00:00:00:00:00
Key 64 bits #2: 00:00:00:00:00
Key 64 bits #3: 00:00:00:00:00
Key 64 bits #4: 00:00:00:00:00
Key 128 bits #1: 37:72:20:74:db:75:cd:97:1d:d2:b7:bf:a6
Key 128 bits #2: 00:00:00:00:00:00:00:00:00:00
Key 128 bits #3: 00:00:00:00:00:00:00:00:00:00
Key 128 bits #4: 00:00:00:00:00:00:00:00:00:00:00
Active key: Key 128 bits #1
Wifi mode: g and b
Wifi signal strength: 0
Wifi link quality: 0
Wifi transmission rate: 0
IP adress: 192.168.3.12
Network mask: 255.255.255.0
Gateway: 192.168.3.1
Host name #1: PHOTOPRINTER
Host name #2: AZP006B3E552AD
MAC address: 00:60:b3:e5:52:ad
Ok
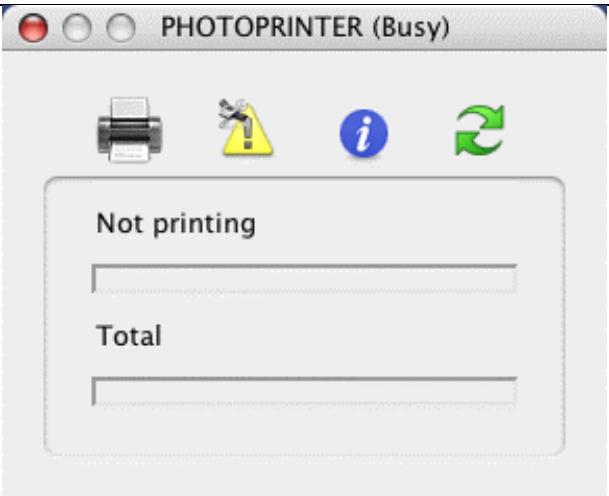
4 MONITORING PRINT JOBS
The control panel is automatically displayed in the background at the start of each print job and can be used to monitor the different phases step by step.
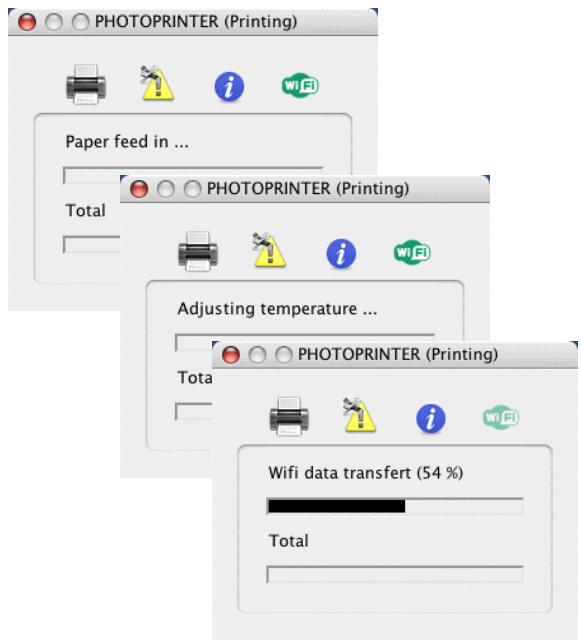
Preliminary phases:
- Loading of the Photo paper
Preheating - Data transfer (in WiFi connection mode only)
Note: the duration of the last two phases may vary according to the printer status and the density of the images to be printed.
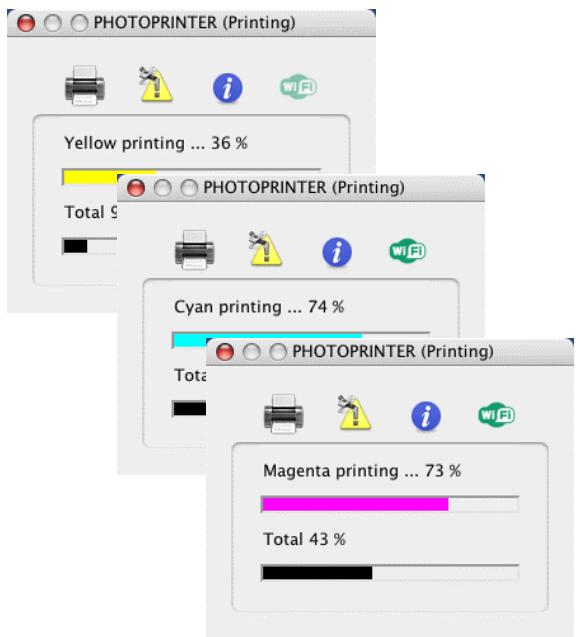
Print phases of the three successive colours: Yellow, Cyan, Magenta.
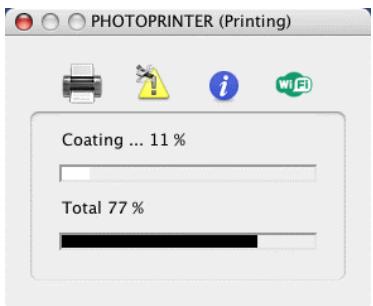
Application phase of the protective coating
5 NOTES
- Contents
- Installing the Companion Photo. 5
- Companion Photo Control Panel 11
- WiFi Configuration. 13
- Monitoring Print Jobs 36
- Notes 37
- INSTALLING THE COMPANION PHOTO
- Unzipping the Installer
- Installing the Companion Photo
- After Installation...
- Connecting the Printer to a USB Port
- COMPANION PHOTO CONTROL PANEL
- Control Panel Display
- Notes:
- Meaning of the Icons
- Current print status
- Current error status of the printer
- Information concerning the printer
- Current status of the WiFi connection
- Status of the WiFi Connection
- WiFi connection inactive & non-configurable
- WiFi connection incorrect & non-configurable
- WiFi connection incorrect & configurable
- WiFi connection operational & non-configurable
- WiFi connection operational & configurable
- WIFI CONFIGURATION
- Wireless networks
- Infrastructure (Access Point)
- Ad-Hoc (Peer-to-Peer)
- Wireless network settings
- Prior to Launching the Configuration Procedure
- Ensure that:
- WiFi Configuration mode possibilities
- Automatic mode
- Manual mode
- WiFi Configuration: Automatic Mode Using
- Important:
- WiFi Configuration : Manual Mode Using
- Configuration of your WIFI printer into a peer to peer network (ad Hoc)
- Creating a Manual Network in Mac OS
- PHOTOPRINTER (Ready)
- OTOPRINTER (Ready)
- Configuring the peer to peer (ad Hoc) Network with static IP
- 3.5.2.3
- WEP encryption capabilities configuration
- Current Wifi configuration
- MONITORING PRINT JOBS
- NOTES
Brand : SAGEM
Model : PHOTO EASY 110 WIFI
Category : Photo printer