83951 - Tablet MooreCo - Free user manual and instructions
Find the device manual for free 83951 MooreCo in PDF.

User questions about 83951 MooreCo
0 question about this device. Answer the ones you know or ask your own.
Ask a new question about this device
Download the instructions for your Tablet in PDF format for free! Find your manual 83951 - MooreCo and take your electronic device back in hand. On this page are published all the documents necessary for the use of your device. 83951 by MooreCo.
USER MANUAL 83951 MooreCo
natural_image
Simple 3D rectangular frame with four corner holes, no text or symbols presentAssembly Instructions
Enlighten™ Board
Part Drawing Description Qty
P-1
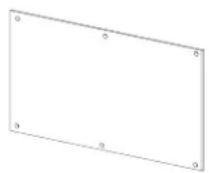
Glass Board
1 EA
Part Drawing Description Qty
text_image
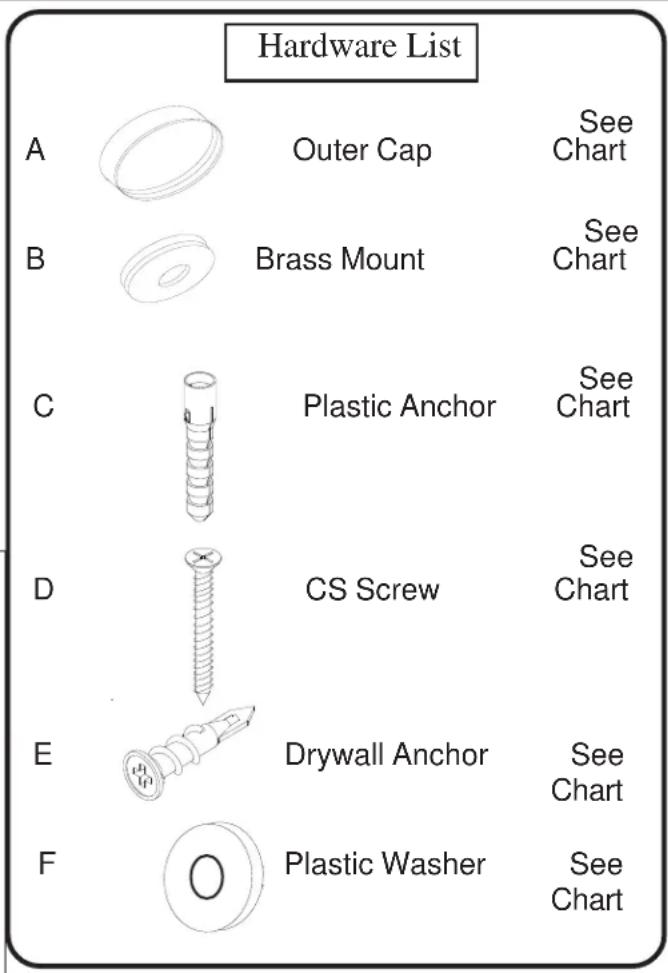
Hardware List A Outer Cap See Chart B Brass Mount See Chart C Plastic Anchor See Chart D CS Screw See Chart E Drywall Anchor See Chart F Plastic Washer See ChartHardware Chart by Board Size
2'X3' GBoard - 4 pcs. (A), (B)
4 pcs. (C), (D), (E)
4 pcs. (F)
3'X4' GBoard - 4 pcs. (A), (B)
4 pcs. (C), (D), (E)
4 pcs. (F)
4'X6' GBoard - 6 pcs. (A), (B)
6 pcs. (C), (D), (E)
6 pcs. (F)
1' X1' GBoard- 4 pcs. (A),(B)
4 pcs. (C), (D), (E)
4 pcs. (F)
1.5" X 2' GBoard- 4 pcs. (A), (B)
4 pcs. (C), (D), (E)
4 pcs. (F)
20" X 30" GBoard-4 pcs. (A), (B)
4 pcs. (C), (D), (E)
4 pcs. (F)
Special Note:
Your new glass board requires a flat wall for mounting. Make sure the area behind the glass board is free of any high spots.
Preparing to Install Your New Enlighten™ Board
1.) Measure the length and width of your new board. Determine the wall center line and height off the floor that you want your new board to be located. Hold your board up in position and draw a line under the bottom of the board and parallel with the floor. If your wall has studs, determine the centerline of the studs. It is recommended that you tie into as many studs as possible when mounting your board.

text_image
as possible when mounting your board. Center Line of mounting wall Center Line of Studs of Studs Your Board's Height and With Measurement Center Line of Board Height from floor to bottom edge of board Height from floor to bottom edge of board Floor Line Center Line of mounting wall Floor Line Typical Room With Stud Wall Centered Board Layout NOTE: The proper installation of your board will require at least two peopleNOTE: The proper installation of your board will require at least two people. Tools required: Tape measure, chalkline, electric drill / screwdriver, drill and screwdriver bits, stud finder and level.
Illustration # 1
2.) When you have your glass board positioned, mark the wall through the mount holes that are in the board.
Illustration # 2
natural_image
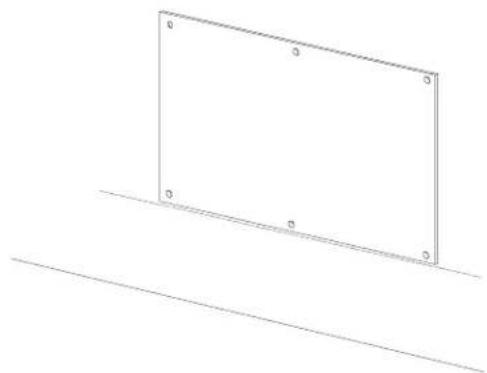
Simple line drawing of a rectangular frame with four corner markers, resting on a diagonal line (no text or symbols)Installing the Glass Board
3.) After you have followed the guidelines from Page 3, install the correct number of wall anchors for the size board you are mounting to the wall. Install the anchors as shown in Illustration #3A and #3B.
3A.) For all walls except sheet rock:
Predrill a 5/16" diameter hole in the center of each of your marked mount holes. Push in a Plastic Anchor (C) into each predrilled hole. Repeat this Step for each anchor that is required for your size board.

text_image
5/16" Predrilled Hole Illustration # 3A C3B.) For sheet rock walls:
Predrill a 1/4" diameter hole in the center of each of your marked holes. Screw in a Drywall Anchor (E) in the center of each of the marked mount holes. Repeat this Step for each anchor that is required for your size board.
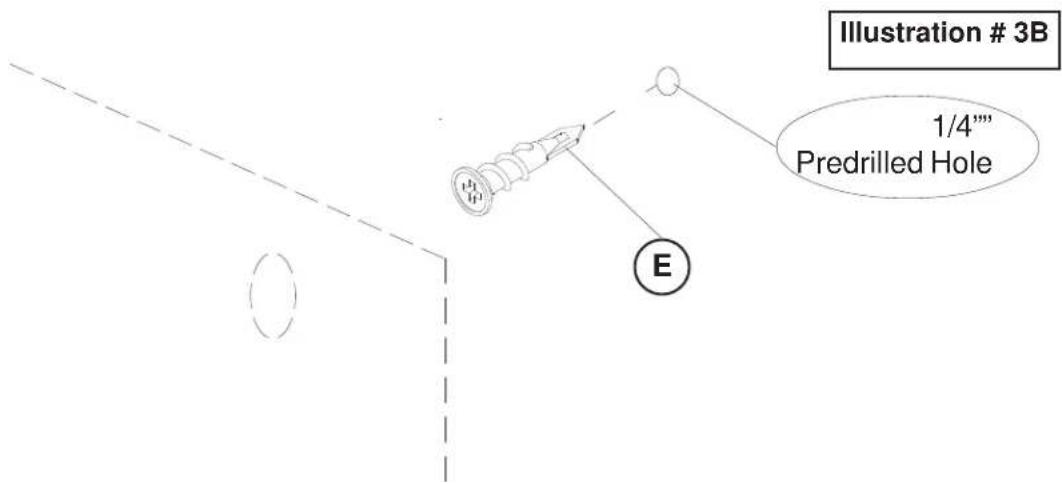
text_image
Illustration # 3B 1/4""" Predrilled Hole E4.) To attach your Glass Board (P1) to the wall, use a Screw (D) through a Brass Mount (B), a Plastic Washer (F), through the hole in the board and into the wall anchor as shown in illustration # 4. Repeat this Step for each mounting hole in your board.
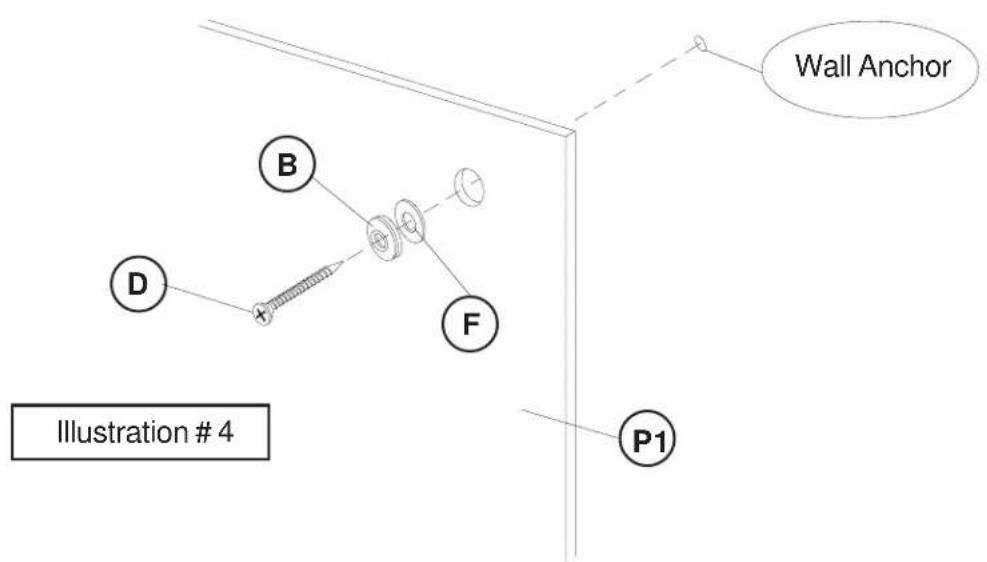
text_image
Wall Anchor B D F P1 Illustration # 45.) Screw an Outer Cap (A) onto each Brass Mount (B) as shown in illustration # 5. Repeat this Step for each mount on your board.
