SEQUEL 6014 - Furniture BDI - Free user manual and instructions
Find the device manual for free SEQUEL 6014 BDI in PDF.

User questions about SEQUEL 6014 BDI
0 question about this device. Answer the ones you know or ask your own.
Ask a new question about this device
Download the instructions for your Furniture in PDF format for free! Find your manual SEQUEL 6014 - BDI and take your electronic device back in hand. On this page are published all the documents necessary for the use of your device. SEQUEL 6014 by BDI.
USER MANUAL SEQUEL 6014 BDI
Placement and Maintenance
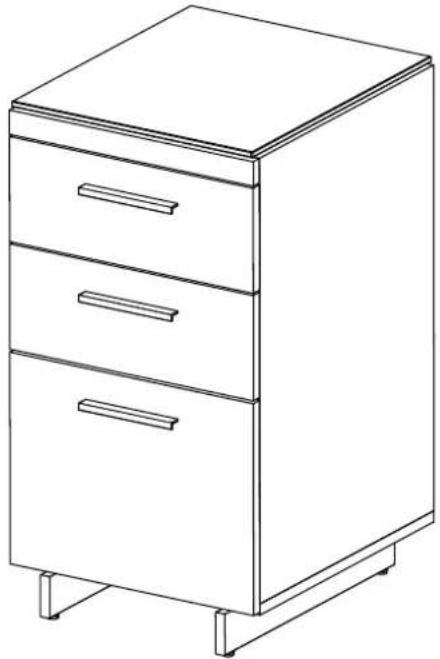
SEQUEL 6014 3-Drawer Cabinet is designed for indoor use on level floors. Clean glass with glass cleaner, and wood veneer with a moist cloth.
natural_image
Line drawing of a three-tiered office cabinet with drawers, no text or symbols presentComponent List
SEQUÉL 6014 3-Drawer Cabinet is engineered for easy assembly. Carefully follow this procedure to prevent any damage. Unpack and identify the components. The assembly workspace should be a non-marring surface such as clean carpet. For missing hardware pieces, please contact BDI Customer Service at customerservice@bdiusa.com. For all other concerns, please contact your BDI Retailer.
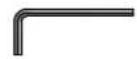
A - 4mm Hex L-Wrench x 1

B - 1/4-20 x 5/8" Machine Screw x 19 Black Color

C - Rubber Stem Bumpers x 2
D - Cabinet Assembly x 1
E - Base Legs x 2
F - Glass Top x 1
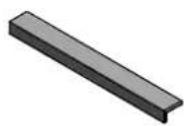
G - Handles x 3
H - M4 x 37mm Screw x 6

text_image
01 Retailer. x 2 1 F D C H B G E B 1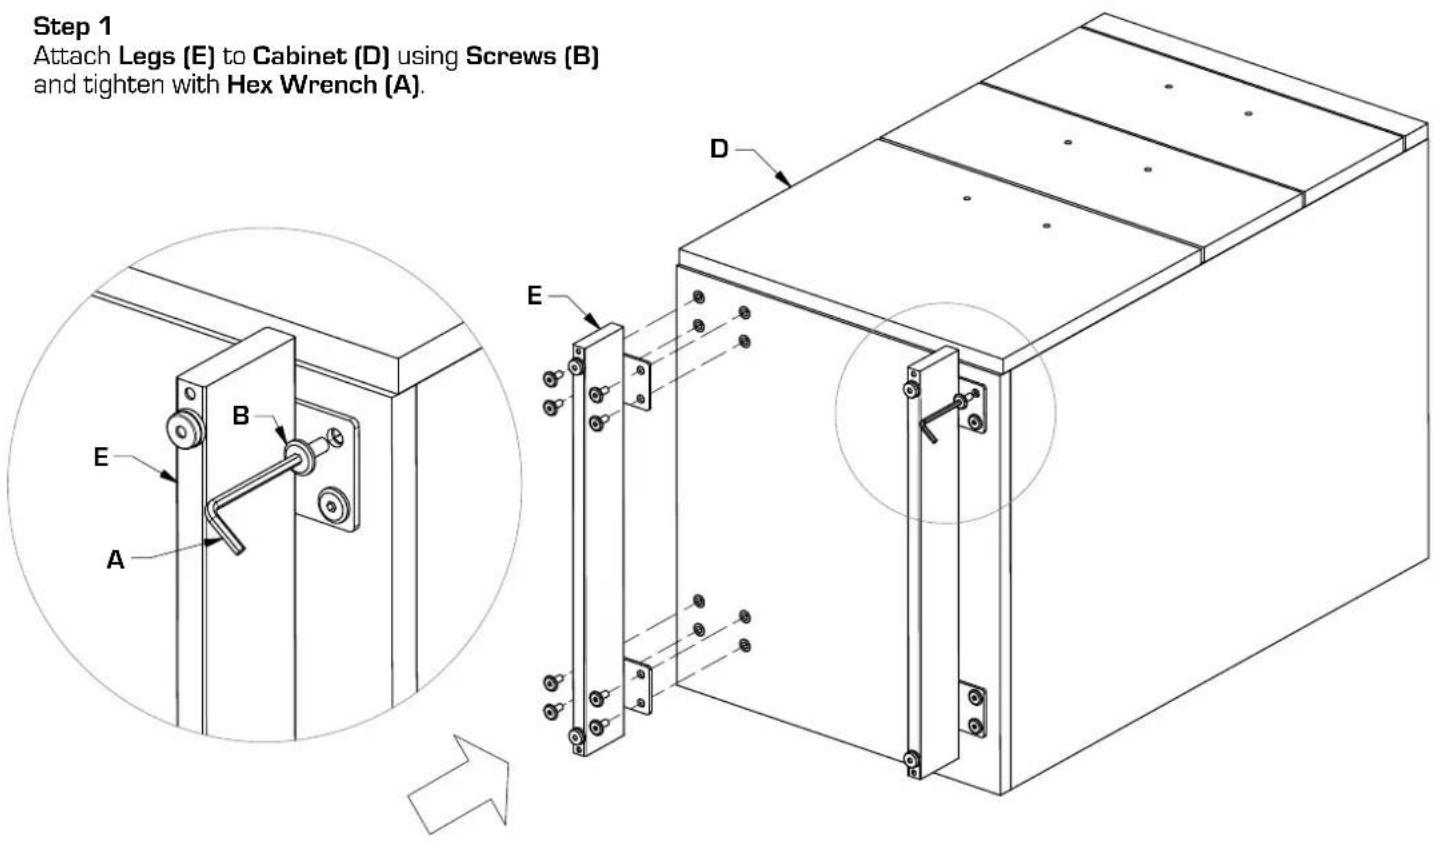
text_image
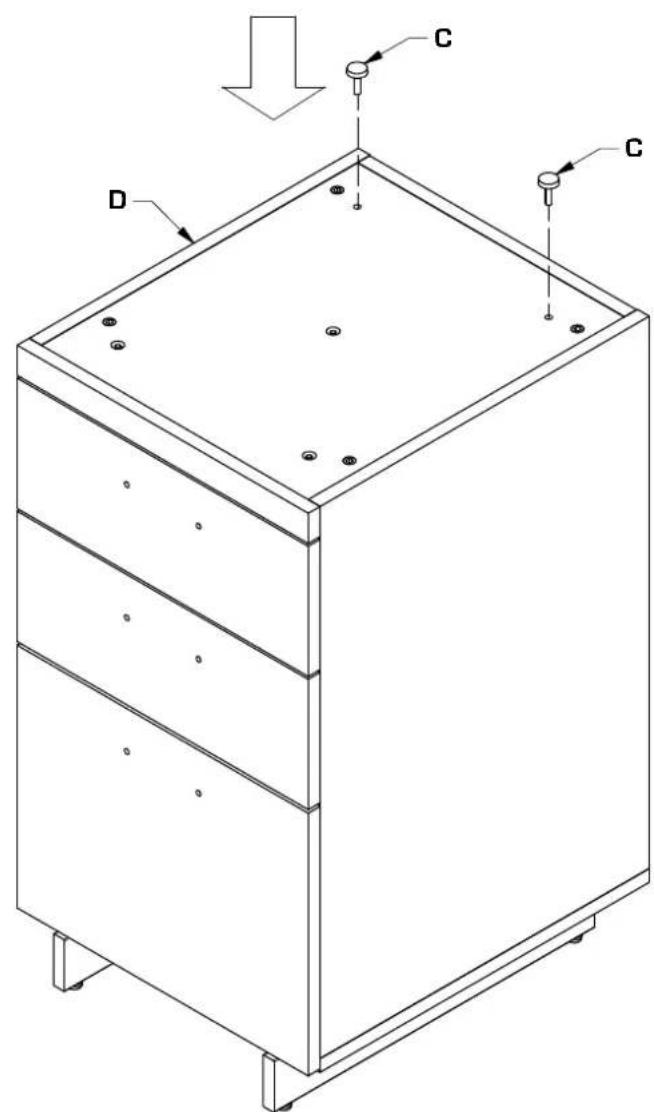
Step 1 Attach Legs (E) to Cabinet (D) using Screws (B) and tighten with Hex Wrench (A).Step 2
Install Rubber Stem Bumpers (C) into holes in rear of top panel of Cabinet (D).
text_image
Technical diagram of a multi-tiered storage cabinet with labeled components D and C, showing mounting holes and structural details.Step 3
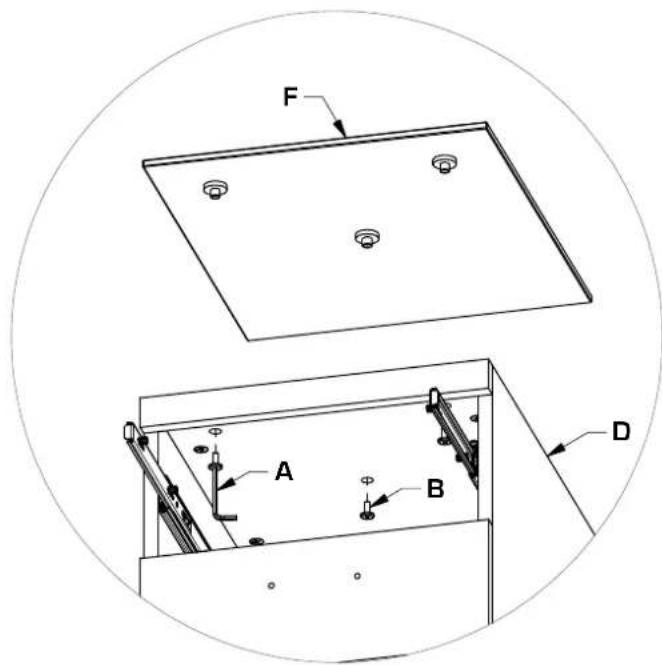
Attach Glass Top (F) to Cabinet (D) using Screws (B) and tighten with Hex Wrench (A).
text_image
F A B DTop Drawer removed for clarity Glass can be installed without removing drawer.

text_image
Technical diagram of a mechanical device with labeled components A, D, and F, showing assembly steps and component layout.Step 4
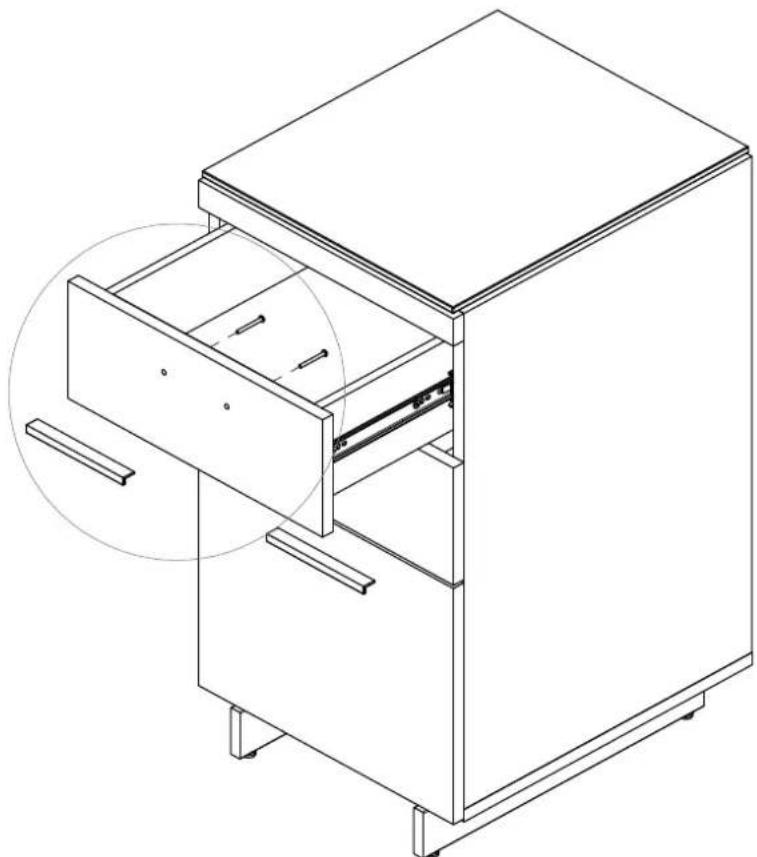
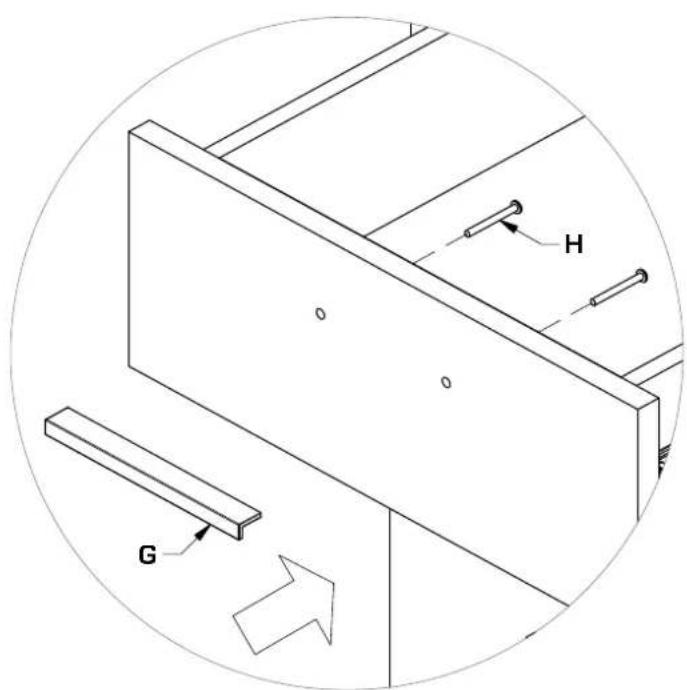
Attach Handles (G) to drawer fronts using Screws (H) and tighten using Phillips Screwdriver (not provided).
text_image
H G