CA-HM-MB.004 - Uncategorized PIONEER - Free user manual and instructions
Find the device manual for free CA-HM-MB.004 PIONEER in PDF.

User questions about CA-HM-MB.004 PIONEER
0 question about this device. Answer the ones you know or ask your own.
Ask a new question about this device
Download the instructions for your Uncategorized in PDF format for free! Find your manual CA-HM-MB.004 - PIONEER and take your electronic device back in hand. On this page are published all the documents necessary for the use of your device. CA-HM-MB.004 by PIONEER.
USER MANUAL CA-HM-MB.004 PIONEER
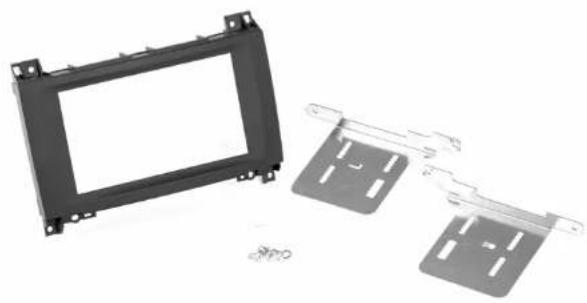
Facia plate installation kit for:
MERCEDES
Model: Vito V447 / Sprinter W906
Year: 2015>
Kit content: double DIN facia plate mounting brackets + screws
Compatibility: Compatible with double DIN device
Customer code: CA-HM-MB.004
natural_image
Exterior view of a modular device housing with two metal brackets and mounting holes (no text or symbols visible)INSTALLATION MANUAL
09/2016 ALL RIGHTS RESERVED. Technical changes possible. No liability for misprints.R2
All installation work must be performed by a qualified professional installer only. The manufacturer / dealer is not liable for any kind of incidental or indirect damages.
1
natural_image
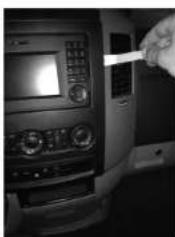
Close-up of a hand holding a handheld device with a screen and control panel (no visible text or symbols)1 Remove the original plastic and the original car unit.
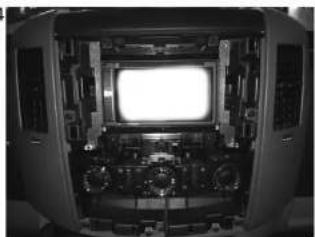
5
natural_image
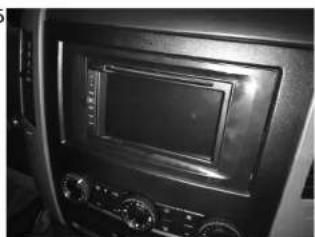
Interior view of a car dashboard with digital display and control knobs (no visible text or symbols)5 Connect all cables, verify the proper functioning of the system and fix the supplied facia plate to the dashboard. This is the final result.
2
natural_image
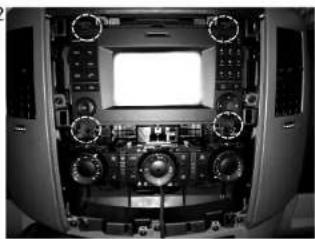
Interior view of an aircraft cockpit with multiple control panels and a central screen (no visible text or symbols)2 Unscrew the four screws circled in the figure and remove the OEM radio.
LW

natural_image
Exterior view of a modern office building (no signage)3 Put the mounting brackets on the new facia plate provided and fix them with screws. Pay attention to the letters on the brackets.
4
natural_image
Interior view of a vintage aircraft cockpit with visible instrument panels and no text or symbols3 Take the aftermarket unit and fix it to the radio tunnel with screws. Adjust the position while fixing the unit in order to reach the right protrusion of the unit.