
SC-X1801R - Vacuum Cleaner SANYO - Free user manual and instructions
Find the device manual for free SC-X1801R SANYO in PDF.


| Product Type | Canister Vacuum Cleaner |
| Brand | Sanyo |
| Model | SC-X1801R |
| Dimensions (L x W x H) | 40 cm x 30 cm x 25 cm |
| Weight | 5 kg |
| Power Consumption | 1200 W |
| Voltage | 220-240 V |
| Frequency | 50-60 Hz |
| Dust Bag Capacity | 2.5 L |
| Filter Type | HEPA Washable Filter |
| Cord Length | 6 m |
| Suction Power Control | Electronic slider on handle |
| Attachments Included | Crevice tool, dusting brush, upholstery nozzle |
| Maintenance | Empty bag when full; clean filter regularly |
| Safety Features | Thermal overload protection, automatic cord rewind |
| Spare Parts Availability | Filters, bags, brushes available online |
| Repairability Index | 8/10 (easy access to main components) |
| Noise Level | 75 dB(A) |
| Warranty | 2 years |
| Country of Origin | China |
Frequently Asked Questions - SC-X1801R SANYO
User questions about SC-X1801R SANYO
0 question about this device. Answer the ones you know or ask your own.
Ask a new question about this device
Download the instructions for your Vacuum Cleaner in PDF format for free! Find your manual SC-X1801R - SANYO and take your electronic device back in hand. On this page are published all the documents necessary for the use of your device. SC-X1801R by SANYO.
USER MANUAL SC-X1801R SANYO
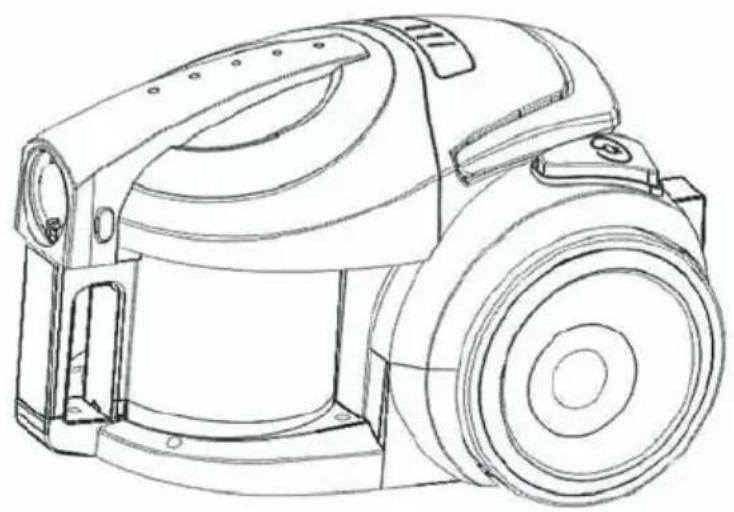
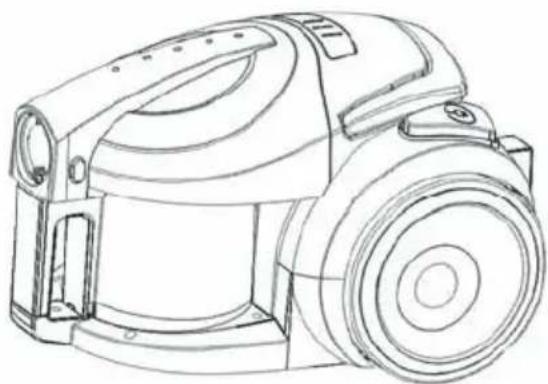
This SC-X1801R consist of vacuum cleaner SC-X1801 and handy cleaner SC-H24.
natural_image
Line drawing of a DSLR camera with no text or symbols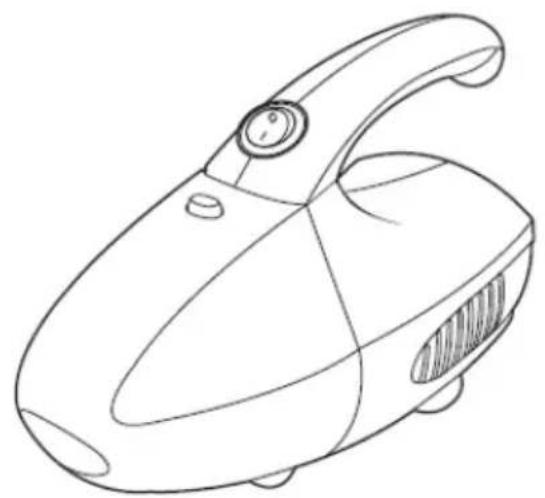
natural_image
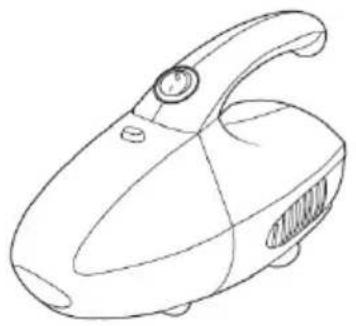
Line drawing of a handheld vacuum cleaner device (no text or symbols)Thank you for your purchase of a
SANYO Vacuum Cleaner.
Please read these instructions carefully before using this product and keep safe for further reference.
Table of Contents
Precautions---- 1, 2
Vacuum Cleaner SC-X1801
Introduction of Parts 3
Use Instructions 4,5
Maintenance 5,6
Technical Specification 7
Troubleshooting 7
Handy Cleaner SC-H24
Introduction of Parts 8
Maintenance 9
Technical Specification 10
Trouble Shooting 10
Warning:
- This vacuum cleaner is intended for household use only.
- Any maintenance and repair must be handled by professional technician. Please do not try to repair by yourself which may cause danger!
- The plug must be removed from the power socket before any maintenance or replacement.
Precautions
- Use only as described in this manual. Use only supplied attachments.
- Do not leave appliance when plugged in. Unplug from outlet when not in use
- Do not store or use the vacuum cleaner close to high temperature places.
- Keep the vacuum cleaner free of insecticides. Do not wipe with benzene, thinner, petrol or other oils which might cause discoloration or cracking. To clean the body, dampen a cloth with mild detergent and wipe clean.
- Do not use outdoors or on wet surfaces.
- Avoid using in a vertical position.
- Do not allow to be used as a toy. Children should be supervised to ensure that they do not play with the appliance.
- These appliances (SC-X1801 and Handy Cleaner SC-H24) are not intended for use by persons (including children) with reduced physical, sensory or mental capabilities, or lack of experience and knowledge, unless they have been given supervision or instruction concerning use of the appliance by a person responsible for their safety.
- Do not handle plug or appliance with wet hands.
- Hold plug when they rewinding onto cord reel. Do not allow plug to whip when rewinding.
- Do not pull or carry by cord, pedal cord, use cord as a handle, close a door on cord, or pull cord around sharp edges or corners. Do not run appliance over cord. Keep cord away from heated surfaces.
- Do not put any object into openings. Do not use with any opening blocked; keep free of dust, lint, hair, and anything that may reduce air flow.
- Keep hair, loose clothing, fingers, and all parts of body away from openings and moving parts.
- Unplug before connecting any hose attachment accessory.
- Turn off all controls before unplugging.
- Make sure the power supply: 230-240V, 50Hz for SC-X1801, 220-240V, 50-60Hz for SC-H24
- Use extra care when cleaning stairs.
• Before the first operation, make sure the dust cup is properly installed.
- Do not use the machine without HEPA filter and motor protection filter in place. (SC-X1801 only)
- Blocking the suction inlet will decrease the efficiency of the motor.
- Never try to vacuum the following objects. They may damage the unit or case a fire.
*Burning or smoking such as cigarettes, matches or hot ashes.
*Wet things, mud, soil, and fluids.
*Needles and razor blades.
*Inflammable materials or combustible liquids such as gasoline and thinner.
*Construction rubbish.
• The following kinds of treatment shorten hose lifetime:
*Bending hose at an acute angle when storing.
*Pulling the hose with excessive force
*Placing heavy objects on, or stepping on the hose.
- When vacuuming places that are very dusty, and also when vacuuming regularly, empty the dust compartment before it becomes completely filled. Frequent emptying lengthens the lifetime of the motor and maintains strong suction power.
- If the supply cord is damaged, it must be replaced by the manufacturer, its service agent or similarly qualified persons in order to avoid a hazard.
natural_image
Line drawing of a compact vacuum cleaner (no text or symbols)Introduction of Parts
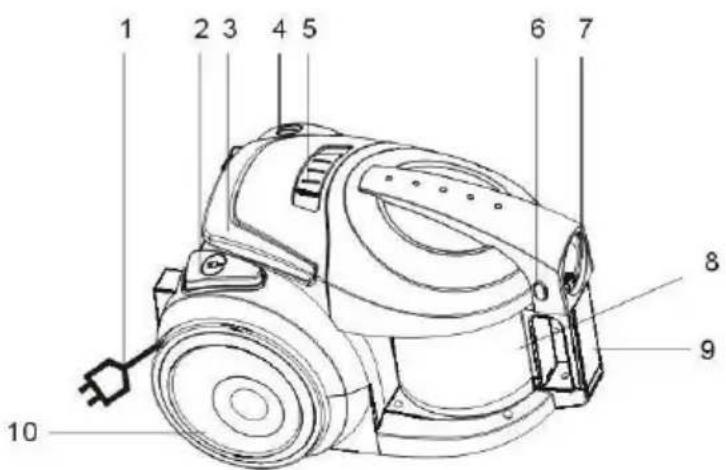
| 1 | Power cord |
| 2 | Cord rewinding pedal |
| 3 | Handle |
| 4 | ON/OFF switch pedal |
| 5 | Speed control |
| 6 | Front cover clip |
| 7 | Hose socket |
| 8 | Dust cup |
| 9 | Dust cup handle |
| 10 | Wheels |
Accessories: 1 set hose accessory
1 piece floor brush
1 set tube
1 combination nozzle
natural_image
Top-down view of a red and black vacuum cleaner with a white arrow pointing to the side (no text or symbols visible)Use Instructions
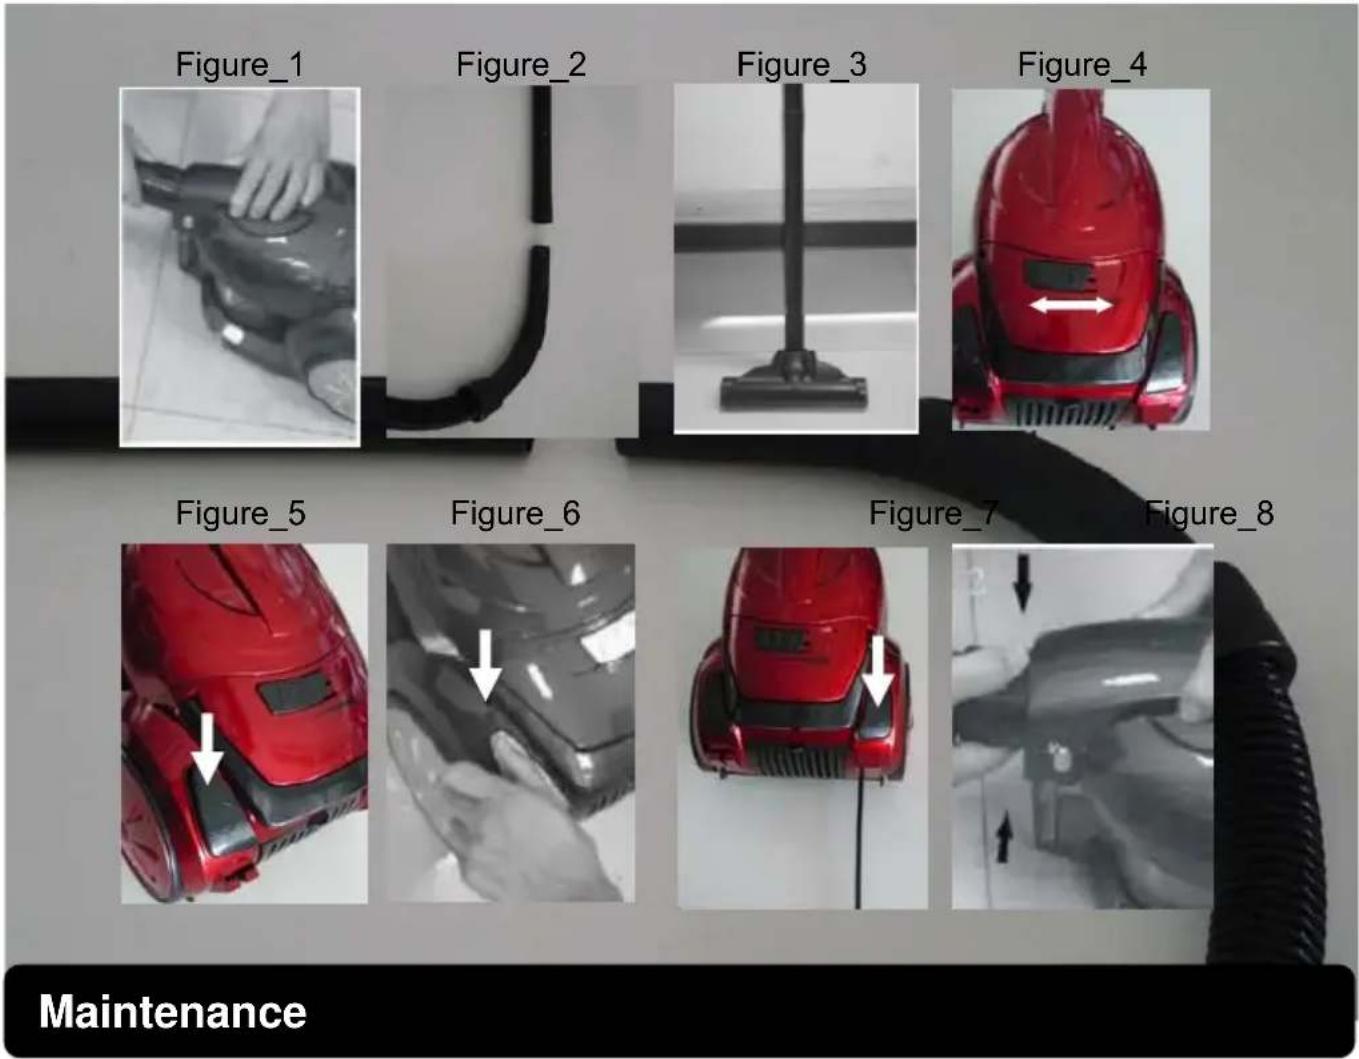
- Connect the hose accessories; insert the hose end into the hose socket at the front cover and then hook it. Figure_1
Make sure the front cover is firmly locked before hose setting.
- Connect the tube to the curved end of the hose. Figure_2
- Connect the different tools to the tube for different cleaning purposes; Floor brush (adjusted to the type of ground) for carpet or floor.
Combination nozzle for sofa, wall surface, curtain, corner or space between furniture etc. Figure_3
- Before starting operation, pull out the power cord and then insert the plug into the power socket which conforms to that on the rating label for power supply.
- Turn on the machine. Press the on/off switch pedal, the machine could start working. Figure_5
- The machine would start working without speed control. To control suction power, slide the speed control on the body. Suction power can also be controlled by sliding the airflow control on the hose. Figure_4
- Combination nozzle; Use the crevice nozzle on vacuum edges and gaps. The head of the combination nozzle can rotate. Use the round brush to vacuum sofa, curtain or fragile or easily scratched items.
- Turn off the machine: press the on/off switch pedal again, the machine is turned off. Pull the plug out of the power socket. Figure_6
- Cord rewinding; Before rewinding, be sure to the cord is unplugged. To rewind the power cord, press the cord rewinding pedal, the power cord will be drawn in. Figure_7
- Moving the machine. Carrying it by using the carry handle.
- Remove the hose accessories; press the adaptors at both side of the hose end and then pull the hose accessories. Figure_8
Attention: To lock the front cover firmly, snick it softly until it sounds “Click” If the blockage is found in floor brush, hose or tubes and the machine, the machine can be re-operated only after the blockage is cleaned away completely.
This vacuum cleaner can be used as tip the rubbish out of the full dust cup.
CAUTION
Be sure to turn the power off and unplug the unit before cleaning.
- Clear the dust: when the dust collect to the MAX label of the filter, rubbish shall be tipped from the dust barrel.
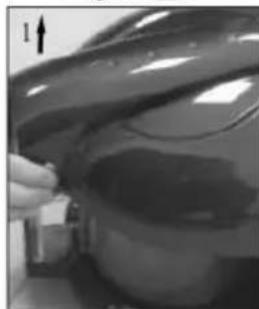
1) Press the front cover clip beside the suction socket and open the front cover.
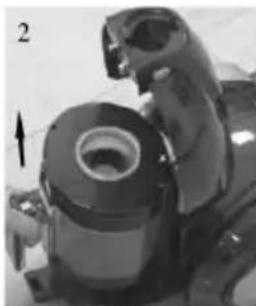
2) Take out the dust cup and clean the dust away completely.
3) Clean the dust cup with warm water if necessary.
2. Clean Filters:
HEPA filter;
1) Open the front cover: Press the buttons at the both side of socket hole and open it slowly. Figure 9, Figure 10
2) Dump the dust collection out of the dust cup. Figure 11
3) Rotate the filter and detach from the filter grill. Wash the filter in warm water and clean it with bush. Then, dry it completely before put it back to the dust cup. Be sure to dry naturally to prevent deformation. Figure_12
Motor exhaust filter;
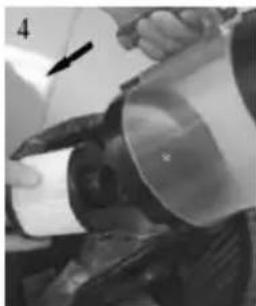
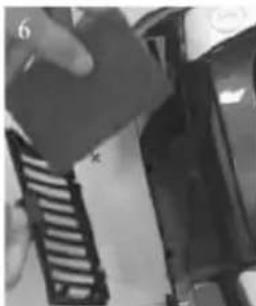
1) Take out the filter ( Figure_13, 14) and wash in warming water. It can be used after drying completely before put it back to the dust cup and be sure to dry naturally to prevent deformation.
It should be rinsed once a year.
If the filter is damaged, a new filter should be replaced.
Figure 9
natural_image
Close-up of a hand applying material to a car's side panel (no visible text or symbols)Figure_11Figure_10
natural_image
Close-up of a mechanical component with a cylindrical body and a protruding rod, no visible text or symbols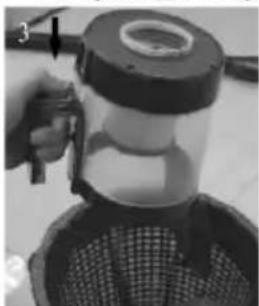
natural_image
Close-up of a mechanical device with a handle and mesh pattern, no visible text or symbolsFigure_12
natural_image
Close-up of a hand holding a cylindrical object with an arrow pointing to it, possibly part of a mechanical or industrial component (no visible text or symbols)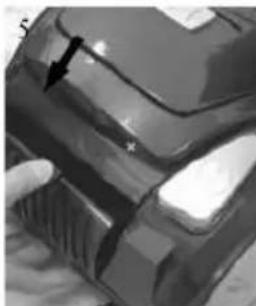
natural_image
Close-up of a car's head and side panel, showing a black arrow pointing to the nose (no text or symbols visible)Figure_14Figure_13
natural_image
Close-up of a hand holding a small black object, possibly a device or component, with no visible text or symbols.Technical Specification
Input power : 1800W
Input voltage : 230-240V, 50Hz
Protection class: class II
Power cord length: 5m
Dust capacity : 2L
Trouble Shooting
If you have a problem with your cleaner, consult the handy guide as below. If the cleaner is malfunctioning, do not operate it before asking for service.
| Problem | Possible Solution |
| Noisy operationLow Suction | Clean the filter and clean up the inside of the dust cup.Clean or replace the filter.Remove the blockage.Put the dust cup in place. |
| Over-heating/Automatically Stopping | Clean the filters, and clean up the inside of the dust cup.Check for blockages and unblock and allow it to cool.Plug unit firmly. |
| Decrease of the vacuum power | If the vacuum power decrease, rinse the HEPA filter and the exhaust filter |
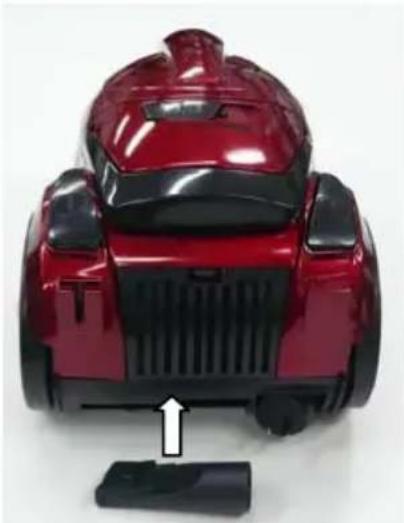
| Cannot Findthe Combination Nozzle | Nozzle is clipped into a compartment at the bottom edge on the back of the vacuum cleaner (between the wheels).It is a single attachment. |
| Floor Brush hard to push | Due to the strong suction power, it may be difficult to push, especially thick carpet. Rather than to use the floor brush forcibly, lift up the Floor Brush momentarily. It allows air to flow into the vacuum releasing and built up suction pressure, and then do well to push floor brush.Slide and open the suction adjuster located on the hose handle grip. This will reduce suction power of the floor head. |
| Cord doesn’t fully rewind | Pull out the cord and rewind again. |
natural_image
Line drawing of a handheld vacuum cleaner (no text or symbols)Introduction of Parts
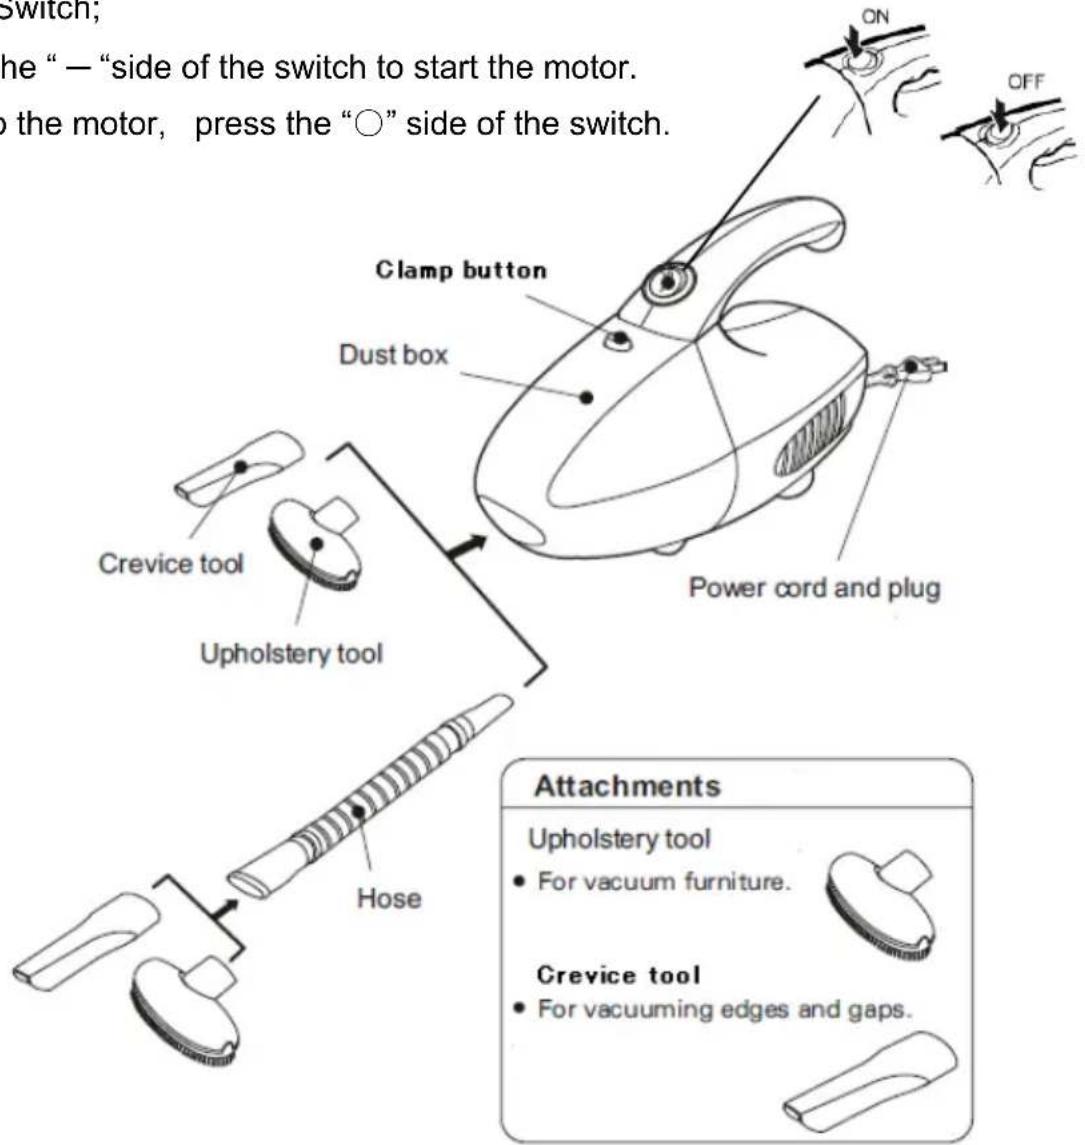
Switch;
Press the “—” side of the switch to start the motor. To stop the motor, press the “○” side of the switch.
Maintenance
Caution
Never insert the filter into the vacuum cleaner, unless it is completely dry.
Dust Disposal:
Turn off the vacuum cleaner and unplug it, then remove the dust as follows.
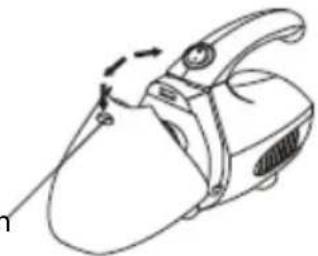
- To remove the dust box, push the clamp button as show.
Clamp button
natural_image
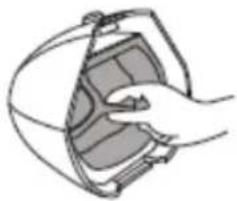
Line drawing of a handheld device with a handle and arm, showing motion arrows (no text or symbols)- To remove the filter, removing the dirt.
natural_image
Illustration of a hand holding a device with a circular frame (no text or symbols)Dust box
If the dust is packed tightly and difficult to remove, tap the dust compartment lightly.
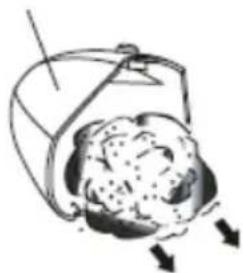
natural_image
Diagram of a mechanical device emitting powder, showing internal components and directional arrows (no text or labels)- Insert the filter to the dust box.
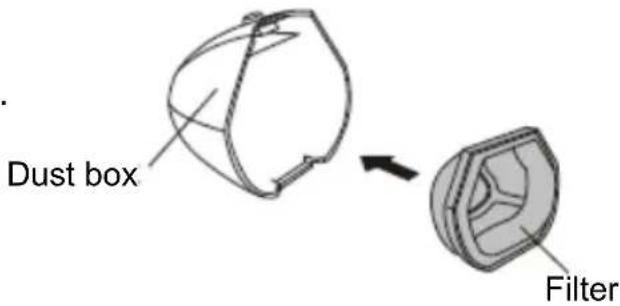
- To reassemble the unit
If the dust box can not be closed, the filter is not properly installed.
Dust box
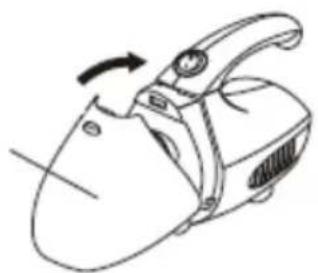
natural_image
Line drawing of a mechanical device with an arrow indicating rotation (no text or symbols)Care of filter:
A severely soiled or clogged filter should be thoroughly washed with fresh tepid water.
A neutral detergent could be used if required.
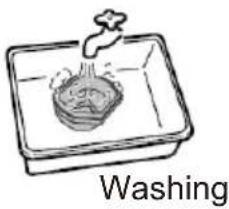
natural_image
Simple line drawing of a washing tray with a water dispenser above it (no text or symbols)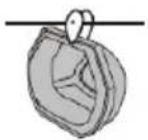
Drying
To assure the best results, we recommend cleaning the filters once a year, depending on usage.
Technical Specification
Input power : 350-400W
Input voltage : 220-240V, 50-60Hz
Protection class : class II
Power cord length: 4.5m
Dust capacity : 0.4L
Trouble Shooting
If you have a problem with your vacuum cleaner, consult the handy guide below. If the vacuum cleaner is malfunctioning, do not operate it. Contact your dealer or the nearest Sanyo Service center.
| Problem Possible Cause Possible Solution | |
| Cleaner won't run. | Not firmly plugged in.No voltage in wall outlet |
| Suction does not increase after cleaning out the dirt. | Filter dirty. |
Brand : SANYO
Model : SC-X1801R
Category : Vacuum Cleaner