TP-6200 - Musical instrument YAMAHA - Free user manual and instructions
Find the device manual for free TP-6200 YAMAHA in PDF.
Download the instructions for your Musical instrument in PDF format for free! Find your manual TP-6200 - YAMAHA and take your electronic device back in hand. On this page are published all the documents necessary for the use of your device. TP-6200 by YAMAHA.
USER MANUAL TP-6200 YAMAHA
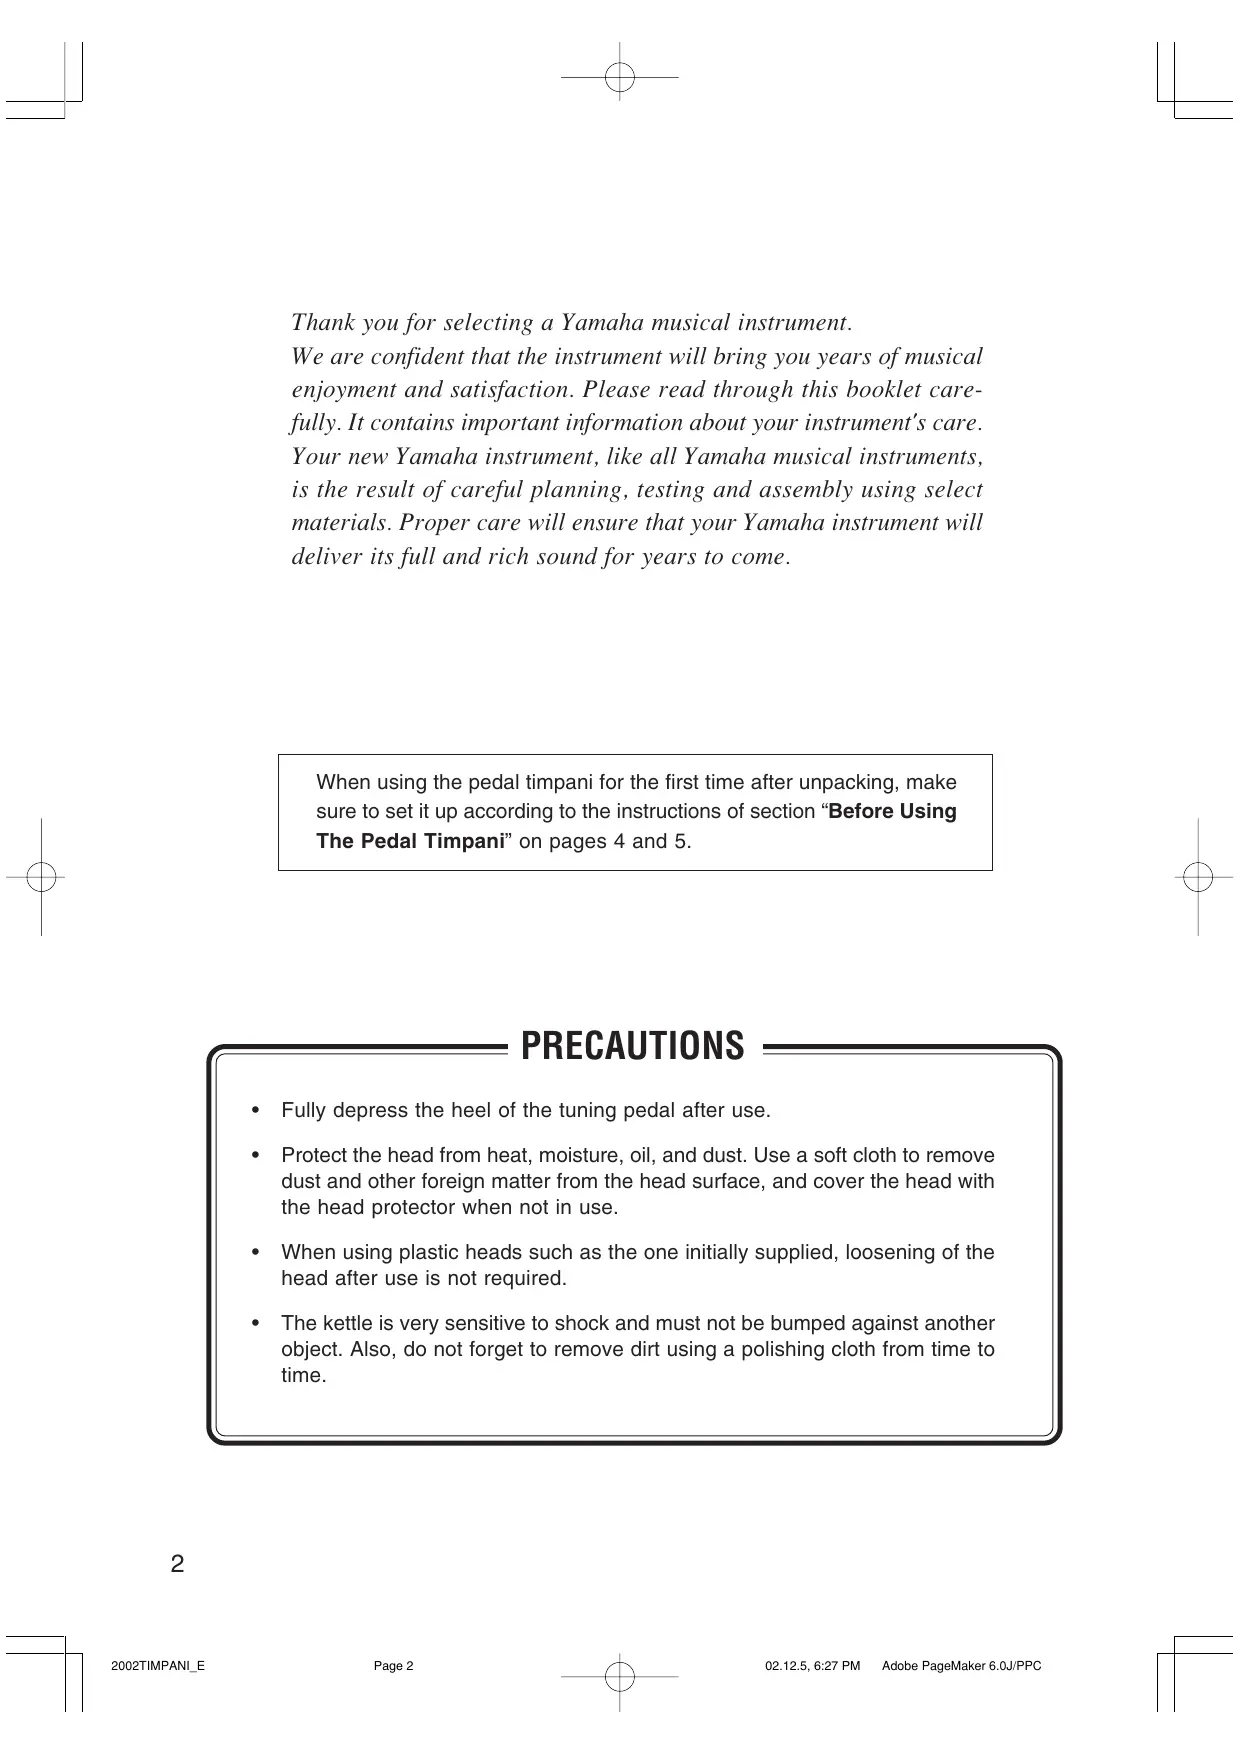
Thank you for selecting a Yamaha musical instrument. We are confident that the instrument will bring you years of musical enjoyment and satisfaction. Please read through this booklet care- fully. It contains important information about your instrument's care. Your new Yamaha instrument, like all Yamaha musical instruments, is the result of careful planning, testing and assembly using select materials. Proper care will ensure that your Yamaha instrument will deliver its full and rich sound for years to come. When using the pedal timpani for the first time after unpacking, make sure to set it up according to the instructions of section “Before Using The Pedal Timpani” on pages 4 and 5. + Fully depress the heel of the tuning pedal after use. + Protect the head from heat, moisture, oil, and dust. Use a soft cloth to remove dust and other foreign matter from the head surface, and cover the head with the head protector when not in use. +__ When using plastic heads such as the one initially supplied, loosening of the head after use is not required. + The ketile is very sensitive to shock and must not be bumped against another object. Also, do not forget to remove dirt using a polishing cloth from time to time. I 2002TIMPANLE Page 2 A 02.125, 6:27 PM Adobe PageMaker 6.Qu/PPC: New
Nomenclature & Lubrication I 2002TIMPANL E Page 3 Head Protector Tuning Bolt Kettle Edge Head Hoop (Counter Hoop) Tuning Indicator (Tuning Gauge) Pointer Lock Nut Pointer Adjustment Knob PAC Adjustment Bolt Strut The TP-50xx (H/G) / TP-70xx (H) series use a wing bolt on the PAC adjustment system. Caster Spring Tension Adjustment Bolt Tuning Pedal Third Wheel Caution] Never put your hands etc. (removable) under the pedal. © Lubrication Lubricate the moving parts of the tuning mechanism as shown in the diagram. This should be done at least once a year, or as needed. © Points of lubrication
- The illustrations on this page show a pedal timpani of the TP-6200 series. 02.125, 6:27 PM Adobe PageMaker 6.0J/PPC
Before Using The Pedal Timpani Your Yamaha pedal timpani is equipped with a plastic head carefully mounted and tuned (adjusted to a note) at the factory, and thus can be used after setup immediately. However, new heads will tend to stretch gradually during shipping and storage, resulting in a tuning deviation when you receive the instrument. Therefore, please perform the steps below to restore the tuning to the factory setting prior to shipment: The area between the kettle edge and the inner circle of the counter hoop is called the collar. Please make sure that the width of this collar is uniform, as shown in the illustration titled “Cor- rect”.
Correct Wrong NA NA Ketile Counter Ketile Counter ed Collar M0P <d9e Collar "O0P If the collar is not uniform (illustration titled “Wrong”), keep the heel of the pedal fully de- pressed as shown in Fig. C, and align head and hoop as shown in the illustration titled “Correct”. Make sure that the end of the wire tube is not disengaged from the adjuster of the tuning indi- cator as shown in Fig. A. If it is disengaged, insert it into the adjuster as shown in Fig. B. Adjuster Wire tube I 2002TIMPANLE Page 4 M
3 If the heel of the pedal is fully lowered as in Fig. C, proceed with step 5. If the pedal position is as shown in Fig. D or the toe of the pedal is fully lowered, perform step # first. Fig. C Never put your hands etc. under the pedal. [A Fully depress the heel of the pedal as shown in Fig. C. Hold the pedal in this position, as it will return otherwise. 02.125, 6:27 PM Adobe PageMaker 6.OJ/PPC
Before Using The Pedal Timpani 5 Using the supplied timpani key, tighten the tun- ing bolts by 1/4 of a turn (90°) in the order shown below. It is very important to always turn all tuning bolts by the same amount. Timpani key EN 26”, 29”, 32” 20”, 23” 6 Take your foot off the pedal. © Heel still moves up > Repeat steps Æ through 6. © Heel stays down Lu > Go to step 7. 7 Put your foot on the pedal and fully depress it in either direction (toe and heel). © Heel feels heavier than toe > Go to step 8. © Toe and heel feel equal > Go to step ff. © Heel feels lighter than toe
- Head is tightened too much. Loosen the head. Keeping the heel of the pedal de- pressed, loosen the first tuning bolt by 1/ 2 turn and then retighten it by 1/4 of a turn. Perform this operation for all other tuning bolts in the order shown in step 5. If necessary, repeat this procedure, until proper tension is obtained. 8 Fully depress the heel of the pedal as shown in Fig. C.
Tighten each tuning bolt by 1/8 of a turn (45°) in the order shown in step 5. © Toe and heel feel equal + Go to step ff © Heel still feels heavier than toe + Repeat steps 8 through 10 © Heel feels lighter than toe + Head is tightened too much. Loosen the head as described in step 7. Move the pedal into an intermediate position, as shown in Fig. D, and remove your foot from the pedal. Confirm that the pedal stays in this posi- tion and does not move. If the pedal stops in this position, adjust- ment is complete. Return the pedal to the position shown in Fig. C. © If the toe of the pedal moves downward + Repeat steps 8 through 10. © If the heel of the pedal moves downward + Head is tightened too much. Loosen the head as described in step 7. Strike the head lightly with the supplied mallet etc. The standard striking point is shown below. The standard striking point lies at distance B from the kettle edge, which corresponds to 1/4 to 1/8 of distance À (distance between kettle edge and center of head). Pedal For note comparison a piano is most suitable. When the toe of the pedal is depressed, a higher pitch is obtained. For details on precise tuning refer to “Adjusting The Sound Of Your Timpani” on the following page. cally (starting with step 7) As the head will stretch over time, readjustment should be performed periodi- I 2002TIMPANL E Page 5
Adjusting The Sound Of Your Timpani When using the pedal timpani for the first time after unpacking, make sure to set it up according to the instructions of section “Before Using The Pedal Timpani’ on pages 4 and 5. (1 Head Tuning* (* Adjusting the head tension to a specific note) (I Tuning is performed for the lowest sound (note) of the timpani. For this reason, the heel of the pedal must stay fully lowered during the tuning procedure. The proper lowest note (and tonal range) de- pends on the size of your timpani. For example, as shown in the figure below, the lowest sound of a 26” timpani should be tuned to A. When tuned properly, your Yamaha timpani will give you its full tonal range without being overtensioned. & Standard Tonal Ranges for Yamaha Timpani 32" (Bicm) 29° (74cm) 26" (66cm) 23° (58cm) 20° (51cm)
D Bb F Dk A F C 4 E C Keep the heel of the pedal fully lowered during the tuning procedure (steps 2 through 7 below) if not specified otherwise. 2 Strike the head and check the sound. The stan- dard striking point is shown below. The standard striking point lies at distance B from the kettle edge, which corre- sponds to 1/4 to 1/3 of distance A (distance between kettle edge and center of head). © Sound lower than tuning note + Go to step 3. © Sound higher than tuning note + Loosen tuning bolts by an equal amount in the order shown in the figure of step 5 on page 5. 2002TIMPANLE Page 6 pan
When loosening the tuning bolts, always loosen them by double the desired amount, and then return (retighten) them by half. When the sound lies within 1 halftone below the desired pitch after loosening the tuning bolts (repeatedly, if necessary), proceed with step 3. 3 Lightly strike the head with the mallet about 2 inch (5 cm) from the kettle edge at each tuning bolt. Check at which tuning bolt the sound is highest. © Pitch of highest sound higher than tuning note » Loosen the corresponding tuning bolt by about 1/16 to 1/8 of a turn. First loosen the bolt by double the desired amount, and then return (retighten) it by half. After loosening the tuning bolt, repeat from the beginning of step 3. © Pitch of highest sound lower than tuning note > Go to step A. [A Tighten the other bolts little by little (by about 1/ 16 to 1/8 of a turn) until the sounds at the corre- sponding striking points match the pitch of the highest sound. Please note that tightening of one bolt will also raise the pitch at the neighbor- ing and opposite tuning bolts. Thus, after tight- ening the tuning bolt with the lowest sound, first reconfirm the sound at the other tuning bolts before tightening the tuning bolt with the next lower sound. While alternately tightening the other bolts, do not touch the tuning bolt with the high- est sound (reference pitch). 5 Loosen all overtightened bolts according to the procedure described in step 7. When the pitch is approximately the same at each bolt, repeatedly depress the toe and heel of the pedal several times. 02.125, 6:27 PM Adobe PageMaker 6.OJ/PPC
Adjusting The Sound Of Your Timpani 6 Repeat steps 7 through 5 until the pitch at each bolt is exactly the same. 7 Check the sound by striking the head as de- scribed in step 2. © Sound lower than tuning note
- Tune the instrument by tightening all tun- ing bolts by an equal amount (max. 1/16 of a turn). © Sound higher than tuning note
- Tune the instrument by loosening all tun- ing bolts by an equal amount (max. 1/16 of a turn) according to the procedure de- scribed in step 2. 8 Operate the pedal as described in step 5. If the pitch does not change, the instrument is tuned properly. (If the pitch changes, repeat from step 7.) The instrument is now tuned to the lowest sound (note) of its tonal range. Depress the toe of the pedal to change to a higher pitch (note). 9 After tuning, perform [2] Pedal Adjustment and then [3] Tuning Indicator Adjustment. Page 7
NE» [2] Pedal Adjustment After depressing the toe and heel of the pedal, turn the spring tension adjustment bolt as described be- low. © Heel moves up when releasing the foot from the pedal after depressing the heel, or heel feels heavier than toe
- Turn the spring tension adjustment bolt to the left (counterclockwise) © Toe moves up when releasing the foot from the pedal after depressing the toe, or toe feels heavier than heel
- Turn the spring tension adjustment bolt to the right (clockwise) Turning the spring tension adjustment bolt is per- formed using the timpani key. Do not turn by too many full rotations at once, but re-check the adjust- ment state every 2 turns by depressing the toe and heel of the pedal. ŒD Do not loosen the spring tension ad- justment bolt by more 3 rotations at a time, as the toe of the pedal tends to drop abruptly after a specific point. Never put your hands etc. under the pedal. Spring tension adjustment boit Spring Timpani key © Pedal balance spring mechanism Your Yamaha pedal timpani is equipped with a unique pedal balance spring mechanism (a coil spring coun- teracting the tension of the head) which allows you to freely change the pitch (note) of the instrument at an instant. When the pedals are moved, the pitch of the head will change, and the balance spring ensures that the pedal angle (pitch) will not change when you re- move your foot from the pedal. 02.125, 6:27 PM Adobe PageMaker 6.0J/PPC
] enceruran € Pas A Adjusting The Sound Of Your Timpani Tuning Indicator Adjustment The tuning indicator shows to which note the pedal is set. After tuning the instrument, you must set each note of the indicator to its proper position. (I After you have tuned your timpani to the lowest note of its tonal range, make sure that the pointer is located within 10 mm from the pedal-side end of the indicator rail.
- If not, adjust referring to “Adjusting the Pointer Position”. 2 Slide the lowest note of the indicator (“A” in case of a 26” timpani — see “Standard Tonal Ranges for Yamaha Timpani’ on page 6) to the position where its center line coincides with the pointer. 3 Tune the instrument to the next higher pitch (note) by moving the pedal, and then slide the corresponding note on the rail to the respective pointer position. Repeat for each note.
- The tuning indicator can be set to a desired angle by loosening the indicator mounting screw using a Phillips screwdriver. © Adjusting the Pointer Position First loosen the pointer lock nut and then turn the adjuster as follows: © Pointer is located beyond the lower rail end when heel of pedal is lowered fully (lowest note) »* Turn the adjuster to the left (counterclock- wise) until the pointer is aligned with the lowest note of the indicator. © Pointer moves beyond the upper rail end before toe of pedal reaches end of stroke, Pointer does not reach lower rail end when heel of pedal is lowered fully (lowest sound)
- Turn the adjuster to the right (clockwise) to correct the pointer position as required. After adjustment, securely tighten the pointer lock nut. Indicator rail Pointer Note Adjustment nut New 02.125, 6:27 PM Adobe PageMaker 6.OJ/PPC
Other Features H Pedal Adjustment Clutch Using the PAC, you can adjust the rotational torque of the pedal to a comfortable pedal force without degrading the smooth pedal action. In addition, the PAC is useful in preventing undesirable happenings such as slight movement of the pedal when the head is struck strongly causing a small change in pitch. PAC adjustment bolt The PAC (Pedal Adjustment Clutch) is an original Yamaha mechanism that enables you to adjust the pedal's rotational torque (the force required to move the pedal) by altering the amount of friction within the pedal balance spring mechanism I 2002TIMPANL E Page 9
© PAC Adjustment Use the timpani key to turn the PAC adjustment bolt as follows: Turn the PAC adjustment bolt to the right (clockwise) to tighten the pedal movement. To return the tightened pedal movement to the initial rotational torque setting, turn the PAC adjustment bolt to the left (counterclockwise).
- Be sure to turn the timpani key using one hand only.
- Do not use both hands or an additional tool. The TP-50xx (H/G) / TP-70xx (H) series use a wing bolt on the PAC adjustment system. Note on PAC Usage + The pedal cannot be locked with the PAC, even at its tightest position. (Do not try to use the PAC for locking the pedal, for example to prevent the toe of the pedal from jumping up when the head is re- moved.) The PAC adjustment bolt has limit positions in both turning directions. If the bolt is hard to turn, do not force to overtighten it because this may cause damage to the mechanism. Adobe PageMaker 6.0JPPC: D œ2125,627Pu
Moving And Setup Your Timpani The timpani can easily be moved when the third © Attaching and Removing the Third Wheel wheel is attached to the pedal section as shown on the right. Attaching and removing the third wheel can be performed easily. To move the timpani on a flat surface, make sure to hold it by the frame section on the pedal side and push it in the direction opposite the pedal (see illustration below). Never hold the instrument by the counter hoop, as this may result in a deformation of the head or the counter hoop. On gravel and stairways the instrument should not pushed on its casters. Instead, to prevent damage, it 1) Hook the mounting plate of the wheel onto should be lifted by its frame and carried by at least the base end, and, while pushing both ends two persons. of the locking shaîft in the direction of the timpani, push the wheel up in the direction of Locking shaît the arrow, engaging the locking shaft into Hold the instrument by the groove of the base. its frame and push in 2) To remove, disengage the locking shaft by the direction opposite full hing both ends in the direction of th the pedal. ully pushing both ends in the direction of the timpani, and pull the wheel down. : ee Il c ) D Ne NP To stabilize the timpani, push down the “ON” side of the caster lock.
- The illustration shows a pedal timpani of the TP-62xx Using the Third Wheel (TP-70xx Series) es The third wheel can be easily moved in or out of position with a single motion. To use the third wheel, lean the tympani slightly forward to lift After setting up the timpani, lock the other two the pedal off the ground then use your foot to casters to stabilize the instrument during perfor- manipulate the wheel into the desired position. mance. Also, the pedal wheel should be removed for performance. If it is left attached, it may be the cause of noise and will also result in different head angles when several timpani of different size are used.
Replacing The Head 1 To prevent the pedal from being pulled down by the spring force, the heel of the pedal must be kept down (this can easily be accomplished by placing a piece of wood or a softball between the base and the pedal) while the tuning bolts are loosened alternately in the proper sequence. 3 Place the new head with the hoop on the kettle. When using a Yamaha timpani head, its YAMAHA logo must be on the side opposite the pedal. The hoop must be re-mounted in the same po- sition as marked with cellophane tape in step 2. Tighten the tuning bolts alternately by hand until the head is tensioned slightly. At this time, make sure that head and hoop are centered on the kettle. Tighten each tuning bolt an additional 1/4 of a turn using the timpani key. Repeat at least 4 times. Softball etc. [A Adjust the timpani as described on pages 4 and 5, “Before Using The Pedal Timpani”, starting with step 5. For precise tuning, refer to the section “Adjusting The Sound Of Your Timpani” on page 6. Never put your hands etc. under the pedal. c >) 2 ter removing all tuning bolts, mark the pedal © interval For Head Replacement e) side of the hoop with cellophane tape etc. and then remove the head together with the hoop. At this time, be careful not to lose any of the tuning bolts and prevent dust from adhering. Also, avoid touching the tuning bolt threads, as they are greased. The maximum head life normally is approxi- mately 2 years and depends on the frequency and duration of use. However, the head should always be replaced before the sound quality deteriorates dramatically. If a head is left on and used more than two years, the following problems may occur: = Hoop It may become impossible to tune the head to the proper pitch range. It may become impossible to balance the pedal. The main unit mechanisms themselves may become damaged. — Cellophane tape When the head is slightly tensioned and its surface looks wavy or shows dents, it is time to replace the head with a new one.
- Be careful not to make any scratches in the tape attached to the kettle edge. If the tape is peeling or badly damaged, it must be replaced with timpani edge tape (Teflon'" tape).