Bonny - Bord Habitat - Free user manual and instructions
Find the device manual for free Bonny Habitat in PDF.

User questions about Bonny Habitat
0 question about this device. Answer the ones you know or ask your own.
Ask a new question about this device
Download the instructions for your Bord in PDF format for free! Find your manual Bonny - Habitat and take your electronic device back in hand. On this page are published all the documents necessary for the use of your device. Bonny by Habitat.
USER MANUAL Bonny Habitat
Assembly Instructions - Please keep for future reference
BONNY-ST-AW17-A
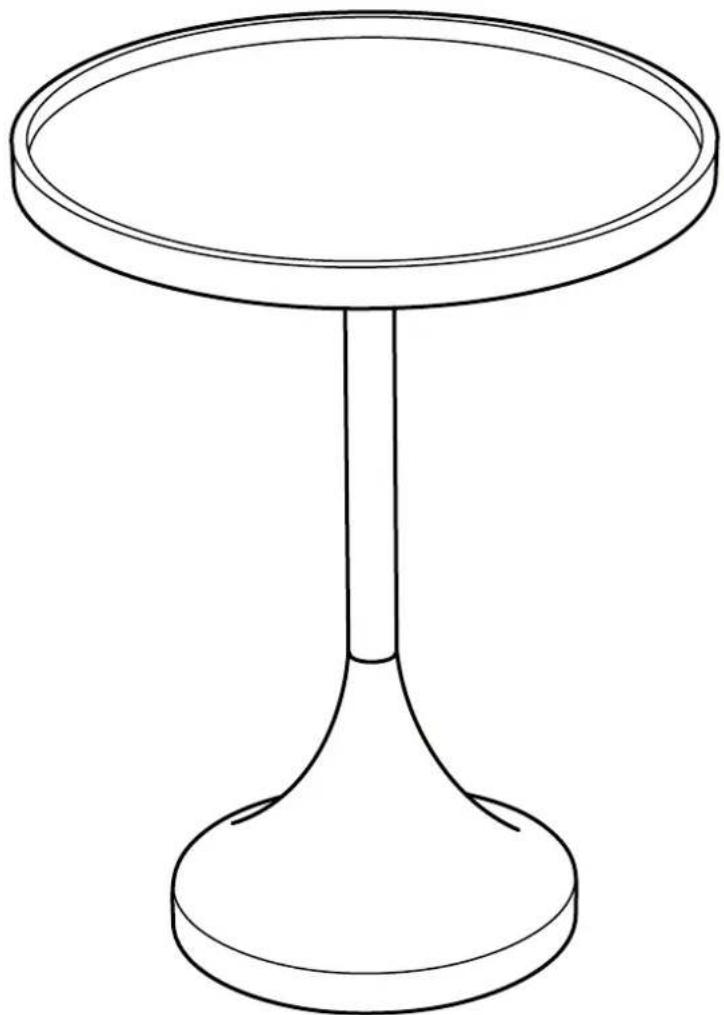
Dimensions
Width - 46 cm
Depth - 46 cm
Height - 55.7 cm

natural_image
Line drawing of a simple round-bottom stool with a flared rim (no text or symbols)
Important – Please read these instructions before assembly
If you need help or have damaged or missing parts, email: customerservices@habitat.co.uk or call: 0344 499 4686
habitat


Safety and Care Advice
Important – Please read these instructions fully before starting assembly
Check you have all the components and tools listed on the front cover and pages 2 - 3.
Remove all fittings from the plastic bags and separate them into their groups.
Keep children and animals away from the work area, small parts could choke if swallowed.
Make sure you have enough space to layout the parts before starting.
Do not stand or put weight on the product, this could cause damage.
Assemble the item as close to its final position (in the same room) as possible.
Do not place furniture directly in front of radiators, fires or any other source of heat.
Assemble on a soft level surface to avoid damaging the unit or your floor.

We do not recommend the use of power drill/drivers for inserting screws,
as this could damage the unit. Only use hand screwdrivers.
Dispose of all packaging carefully and responsibly.
General care and maintenance
Take care when moving furniture - dragging it across the floor will loosen and damage the joints.
From time to time check that there are no loose fittings. Tighten as necessary.
Avoid exposing your furniture to direct and prolonged periods of sunlight and heat sources as fading and cracking may occur. Take care to prevent sharp objects e.g. toys, buckles and heels from coming into contact
with your furniture, and avoid contact with chemicals e.g. cosmetics or hair products which may permanently mark the surface.
Cleaning and care
Dust regularly with a clean dry cloth.
text_image
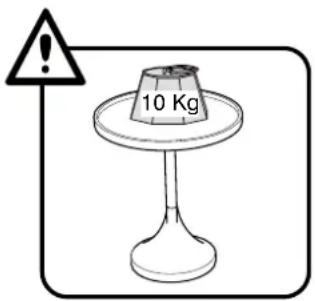
10 KgWipe up any spills immediately with a damp cloth and then dry the surface with a clean dry duster.
Repeat this procedure for periodic cleaning.
Remove stubborn stains with a weak washing up liquid solution and a damp cloth and dry after with a clean cloth.
The use of furniture polish or spray is not necessary or recommended.
Never use abrasive or corrosive cleaning agents.
Always use place mats and coasters to protect the surface from moisture and heat.
General information
If for any reason you should have problems with your Habitat product, please contact the store from which you purchased it.
Please retain your receipt as proof of purchase.
If you have any comments or suggestions regarding this product, assembly instructions or service
received, please contact the store or Habitat Head Office via its web site: www.habitat.co.uk
or write directly to: Habitat Retail Ltd. 489-499 Avebury Boulevard, Milton Keynes MK9 2NW
Components - Panels
If you need help or have damaged or missing parts, email: customerservices@habitat.co.uk or call: 0344 499 4686
Please check you have all the panels listed below

Note: There are 'Batch Code' labels where shown on the indicated items, these should be retained.
natural_image
Simple line drawing of a petri dish (no text or symbols)


natural_image
Simple line drawing of a conical flask or funnel shape (no text or symbols)
natural_image
Simple line drawing of a circular object with six evenly spaced holes and a central arrow (no text or symbols)① 1PC
② 1PC
③ 1PC
④ 1PC
⑤ 1PC
Components - Fittings
Please check you have all the fixings listed belowNote
Note: The quantities below are the correct amount to complete the assembly. In some cases more fittings may be supplied than are required.
Ruler- To help correctly identify the fixings

text_image
05101520253035404550556065707580859095100 105 110115120| A |  50.5 mm Screws x 1 PC 50.5 mm Screws x 1 PC |  200 mm Screws x 1 PC 200 mm Screws x 1 PC |
| C |  105 mm Pole x 1 PC 105 mm Pole x 1 PC | D  16.7 mm Screws x 1 PC 16.7 mm Screws x 1 PC |
| E |  50 mm Spring washer x 2 PCS 50 mm Spring washer x 2 PCS | F  Dia.60 mm Th.2 mm Washer x 1 PC Dia.60 mm Th.2 mm Washer x 1 PC |
| G |  9.5 mm Screws x 4 PCS 9.5 mm Screws x 4 PCS | H  M4 Allen key x 1 PC M4 Allen key x 1 PC |
| I | 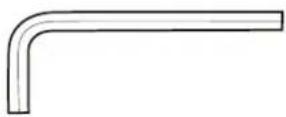 M6 Allen key x 1 PC M6 Allen key x 1 PC |
Assembly Instructions
Step 1

text_image
A x1PC E x1PC I x1PC
text_image
① A E ② ③Step 2
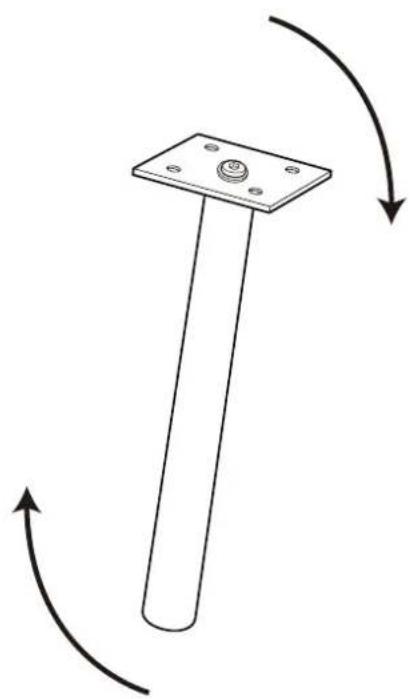
natural_image
Simple line drawing of a vertical pole with a square base and circular mounting holes, surrounded by curved arrows indicating rotation or clockwise motion (no text or symbols)Assembly Instructions
Step 3
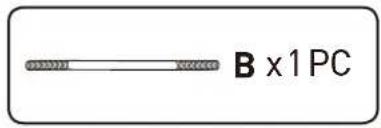
text_image
B x1 PC
text_image
Diagram illustrating a mechanical setup with labeled components including a rotating rod, a stop button, and a base plate.Step 4

text_image
C x1 PC
text_image
C 4 B B 4 CAssembly Instructions
Step 5
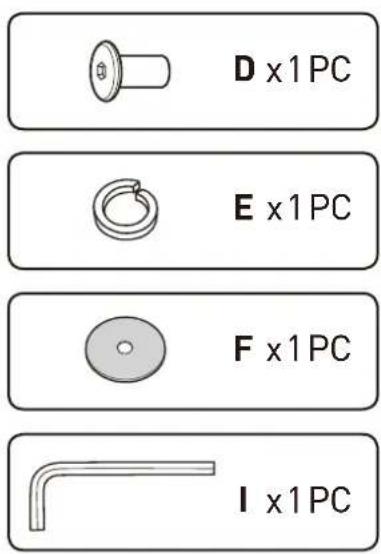
text_image
D x1PC E x1PC F x1PC I x1PC
text_image
Technical diagram showing assembly steps of a mechanical component with labeled parts and a magnified view of the final part.Step 6

text_image
G x 4 PCS Hx1 PC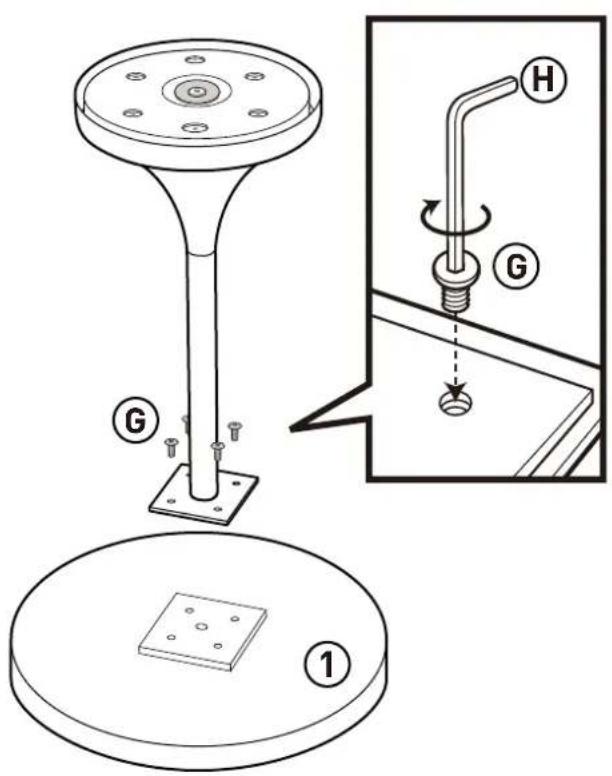
text_image
Technical diagram showing mechanical assembly with labeled parts and a schematic view of a rotating component.Assembly Instructions
Step 7