
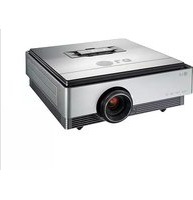
SC105 - Video projector LG - Free user manual and instructions
Find the device manual for free SC105 LG in PDF.

| Product Type | Projection Screen |
| Brand | LG |
| Model | SC105 |
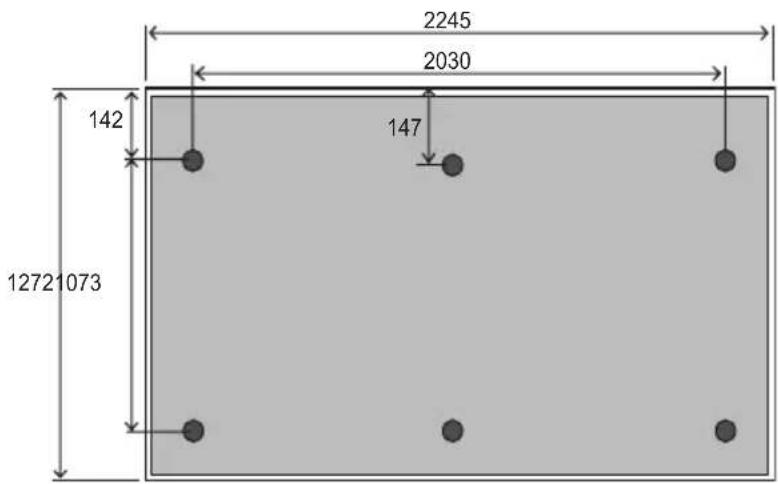
| Width | 2245 ± 5 mm |
| Height | 1272 ± 3 mm |
| Frame Height | 12.0 ± 1.0 mm |
| Depth | 9.1 ± 0.2 mm |
| Weight | 32.30 kg |
| Mounting Type | Wall-mounted with adjustable brackets |
| Surface Material | Matte white projection surface |
| Power Supply | Not required (manual operation) |
| Included Accessories | 8 anchors (Φ8), 8 bolts (Φ8), 6 tapes, 1 warp correction sponge, 2 rings, 1 paper template tape, 18 steel spacers, 1 warp correction ring, safety lock pin, thread |
| Installation | Professional installation recommended; see manual for detailed steps |
| Safety Precautions | Use anchors rated for wall type; ensure pull-out load ≥70 kgf and shear load ≥100 kgf |
| Maintenance | Clean with a dry cloth; avoid moisture, steam, and heaters underneath |
| Repairability | Contact a qualified installer for service or parts |
| Compatibility | Compatible with standard projectors (image projected from front or rear) |
| Warranty | Refer to LG warranty terms (not specified in manual) |
Frequently Asked Questions - SC105 LG
User questions about SC105 LG
0 question about this device. Answer the ones you know or ask your own.
Ask a new question about this device
Download the instructions for your Video projector in PDF format for free! Find your manual SC105 - LG and take your electronic device back in hand. On this page are published all the documents necessary for the use of your device. SC105 by LG.
USER MANUAL SC105 LG
Please read the safety information carefully before using the product. SC105
SAFETY PRECAUTIONS
Please take note of the safety instructions to prevent any potential accident or misuse of the product.
- Safety precautions are given in two forms, i.e. Warning and Caution as detailed below.

WARNING: Failure to follow the instructions may cause serious injury and even death.

CAUTION: Failure to follow the instructions may cause minor injury or damage to the product.
- Read the owner's manual carefully and keep it at hand.
Installation

WARNING
- The product should be installed by a qualified professional specified by the retail store.
- The product installation by a non-qualified personnel is dangerous and may cause personal injury.
- The product should be installed where its weight can be supported.
- Otherwise, the product may fall and cause personal injury.
- When moving or replacing the product after installation, contact a qualified installer specified by the retail store.
- If an unqualified person moves and installs the product, this may cause safety issues as this task requires the special technique.
- Do not hang on the product or apply shock to the product.
- The product may fall and cause injury.

CAUTION
- Follow the instructions in the manual to install the product.
- Otherwise, it may cause serious injury or damage to the product.
- When installing the product or adjusting the height of the product, two or more people are needed.
- If you do it by yourself, you may drop the product causing personal injury or damage to the product.
- When installing the product, check whether the wall is strong enough to hold the product and use the anchors and screws provided.
- Otherwise, the product could fall causing safety issues.
⚠️ cautionON
- When drilling the holes in the wall, make sure you use a drill and a drill bit with the specified size of diameter. Ensure that you also follow the instructions regarding the depth of the holes.
- Otherwise, the product may be installed improperly causing safety issues.
- Do not clean the product with wet towels, and do not use a heater or humidifier underneath the product.
- Moisture permeating into the product, steam or heat may result in fire, electric shock or damage to the product.
- Keep the product away from sprinklers, sensors, high-tension wires and power sources. Do not install the product in a location where vibrations or shock impacts are likely to occur.
- Wear working gloves when installing the product. Do not use bare hands.
- Otherwise, it may cause personal injury.
- Do not place the product where it is directly exposed to the light.
- The image may look dark due to the light.
PREPARATION
Accessories
Check the accessories provided with the product.
The picture may be different from the actual product.
Accessories are subject to change without prior notice in order to improve the performance of the product. New accessories may be added or old ones may be removed.
8 anchors for attaching rings (Φ8)

8 bolts for attaching rings (Φ8)


Tape 6 EA
1 sheet of warp correction sponge

2 Rings

1 piece of tape to attach the paper template

18 Steel Spacers 1 warp correction ring


Safety lock pin 2 EA
Thread
Preparations
Drill (M6, M8), leveler, tapeline, driver, tape
INSTALLATION
Fixing the Anchor, Screw

CAUTION
- Check the material of the wall and the thickness of the finishing.
- Use the anchors for wall material of concrete, light concrete, strong natural stone, soft natural stone masonry
- brick and hallow block that do not crack.
- When installing the product on wall material not designated, install the product so that each fixated location can withstand the pull out load of 70 kgf (686 N) and shear load of 100 kgf (980 N) or above.
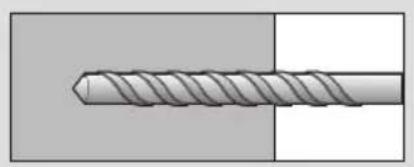
a. Use a drill bit ∅8 mm to drill a hole for the anchor location within a depth of 80 mm - 100 mm.
b. Clean the drilled hole.
c. Insert the sealed anchor to the hole. (When inserting the anchor, use a hammer.)
d. Set the wall mount on the wall by aligning to the location of the hole. and, set the angle adjusting part to face upward.
Align the wall mount bolt to the hole and tighten it. Then, fasten the bolts at torque of 45 kgf/cm - 60 kgf/cm.

natural_image
Close-up illustration of a twist drill bit (no text or symbols)
natural_image
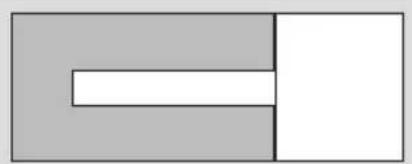
Simple geometric diagram with two adjacent rectangles, one gray and one white, no text or symbols present.
natural_image
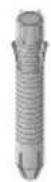
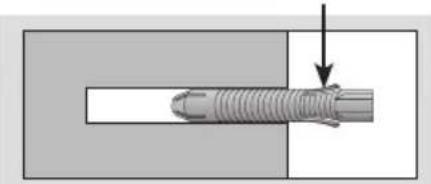
Diagram of a threaded fastener with a pull rod inserted, showing mechanical assembly (no text or symbols)Anchor

natural_image
Technical diagram of a mechanical assembly with threaded shaft and mounting bracket (no text or symbols)

natural_image
Technical illustration of a threaded fastener inserted into a mechanical component (no text or symbols visible)Ring and Space steel fixing screw
iNStaLLatiON StEP
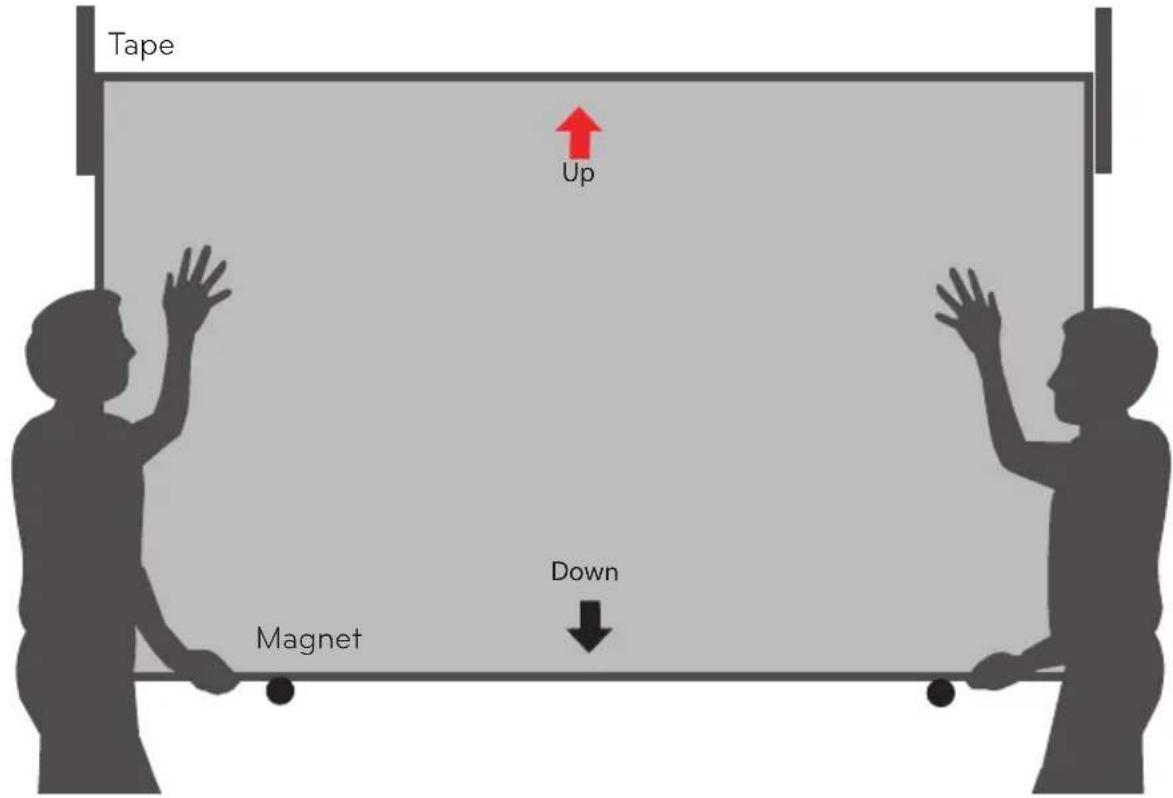
1 Attach a paper screen to the place where the screen will be located. (The paper screen helps to easily install the adjustable bracket and bore holes in the wall.)
2 Two people lift the screen up until its bottom edge is level to the magnets at the bottom of the paper screen. Put the screen close to the wall aligning with the locations marked with the tapes and hang the brackets on the rings by carefully pulling it down.

cautiON
- Align the top of screen with the top of the tape and the left and right sides of the screen with the tape. Hang the bracket on the rings by lowering the screen carefully. If the screen is upside down, the screen will be dark and no image will be displayed.


natural_image
Simple line drawing of a smart air conditioner with sound waves (no text or symbols)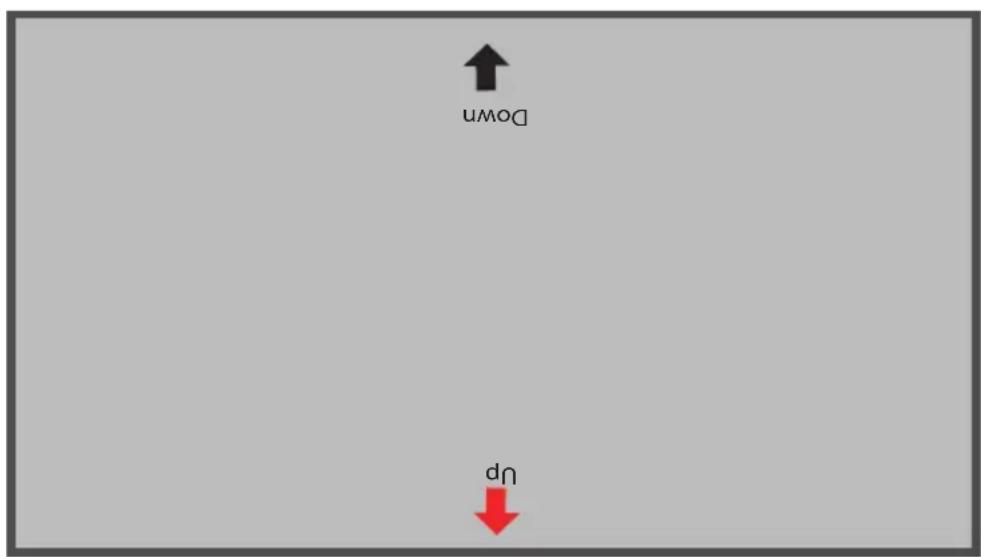

natural_image
Simple line drawing of a Wi-Fi signal icon above a rectangular device (no text or symbols)
natural_image
Diagram showing a vertical structure with a circular inset highlighting a section of a material or component (no text or symbols present)
natural_image
Diagram showing a rod inserted into a vertical structure with an inset magnified view of a mechanical component (no text or symbols)
cautiON
- If the screen is tilted when pulling it down, the screen may not fix to the bracket and result in damage to the screen.
3 Move the screen in all directions to check whether the screen is securely hung on the rings.
SPEciFicatiONS
| ModelSc105 | |
| Width (mm) | 2245 ± 5 mm |
| Height (mm) | 1272 ± 3 mm |
| Frame Height (mm) | 12.0 ± 1.0 mm |
| Depth (mm) | 9.1 ± 0.2 mm |
| Weight (kg) | 32.30 kg |

LG
Life's Good
Brand : LG
Model : SC105
Category : Video projector