KAMLI005NHT - Video projector Kogan - Free user manual and instructions
Find the device manual for free KAMLI005NHT Kogan in PDF.


| Brand | Kogan |
| Model | KAMLI005NHT |
| Product Type | Video Projector |
| Display Technology | DLP (Digital Light Processing) |
| Native Resolution | 1920 x 1080 (Full HD) |
| Brightness | 3000 ANSI Lumens |
| Contrast Ratio | 10000:1 |
| Lamp Life | Up to 30,000 hours (Eco mode) |
| Keystone Correction | Vertical ±40° |
| Input Ports | HDMI x2, USB x1, VGA x1, AV x1, 3.5mm Audio Out |
| Built-in Speaker | 5W monaural |
| Projection Distance | 1.0 - 10.0 m |
| Screen Size | 40 - 300 inches |
| Aspect Ratio | 16:9 (native), 4:3 supported |
| Dimensions (W x D x H) | 310 x 250 x 120 mm |
| Weight | 3.2 kg |
| Power Consumption | 250W (max) |
| Power Supply | AC 100-240V, 50/60Hz |
| Maintenance | Clean lens with a soft, dry cloth; replace dust filter periodically |
| Safety Warnings | Do not look directly into the lens; keep away from children |
| Spare Parts Available | Replacement lamp, dust filter |
| Repairability | Lamp and filter user-replaceable; other repairs by qualified technician |
Frequently Asked Questions - KAMLI005NHT Kogan
User questions about KAMLI005NHT Kogan
0 question about this device. Answer the ones you know or ask your own.
Ask a new question about this device
Download the instructions for your Video projector in PDF format for free! Find your manual KAMLI005NHT - Kogan and take your electronic device back in hand. On this page are published all the documents necessary for the use of your device. KAMLI005NHT by Kogan.
USER MANUAL KAMLI005NHT Kogan
natural_image
Line drawing of a projector device with ventilation slots and control buttons (no text or symbols)FULL HD SMART PROJECTOR
(L5N)
KAMLI005NHT
Safety & Warnings 3
Components 6
Overview 7
Before First Use 10
Installation 13
Operation 14
Specifications 24
FAQ 25
Notes 27
SAFETY & WARNINGS
Read this user guide fully and carefully before using the product.
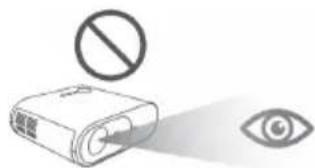
- To avoid eyes injury, do not look directly into the light from the projector.
- A direct burst of intense light can harm your eyes and cause severe damage to the eyes of infants.
- Do not attempt to repair this product yourself. If the product or its power supply experiences any malfunction or damage, cease use immediately and contact help.Kogan.com for support.
- Ensure the projector is a safe distance from any heat-emitting devices or the service life of the projector may be shortened.
- To ensure a stable power supply, ensure the electrical outlet used has the appropriate protection measures, such as grounding.
- Do not use any power cord other than the one supplied with this product.
- This product does not contain any user serviceable parts. Do not disassemble or modify this product in any way.
- Do not place this product on any items that may block the ventilation openings (cloth, blankets, etc.).
- This product is not waterproof, to prevent electric shock, do not expose the device to rain or water.
- Do not place any items containing liquids near the device.
- Do not use or operate this product in a damp, humid environment.
- If this product will not be used for an extended period, disconnect the power cord.
- To avoid damage, when transporting this product, place it back in its original packaging.
- Use the product in the environment with temperature in the range of 5–35° and do not use it in a place below 2,000 meters above sea level.
- Use the power cable with caution to avoid unduly bending. A damaged power cable may cause electric shock.
- Always use the projector with caution to avoid dropping, which may damage the internal components.
- Ensure the electrical outlet used matches the power voltage as marked on the projector.
- For optimum performance, use the projector in a dark room.
- Do not disassemble or modify the projector in anyway.
- Turn off and unplug from the power supply if not using the projector for a long time.
The following safety instructions ensure the long service life of the projector to avoid fire or electric shock, read carefully and pay attention to the following warnings.
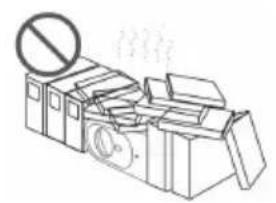
Don't install the projector in sites with poor ventilation.
natural_image
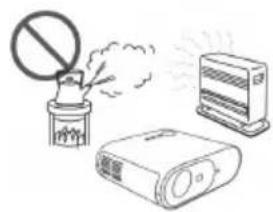
Illustration of three electronic devices: a spray bottle emitting smoke, a printer with a flame, and a projector (no text or symbols)Don't install the projector in hot and humid environments.

Don't install the projector near temperature sensors or smoke detectors. It may cause a sensor failure.
natural_image
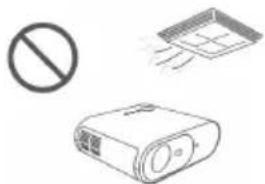
Illustration of three electronic devices: a prohibition symbol, a screen with heat emission, and a projector (no text or labels)Don't install the projector in locations exposed to warm and cool airflow (heater vents, air conditioner etc.).
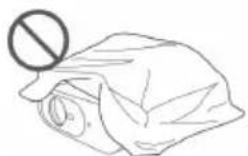
Do not cover the projector ventilation holes with any material.
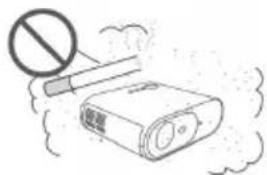
Don't install the projector in dusty or smoky environments.
natural_image
Illustration of a rolled document with a prohibition symbol and an eye, no text or labels present.Never look directly into the lens when the projector is operating. Doing so may damage your eyes.
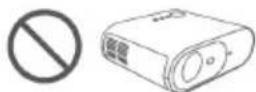
Please keep the projector away from water or any other liquid as it is not waterproof.
FCC Statement
This equipment has been tested and found to comply with the limits for a Class B digital device, pursuant to part 15 of the FCC Rules. These limits are designed to provide reasonable protection against harmful interference in a residential installation. This equipment generates, uses and can radiate radio frequency energy and, if not installed and used in accordance with the instructions, may cause harmful interference to radio communications. However, there is no guarantee that interference will not occur in a particular installation. If this equipment does cause harmful interference to radio or television reception, which can be determined by turning the equipment off and on, the user is encouraged to try to correct the interference by one or more of the following measures:
- Reorient or relocate the receiving antenna.
- Increase the separation between the equipment and receiver.
- Connect the equipment into an outlet on a circuit different from that to which the receiver is connected.
- Consult the dealer or an experienced radio/TV technician for help.
Caution: Any changes or modifications to this device not explicitly approved by manufacturer could void your authority to operate this equipment.
This device complies with part 15 of the FCC Rules. Operation is subject to the following two conditions:
- This device may not cause harmful interference.
- This device must accept any interference received, including interference that may cause undesired operation.
RF Exposure Information
This equipment complies with FCC radiation exposure limits set forth for an uncontrolled environment. This equipment should be installed and operated with minimum distance 20cm between the radiator and your body.

HIGH-DEFINITION MULTIMEDIA INTERFACE
The terms HDMI and HDMI High-Definition Multimedia Interface, and the HDMI Logo are trademarks or registered trademarks of HDMI Licensing LLC in the United States and other countries.
COMPONENTS
natural_image
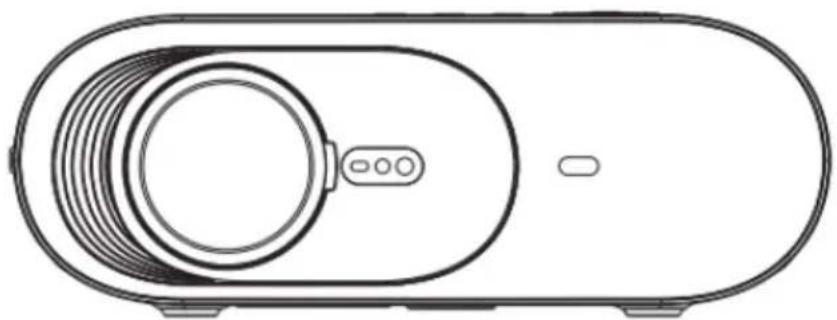
Line drawing of a projector with a circular lens and control buttons (no text or symbols)Projector
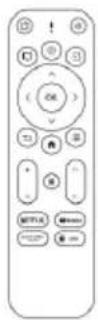
Remote Control
Lens cover
natural_image
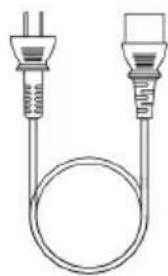
Simple line drawing of two electrical plugs connected by a coiled cable (no text or symbols)Power Cable
natural_image
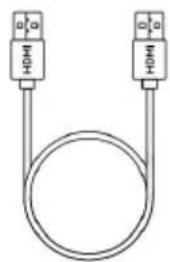
Simple line drawing of two connected devices with a coiled cable (no text or symbols)HDMI Cable
natural_image
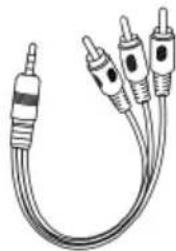
Line drawing of a three-pin audio jack cable (no text or symbols)AV Cable
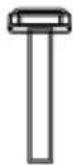
Screw Stand
natural_image
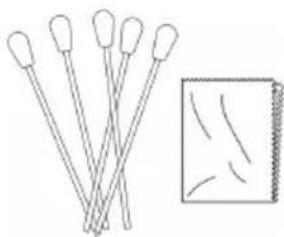
Illustration of multiple matchsticks arranged in a cross pattern next to a magnified inset showing fine brush strokes (no text or symbols)Cleaning Kit
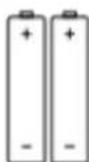
Battery (x2)
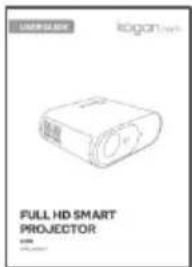
User guide
OVERVIEW
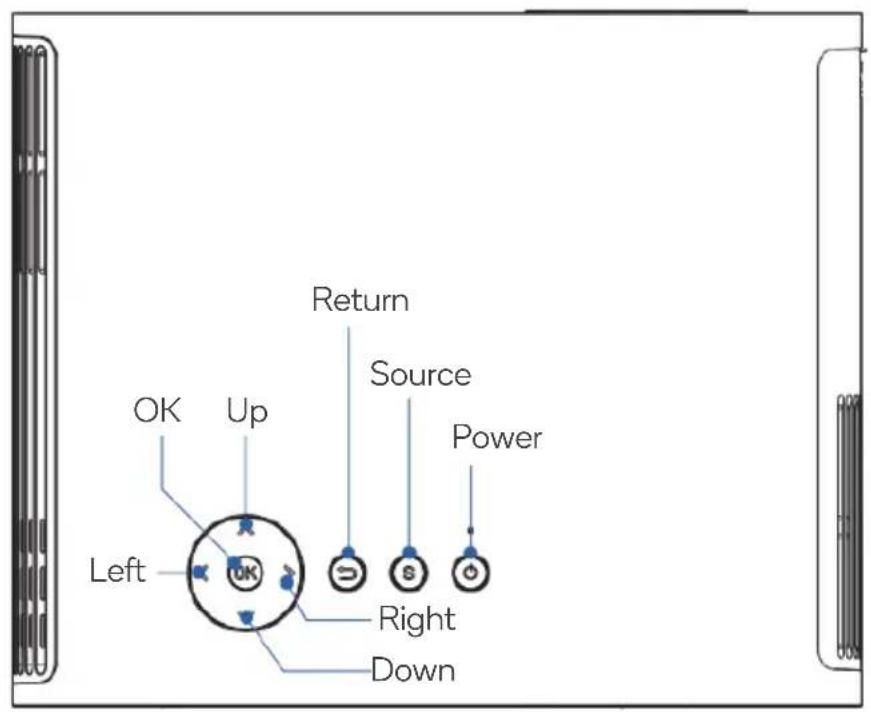
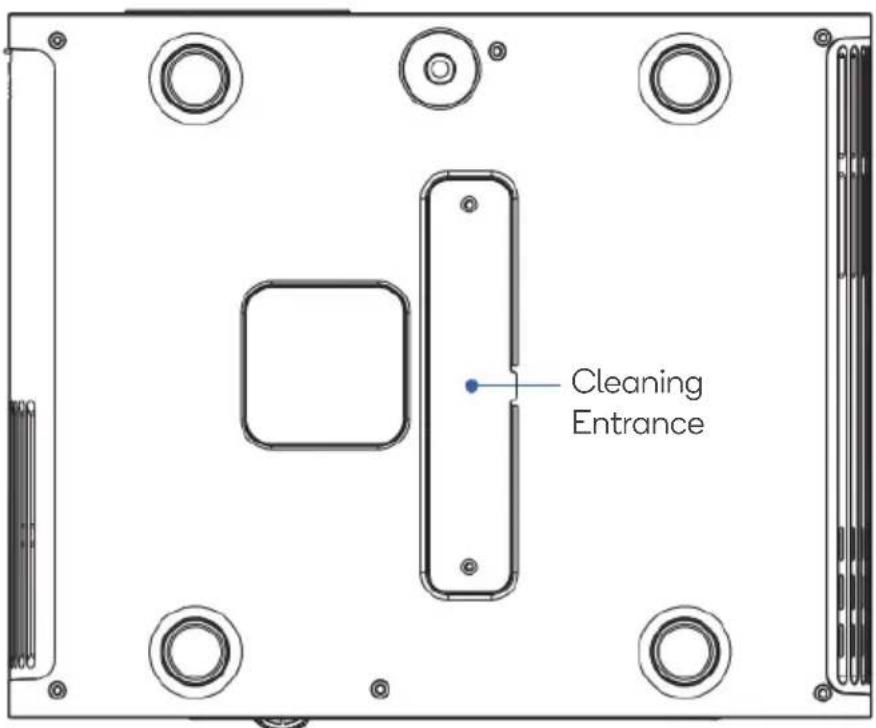
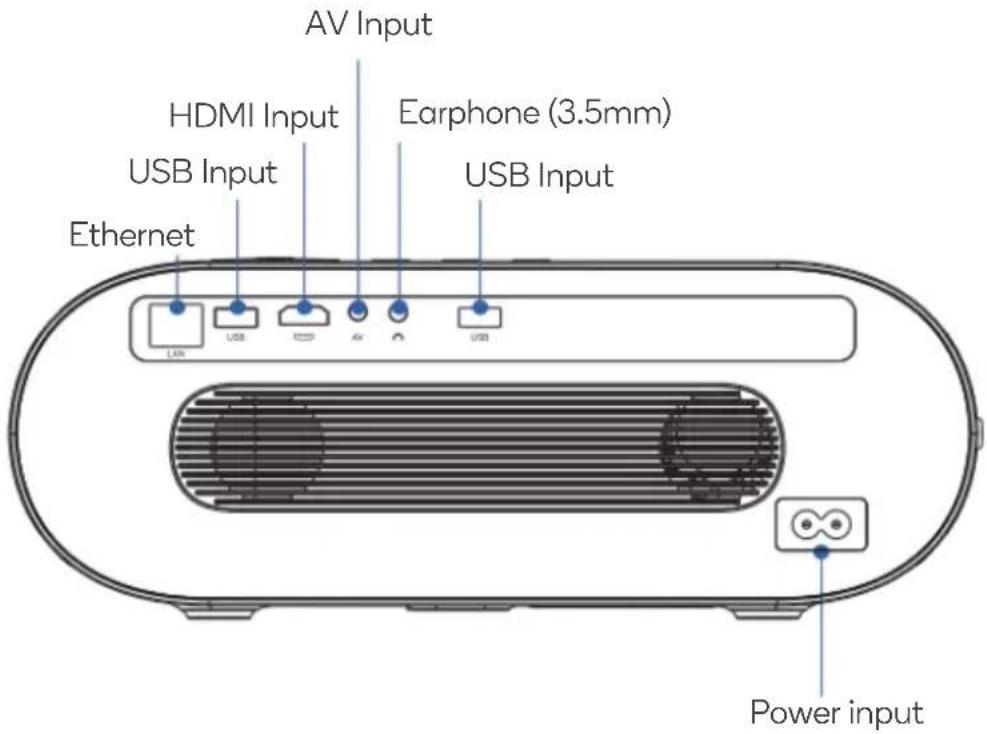
Remote Control
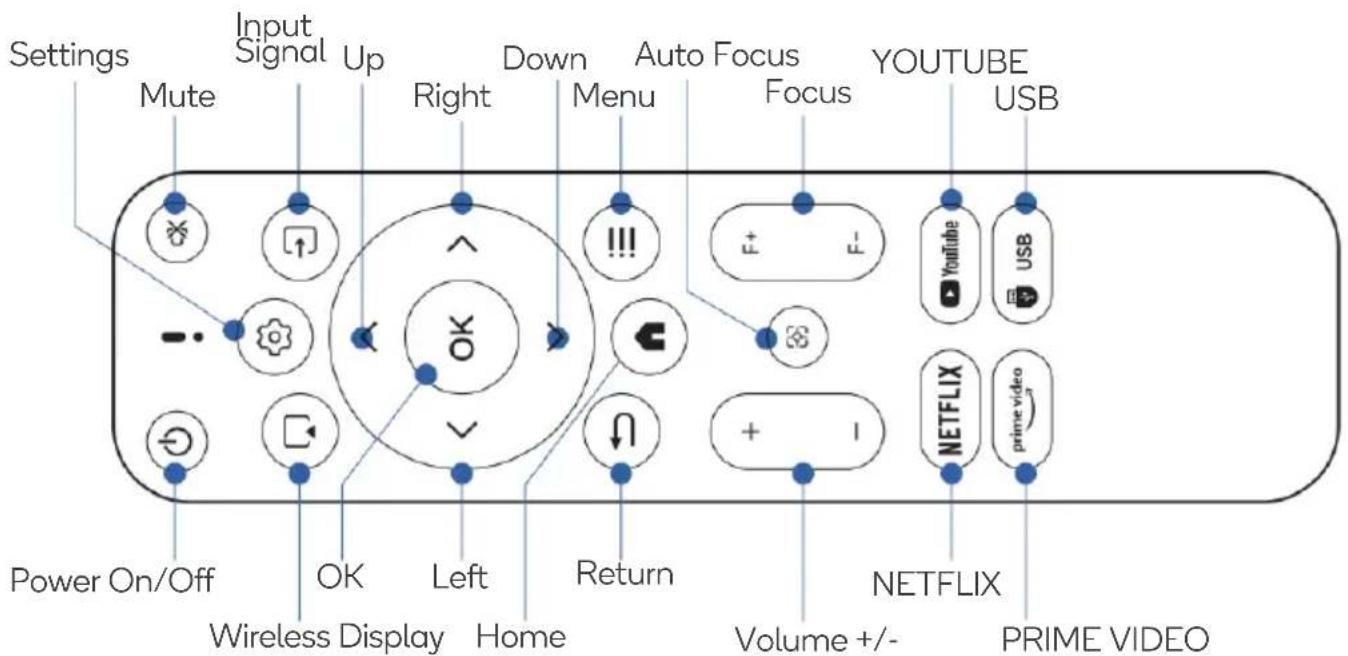
Remote Tip:
- Do not submerge the remote control in the water.
- Do not put the remote control near fire or in wet or hot places.
- Do not use old and new batteries together in the remote control.
- Remove the batteries out if not using the remote control for a long time to avoid battery leakage.
• Always point the remote control toward the IR receiver. - Use the remote control within 6 meters distance and 30^ angle.
Projector Tips:
1. Blurry Image
- Slightly correct the keystone to rectangle.
- Press the focus button on remote control to get the best clarity.
- Slightly adjust the angle of the projector to autofocus.
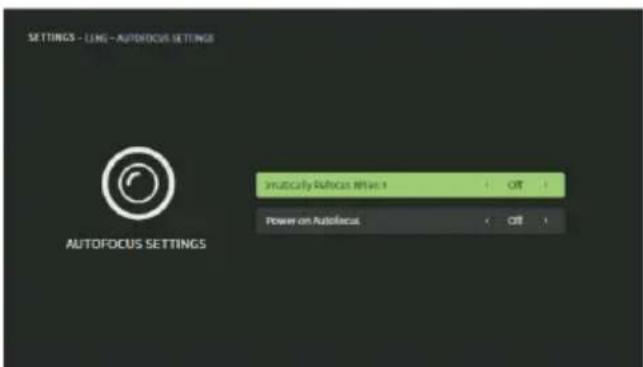
- Go to Settings - More Settings - Lens - Autofocus Settings to set Automatically Refocus When Moved or Power - on Autofocus.
2. Mounting Hole
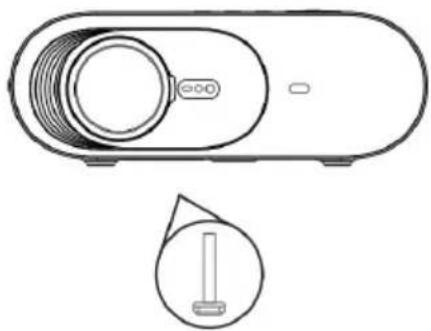
Adopting a single mounting hole dual-use design, the projector is compatible with a Standard camera tripod and 1/4inch screw projector tripod stand. You can rotate 360° the screw to suit different projection angle requirements.
BEFORE FIRST USE
Power On/Off
natural_image
Hand pressing a button on a tablet device (no text or symbols visible)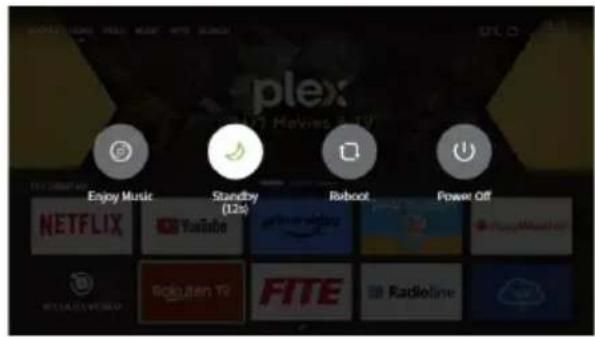
-
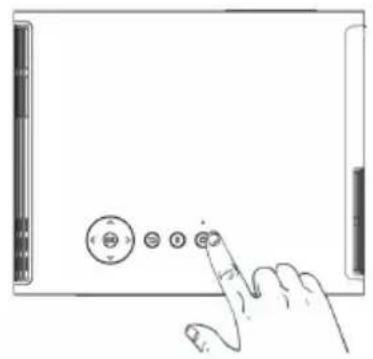
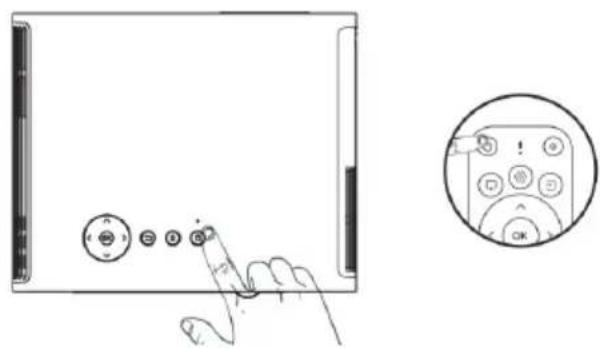
Power on: When the projector is off, connect the power cable to the power input port and connect the other end to an electrical outlet. Press the power button on the projector or the remote control to power on.
-
Power off / Reboot / Standby: When the projector is on, press the power button on the projector or the remote control to power off / reboot / standby.
Focus
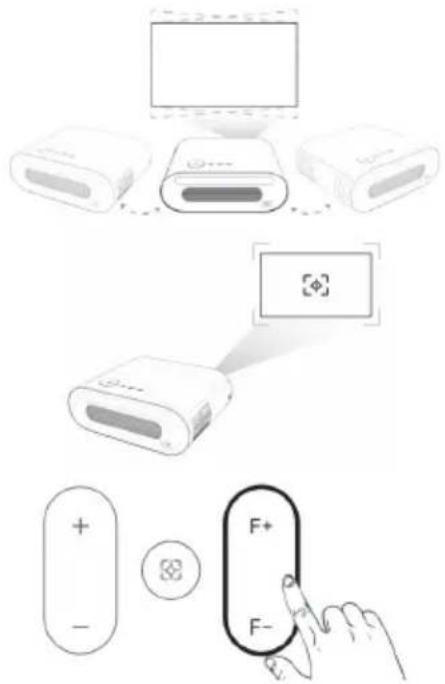
Auto Focus:
Go to Settings - More Settings - Lens - Autofocus Settings to enable Automatically Refocus When Moved, slightly swing the angle of the machine to autofocus.
Auto Focus:
Go to Settings - More Settings - Lens - Autofocus Settings to enable Power-on Autofocus, it will autofocus to keep image clear when it is power-on.
Manual focus:
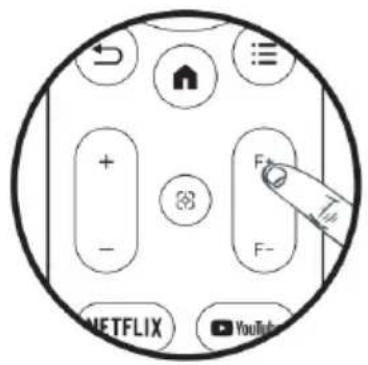
Press the focus button on the remote control to adjust focus.
Getting Started
- Place the projector on a flat, stable surface and adjust the height to project onto the desired screen or wall.
- Ensure the projector has been connected to an electrical outlet using the power cable.
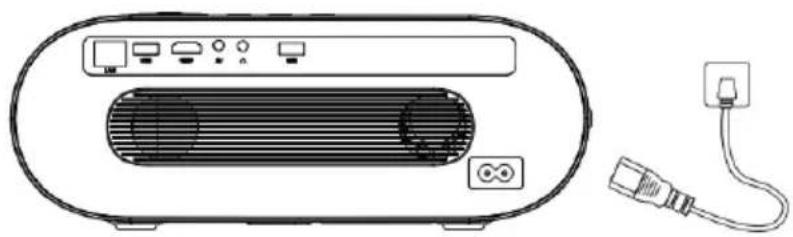
natural_image
Line drawing of a portable electronic device with ports and a separate plug (no text or symbols)- Press power button to turn the projector on.
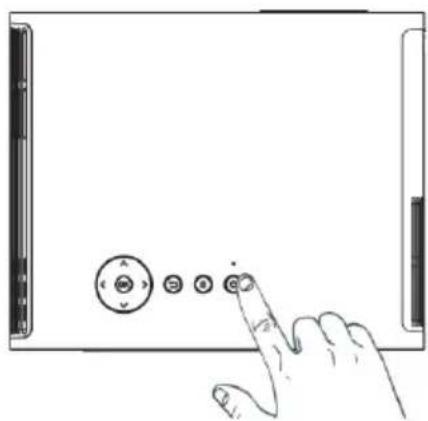
natural_image
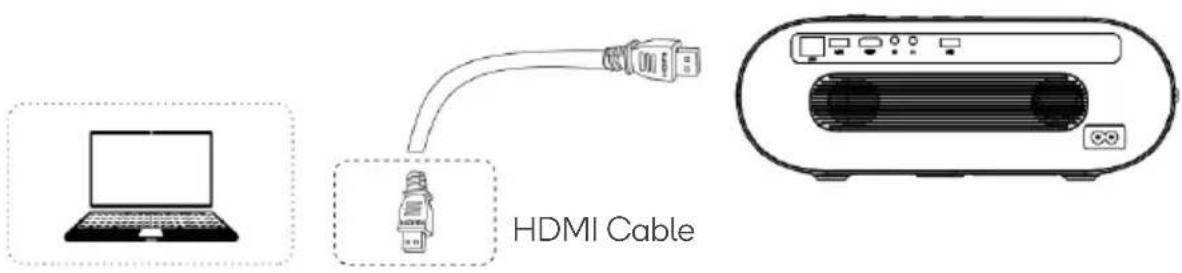
Line drawing of a hand pressing a button on a tablet device (no text or symbols)- Connect projector to an output device using the supplied HDMI cable.
- Adjust here accordingly.
natural_image
Line drawing of a remote control device with a circular component and a magnified inset showing a cylindrical component (no text or symbols)- Use the manual focus by pressing the "Focus" button on the remote control.
- When finished, press the power button to turn the projector off.
Tips: Ensure the projector is horizontal to the projector screen.
INSTALLATION
Mount your projector on the ceiling
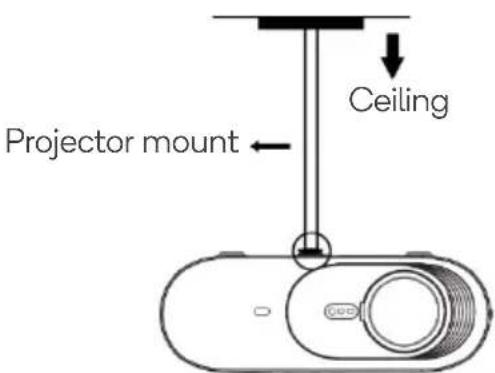
- If installing the projector on the ceiling, purchase a projector bracket recommended by a trade professional and follow the instructions supplied with the bracket. Note: Projector bracket and screw(s) are not included.
- Before installing the projector on the ceiling, check if the mounting structure can support the weight of the projector and the bracket. If in doubt, consult a trade professional.
Projection Distance and Screen Size Recommended Projection Distance: 39-90 inches
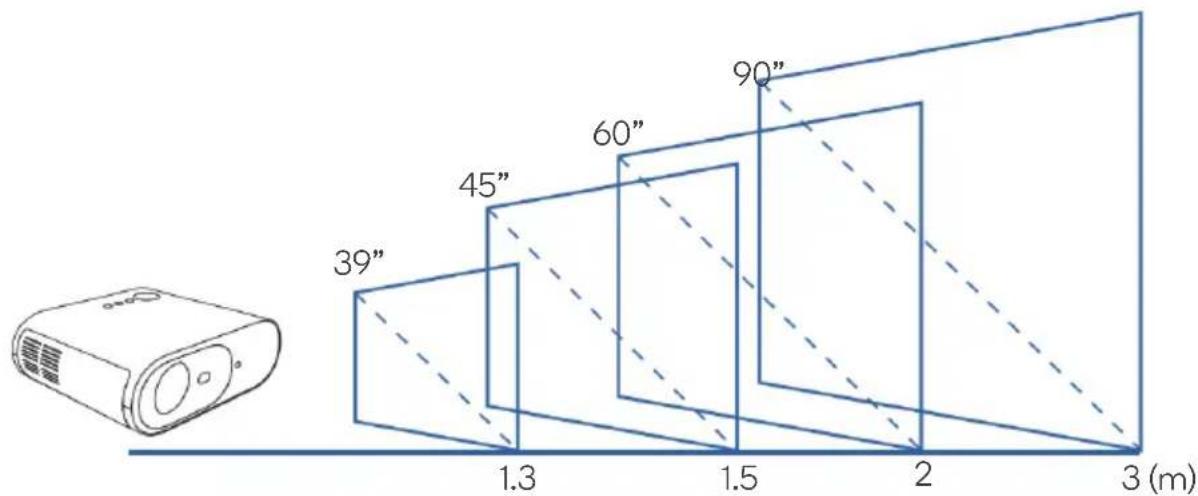
Note:
Because the optical device has approximately 3% error, the above data is for reference only, always install the projector according to the actual measurement.
OPERATION
Settings
Press the Settings button on the remote control to open the settings menu.
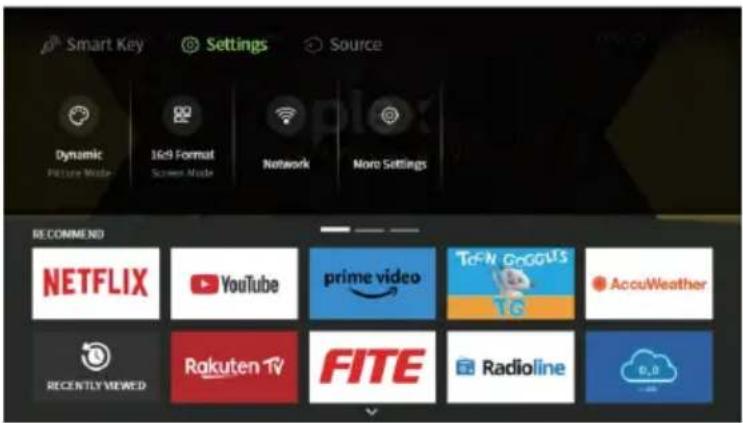
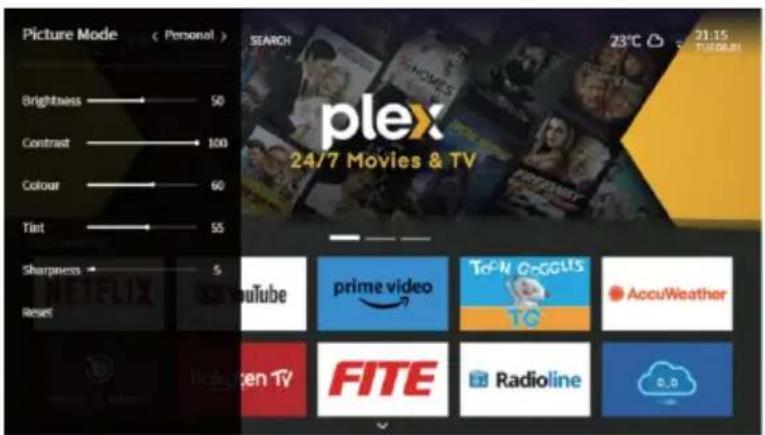
Picture Mode
Settings → Picture Mode: To adjust the picture settings according to your needs.
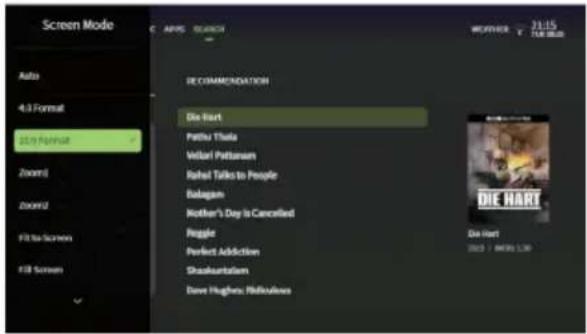
Screen Mode
Settings → Screen Mode: Select different screen size when using the HDMI/AV/USB function.
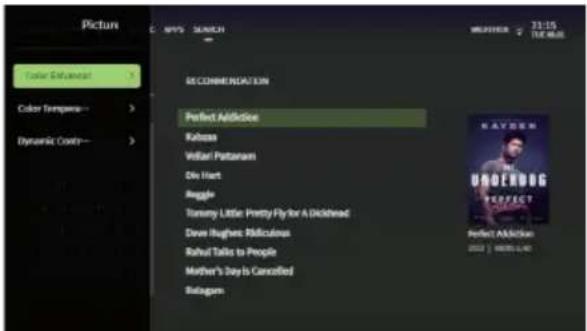
Picture
Settings → More Settings → Picture: Set the display parameters, such as colour enhancement, colour temperature and dynamic contrast.
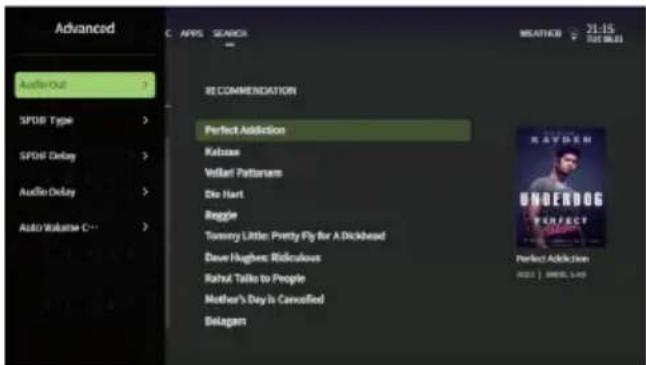
Sound
Settings → More Settings → Sound: Set function control of audio output, such as audio out, SPDIF type, SPDIF delay, audio delay and audio volume control.
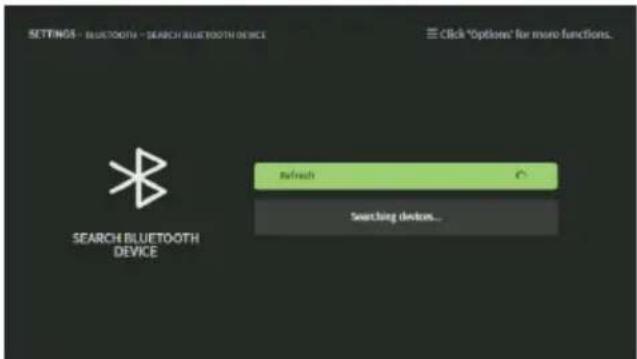
Bluetooth
Settings → More Settings → Bluetooth: Turn on the Bluetooth function, click "Search Bluetooth Device; the projector will refresh and search for nearby devices. Find your Bluetooth device to pair.
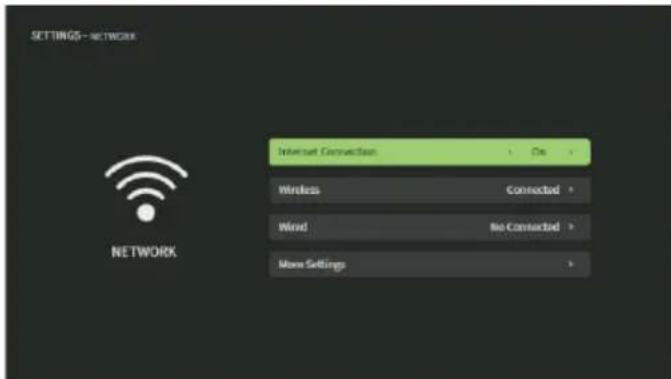
Network
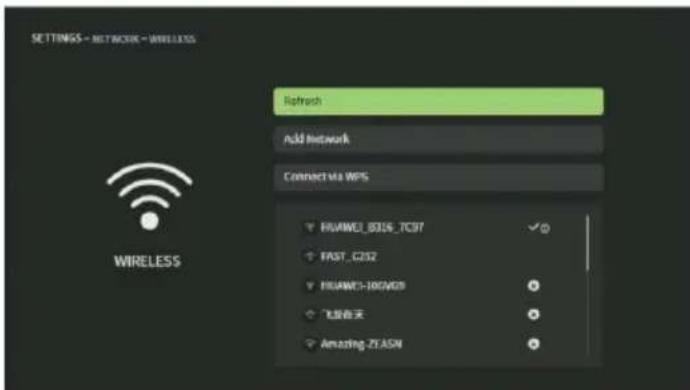
Settings → More Settings → Network: Setup your internet connection, wireless connection, wired connection and other network settings.
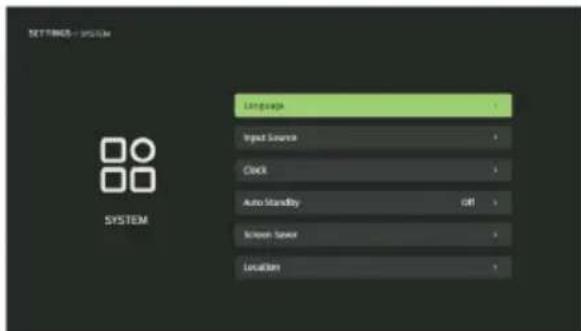
System
Settings → More Settings → System: Set language, input source, clock, auto standby, screen saver, location.
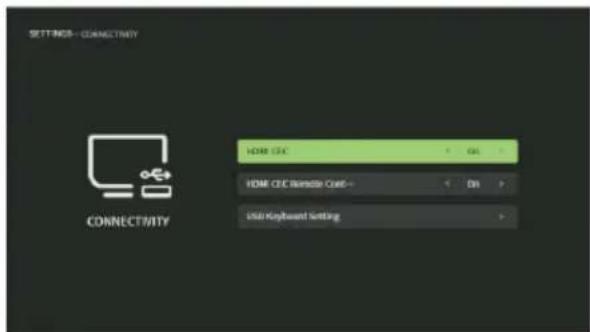
Connectivity
Settings → More Settings → Connectivity: To enable the HOMI-CEC function and set USB keyboard options.
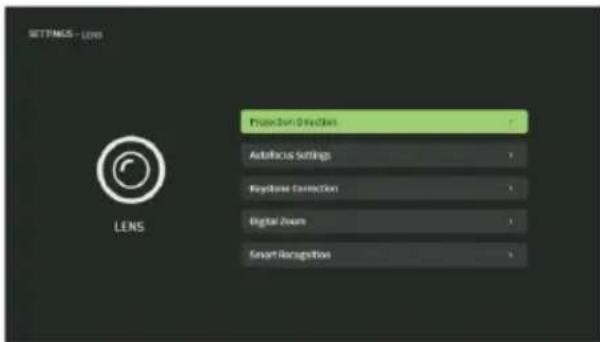
Lens
Settings → More Settings → Lens: Set projection direction, autofocus, keystone correction, digital zoom, smart recognition.
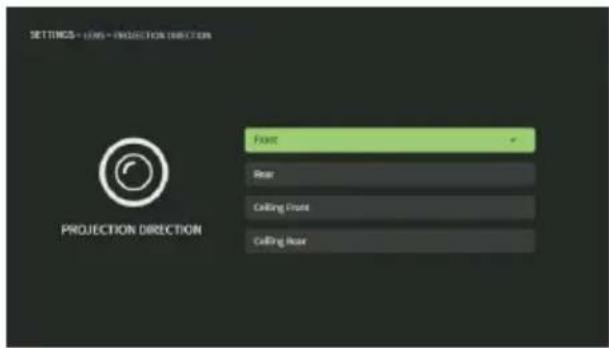
Projection Direction
Select from one of the four projection modes depending on the orientation of your projector. (Front, Rear, Ceiling Front, Ceiling Rear).
Autofocus
Select from two modes (Automatically Refocus When Moved, Power-on Autofocus).
Keystone Correction
Select from two modes (Auto Keystone Correction, 4-Corner Correction).
![SETTINGS~ _ = REVISIONS CORRECTIONS - A CORNER CORRECTION R: 000 Y: 000 [OK] Select Corner (+ - 1 → ↓) Adjust Angle [≡] Reset [BACK] Go Back](/content/2026/05/1063909/images/083a80d3eec97a90b6ce9f8c66741021c223efd1cf1a5689ad6b16ca6065f700.jpg)
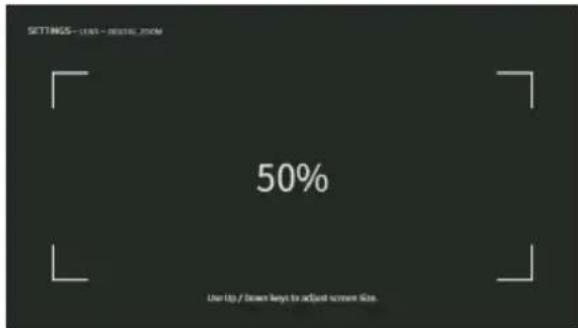
Digital Zoom
Use the Up / Down directional buttons to adjust screen size.
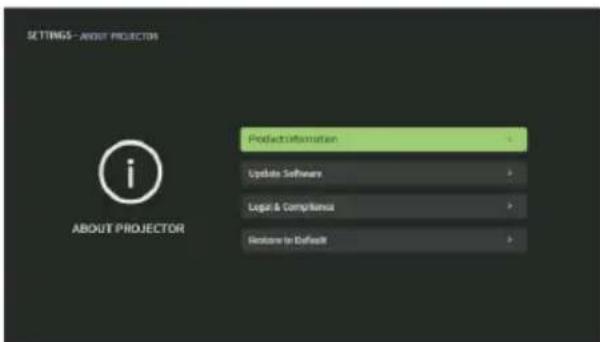
About Projector
Settings → More Settings → About Projector: Check the product information, update system and restore to default.
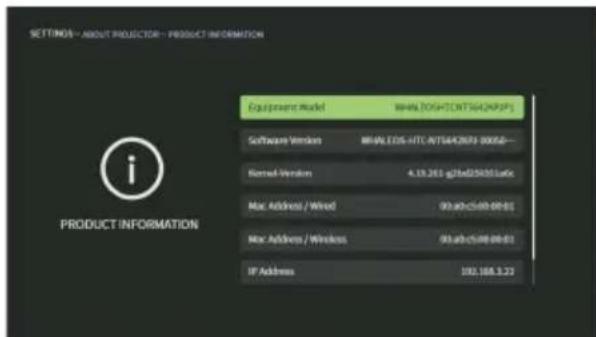
Product Information
Check the software system parameters of the projector.
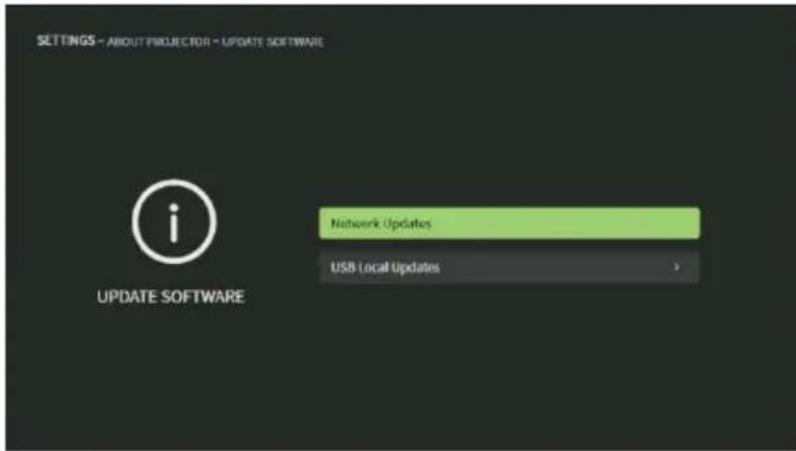
Update Software
Check for the latest firmware version, update status and upgrade the latest version.
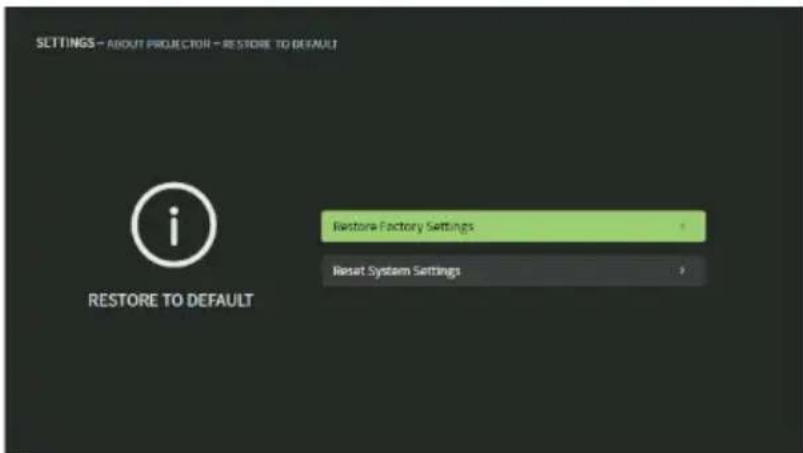
Restore To Default
Two options are available (Restore Factory Settings, Reset System Settings):
- If selecting "Restore Factory Settings", the system will reset and the user data on the projector will be declared.
- If selecting "Reset System Settings", the picture and sound mode settings will be restored.
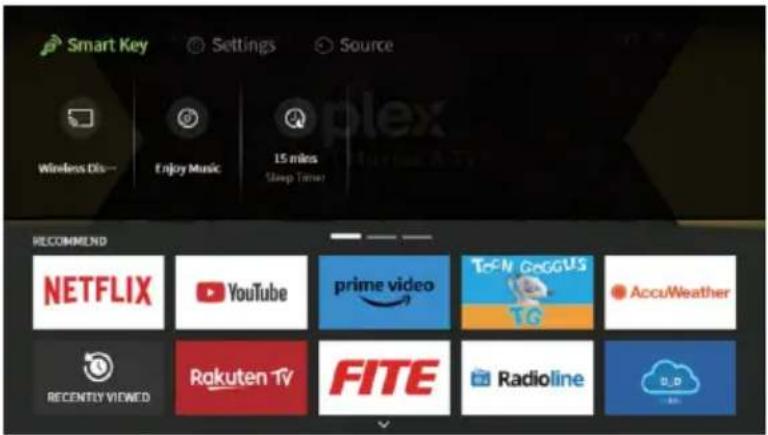
Smart Key
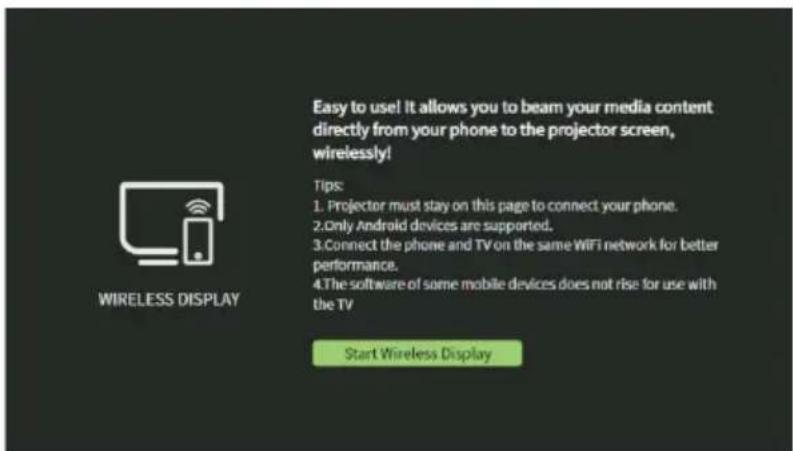
Wireless Display
Smart Key → Wireless Display → Enter the wireless display: Connect an Android device and projector to the same network, then click "Start Wireless Display", find the projector name on the Android device and connect to stream directly from your android device.
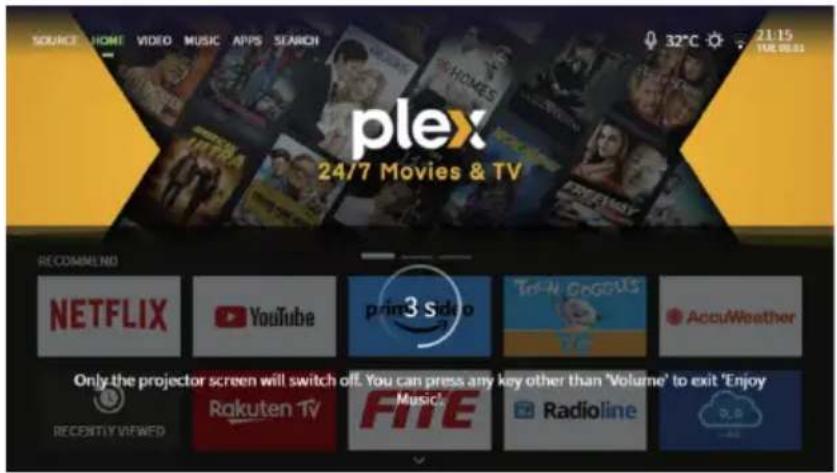
Enjoy Music
Smart Key → Enjoy Music: When using the projector to play audio, enable on this function, the screen will sleep, but you can still adjust the volume to enjoy your music.
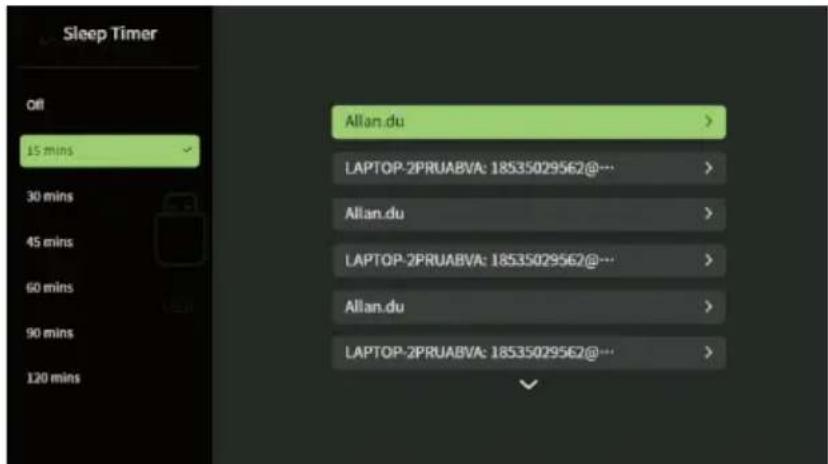
Sleep Timer
Smart Key → Sleep Timer: Set the automatic standby time of the projector.
HDMI / AV / USB
Source → (HDMI / AV / USB) Choose different input source according to what you have connected to the projector.
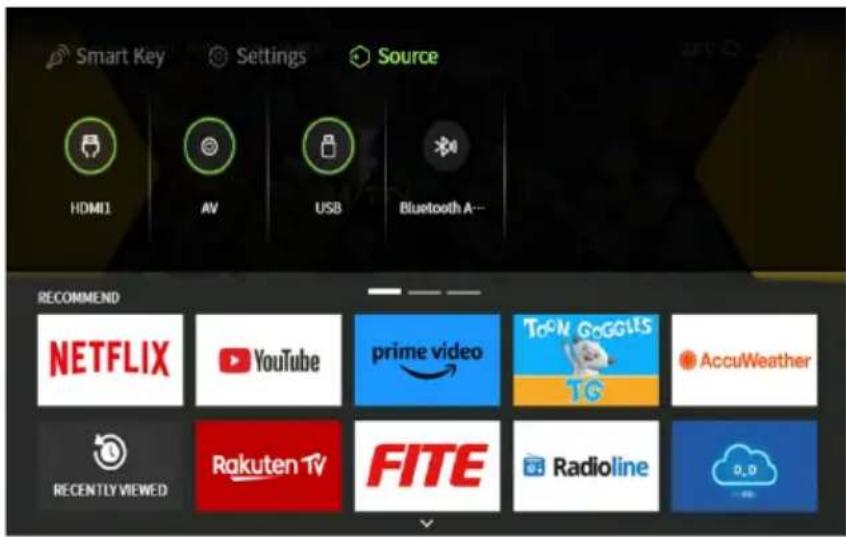
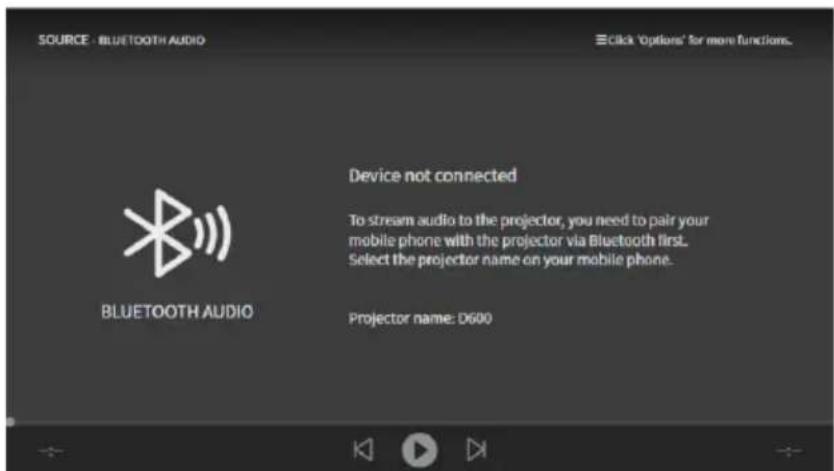
Bluetooth Audio
Source → Bluetooth Audio: Pair your mobile phone with the projector via Bluetooth and select the projector name on your mobile phone.
SPECIFICATIONS
| Imaging technology | TFT LCD |
| Resolution | 1920x1080 |
| Maximum compatible resolution | 4K |
| Light | LED |
| Input | AV x 1/ USB x 2/ HDMI x 1/ Ethernet x 1 |
| Projection ratio | 1.5:1 |
| Aspect ratio | 16:9 |
| Focus mode | Electrical Focus, Autofocus |
| Power input | 100-240V~50/60Hz 2.5A |
| Output | Earphone |
| Speaker | 8Wx1 |
| Unit size | 302x251x112mm |
| Net weight | 2380g |
FAQ
Problems listed below might occur during the operation of your projector. Refer to the possible factors which might cause the issue to do troubleshooting.
Q: Why is the audio of the projector available but no display?
• A1: The video format is not supported by the projector.
• A2: Encryption applied to the videos or media player which holds the video.
- A3: If the lamp of the projector is off with only audio playing, the lamp is defective.
• A4: Try another HDMI cable if you select the HDMI Input source.
Q: Why does the projection screen show "No Signal"?
A1: Make sure all cables are plugged correctly and firmly.
A2: Make sure that you choose the correct signal source.
Q: What kind of screws do I need for mounting this projector?
A: 1/4 inch.
Q: What can I do if the image is blurry?
- A1: Press the auto focus button of the remote control / Adjust the focus ring by moving it leftward / rightward till it shows the correct image.
- A2 Place the projector on a flat surface horizontally or vertically. An inclination at any angle may result in blurry displays or uneven colours.
• A3: Darker environment suggested achieving the best projection performance. - A4: The required distance between the projector and projecting screen/wall Is 1.25-4 meters.
• A5: Projecting wall or screen is clean white if possible.
Q: What can I do If the image is upside down?
A: Enter Settings → More Settings → Lens → Projection Direction to rotate the Image.
Q: What can I do if the projection screen is not square or aligned horizontally?
- A1: Enter Settings → More Settings → Lens to enable the Auto Keystone Correction or use the 4-Corner Correction to adjust the projection area by pressing the remote control.
- A2: Make sure the projector is placed on a flat surface with a projector light in the middle of the screen.
• A3: Make sure the projector screen is placed horizontally.
Q: What can I do if there is colour distortion?
• A1: Make sure the video source has a fine resolution.
- A2: Enter Settings → More Settings → About Projector → Restore to Default to restore the projector.
Q: What can I do if there is a line/blurry screen in the projection picture?
A: Restart it to see if it can be solved.
Q: What do I do when the remote is unresponsive?
- A1: Make sure the batteries are installed correctly and the power is enough.
• A2: Make sure the IR receiver is not covered.
Q: How do I change the language?
A: Enter Settings → More Settings → System → Language to select your language.
Q: What should I do if there is expanding dark spot or smoke when using the projector?
• A1: Check if the fan noise increases or the fan stops working.
- A2: Make sure the outlet and projector power cable are not wet or humid which may cause sparks or smoke.
Q: Why does the projector shut off during operation?
• A1: Make sure the power cable is working and firmly fitted into the outlet.
- A2: An overheated projector will activate the built-in power-off protection panel. Allow the projector to cool off before restarting.
NOTES
Need more information?
We hope that this user guide has given you the assistance needed for a simple set-up.
For the most up-to-date guide for your product, as well as any additional assistance you may require, head online to help.kogan.com
kogan.com
- FULL HD SMART PROJECTOR
- SAFETY & WARNINGS
- FCC Statement
- RF Exposure Information
- COMPONENTS
- OVERVIEW
- Remote Tip:
- Projector Tips:
- Blurry Image
- Mounting Hole
- BEFORE FIRST USE
- Power On/Off
- Focus
- Auto Focus:
- Manual focus:
- Getting Started
- INSTALLATION
- Mount your projector on the ceiling
- Note:
- OPERATION
- Settings
- Picture Mode
- Screen Mode
- Picture
- Sound
- Bluetooth
- Network
- System
- Connectivity
- Lens
- Projection Direction
- Autofocus
- Keystone Correction
- Digital Zoom
- About Projector
- Product Information
- Update Software
- Restore To Default
- Smart Key
- Wireless Display
- Enjoy Music
- Sleep Timer
- HDMI / AV / USB
- Bluetooth Audio
- SPECIFICATIONS
- FAQ
- Q: Why is the audio of the projector available but no display?
- Q: Why does the projection screen show "No Signal"?
- Q: What kind of screws do I need for mounting this projector?
- Q: What can I do if the image is blurry?
- Q: What can I do If the image is upside down?
- NOTES
- Need more information?
Brand : Kogan
Model : KAMLI005NHT
Category : Video projector