
228 - Trennsäge RIDGID - Kostenlose Bedienungsanleitung
Finden Sie kostenlos die Bedienungsanleitung des Geräts 228 RIDGID als PDF.


| Produkttyp | Trensäge (Rohrverbindungswerkzeug) |
| Marke | Ridgid |
| Modell | 228 |
| Kapazität | 2 bis 8 Zoll Rohrdurchmesser |
| Antrieb | Manuell (Ratschenmechanismus) |
| Funktion | Montage von Rohrverbindungen mit Gummilippendichtung |
| Hauptkomponenten | Jochgriff, Schwenkmutter (2), Kette, Gelenkmutterhalterung, Keil, Block |
| Montage | Dichtung einlegen, Kette um Muffe spannen, Rohr einstecken, Kette um Spitzende spannen |
| Betrieb | Jochgriff anheben, in Kerbe einhaken, nach vorne ziehen; Ratschenbewegung wiederholen |
| Vertikale Montage | Jochgriff abnehmen, Flügelschraube festziehen, Klemme auf Dichtungsflansch setzen |
| Demontage | Gelenkmutterhalterung nahe Muffe positionieren, Ratschenbewegung umkehren |
| Wartung | Dichtungen und Ketten regelmäßig reinigen, bewegliche Teile ölen |
| Sicherheit | Schutzhandschuhe tragen, auf festen Stand achten, Rohr vorher anfasen |
| Ersatzteile | Dichtungen, Ketten, Schwenkmuttern separat erhältlich |
| Reparierbarkeit | Verschleißteile austauschbar, Zerlegung möglich |
Häufig gestellte Fragen - 228 RIDGID
Benutzerfragen zu 228 RIDGID
0 Frage zu diesem Gerät. Beantworten Sie die, die Sie kennen, oder stellen Sie Ihre eigene.
Eine neue Frage zu diesem Gerät stellen
Laden Sie die Anleitung für Ihr Trennsäge kostenlos im PDF-Format! Finden Sie Ihr Handbuch 228 - RIDGID und nehmen Sie Ihr elektronisches Gerät wieder in die Hand. Auf dieser Seite sind alle Dokumente veröffentlicht, die für die Verwendung Ihres Geräts notwendig sind. 228 von der Marke RIDGID.
BEDIENUNGSANLEITUNG 228 RIDGID
Capacity 2" through 8"

Assembling Procedure
NOTE! For ease of attaching tool to pipe on vertical and overhead runs, remove Yoke Handle by pulling out Knurled Knobs.
- Block up bell side of joint using a 2 x 4 block.
- Insert and lubricate gasket.
- Grasp Gasket in both hands with thumbs near inner end and press as though to turn inside out. Insert gasket so that only lip is exposed outside of hub, release and gasket will snap into place.
- Place housing end of tool on bell so that chain surrounds bell as tightly as possible and hook into slot. Tighten chain with Swivel Nut Handle.
- Lift Yoke Handle out of notch in slide and pull slide away from bell as far as possible when assembling straight lengths of pipe. When assembling fittings, pull slide out only to maximum distance that Hinged Nut Bracket and chain can be clamped to straight portion of fitting.
NOTE! On smaller soil pipe sizes this will not be full travel of slide.
- Start plain end of pipe or fitting into gasket. End of cut pipe should be chamfered.
- Wrap chain around plain end of pipe and tighten chain with swivel nut handle.
Operating Procedure
- Straddle bell end-face toward joint. Lift Yoke Handle, lean forward and engage handle with Notch in slide.
- Pull on Yoke Handle to assemble joint.
- If joint is not fully assembled on first pull, lift Yoke Handle and move forward to next notch, in a ratcheting action, and finish assembling.
- For vertical runs remove Yoke Handle and clamp slide to "IN" position by tightening wing screw at side of housing. Rest hook and bracket on gasket flange while clamping tool to bell.
- Back off wing screw, position slide to "OUT" position, tighten wing screw and clamp to spigot.
NOTE! Wing screw is located on other side of housing.
- Back off wing screw before operating.
Disassembling Procedure
Attach tool as above except position Hinged Nut Bracket close to bell and reverse ratchet action of handle.


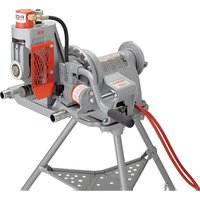
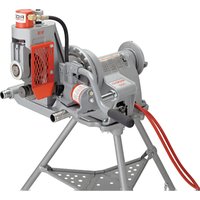
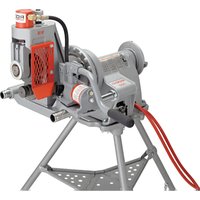
Marke : RIDGID
Modell : 228
Kategorie : Trennsäge