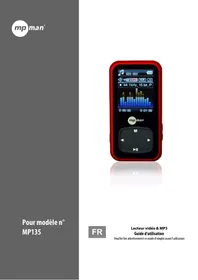
MP-FOL8 - Lecteur audio numérique MPMAN - Notice d'utilisation et mode d'emploi gratuit
Retrouvez gratuitement la notice de l'appareil MP-FOL8 MPMAN au format PDF.


| Type d'appareil | Lecteur audio numérique |
| Format audio supporté | MP3, WMA (général) |
| Capacité de stockage | Non précisé |
| Écran | Écran LCD monochrome |
| Autonomie de la batterie | Environ 8 heures |
| Connectivité | Port USB |
| Fonctionnalités supplémentaires | Lecture aléatoire, répétition |
| Dimensions | Compact et portable |
| Poids | Léger |
| Alimentation | Batterie rechargeable intégrée |
| Contrôle | Boutons physiques latéraux |
| Compatibilité système | Windows, Mac OS (général) |
| Sortie audio | Prise casque 3,5 mm |
| Langues supportées | Multilingue |
| Garantie | Non précisé |
FOIRE AUX QUESTIONS - MP-FOL8 MPMAN
Questions des utilisateurs sur MP-FOL8 MPMAN
0 question sur cet appareil. Repondez a celles que vous connaissez ou posez la votre.
Poser une nouvelle question sur cet appareil
Téléchargez la notice de votre Lecteur audio numérique au format PDF gratuitement ! Retrouvez votre notice MP-FOL8 - MPMAN et reprennez votre appareil électronique en main. Sur cette page sont publiés tous les documents nécessaires à l'utilisation de votre appareil MP-FOL8 de la marque MPMAN.
MODE D'EMPLOI MP-FOL8 MPMAN
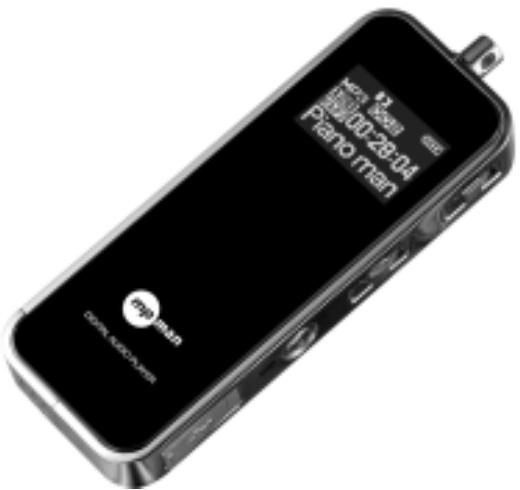
Digital Audio Player
User's Guide
Copyright © 2003 EZMAX. All rights reserved.
Advance permission of EZMAX is required to use User's Guide, photos, the related documents and software of the product. Any violation may follow the legal measures.
The contents of the User's Guide are subject to change without prior notice for further improvement of the product.

Table of Contents
1 Before Use
- Product & Accessories......2
- PC System Requirement... .3
- Safety Precaution 4
- Features of Product............5
Designation of Product
- Front/Rear View............ 7
- Side View. 8
- Display 9
3 Preparation
- Connecting Player to PC.... 10
- Installing USB Driver...... 11
- Running Basic Functions. 19
- Installing Logo Editor & Applying Logo to Player 22
4 Basic Functions
- Basic Operation 23
-
Power ON/OFF 26
3.Mode Menu 27 -
Upgrade 34
Function Menus
- PLAYBACK 37
2.EQUALIZER 38 - SRS 39
- DELETE 41
- ENCODE 42
- SETTING 43
7 DISPLAY 47
Others
- About Battery 48
- How to set HOLD 49
- Trouble Shooting.... 50
- Product Specification...... 52
1
1. Product & Accessories
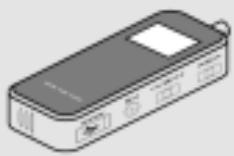
MP3 Player
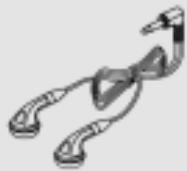
Earphone
User's Guide
Program CD

USB Cable
AAA size Battery
Line in Cable

Necklace

Carrying Case
!NOTE: Accessories are subject to change without prior notice for further improvement of the product performance and quality.
1
2. PC System Requirements
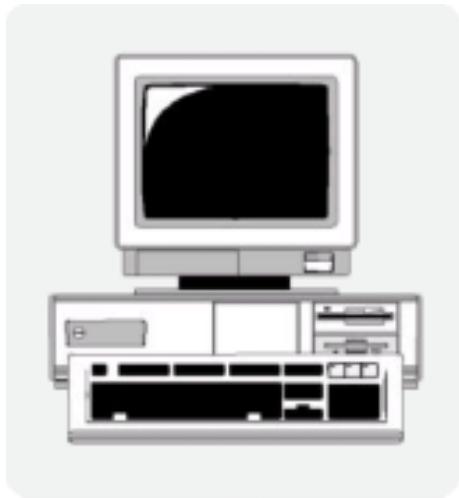
The followings are the basic requirements of the PC to use the MP3 Player. Please carefully read and confirm the requirements.
Pentium 200MHZ or above
Windows 98SE / ME / 2000 / XP (Windows 98 - Install Driver)
Mac OS 9.0 / 10.0
USB (Universal Serial Bus) Port
CD-ROM Drive
- Hard Disc Space 20MB or above (Additional capacity is required to save the music file.)
64MB RAM or above
!NOTE: Actually available built-in memory in this player is less than the nominal capacity of the product because the FirmWare uses a part of the capacity to drive the system.
1 3. Safety Precaution
Listening to Music...
The output class of the product guarantees the best possible sound of the mid-size volume. As the high volume for a long time may damage the hearing, listen to music in moderate volume.
Do not exposure to the strong shock or vibration.
Please take good care of handling the product and accessories. Dropping on the floor or giving a shock may result in a serious damage of the product.
Storing the Product...
Avoid storing in the extreme change of temperature, high humidity and the strong magnetic field.
Cleaning the Product...
The chemical may discolor or damage the surface of the player. Use the soft cloth to gently clean the player.
Using the Battery...
If you do not use the Player for a long time, do not insert a battery in the Player.
!NOTE: Do not disassemble, repair or reconstruct the product.
1
4. Features of the Product (1)
Multi-Codec Player
Compatible with MP3, WMA and ASF (Audio) formats
Superior Sound Quality SRS (Sound Retrieval System) WOW
The introduction of the SRS allows the 3D surround effect, and the user to define its own unique sound effect. Enjoy a new variety of the 3D surround effects.
Organic EL Display
A Graphic display with blue EL4 line enhances the high-class image.
FirmWare Upgrading
Upgrade FirmWare to add/change/improve functions and performance of the Player. Always enjoy the music in the latest version of performance.
Voice Recording
The superior sound quality voice recording function allows the clear recording in the conferences and lectures.
FM Radio
Conveniently enjoy the FM radio with a variety of functions such as the manual/automatic frequency search, automatic tune to the radio station, and the station preset.
1
4. Features of the Product (2)
Simple and Fancy Design
Reflects the 2004 new design trend.
6 Preset Equalizer
You can produce your own sound quality with the 5-band User EQ and 5 recommend EQs including Normal, Classic, Pop, Rock and Jazz.
Easy Navigation
A tree configuration allows the easy search and control.
Caption the Text of the Song
The text of the song is shown in two lines on the display during the playback.
Compatible with the Removable Disk Unit
It is recognized as a removable disk unit if connecting to the PC to upload or download files without Manager program.
Direct Encoding
Use the LINE IN on the player to convert the external sound into the audio file. Also use the FM radio to convert the radio broadcasting into the audio file while listening to the FM radio.
Show My Own Sense of Logo on My Player
User can display the self-created logo on the Player..
2 1. Front/Rear View of the Product
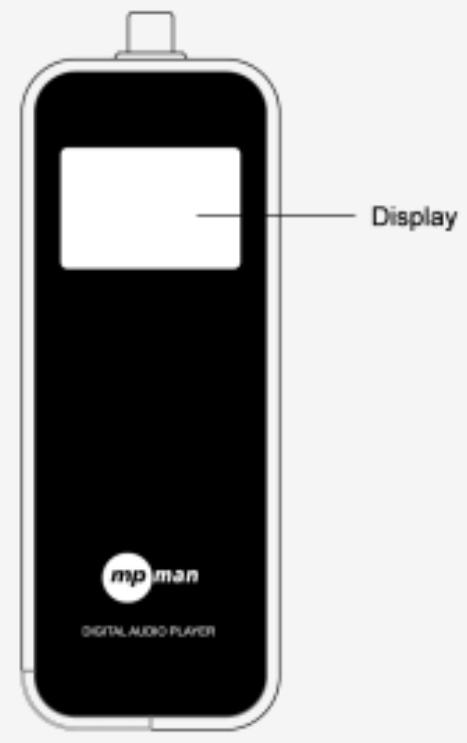
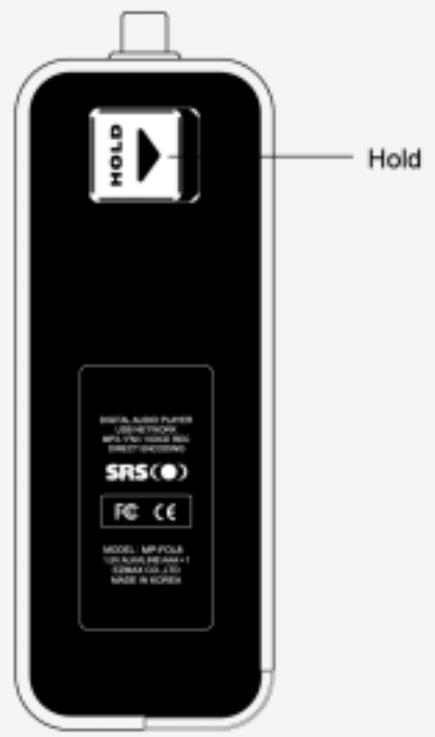
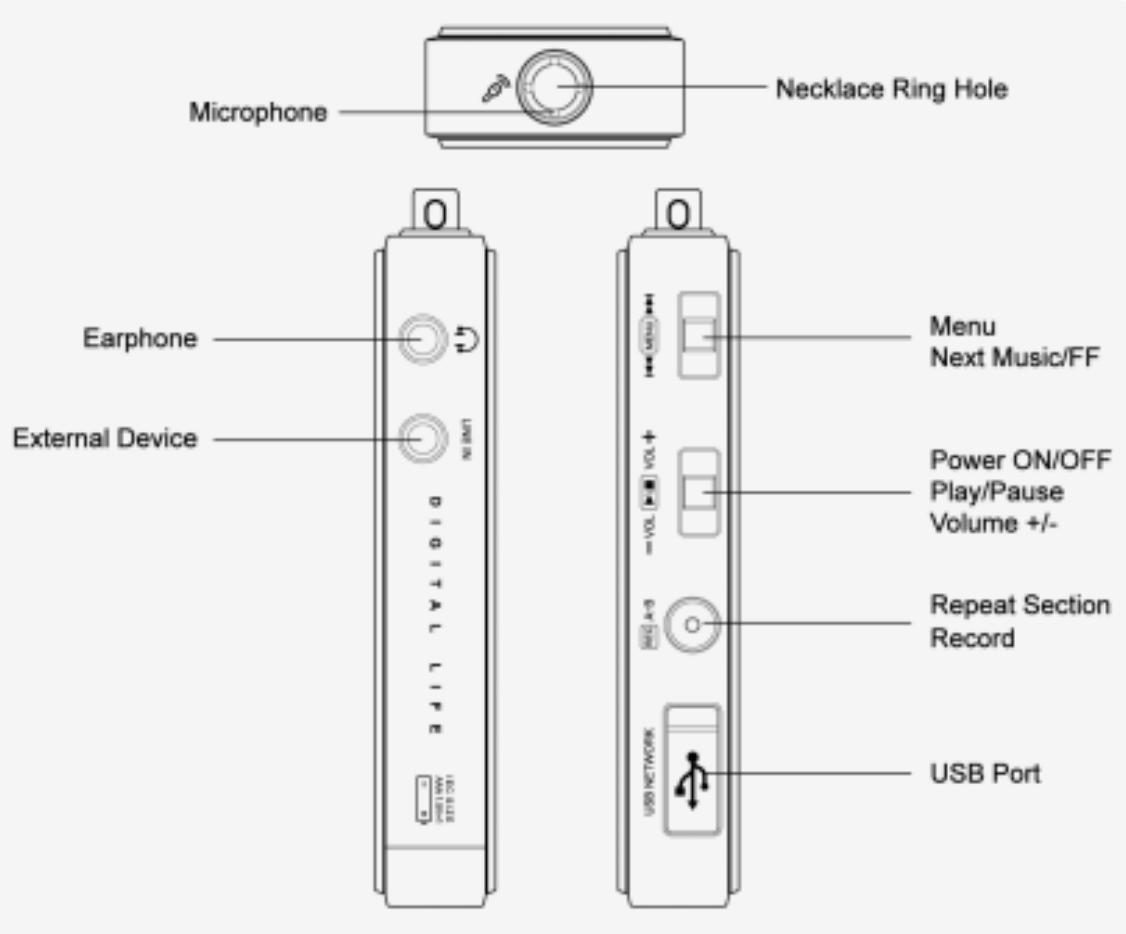
2. Side View of the Product
2 3. Display
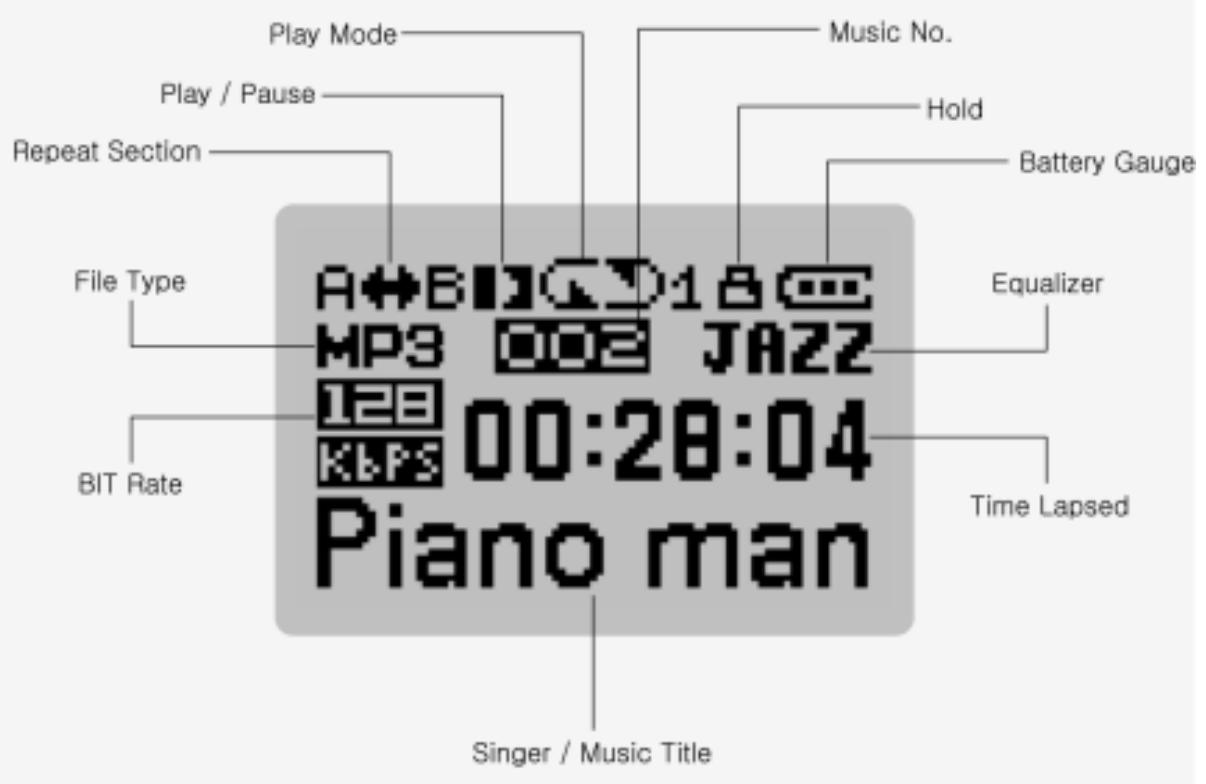
3 1. Connecting Player to PC
To download music files (MP3/WMA/ASF) from the PC, use USB cable to connect MP3 Player to the USB port of the PC.
(Make sure to only use the USB cable supplied with the MP3 Player.)
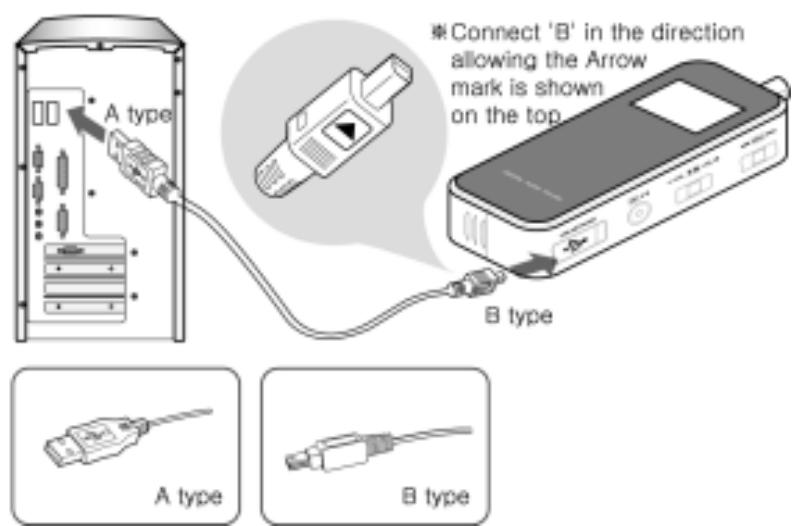
Connect 'A' (large) to the USB port of the PC.
Connect 'B' (small) to the USB port found when opening USB port plug on the Player.
3
2. Installing USB Driver (1)
Connecting USB cable to the Player displays the following screen in the display on the Player.
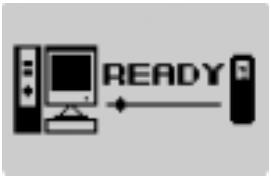
- Follow the instruction below for the PC of which OS is one of the Windows ME, Windows 2000 and Windows XP.
A screen appears with a message saying, "New hardware is found" on the PC as shown below. Follow the instruction to install the driver. The installation may automatically be completed without showing the installation screen depending on the PC environment.
An example here is for the WINDOWS 2000.
1) A message saying, "Found New Hardware" automatically appears.
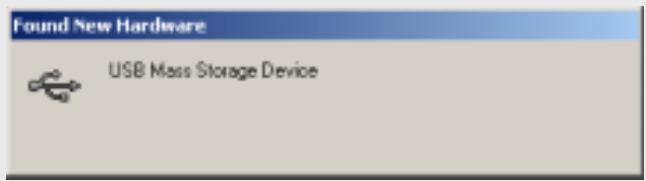
3
2. Installing USB Driver (2)
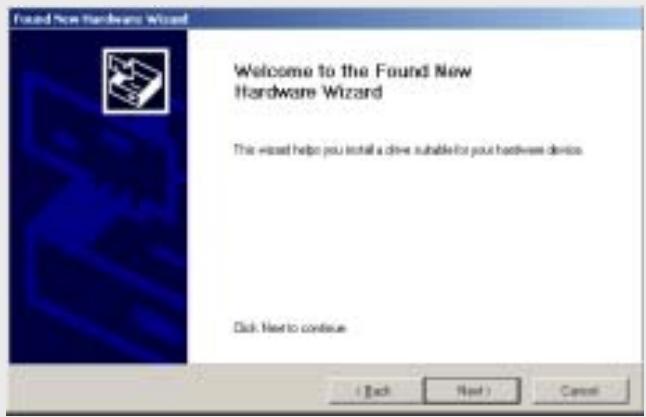
2) The "Found New Hardware Wizard" is automatically started on the PC. Click 'Next'.
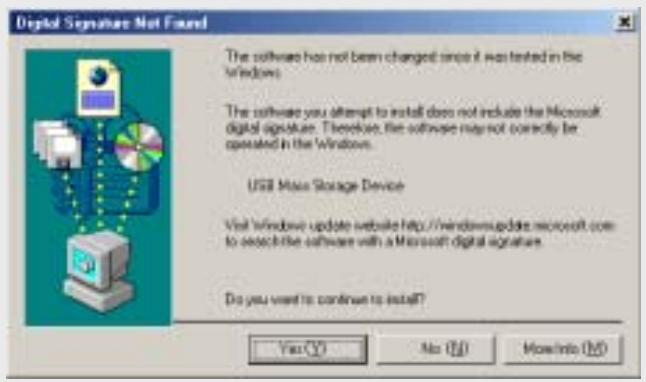
3) Click 'Yes' to continue the installation.
3
2. Installing USB Driver (3)
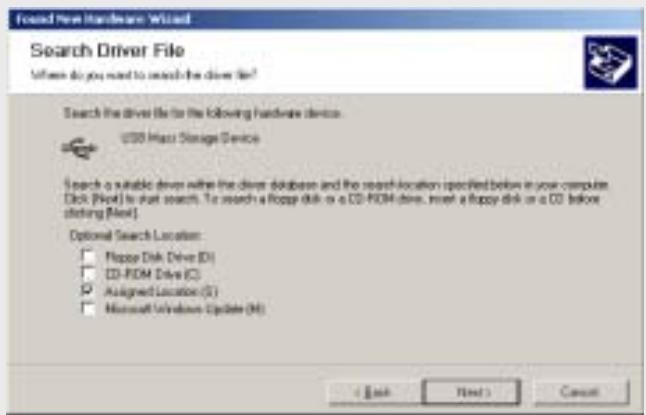
4) Select "Assigned Location" for the optional Search Location, and then click 'Next'.
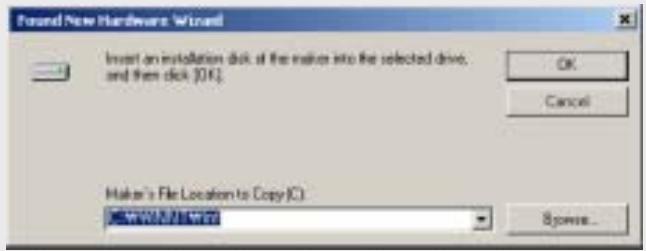
5) If "Maker's File Location to Copy" is C:\Winnt\Inf or C:\Windows\Inf, click 'OK'. If the file is not in the C:\Winnt\Inf or C:\Windows\Inf, use 'Browse...' to select.
3 2. Installing USB Driver (4)
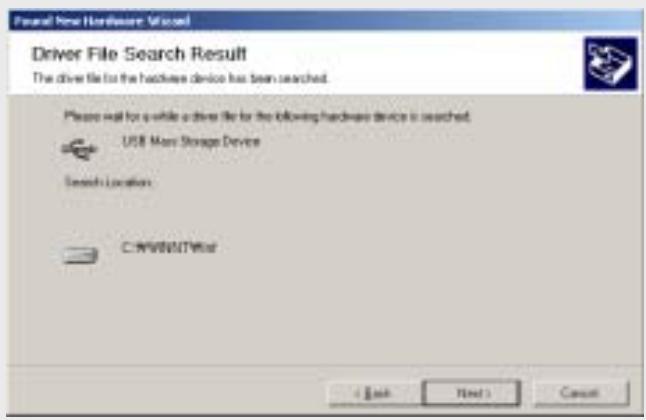
6) Click 'Next' after completing the search of the USB Mass Storage Device.
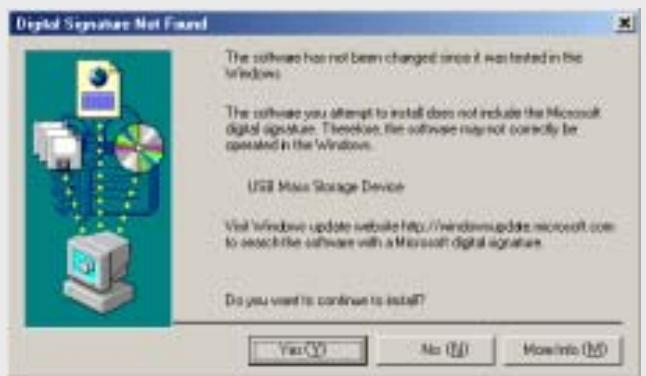
7) Click 'Yes' to continue the installation of the USB Mass Storage Device.
3
2. Installing USB Driver (5)
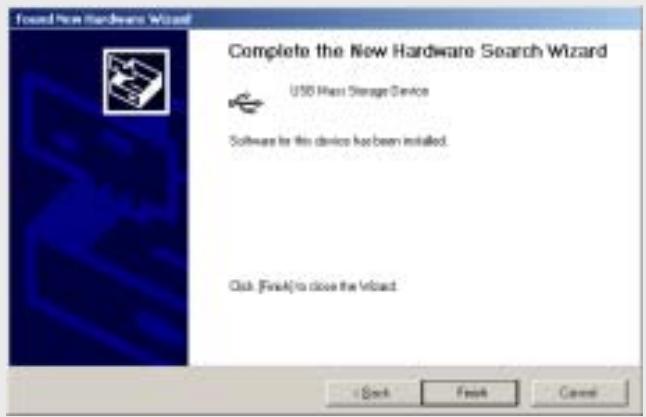
8) Click 'Finish' after completing the installation of the USB Mass Storage Device.
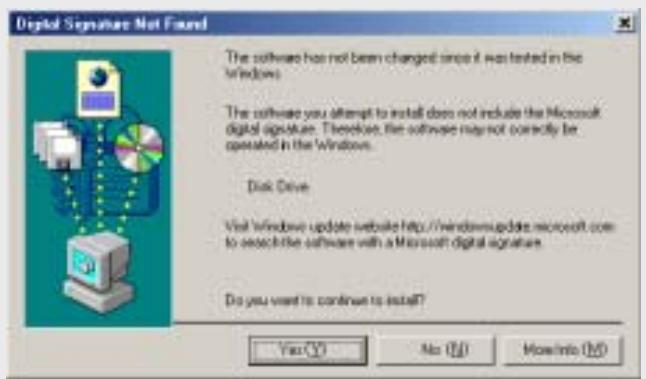
9) Click 'Yes' to continue the installation of the disk drive.
3
2. Installing USB Driver (6) - windows 98
- As the Windows 98 is not compatible with the removable disk unit, you shall separately install the Win98 driver from the CD provided with the Player.
1) Do not connect the Player as yet with the USB cable.
2) Insert the installation CD into the CD-ROM drive, and then run 'install.bat' in the Win98 Driver folder.
3) Connect the Player with the USB cable. "New Hardware Add Wizard" is automatically started in the PC, showing "Search Driver - USB Device". Click "Next".
4) Select "Search the most suitable driver for the unit (recommendation)" for the "How do you want to proceed?" and then click "Next".
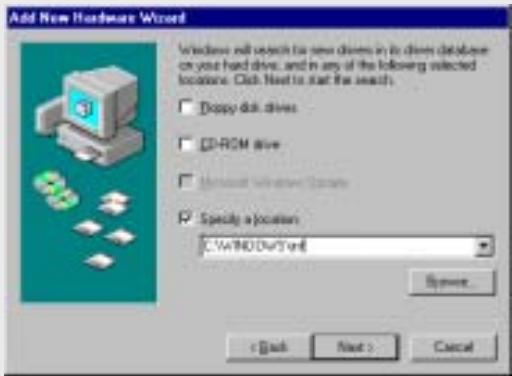
5) Click "Browse..." to select C:\Windows\Inf, and then click "Next
3
2. Installing USB Driver (7) – windows 98
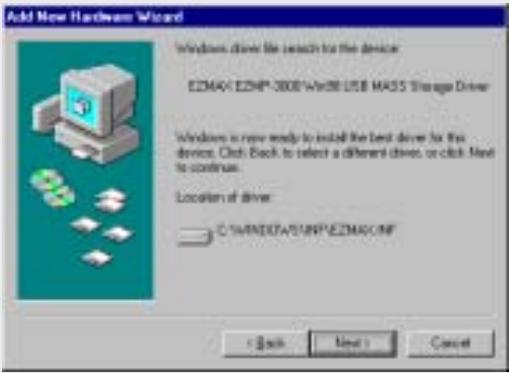
6) Click "Next".
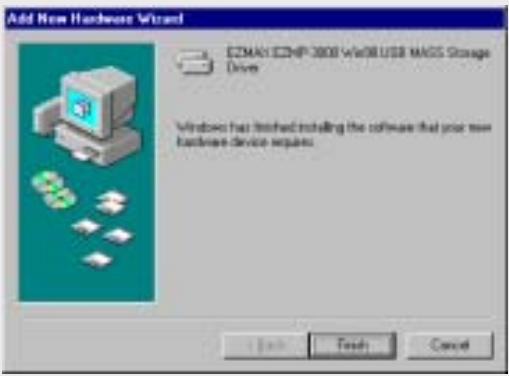
7) Click "Finish" to complete the installation of the driver.
3 2. Installing USB Driver (8) - Confirmation
Click [Start] - [Setting] - [Control Panel] to open "System" icon, and then click "Hardware" - "Device Manager" tab to check if USB driver is properly installed.
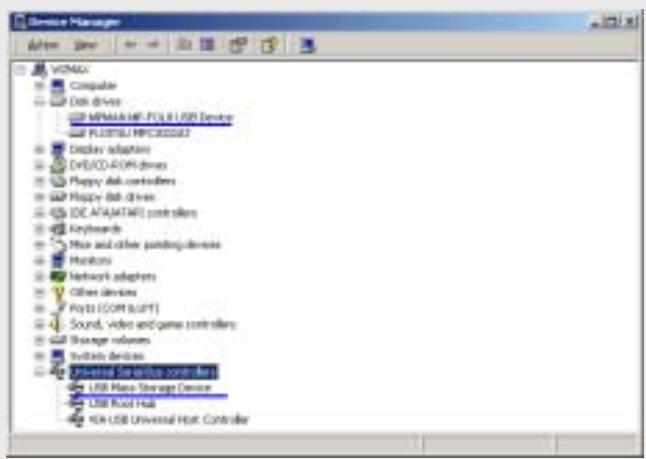
!NOTE: If any one of "MPMAN MP-FOL8 USB Device" in the "Disk Drive" item and "USB Mass Storage Device" in the "Universal Serial Bus Controller" item does not show on the list, or the exclamation mark (!) in yellow or a message saying, "Other Device" appears, the driver is not properly installed. Please reinstall the driver. For further details of the reinstallation, please refer to our homepage.
3
3. Running Basic Functions (1)
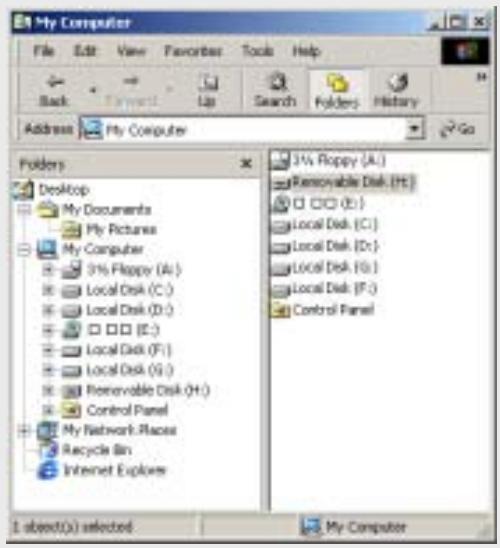
As the PC recognizes the Player as a removable disk, you can easily download or delete the music files in the Windows Explorer without Manager program.
1. Copy File(Download)
1) Connecting the USB cable to the Player allows the Player to be recognized as a removable disk in the Windows Explorer.
2) Select the removable disk to access to the memory area of the Player.
3) Run one more Windows Explorer.
3
3. Running Basic Functions (2)
4) Select the file you want to save, and then:
Drag & drop to the removable disk.
Or click right mouse button to select Copy, and select the removable disk, and then click right mouse button to select Paste.
5) The file is copied to the removable disk, showing a graphic of the file transfer.
- Export File(Upload)
1) Connecting the USB cable to the Player allows the Player to be recognized as a removable disk in the Windows Explorer.
2) Select the removable disk to access to the memory area of the Player.
3) Run one more Windows Explorer.
4) Select the file you want to export from the removable disk, and then:
Drag & drop to the disk to which you want to export.
Or click right mouse button to select Copy, and select a folder to which you want to export, and then click right mouse button to select Paste.
- You can add or delete the folder in the Windows Explorer.
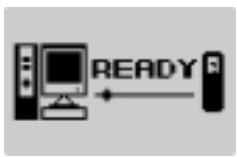
The VOICE, RADIO and LINE folders are automatically recreated during the reconnection even though those are deleted. If you disconnect the
USB cable before appearing the graphic shown on the right from the display(READY), the music file may not properly be downloaded to the Player. Make sure to check the display(READY) before disconnect the USB cable.
3
3. Running Basic Functions (3)
4. Format Player
1) Formatting in the Windows
Select the removable disk, and then click right mouse button to select Format (FAT).
Click Start.
Please note that the formatting will irrecoverably remove all contents of the Player.
2) Formatting in the Player
This Player is compatible with two types of formatting: FORMAT and LOW FORMAT. The general FORMAT is the same as the Windows formatting, while the LOW FORMAT removes all setting data such as the font and logo as well as the data stored in the Player. The setting data will automatically be initialized by the factory default values after formatting so that you need to newly define a font and logo.
Lengthily press MENU button.
Select DELETE menu.
Press FORMAT for the general formatting while LOW FORMAT for the low formatting.
We recommend that you do not use the LOW FORMAT other than the special occasion.
3
4. Installing Logo Editor & Applying Logo to Player
This program helps the user create its own logo that first appears on the display when the power is ON in the Player. To change the logo, use this program again to download the final logo file to the Player.
- Insert the installation CD into the CD-ROM drive.
- Run install.exe in the directory of the Logo Editor to enter "Compressed Full Path", and then select "Uncompress".
- Uncompressing creates the following file and folders.
LogoEditor.exe
Data
Images
!NOTE: Please refer to the separate instruction manual for the details of using the Logo Editor and applying the edited logo to the Player.
4
1. Basic Operation (1)
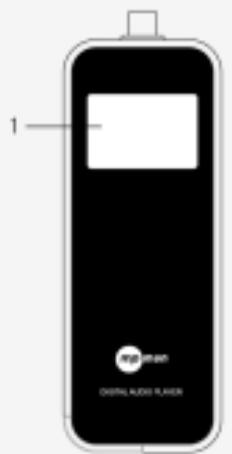
1) Display
- Displays the operating status of the product.
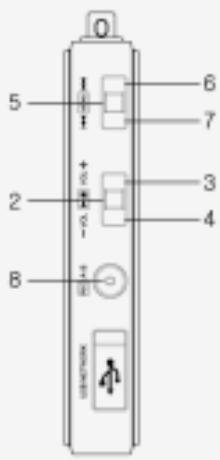
2) PLAY
- Briefly press to turn the power ON.
- When listening to the music or the recorded file, briefly press to pause the music, and then briefly press again to resume the music.
- When listening to the FM radio broadcasting, briefly press to save the current station to the PRESET.
- In any mode, lengthily press to turn the power OFF.
4 1. Basic Operation (2)
3) VOL +
- Adjustable in 0-20 steps. Press once at a time to increase the volume step by step. Keep pressing to increase the volume at a rapid rate.
4) VOL -
- Press once at a time to reduce the volume step by step. Keep pressing to reduce the volume at a rapid rate.
5) MENU
- Briefly press to open MODE menu.
- Lengthily press (approx. two seconds) to open FUNCTION menu.
- In the MENU, briefly press to set the currently selected menu while lengthy press to exit from the menu.
- In the menu screen that requires the selection, briefly press to select the item.
6)
- When listening to the music or the recorded file, briefly press to move to the next music while keep pressing to fast move within the current playback file.
- In the MENU screen, briefly press to move to the next menu item.
- When listening to the FM radio, briefly press to move to the next frequency while keep pressing to automatically search the next station. In the PRESET mode, briefly press to move to the next PRESET number.
4 1. Basic Operation (3)
7)
- When listening to the music or the recorded file, briefly press to move to the previous music while keep pressing to fast move within the current playback file.
- In the MENU screen, briefly press to move to the previous menu item.
- When listening to the FM radio, briefly press to move to the previous frequency while keep pressing to automatically search the previous station. In the PRESET mode, briefly press to move to the next PRESET number.
8) A < - - > B / REC
- During the playback, briefly press to specify the section 'A' and again briefly press to specify the section 'B' for the Repeat Section. And then again briefly press to cancel the Repeat Section.
- When listening to the FM radio, lengthily press to record the radio station.
- If the FM radio is not on and the LINE is connected, lengthily press to record through the LINE. If the LINE is not connected, press two seconds to record voice.
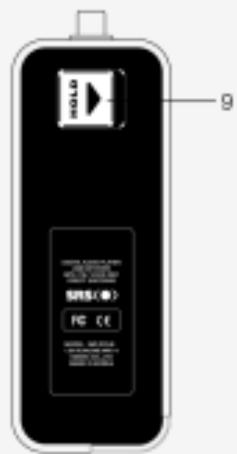
9) HOLD
- Move towards the Arrow mark to disable the functions of all buttons while move in the opposite direction to the Arrow mark to cancel the lock.
- If the power is ON when the Player is on hold, the power will automatically be OFF immediately after showing a message saying 'Hold'.
4 2. Power ON/OFF
Power ON
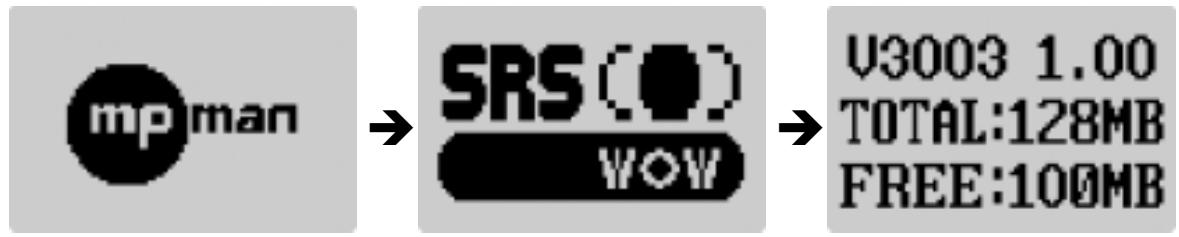
Briefly press PLAY button to turn the power ON and show the logo in the display in which the version, total memory and the available memory of the Player appear shortly after.
Power OFF
Lengthily press PLAY button to turn the power OFF while disappearing the logo.

4
3. MODE Menu
Briefly press MENU button to open MODE menu.
MODE menu consists of the followings as shown below:
MUSIC (Listening to the music)
FM RADIO (Listening to the FM radio)
RECORDING (Recording)
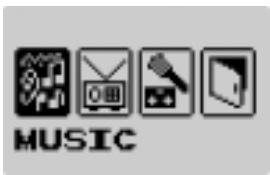
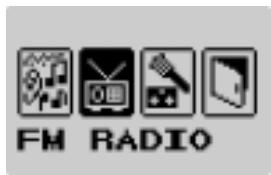
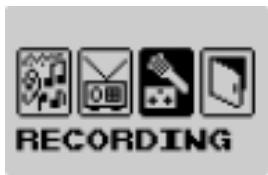
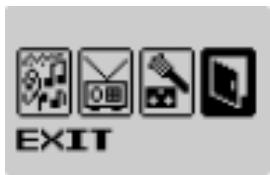
Briefly push towards or to move between menus.
Briefly press MENU button to select the menu.
In all MODE menus, lengthily press MENU button or select EXIT to close the MODE menu.
4 3-1. MUSIC Mode (1)
A mode to listen to the music files stored in the MUSIC memory Consists of TOTAL, FOLDER, VOICE, LINE and FM.
If there is no music file existed, a message saying 'No Files!' will appear in the display.
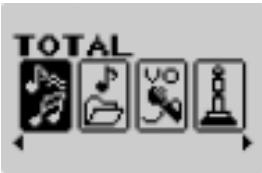
Listening to all pieces of music in the Player in order.
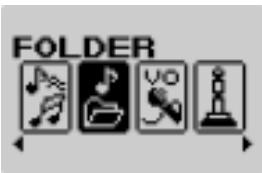
Viewing all folders in the current memory. Specify the folder to listen to the music files in it.

Listening to the voice recording files.
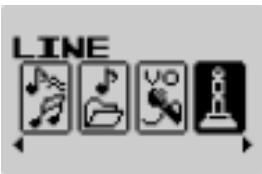
Listening to the files recorded through external line.
4 3-1. MUSIC Mode (2)
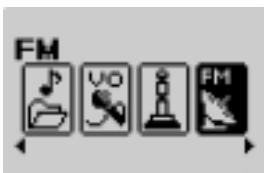
Listening to the recorded FM radio broadcasting.
Listening to the MP3 Music
In the MUSIC mode, open sub-mode to listen to the music files in the relevant folder.
Use button or button to select the next or previous music respectively.
Use VOL+ button (to increase the volume) or VOL - button (to reduce the volume) to adjust the volume.
Briefly press PLAY/PAUSE button to stop listening. Press again PLAY/PAUSE button to resume the playback from the location where the PLAY was previously stopped.
4
3-2. FM RADIO Mode (1)
A mode to listen to the FM radio
Listening to the FM Radio
Briefly press MENU button and use to move to the FM RADIO mode, and then press MENU button to select.
Briefly push towards or to change the frequency.
(Ex: 99.9MHz 99.8MHz)
Auto Scan: Lengthily push towards
or to automatically search the next or previous station.
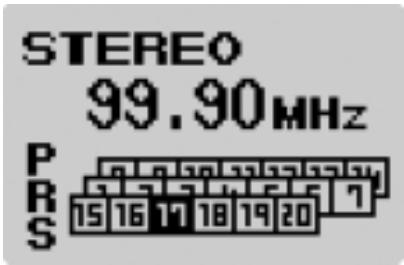
PRESET Mode
When listening to the FM radio station, briefly press PLAY button to save the current station to the PRESET. Once briefly press A<-->B / REC button to call the frequency saved in the PRESET. A message PRS appears on the left side of the PRESET No.
Use buttons to select the PRESET No.
Briefly press button to change the frequency step by step while lengthy press to automatically search the next/previous station. You can automatically search all stations to save into the PRESET.
4
3-2. FM RADIO Mode (2)
Recording the FM Radio Station
Lengthily press REC button to record the FM radio station.
When recording, briefly press PLAY button to pause the recording while lengthily press to turn the power OFF immediately after saving the recording so far.
Press again REC button for two seconds to complete the record.
The recorded file will be saved to the RADIO folder in the format of F001.mp3 and F002.mp3.
STEREO
99.90MHz
12:34:56
F001.MP3
4 3-3. RECORDING Mode (1)
A mode related to the recording, which consists of VOICE REC. and LINE ENC.
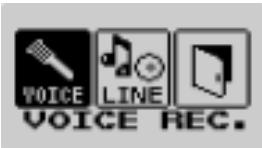
Recording the voice.
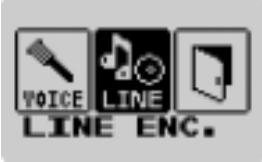
Recording the music file being played in the external device through the LINE IN.
Recording the Voice
Turn the power ON and select MENU---> RECORDING---> VOICE REC. to start voice recording. Briefly press PLAY button to stop recording, and again briefly press PLAY button to resume the recording from the position where the PLAY was previously stopped. Press REC button for two seconds to complete recording. The recorded file will be saved to the VOICE folder in the format of V001.mp3 and V002.mp3.
Press MENU MUSIC VOICE, and use 14 buttons to search and play the recorded file. Lengthily press A<-->B/REC button to start voice recording if the LINE is not connected and the FM radio station is not on.
4 3-3. RECORDING Mode (2)
Recording the External Device (LINE IN)
Connect the external device to be recorded as shown below.
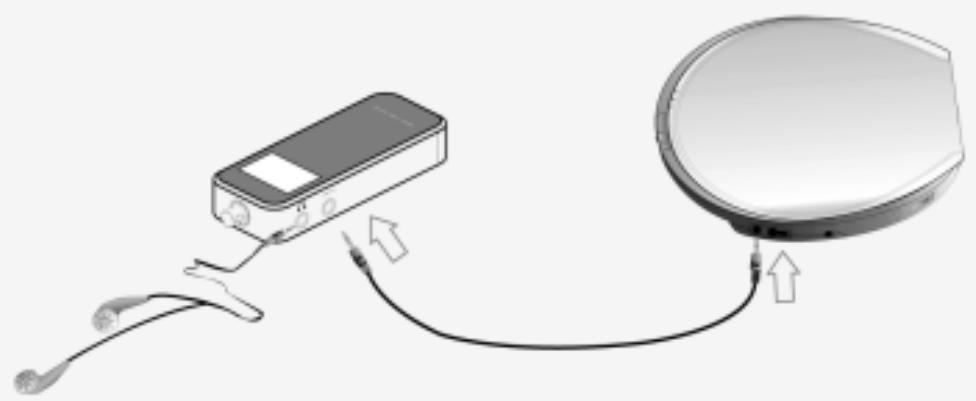
Turn the power ON and select MENU recording the external device.
RECORDING
LINE ENC. to start
When recording from the external device, do not listen to the FM station in the Player, which may cause the noise. The LINE IN cable provided with the Player may not be compatible with some home audio units. You have to use the correct specification of the cable. You cannot record without connecting the line cable.
4
4. UPGRADE (1)
You can upgrade the FirmWare to add/change the function and improve the performance of the Player. The FirmWare is an OS to drive the Player.
How to upgrade Firmware is as follows:
More than two scales of the battery gauge shall be available before upgrading the FirmWare.
Replace the battery less than two scales of the battery gauge before upgrading.
- Confirm the FirmWare version (V3003 1.00) of the Player, which appears on the display as shown below when turning the power ON.
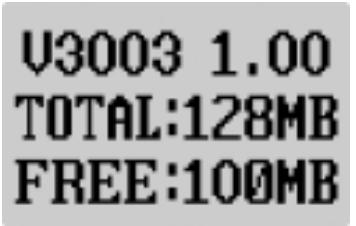
In this example, V3003 indicates the model name and 1.00 indicates the FirmWare version (Ex. 1.01, 1.02, etc.).
4
4. UPGRADE (2)
- Visit the company website (www.ezmax.co.kr) to check if there is an upgraded version available for the Player (Model No. MP-FOL8). If yes, download and save in the disk.
Please note that upgrading the FirmWare with a version for the different model No. causes a serious failure.
- Use the USB cable to connect the Player with the PC, and open a Windows Explorer to access to the "Removable disk".
- Copy the downloaded file to the removable disk in the same manner of downloading the music file.
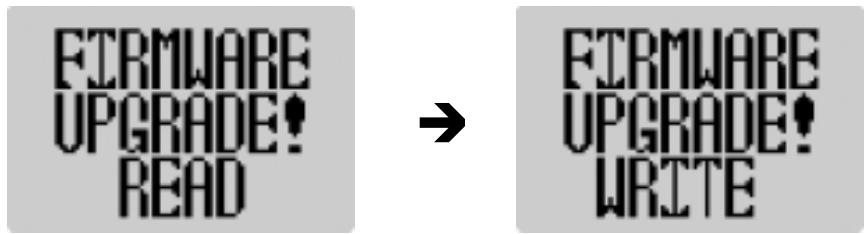
- Disconnect the Player from the PC, and then turn the power OFF and ON to upgrade the FirmWare, showing the messages as shown below in order in the display.
Make sure do not turn the power OFF the Player during the upgrade.
5
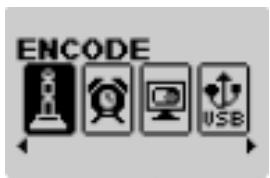
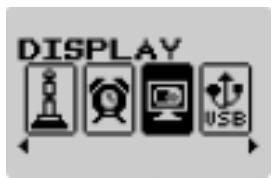
Function Menu
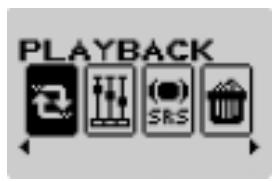
Lengthily press MENU button to open FUNCTION menu. Each menu has sub-menus. In the sub-menu, press MENU button for two seconds to move to the highest menu.

5
1. PLAYBACK
A function to select the playback mode
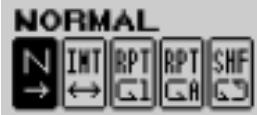
Playing all pieces once in order.
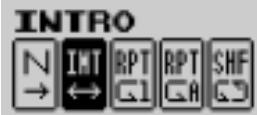
Playing the first ten seconds of each piece in order for all pieces in the memory.
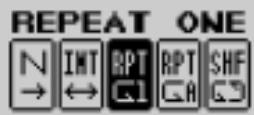
Repeating one piece.
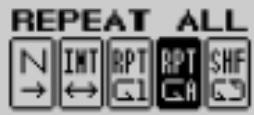
Repeating all pieces in order.
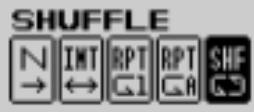
Repeating all pieces in no order.
5
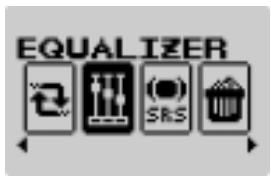
2. EQUALIZER
A function to select the sound adjustment mode during the playback Each menu has sub-menus. In the sub-menu, lengthily press MENU button to move to the higher menu.
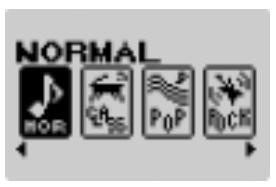
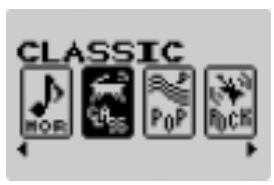
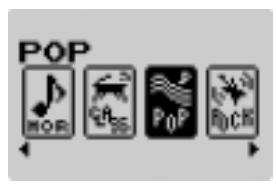
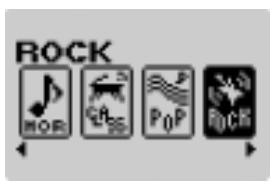
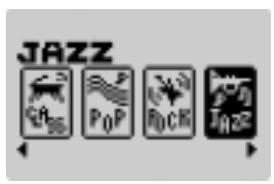
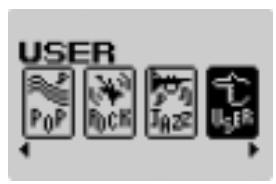
Press MENU button for two seconds to open FUNCTION menu. Use button to select EQUALIZER, and then select one of six menus above.
In the USER menu, you can adjust the sound in 9 steps for each frequency within 5 frequency ranges.
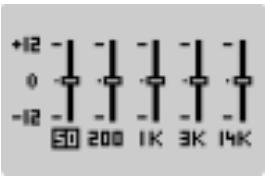
Use button to move on the horizontal axis, while use VOL- and VOL+ button to move on the vertical axis.
The selected item is shown in the Main Menu screen.
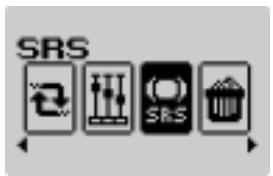
5 3. SRS (1)
SRS-WOW is a general designation of the 3-dimensional virtual sound effect developed by the SRS Lab, which consists of SRS, TruBass, FOCUS and WOW.

is a trademark of the SRS Labs, Inc.
WOW technology is incorporated under license of the SRS Labs, Inc.
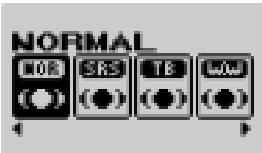
Run in the normal mode.
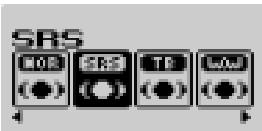
Enjoy the 3-dimensional sound effect.
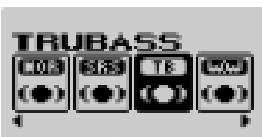
Improve the bass sound to make spectacular sound.
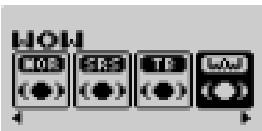
Enjoy the WOW function.
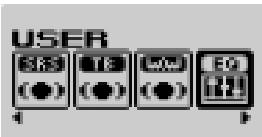
The user can define the special level of the SRS, TruBass and WOW.
5 3. SRS (2)

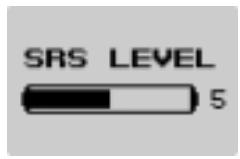
Adjust the set value of the SRS. Use button to adjust in 0-10 steps. The higher value gives the stronger effect.
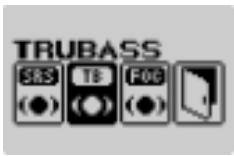
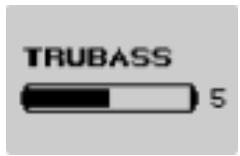
Adjust the set value of the TruBass. Use button to adjust in 0-10 steps.
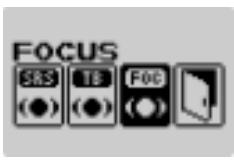
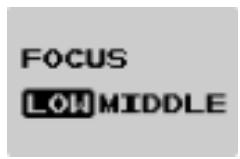
Adjust the definition of the sound. (Low, Middle)
!NOTE: USER is a function that allows the user to adjust the each level of the SRS, TruBass and WOW.
5
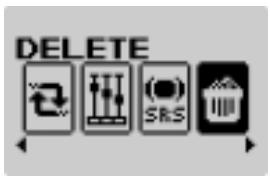
4. DELETE
A function to control the memory
The deleted file cannot be restored. Please carefully confirm before deleting the file.
NAVIGATION


Select the file or folder to delete.
FORTMAT


Delete all files in the Player.
LOW FORMAT


Delete all files including the font and logo used in the Player. You have to download the font and logo again after formatting. Do not use this function other than a special occasion.
-
How to download the font
-
Connect the Player with the PC.
- Download a font file to the Player.
- Disconnect the Player from the PC, and then turn the power OFF and ON the Player. A font upload screen appears, and then startup screen after completing the upload.
5
5. ENCODE
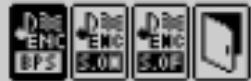
BITRATE
Adjusting the bit rate of the voice recording file according to your need (longer hours or higher sound quality). Low bit rate reduces the file volume but lowers the sound quality while high bit rate improves the sound quality but increases the file volume to shorten the recording time.
Select ENCODE BITRATE, and the select one of 48, 96, 128 and 192kbps.
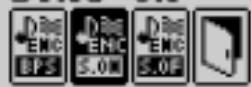
SYNC ON
Automatically sorting all pieces externally inputted to record in a separate file.
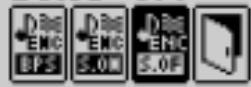
SYNC OFI
Recording all pieces externally inputted in a file until STOP button is pressed.
5
6. SETTING (1)
Set SLEEP Time
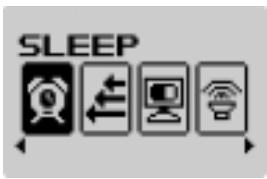

Define the time to automatically turn the power OFF. Press MENU button to open the menu as shown on the right.
Use button to adjust the time, and then use MENU button to select. The example shows the setting that the power will be off in 150 minutes after turning the power ON.
!NOTE: If there is no button operation for 30 seconds after pausing the Player, the power will automatically be OFF.
Scrolling Speed
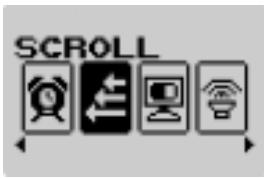
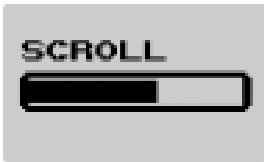
Adjust the speed of scrolling the file name or the ID3 TAG information during the playback. Press MENU button to open the menu as shown on the right.
Use button to adjust the speed in 10 steps, and then use MENU button to select. The higher the step is, the faster the speed is.
5
6. SETTING (2)
Contrast
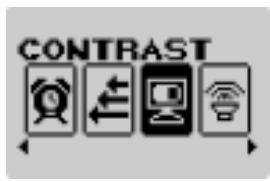
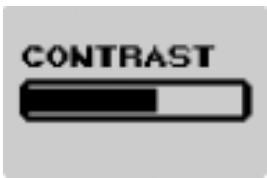
Adjust the brightness (contrast) of the Display. Press MENU button to open the menu as shown on the right.
Use button to adjust the brightness in 10 steps, and then use MENU button to select. The higher the step is, the brighter the contrast is.
Default Volume
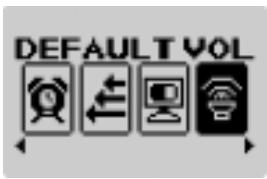
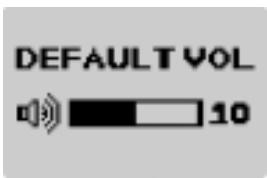
A default volume applied when the power ON. If the saved volume upon previous exit is higher than the set volume for the next boot, a default volume will be applied, while it is lower than the set volume, the previously saved volume will be applied.
Use buttons to adjust the volume, and then use MENU button to select.
5 6. SETTING (3)
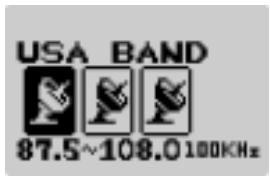
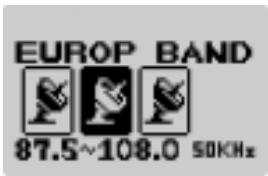
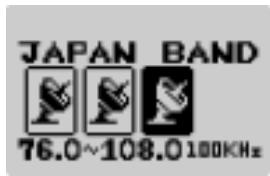
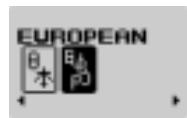
FM Band
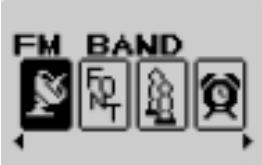
Select one of the USA BAND, EUROPE BAND and JAPAN BAND to set the frequency range of the FM radio station.
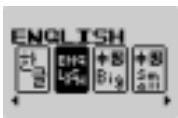
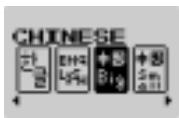
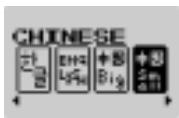
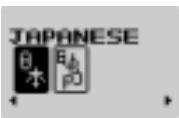
Language
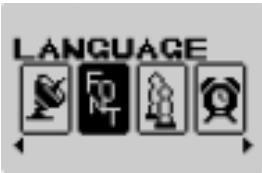
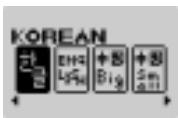
Select the local language of the country.
5
6. SETTING (4)
Dual Phone
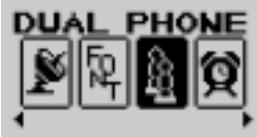
You can set the function to simultaneously use two earphones. Insert the second microphone into the LINE-IN jack. It is not supported when listening the FM radio station.
SINGLEMODE
DUAL_MODE
Default
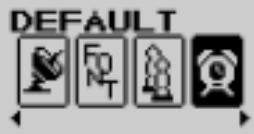
You can initialize all set values with the factory default values.
5 7. DISPLAY
A function to set the time interval to automatically lit the display off since the last button operation
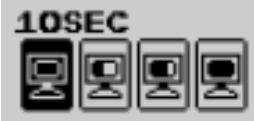
Turning the display off when there is no operation for 10 seconds.
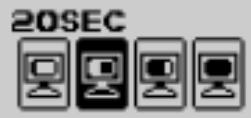
Turning the display off when there is no operation for 20 seconds.
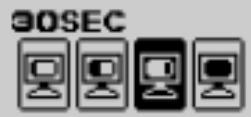
Turning the display off when there is no operation for 30 seconds.
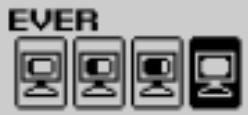
Leave the display on.
6
1. About Battery
How to Insert Battery
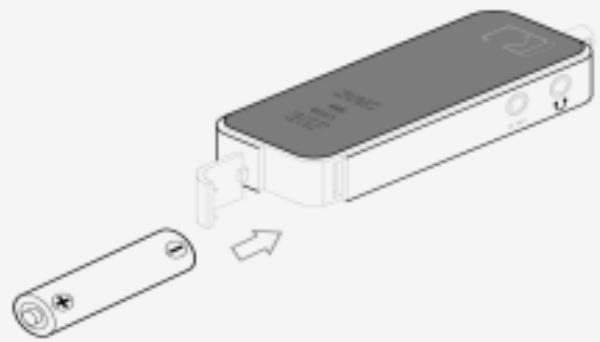
!NOTE: Make sure the polarity (+ and -) of the battery is correctly inserted.
Battery Gauge

Full Gauge

Mid Gauge
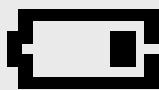
Low Gauge
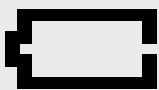
Zero Gauge
6
2. How to Set HOLD
Use this function to prevent the misoperation by other buttons and an unnecessary battery burnout caused by the misoperation during the operation of the Player.
How to Set HOLD
Push the HOLD switch located on the rear side of the Player towards the Arrow mark. In the display, "HOLDING!!" is blinking for 1-2 seconds and appears to set the lock.
How to Cancel HOLD
Push the HOLD switch in opposite direction to the Arrow mark.
disappears in the display to cancel the lock.
6
3. Trouble Shooting (1)
If the product fails, please first check the followings.
Power is not turning on.
- Check if the battery is properly inserted with correct polarity.
- Battery may be dead. Replace the battery.
- Check if HOLD is set in the Player.
(Move the switch in opposite direction to the Arrow mark to cancel the HOLD.)
Unrecognizable characters are shown in the display.
- Check if the language is properly set in the LANGUAGE menu.
Radio station makes noise "boooo~" or "Ssaaa~" and the reception is bad.
- Change the direction of the Player and earphone.
Please turn the power of the electric appliances OFF near the Player. If the noise is reduced, use the Player away from the electric appliances.
- As an earphone plays the role of an antenna when listening to the radio station, no earphone may cause the poor reception.
6
3. Trouble Shooting (2)
No sound or noise is heard during the playback.
- Check if the music file is stored in the memory.
- Check if earphone is properly plugged in.
Or check if its terminal is contaminated by the foreign substance.
- Check if the volume is set to "0".
- Damaged data makes noise or breaks off the sound in the MP3 and WMA files. Replace it with other file to check if the data is damaged.
Cannot download files.
- Check if the USB cable is properly connected between the Player and PC.
- Check if the USB driver is properly installed.
- Check if the memory is sufficient.
Buttons are locked.
- Check if is on HOLD.
4. Product Specification
| Memory | Built-in Memory 128MB/256MB/512MB | |
| DISPLAY | 80x48 OLED Type Blue Color Backlight | |
| MP3 Encoding | MPEG 1/2/2.5 Layer3 | |
| Compatible File Format | MPEG 1/2/2.5 Layer3, WMA, ASF (Audio only) | |
| Compatible File Bit Rate | 8 Kbps ~ 320 Kbps (WMA/ASF: 32 ~ 192 Kbps) | |
| Audio | Frequency | 20 Hz ~ 20 KHz |
| Headphone Output | 5 mW + 5 mW (16 ohm) | |
| S/N Ratio | > 85 dB | |
| FM Radio | FM Frequency | 87.5 MHz ~ 108 MHz 76.0MHz ~ 108MHz(JAPAN only) |
| Headphone Output | 5 mW + 5 mW (16 ohm) | |
| S/N Ratio | > 55 dB | |
| Antenna | Earphone Antenna | |
| Language | Multi-Language | |
| USB | USB 1.1(5 Mbps) | |
| Maximum Playback Time | Approx. 13 hours (Company standard) | |
| Distortion Rate | < 0.1% | |
| Size | 31.0(W) x 81.0(L) x 14.5(H) mm | |
| Battery | 1 x AAA size | |
| Weight | 29g | |
- The specification and exterior of the product are subject to change without prior notice for further improvement of the performance.