DF-S 290E - Scanner ROLLEI - Notice d'utilisation et mode d'emploi gratuit
Retrouvez gratuitement la notice de l'appareil DF-S 290E ROLLEI au format PDF.

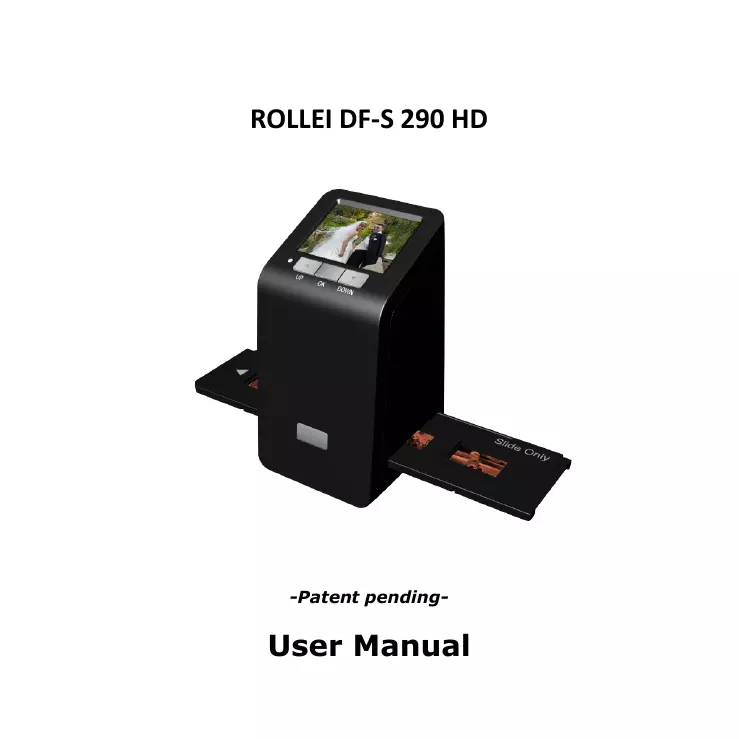

| Type de produit | Scanner de films (négatifs et diapositives) |
| Marque | Rollei |
| Modèle | DF-S 290E |
| Capteur d'image | CMOS 9 mégapixels |
| Objectif | Precision™ Glass Element, mise au point fixe |
| Écran LCD | TFT couleur 3.0 pouces |
| Mémoire interne | 24 Mo NAND Flash |
| Résolution de numérisation | 2400 dpi (3600 dpi par interpolation) |
| Conversion de données | 10 bits par canal couleur |
| Méthode de numérisation | Passage unique |
| Source lumineuse | Rétroéclairage par 3 LEDs blanches |
| Interfaces | USB 2.0, sortie TV (jack 3.5 mm), HDMI type A |
| Alimentation | Adaptateur 5V ou USB |
| Dimensions | 82 x 86 x 152 mm |
| Poids | 0,41 kg |
| Stockage externe | Carte SD/MMC |
| Formats de film supportés | Négatif couleur, diapositive, noir et blanc |
| Fonctions d'édition | Rotation, miroir, flip, réglages luminosité/couleur |
| Entretien | Nettoyer la vitre avec un coton-tige non alcoolisé |
| Accessoires inclus | Chargeur, câbles USB/TV/HDMI, porte-film, adaptateur rapide pour diapositives, brosse de nettoyage |
FOIRE AUX QUESTIONS - DF-S 290E ROLLEI
Questions des utilisateurs sur DF-S 290E ROLLEI
0 question sur cet appareil. Repondez a celles que vous connaissez ou posez la votre.
Poser une nouvelle question sur cet appareil
Téléchargez la notice de votre Scanner au format PDF gratuitement ! Retrouvez votre notice DF-S 290E - ROLLEI et reprennez votre appareil électronique en main. Sur cette page sont publiés tous les documents nécessaires à l'utilisation de votre appareil DF-S 290E de la marque ROLLEI.
MODE D'EMPLOI DF-S 290E ROLLEI
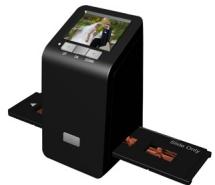
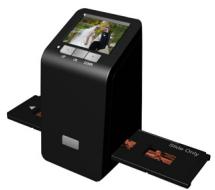
ROLLEI DF-S 290 HD
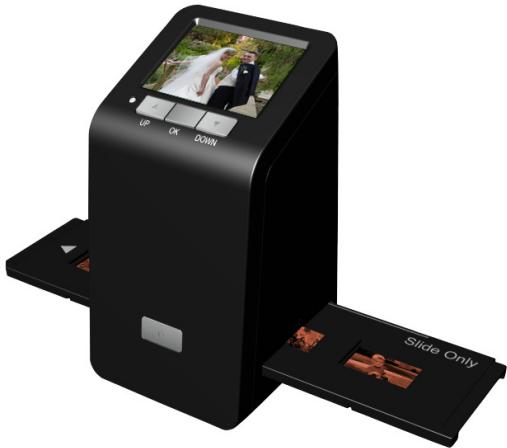
-Patent pending-
User Manual
Index
I. Unpack Rollei DF-S 290 HD Professional Scanner............2
II. Install film into the film holder 3
III. Quick Start 6
IV. Operation Guide 9
Capture. 9
Playback 19
Film Type. 22
USB Mode 23
Setting Mode 24
V. Specification 27
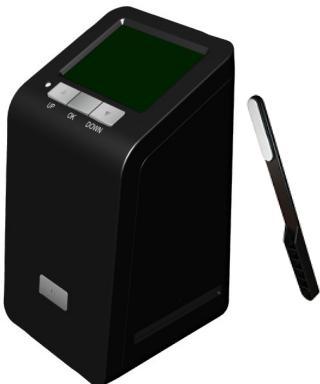
I. Unpack ROLLEI DF-S 290 HD
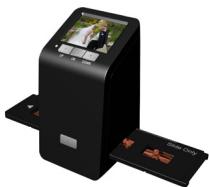
ROLLEI DF-S 290 HD
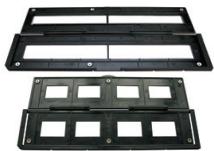
Negative/Slide Film Holder
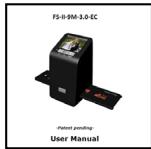
User Manual
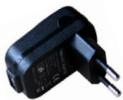
USB power core
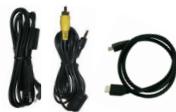
USB/TV/HDMI cable
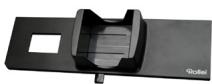
Rapid Slide Feeder
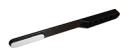
Clean brush
Note
We strongly suggest using a clean, dry, non-alcohol cotton swab to clean the glass surface periodically to produce a clear image during operation.
Clean dust from FilmScanner back light, to use the clean brush to wipe the dust.
Dust or dirt from the negative, slide films and cover trays may affect the scanned image quality, please make sure the materials are cleaned before inserting into the scanner.
Please find recommend, processional purger from photo store to clean the dust on films if any to avoid damaging the only one copy of old films.
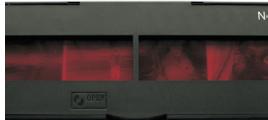
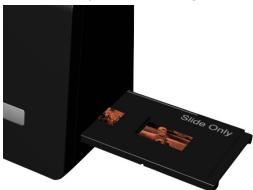
II. Install film into the film holder Install the Slide into holder
- Open the slide holder as illustrated
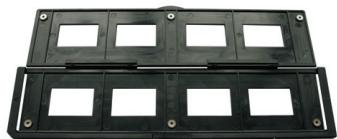
- Put slide into positive slide slot
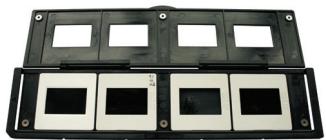
- Close the film holder
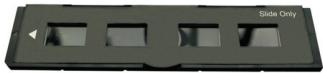
Install the Negative Film into holder
- Open the film holder as illustrated
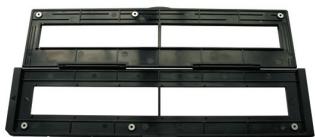
- Install film into negative film slot
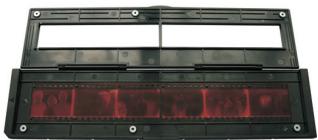
- Close the film holder
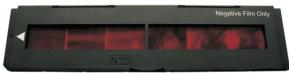
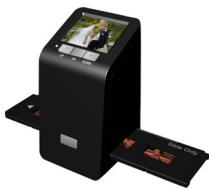
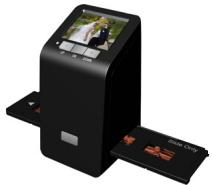
Install the Rapid Slide Feeder:
- Take out the Rapid Slide Feeder from package
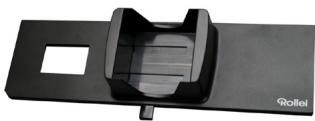
- Put slides into slide slot, use Level bar to eject slide
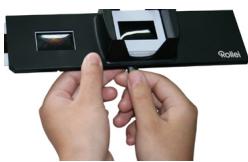
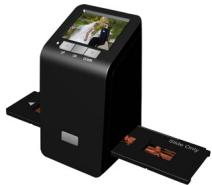
3.Insert the Slide Feeder into the unit
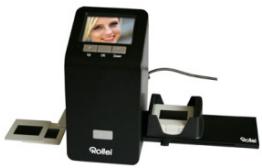
Note
To avoid mirror image, follow the serial numbers (from left to right) on top of film when install negative film into holder
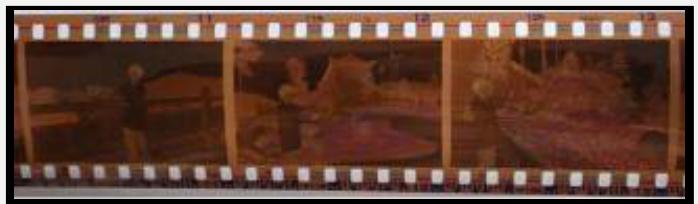
Figure 1
If the image is upside down [see fig.2], the image can be corrected by Flip function in hard key of device before capture, or enter playback edit menu after capture [see fig.3 and fig.4].
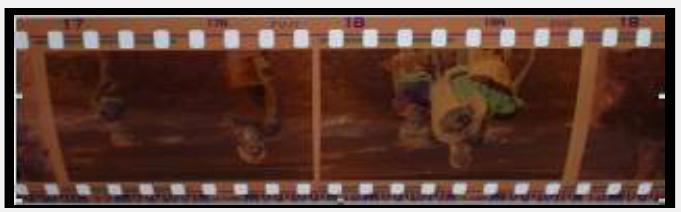
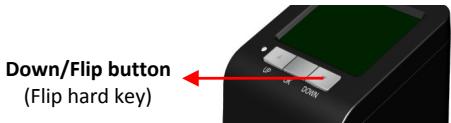
Figure 2
Press hard key on top of device in live view
Figure 3


Down
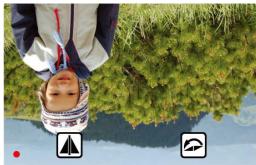
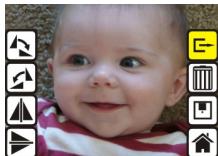
Playback mode menu
Figure 4
III. Quick Start
- Put Film onto the film cartridge
- Insert the film cartridge into ROLLEI DF-S 290 HD
- Connect power adapter to ROLLEI DF-S 290 HD

- Turn on Device by power button
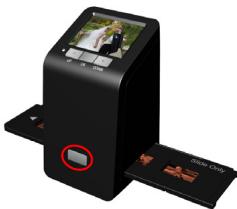
- Press OK button to capture the image
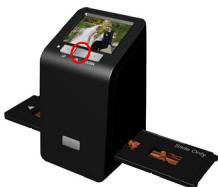
- Follow the menu on display for scanning

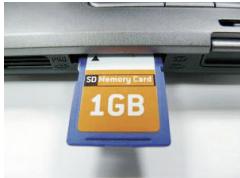
- After finished the capture, take out the SD card which stored capture images
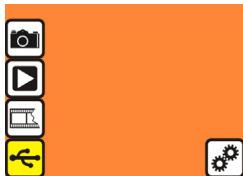
- Or read picture from PC by MSDC mode
IV. Operation Guide
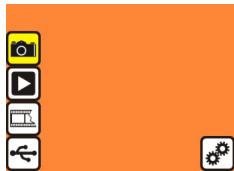
Home: Main menu
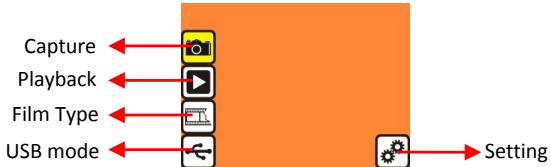
- Capture: capture mode (default)
- Playback: playback mode
- Film Type: define the film type which loaded in cartridge
USB mode: MSDC (Mass Storage Device Class) mode - Setting: TV out and format option
1. Capture
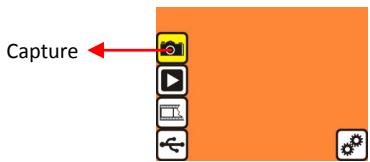
After welcome page, above menu will remains for 5 sec. User can press up/down button for desired menu. Or system will auto enter Capture mode if there is no action during this 5 second period.
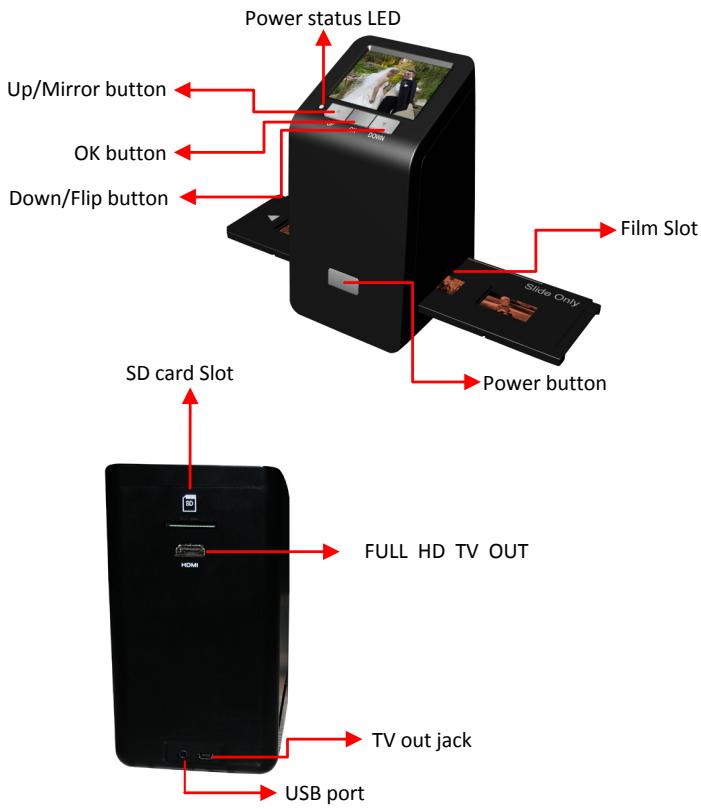
1.1 Capture: / (Hard Key)
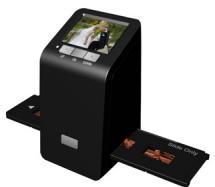
Down/ Flip button
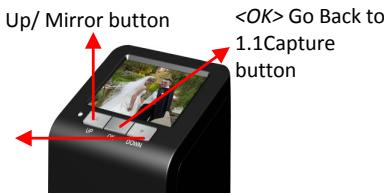
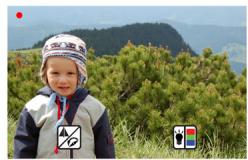

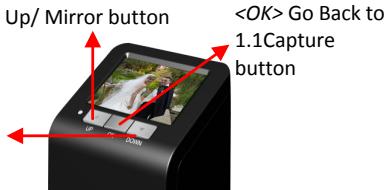
Press < Up > button to enter Mirror/Flip adjustment (see Chapter 1.2)
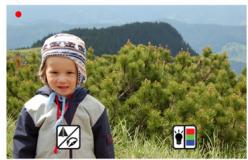


Press < Down > button to enter Brightness/Color adjustment (see Chapter 1.3)
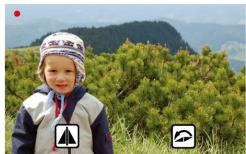
1.2 Capture: / - Flip / Mirror (Hard Key)
Down/ Flip button


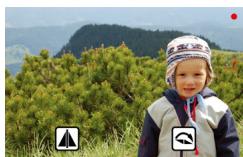
Press < Up > button to change image left to right


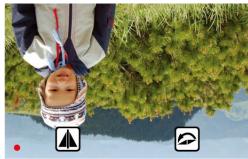
Press < Down > button to upside down image
1.3 Capture: / / Mirror> - Brightness/Color (Hard Key)
Down/ Flip button
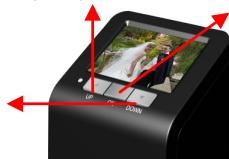
Up/ Flip button
1.1Capture button


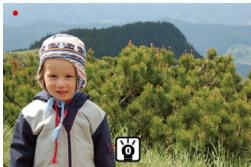
- Press < Up > button to enter Brightness adjustment (See Chapter 1.4)


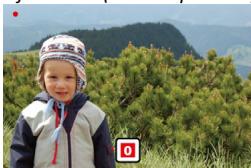
- Press < Down > button to enter Color adjustment (See Chapter 1.5)
1.4 Capture: / - Brightness (Hard Key)
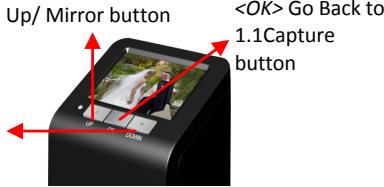
Down/ Flip button
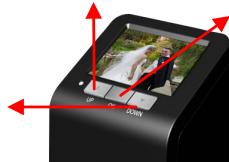
Up/ Mirror button
1.1Capture button
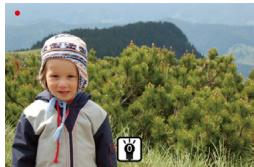


- Press
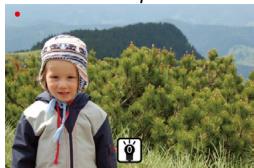


- Press
1.5 Capture: / - Color Red (Hard Key)
Down/ Flip button

Up/ Mirror button
1.1Capture button
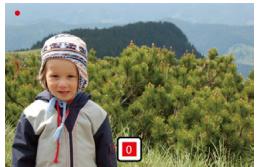


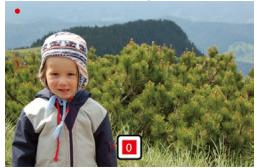
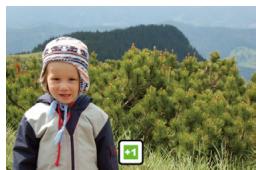
- Press < Up> button to increase red color with ranges of -3 to 3

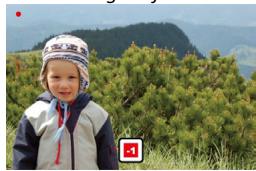
- Press
1.6 Capture: Up / Mirror - Color Green (Hard Key)
Down/ Filp button


- Press



- Press
button to decrease green color with ranges of -3 to 3
1.7 Capture: / - Color Blue (Hard Key)
Down/ Flip button
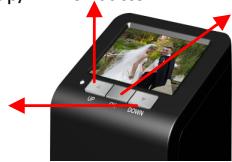
Up/ Mirror button


- Press
button to increase blue color with ranges of -3 to 3



- Press
button to decrease blue color with ranges of -3 to 3
1.8 Capture mode
Live view indicator (flashing at 0.5sec rate)

Once enter capture mode, there will be a red indicator on left top corner to indicate it is in live view mode. When the film cartridge is inserted into the scanner slot, the image always shows the positive image according to previous defined Film Type (after power on. the Film Type is default to negative film). Reconfirm the film position through the display before press OK button.
1.9 Capture: Edit Menu
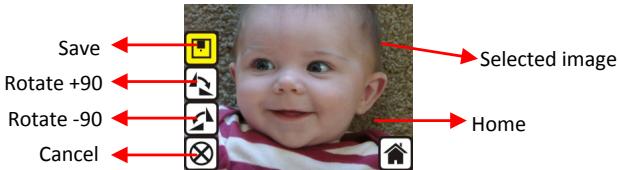
Save: save captured image
- Rotate +90: continue rotate +90 degrees
- Rotate -90: continue rotate -90 degrees (this is for adjusting the user who took the portrait picture)
- Cancel: cancel any editing with this image
Home: Back to main menu
1.10 Live View -> Capture/Edit Menu
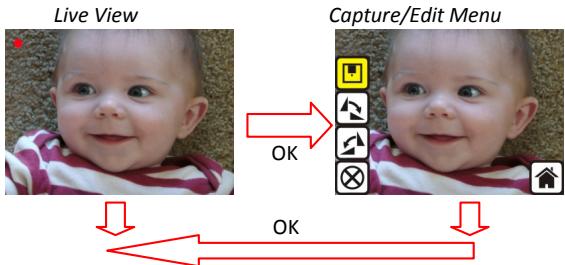
Once press OK button in live view, the edit menu will be appeared. When user press OK button again, the current image will be saved into SD card. The display will return to live view again.
1.11 Capture: Save
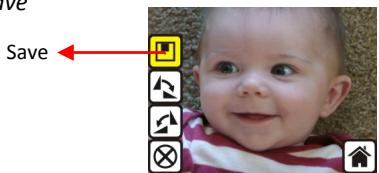
Once user press OK button on top of ROLLEI DF-S 290 HD, preview (live view) image will be selected and shown on the TFT which will take between 3-4 second with 4 icons shown on the left side of the screen. Save icon will be highlighted for user to confirm the saving by OK button. After the above step, display goes back to live view mode (preview).
1.12 Capture: Rotate +/-90 degrees
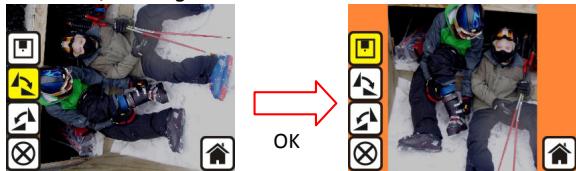
User can apply the up/down button for further editing (rotate +90/-90). Once user confirm rotate
+90 degrees, they can press the OK button, the image will be rotate +90 degrees and cursor will remain at Save. Press OK button again will save the rotated image to SD card and screen will return to live view. For continuously rotate +90 degrees, move cursor to rotate again and press OK.
1.13 Capture: Cancel
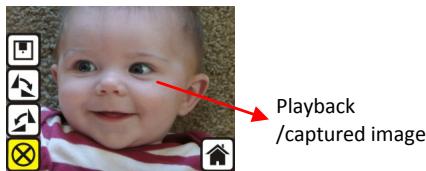
Or select Cancel and press OK button to cancel any of the editing step with present selected image and ROLLEI DF-S 290 HD goes to live view mode (nothing will be saved onto the SD card).
1.14 Capture: Home
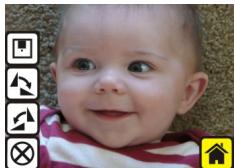

Go back to main menu, press OK button when select Home icon.
1.15 Exit from Edit mode back to Capture mode (Live View)
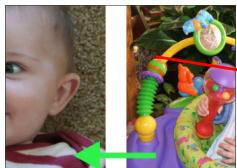
Next image in film cartridge
Once User presses OK button for save or cancel option, display will return to capture mode/live view. Then, user can move the film cartridge to next target film to capture.
1.16 Memory full

Once the internal memory or SD card is full, user can see a SD card full once press OK button. User has to down load the images to PC or replace another SD card for continue capture.
1.17 SD card locked
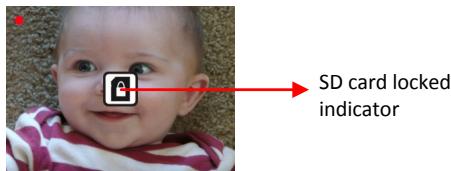
If the SD was locked, once press the OK button, a SD Card locked icon displays on screen. Please do slide the switch of SD card to unlock before insert into device.
1.18 SD card error
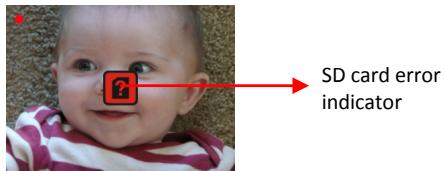
If scanner cannot detect SD card in good condition, a warning icon with question mark will be shown on display. Please try to format the SD card or replace another proper SD card for continue further operation. (Refer to Setting section on page 25.)
2. Playback
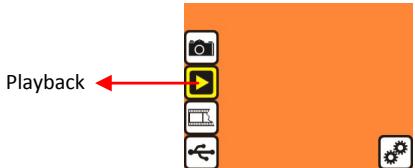
Press Down button to Playback mode when power on ROLLEI DF-S 290 HD or access the main menu by Home icon if during operation. Press OK button to confirm the selection.
2.1 Playback: Auto Slide Show
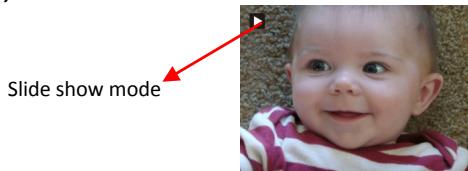
Once user enter playback mode (default to slide show), 3.0 TFT will auto display all images stored in SD card with 2 seconds interval from previous captured image. User can also stop the slide show mode by press OK button.
2.2 Playback: Edit Menu
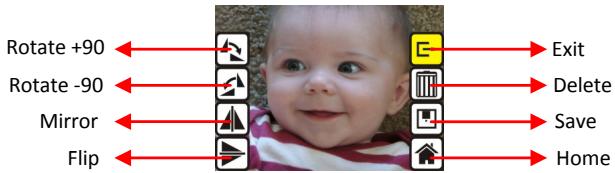
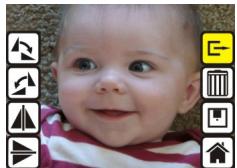
- Rotate +90: captured image rotate +90 degrees
- Rotate -90: captured image rotate -90 degrees
- Mirror: change image left to right
-
Flip: upside down image
-
Exit: returns to Slide show
- Delete: delete this picture stored in SD card
Save: save the modified image onto SD card
Home:returns to main menu
2.3 Playback: Slide mode -> Edit mode
User can interrupt (stop) the slide show mode to stand alone playback mode (single picture playback) by press OK button. (Pause slide show) Then user is able to scroll each picture by up/down button. Once user select the picture stored in SD card which intended to be modified, then use OK button again to bring out the edit mode for modification
2.4 Slide Show -> Single picture -> Edit mode
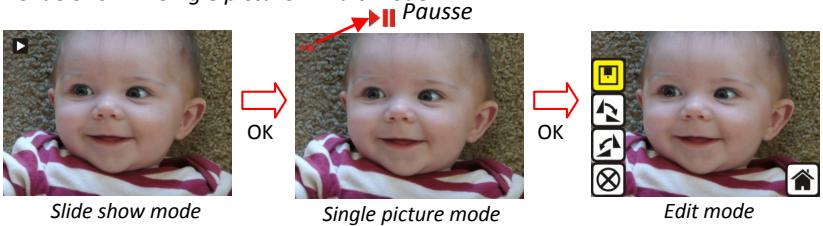
Use Up/Down button to scroll picture to be modified
2.5 Playback: Rotate/Mirror/Flip/Save
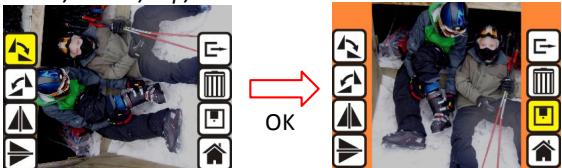
If user wants to Rotate +90 degrees by OK button, the image will be rotate +90 degrees and cursor will remains at Save. Press OK button again to save modified result and next picture will be shown (N + 1) . For continuously Rotate +90 degrees, move cursor to Rotate again and press OK. (Same for Rotate -90, Mirror, and Flip function)
2.6 Playback: Exit

Once user select the EXIT function in edit menu, the display will go back to slide show starting with the current picture in internal memory or SD card without saving any change of present picture
2.7 Playback: Delete
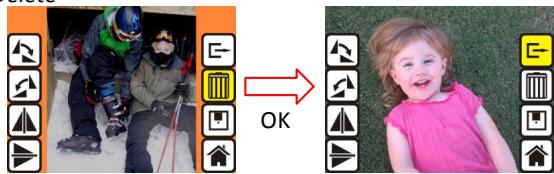
Delete will delete the present selected picture and next picture will be shown (N + 1) . Cursor goes to Exit icon. If user intend to process continuously delete, just move to delete icon again and press OK to confirm.
2.8 Playback: Home
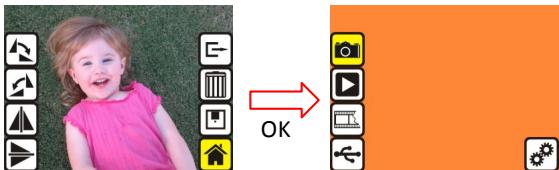
Go back to main menu, press OK button when select Home icon
2.9 Playback: No Picture
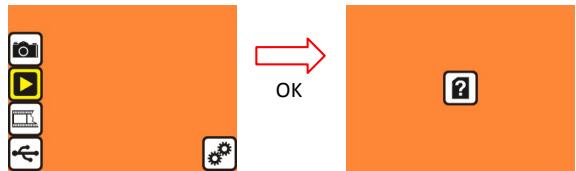
If there's no picture inside internal memory or SD card when enter playback mode, a No picture symbol will show on display.
3. Film Type
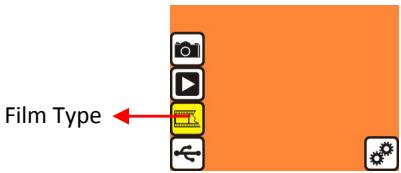
Change film type definition by enter Film Type menu when power on ROLLEI DF-S 290 HD or access the main menu by Home icon if during operation. Press down button for Film Type and press OK to confirm.
3.1 Film Type: Select Film Type
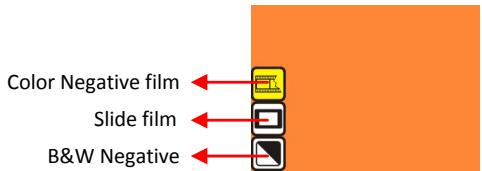
Negative film: select Negative film when cartridge loaded with negative film
- Slide: select Slide type when load slide in holder
B&W film: select B&W when cartridge loaded with Black&White negative film
3.2 Film Type: Example
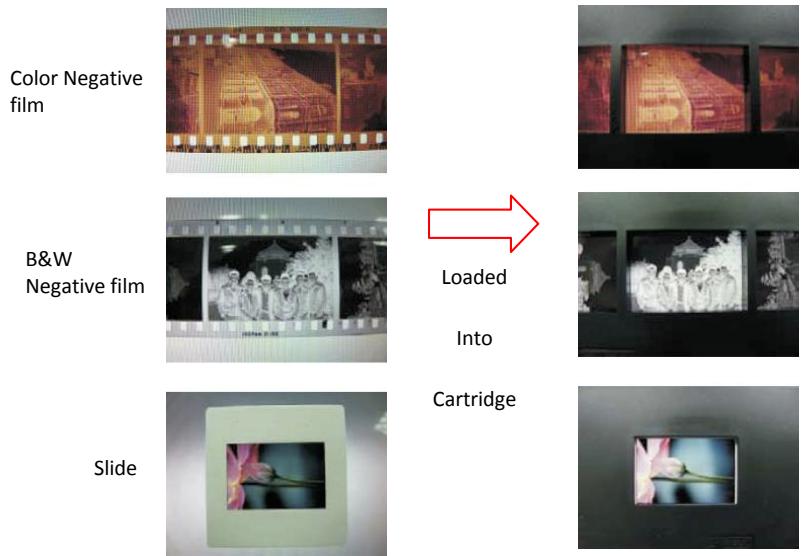
4. USB Mode
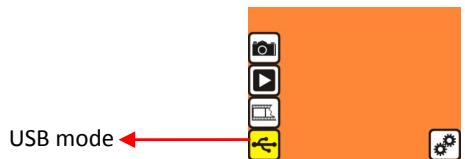
After finished capture, user can download the stored images from internal memory or SD card to PC by selecting USB mode. Press OK button when connect USB cable to PC, ROLLEI DF-S 290 HD becomes a mass storage device. User can review or edit images once PC detected the external storage device. Or just take out the SD card from device into PC to read the images directly.
4.1 USB Mode: Status
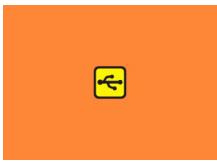
Once user select USB mode, ROLLEI DF-S 290 HD becomes a mass storage device and then a status icon shows on display, then user can find an external USB disk device from my computer and review the images in internal memory or SD card with PC.
5. Setting Mode.
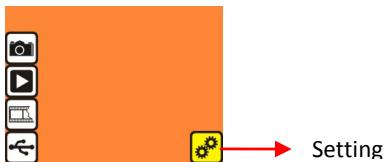
The setting mode covers TV out and format option. User can connect the device to TV and finish the operation with TV display. Moreover, the scanned images can be playback on TV display to share with family.
If the SD card was formatted by the other devices and not readable by scanner, user can apply the format function in scanner to correct required format.
5.1 Setting Mode menu
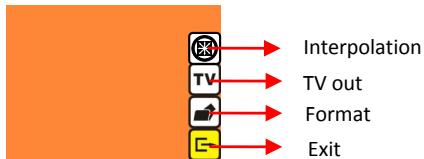
- Interpolation:Turn ON and OFF interpolation to 3600dpi resolution
- TV out: select NTSC or PAL according to required interface
- Format: format internal memory or SD card
- Exit: returns to main menu
5.2 Setting: Interpolation
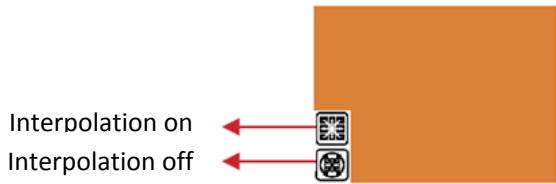
User can have the option to use the interpolation method to increase the picture resolution to 3600dpi. Use Up and Down key to the interpolation selection and press OK button to interpolation menu. NOTE: the capture mode takes a few second longer in image processing while the interpolation function is turned on.
In the interpolation menu, user can turn on and off the function by using the Up and Down key to the selection and press OK button to proceed.
5.3 Setting: TV out
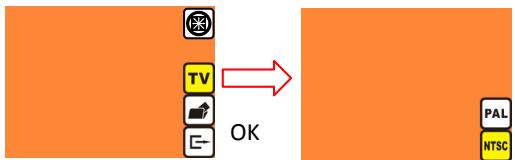
When user want to switch the display from on device LCD to TV display, user can connect device to TV and select PAL or NTSC as required in TV out menu by OK button. Then, the TV display will show the same option for scanning operation. Or directly enter playback mode to slide show captured images on TV.
5.4 Setting: HDMI output
Connect on end of the HDMI cable to the scanner's HDMI port and the other end of the HDMI cable to TV's HDMI port. The TV now becomes the display for preview and playback, in full HD 1080p resolution.
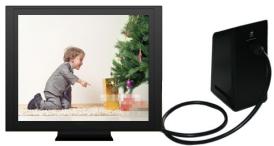
Note: when both the HDMI cable and AV cable connect to TV, the HDMI output signal will override the AV output.
5.5 Setting: Format
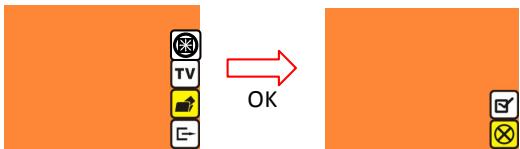
If the internal memory or SD card requires format by scanner, user can enter format mode by press OK button. The default setting will be cancel format. User can press OK button again to cancel the format or select confirm icon to confirm format the memory.
Note
If there's no SD card inside device, the internal memory will be formatted once process Format. Instead, if SD card is inserted in device, SD card will be formatted.
Good bye page

V. Specification
| Image Sensor: | 9 mega CMOS sensor |
| Lens: | Precision™ Glass Element Fixed Focus |
| LCD: | 3.0” Color TFT LCD |
| Internal memory: | 24MB NAND Flash (for saving images) |
| Focus Range: | Fixed focus |
| Exposure Control: | 6 levels of control |
| Color Balance: | 6 levels of control |
| Scan Quality: | 2,400 dpi; 3,600 dpi (interpolation) |
| Data Conversion: | 10 bits per color channel |
| Scan Method: | Single pass |
| Light Source: | Back light (3 white LEDs) |
| Interface: | USB 2.0, TV-out (video 3.5mm jack), HDMI(Type A) |
| USB Configuration: | Mass Storage Device Class/MSDC |
| Power: | 5V adapter, or USB power |
| Dimensions: | 82x86x152mm |
| Weight: | 0.41kg |
| External memory: | SD/MMC compatible |


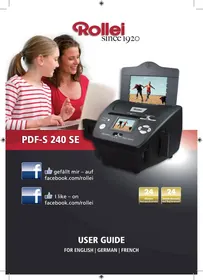

- ROLLEI DF-S 290 HD
- User Manual
- Index
- Unpack ROLLEI DF-S 290 HD
- Note
- Install film into the film holder Install the Slide into holder
- Install the Negative Film into holder
- Install the Rapid Slide Feeder:
- Quick Start
- Operation Guide
- Capture
- Capture: / (Hard Key)
- Capture: / - Flip / Mirror (Hard Key)
- Capture: / / Mirror> - Brightness/Color (Hard Key)
- Capture: / - Brightness (Hard Key)
- Capture: / - Color Red (Hard Key)
- Capture: Up / Mirror - Color Green (Hard Key)
- Capture: $/$ - Color Blue (Hard Key)
- Capture mode
- Capture: Edit Menu
- Live View -> Capture/Edit Menu
- Capture: Save
- Capture: Rotate +/-90 degrees
- Capture: Cancel
- Capture: Home
- Exit from Edit mode back to Capture mode (Live View)
- Memory full
- SD card locked
- SD card error
- Playback
- Playback: Auto Slide Show
- Playback: Edit Menu
- Playback: Slide mode -> Edit mode
- Slide Show -> Single picture -> Edit mode
- Playback: Rotate/Mirror/Flip/Save
- Playback: Exit
- Playback: Delete
- Playback: Home
- Playback: No Picture
- Film Type
- Film Type: Select Film Type
- Film Type: Example
- USB Mode
- USB Mode: Status
- Setting Mode.
- Setting Mode menu
- Setting: Interpolation
- Setting: TV out
- Setting: HDMI output
- Setting: Format
- Good bye page
- Specification
Marque : ROLLEI
Modèle : DF-S 290E
Catégorie : Scanner