
PDJ120 - Cadre photo numérique JOBO - Notice d'utilisation et mode d'emploi gratuit
Retrouvez gratuitement la notice de l'appareil PDJ120 JOBO au format PDF.

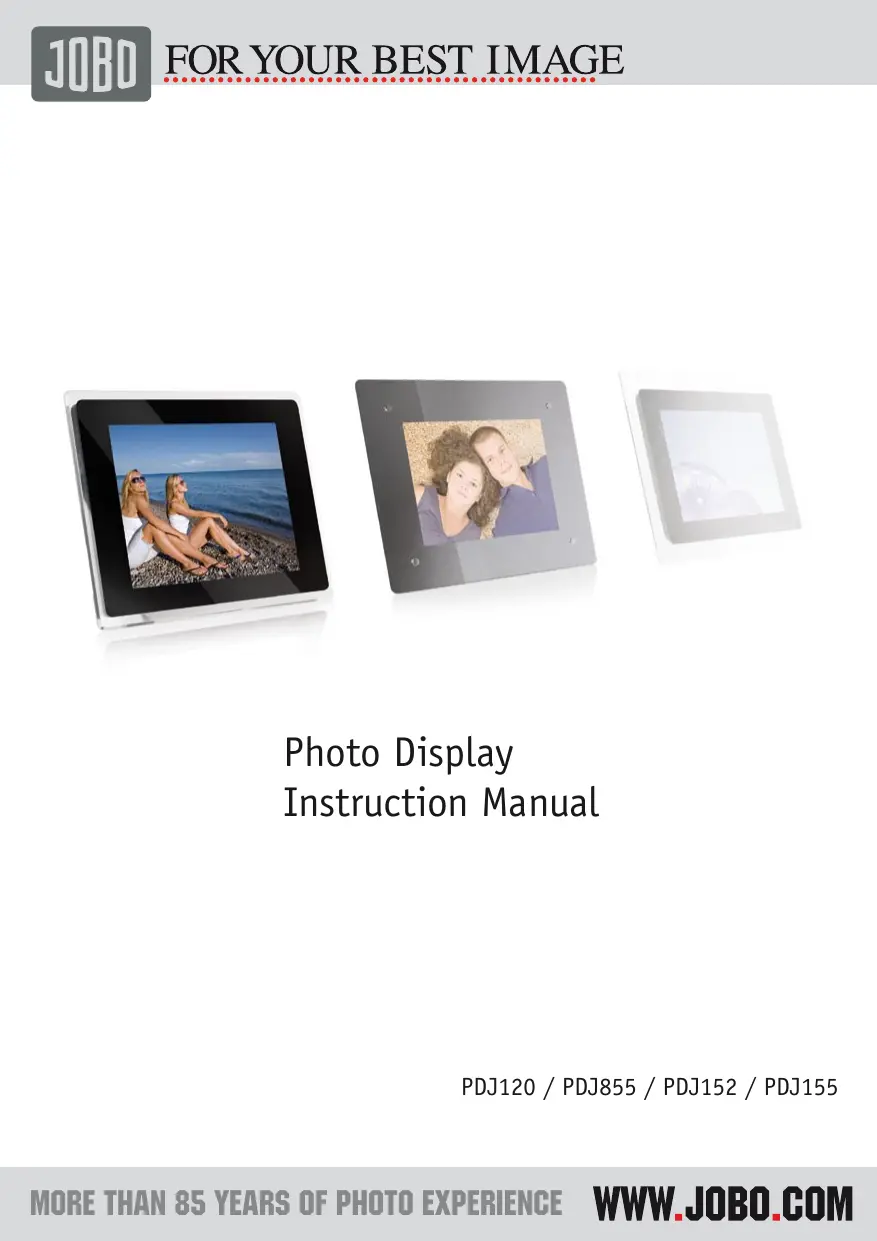

| Type d'appareil | Cadre photo numérique |
| Écran | Écran couleur LCD |
| Taille de l'écran | Non précisé |
| Résolution | Non précisé |
| Formats d'image supportés | JPEG, BMP, PNG |
| Mémoire interne | Non précisé |
| Support de stockage externe | Carte mémoire SD/SDHC |
| Connectivité | USB |
| Alimentation | Adaptateur secteur |
| Fonctions supplémentaires | Diaporama, réglage luminosité |
| Orientation de l'écran | Portrait et paysage |
| Dimensions | Non précisé |
| Poids | Non précisé |
| Langues disponibles | Multilingue |
| Garantie | Non précisé |
FOIRE AUX QUESTIONS - PDJ120 JOBO
Questions des utilisateurs sur PDJ120 JOBO
0 question sur cet appareil. Repondez a celles que vous connaissez ou posez la votre.
Poser une nouvelle question sur cet appareil
Téléchargez la notice de votre Cadre photo numérique au format PDF gratuitement ! Retrouvez votre notice PDJ120 - JOBO et reprennez votre appareil électronique en main. Sur cette page sont publiés tous les documents nécessaires à l'utilisation de votre appareil PDJ120 de la marque JOBO.
MODE D'EMPLOI PDJ120 JOBO
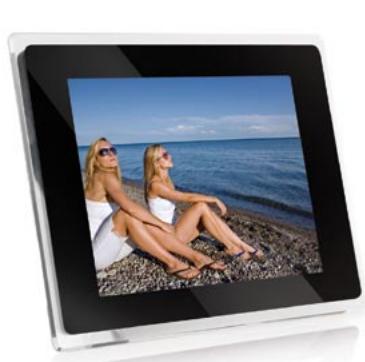
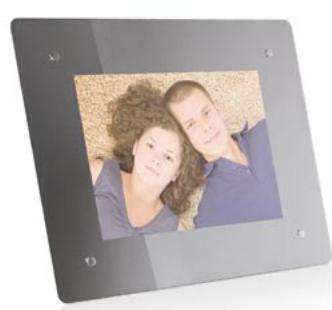
Photo Display Instruction Manual
PDJ120 / PDJ855 / PDJ152 / PDJ155
1. Introduction
Congratulations on your purchase of the JOBO Photo Display!
Before operating the unit, please read this manual thoroughly and retain it for future reference. This manual will help you to learn many of the exciting and useful features of your new Photo Display and make viewing more enjoyable.
The Photo Display lets you view digital pictures directly from your camera's memory cards. You will be able to create a slideshow using multiple transition effects or display one picture at a time. No computer required.
The Photo Display is compatible with the most popular memory card formats; for details please refer to the technical details in sections 3.
1.1. Main Features
- Displays digital pictures (JPEG) without a computer.
Simply insert a compatible memory card into the digital frame to show photos, - Compatible with the most popular memory card formats; for details please refer to the technical details in sections 3.
- Displays digital camera's stored JPEG images.
Supports up to 16 Mega Pixels image files (JPEG format).
Full screen display for "clock & calendar" function. - Two way to control: main function buttons on body; infrared remote control.
USB2.0 high speed connection to connect to your PC.
USB1.1 (Host; OTG) for connecting to your digital camera, GIGA One, Spectator or any other USB disk.
1.2. Precautions & Maintenance
- This Photo Display is for indoor use only.
- To reduce the risk of fire or electric shock, do not expose this appliance to rain or moisture.
- Do not block the ventilation holes on the back of the Photo Display at any time.
- Keep your JOBO Photo Display out of sunlight. Direct sunlight may cause damage.
Always use the eject buttons on the memory storage cards slots to remove the memory storage cards. - Do not open the case of the JOBO Photo Display. There is a risk of electric shock and there are no user serviceable parts inside. Opening the case will void your warranty.
Do not use the Photo Display if conditions could allow condensation to occur, or damage may result.
1.3. Cleaning the LCD Screen
Treat the screen gently. The screen on the JOBO Photo Display is made of glass and can be scratched or broken. If fingerprints or dust make the LCD screen dirty, we recommend using a soft, non-abrasive cloth such as the camera lens cloth to clean the LCD screen. If you use the LCD Cleaning Kit sold on the market, do not apply the cleaning liquid directly to the LCD screen. Clean the LCD screen with cleaning cloth moistened with the liquid.

- THE UNIT IS LCD BY-PRODUCT,
- DO NOT STRIKE BY ANY HARD OBJECT.
- TO AVOID THE RISK OF FIRE OR ELECTRIC SHOCK,DO NOT EXPOSE THIS PRODUCT TO RAIN OR MOISTURE.
2. Getting Started
- Assemble the Photo Display stand on the back for propping stability, then plug the power adapter into an electrical outlet.
- Push the power switch at the end of Photo Display to "ON".
| 1. DC IN | 2. | 3. ON OFF | |
2.1. Inserting Memory Cards
The JOBO Photo Display is compatible with the most popular memory cards and USB Disk: [For Details please refer to technical details in section 3] Insert the memory card with the front label facing away from you. Do not force the memory card into the memory slot. If you are not able to easily insert the memory card completely, you may have inserted it in the wrong way.
| SD/MMC/MS Card Slot for SD/MMC/MS | CF Card Slot for CF Cards | USB USB port |
Note: The Photo Display will ONLY recognize digital pictures stored in JPEG format. Digital pictures stored in other formats will be ignored by the device.
You will see the following screen if you insert the memory card correctly. Make sure you have at least one picture stored on the memory card. The frame will not function properly without a stored picture.
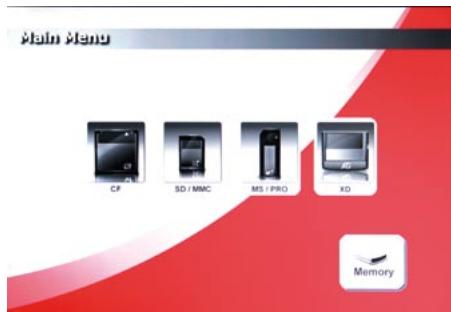
Main Menu
Please select a memory card or the internal memory, then press the confirm button to see the thumbnail images of the selected device.
2.2. Viewing Picture
- You can use either the remote control or the on-board buttons to control the Photo Display.
- Remove the plastic battery insulator (if any) on the bottom of the remote control and make sure the remote control has a battery installed. See "Installing and replacing battery" section if you need a new battery.
- Use the remote control to highlight and select the Photo folder (Use the direction keys Right, Left on the remote control to navigate and press Enter to select).
- Highlight a picture and press Enter to view the picture.
- Press "PLAY" button to view the picture sequential.
2.2.1. Buttons
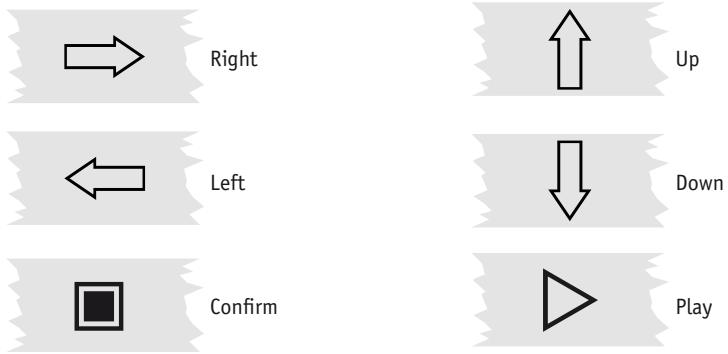
2.2.2. Remote Control
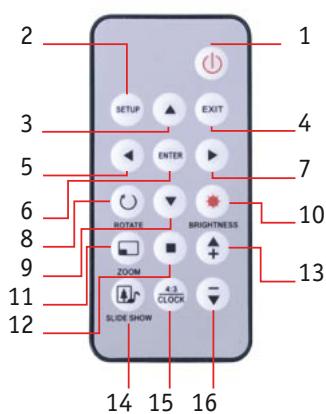
- Power ON/OFF
- SETUP (enter settings menu)
3.Up - EXIT
5.Left - Enter
- Right
- Rotate (rotate images)
- Down
- Brightness (Change brightness, contrast and saturation)
- Zoom (Zoom into images)
- Confirm
- Plus (in Brightness menu)
- Slideshow (switch between Slideshow and Pause)
- Clock / Calendar (switch between Clock and Main Menu)
- Minus (in Brightness menu)
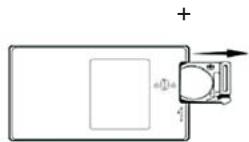
2.3. Installing and Replacing the Remote Control Battery
- Place the Remote Control with the control buttons facing downward.
- While pressing down on the ridged area of the battery cover pull the tray out.
- Place a "CR2025" lithium battery on the tray with the positive "+" end facing toward you.
- Close the tray.
2.4. Display CLOCK&CALENDAR
- Press [CLOCK] key on remote control into COLCK & CALENDAR interface, see following screen cut picture:
- Press [CLOCK] key again return to main menu.
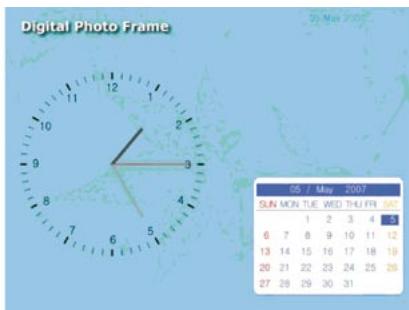
Note: Clock and Alarm settings are in the setup menu!
3. Technical Specifications
PDJ 855
- Display: 8.4 inch (21.3 cm)
- Resolution: 800 × 600 pixels
- Internal memory: 128 MB
- Brightness: 250 cd/m^2
- Contrast ratio: 500:1
- Aspect ratio: 4:3
- Supported memory cards: SD, MMC, MS, MS Pro, CF, xd
- USB 2.0 high speed, USB OTG
- Supported picture format: JPG
Full screen, thumbnail and slide show view with various change-over effects - Picture rotation, picture zoom
- Displays calendar and clock
- Can be set up in picture or landscape format
Built-in wall mounting - Incl. remote control, USB cable
PDJ120
- Display: 12.1 inch (30.7 cm) colour TFT LCD
- Resolution: 800 × 600 pixels
- Internal memory: 128 MB for up to 800 pictures with optimal screen resolution
- Contrast ratio: 350:1
- Aspect ratio: 4:3
- Card slots for CF, SD, MMC, MS, MS Pro, xD
- USB 2.0 high speed, USB OTG
- Full screen, thumbnail or slide show view
- Slide show with adjustable change-over effects, time intervals and zoom mode
- Copy, delete, rotate and zoom functions with folder structure
- Calendar and time display faded in
- Accessories: remote control, USB cable
PDJ 152/155
- Display: 15 inch (38.1 cm)
- Resolution: 1024 × 768 pixels
- Internal memory: 1 GB for up to 4 000 pictures
- Brightness: 350 cd/m^2
- Contrast ratio: 400:1
- Aspect ratio: 4:3
- Supported memory cards: SD, MMC, MS, MS Pro, CF, xd
- USB 2.0 high speed, USB OTG
- Supported picture format: JPG (supports pictures up to 16M pixels)
- Full screen, thumbnail and slide show view with various change-over effects
- Picture rotation (+/- 90o), picture zoom
- Displays calendar and clock
- Usable in picture and landscape format
Built-in wall mounting - Incl. remote control, USB cable
4. Warranty and Service
4.1. Warranty conditions
This product is subject to the legal warranty periods relating to manufacturing faults and defects.
Substance of the warranty:
- In the event of malfunctioning caused by manufacturing defects JOBO AG will repair or replace the defective product at its own discretion.
- JOBO AG and its suppliers do not assume any liability for data losses occurring during operation of the device or consequential damage resulting from this. Under no circumstances will JOBO AG assume liability for any direct, concrete or special damage or consequential damage like for example damage to or loss of property or devices, loss of profits or sales, costs for spare parts, expenditure or inconvenience caused by the interruption of service or any other damage. The user will be exclusively responsible for the loss, damage or destruction of data during the operation of a JOBO product. Under no circumstances will JOBO AG be liable for the recreation of such data. Under no circumstances can claims be lodged that exceed the purchase price of the product.
- The following repairs are not covered by the warranty and must be paid for separately:
-
Malfunctions after the end of the legal warranty periods
-
Change of battery after the end of the warranty period
- Change of hard disk after the end of the warranty period
- Malfunctions due to incorrect operation by the user (if device is not used as described in the manual)
- Malfunctions caused by other devices
Changes or damage to the device not caused by the manufacturer; especially, warranty claims will lapse if the device has been opened by anyone other than by a JOBO AG repair workshop - Damage caused by natural disasters (acts of God)
- A hard disk change during the warranty period must only be performed by J0B0. Such a change by any other party will entail the loss of all warranty claims.
If you want to make any claims under the warranty you are asked to contact the Technical Service of JOBO AG. You will be expected to quote the serial number of the JOBO product and may also have to submit proof of purchase to show that the warranty period has not yet elapsed.
4.2. Contact/Service
If you have any questions on or need help with our products please do not hesitate to get in touch with our Technical Service. You can reach our service people by phone under the telephone number indicated below from Monday through Thursday from 9:00 am to 4:00 pm and on Friday from 9:00 am to 1:00 pm. Independently of these service times you can also get in touch by e-mail, fax or mail:
JOBO AG
Koelner Strasse 58
D-51645 Gummersbach
Tel. 0049 2261 545-72
Fax: 00492261545-42
E-Mail: support@jobo.com
www.jobo.com