
MP-100 - Lecteur multimédia GENIUS - Notice d'utilisation et mode d'emploi gratuit
Retrouvez gratuitement la notice de l'appareil MP-100 GENIUS au format PDF.

| Type d'appareil | Lecteur multimédia |
| Alimentation | Adaptateur secteur 5V, 2A |
| Batteries | Deux piles AAA |
| Connecteurs vidéo | Pr, Pb, Y / Video Out (RCA) |
| Connecteurs audio | R / Audio Out, L / Audio Out (RCA) |
| Connecteur USB | USB 2.0 hôte |
| Lecteur de cartes | Supporte SD/MMC/SM |
| Compatibilité écran | CRT / LCD avec YPbPr ou CVBS |
| Système d'exploitation | Non requis |
| Contenu du paquet | Lecteur multimédia, adaptateur secteur, câble AV/audio, télécommande, piles AAA, manuel multilingue |
| Installation | Aucune installation logicielle nécessaire |
| Fonctions principales | Lecture de musique, photos et vidéos depuis stockage USB ou carte mémoire |
| Sortie audio | Connectée aux enceintes ou TV via RCA |
| Sortie vidéo | Connectée à TV via RCA composante ou composite |
| Dimensions | Non précisé |
| Poids | Non précisé |
| Couleur | Non précisé |
FOIRE AUX QUESTIONS - MP-100 GENIUS
Questions des utilisateurs sur MP-100 GENIUS
0 question sur cet appareil. Repondez a celles que vous connaissez ou posez la votre.
Poser une nouvelle question sur cet appareil
Téléchargez la notice de votre Lecteur multimédia au format PDF gratuitement ! Retrouvez votre notice MP-100 - GENIUS et reprennez votre appareil électronique en main. Sur cette page sont publiés tous les documents nécessaires à l'utilisation de votre appareil MP-100 de la marque GENIUS.
MODE D'EMPLOI MP-100 GENIUS
Chapter 1: Introduction
Media Player 100 is a Digital Media Player that includes a connector for an USB storage device and Card Reader. The Media Player 100 connects to your home entertainment center allowing you to play music, show photos and videos from the storage or card reader on your stereo system or TV.
Package Contents
| Media Player 100 Device | 5V power adapter | AV / Audio cable |
| Two AAA Batteries | Remote control | Multi-language user’s manual |
1.2 System Requirements
- Display unit CRT / LCD with YPbPr or CVBS connector.
- No OS (operating system) or software driver installation is needed.
Chapter 2: Getting Started
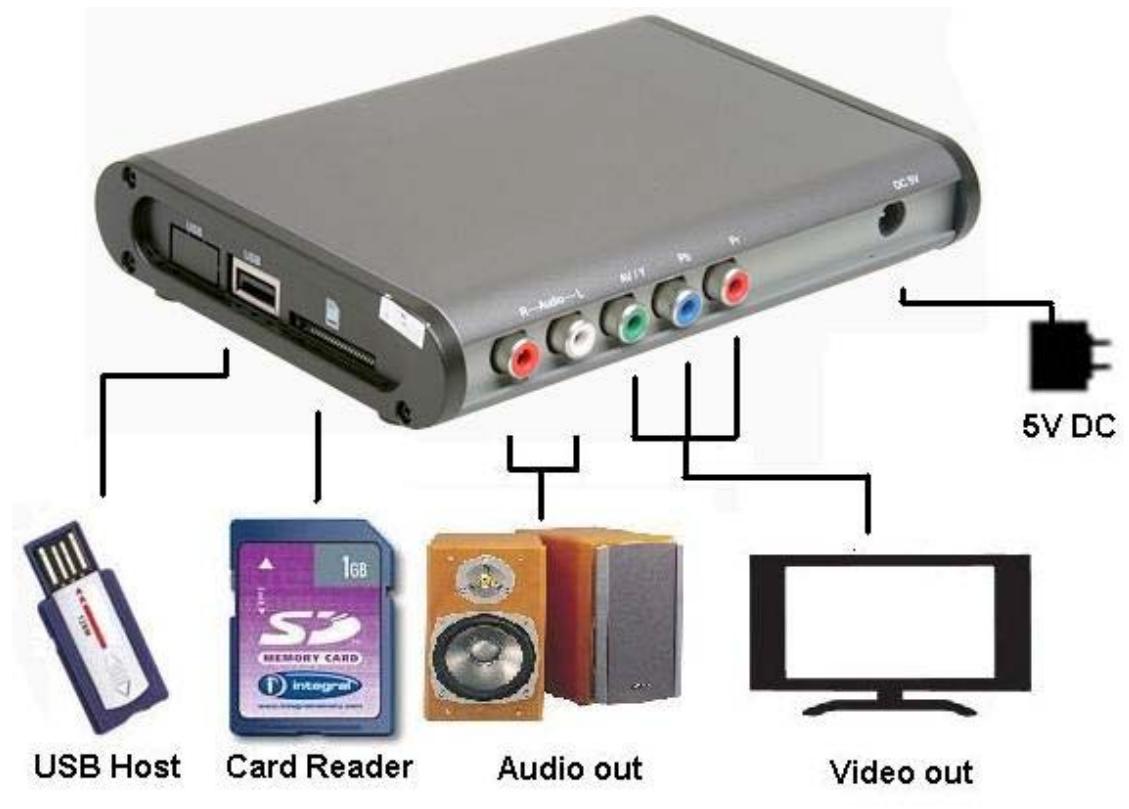
2.1 Panel connectors
Check the following images for the location of the connectors on the MP-100.
Rear panel connectors

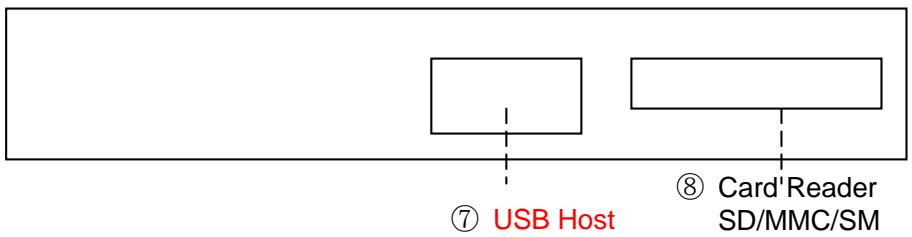
Right side storage device connectors
| CONNECTOR | TYPE | DESCRIPTION | |
| 1 | DC In | 5mm, INT+, EXT- | AC adapter, power in (5V, 2 A) 。 |
| 2 | Pr | Red RCA Jack | Video output |
| 3 | Pb | Blue RCA Jack | Video output |
| 4 | Y / Video Out | Green RCA Jack | Video output / CVBS Video output |
| 5 | L / Audio Out | Red RCA | Audio out connect to speaker or TV AV in |
| 6 | R / Audio Out | White RCA | Audio out connect to speaker or TV AV in |
| 7 | USB Host | USB 2.0 host | Connect to USB HDD |
| 8 | Card Reader | 3 in 1 Card Reader | Support SD/MMC/SM memory card. |
2.2 Device Connections
We suggest you connect your devices first before you connect the AC adapter to an outlet.
Chapter 3: Remote Control
To use Media Player 100, aim the front of the Remote Control at the Remote Control Receiver and press the control buttons as you would on any remote control.
3.1 Installing Batteries
Open the back cover of the remote control and insert two AAA batteries according to the polarity (alkaline batteries recommended).
3.2 Remote control functions
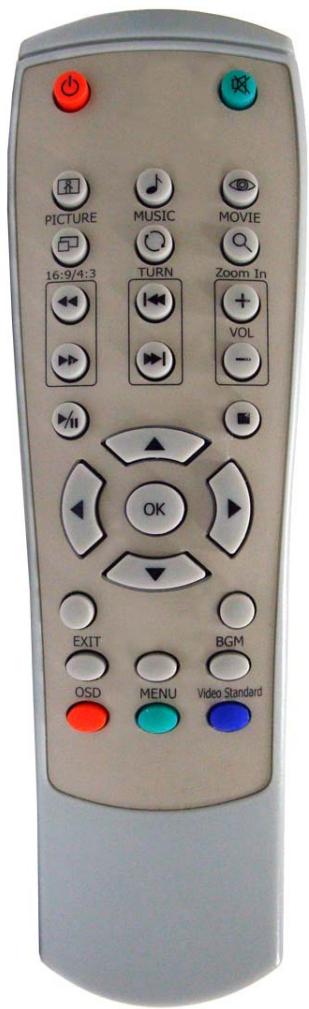
- Power: Power on/Off control.
- Mute: Volume mute or resume.
- Picture: Go to Picture function.
- Music: Go to Music function.
- Movie: Go to Movie function
- 16:9/4:3: Switch to different display ratio.
- Turn: In Photo mode, photo rotated in clockwise direction.
- Zoom In: Zoom in: 2 × 10 / 4 × 8
- Play/Pause: Play / Pause the screen.
- Stop: Stop the screen.
- : Rewind / Forward.
- : Previous / Next.
- Vol +/-: Volume up / Volume down.
- Up/Down/Right/Lift: Arrow key
- OK: Select and Confirm button.
16.Exit: Exit or back to previous page. - BGM: Play/ Stop music on photo mode.
18.OSD: Control on screen display.
19 MENU: Enter Setup page. - Video Standard: Switch to VGA / YPbPr / AV output.
Chapter 4: Begin
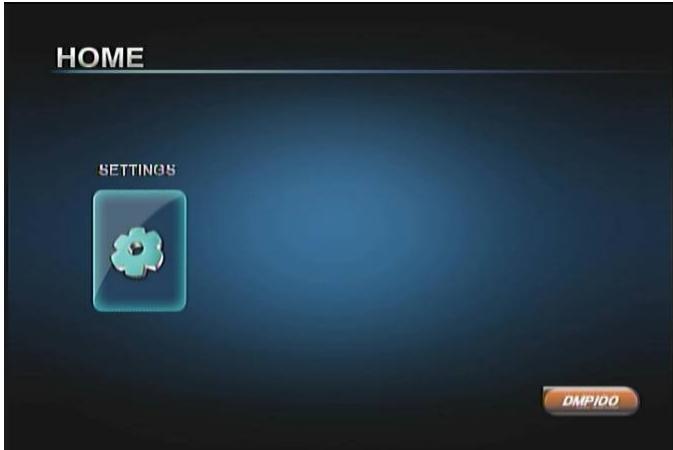
4.1 How to use MENU
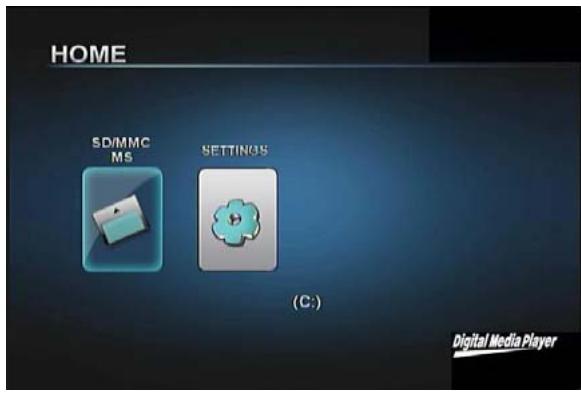
- Turn on the Power, and the device will display this screen.
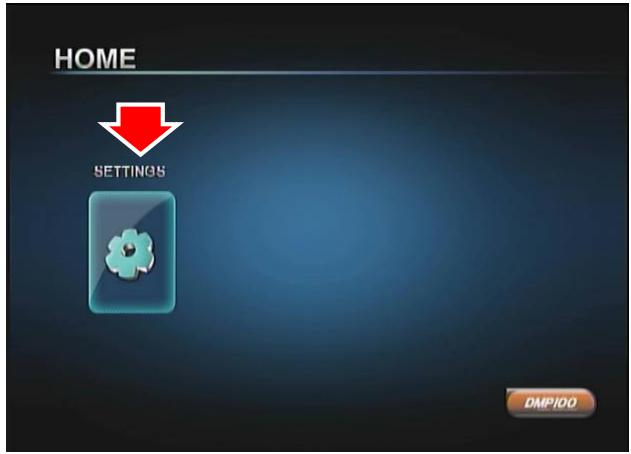
2. Click on " SETTINGS"
3.Use the remote to select the functions and click "OK" button to confirm the setting.
Press the Menu button on the remote control to return to the previous menu setting page or OK to exit from menu setting.
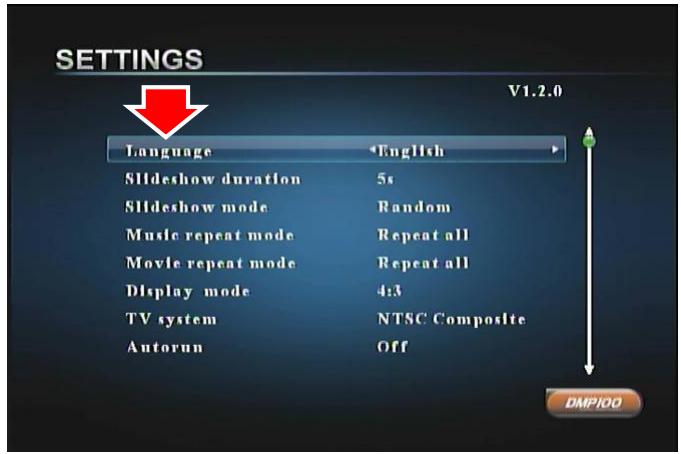
4.2 System Setting
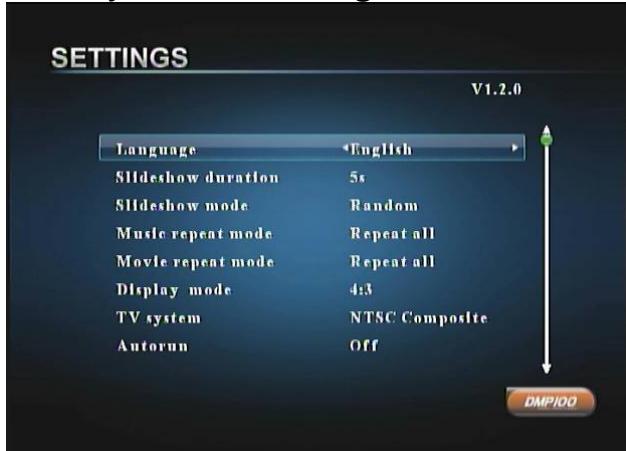
LANGUAGE: OSD menu language selection: Chinese or English.
Slideshow Duration: Set Image slideshow speed.
Slideshow Mode: Set Image slideshow type.
Music Repeat Mode: Set Music playback time.
Movie Repeat Mode: Set Video playback times.
Display Mode: Switch between 4:3 or 16:9 display mode.
TV system: Set TV out standard.
Default: Reset the system to default setting.
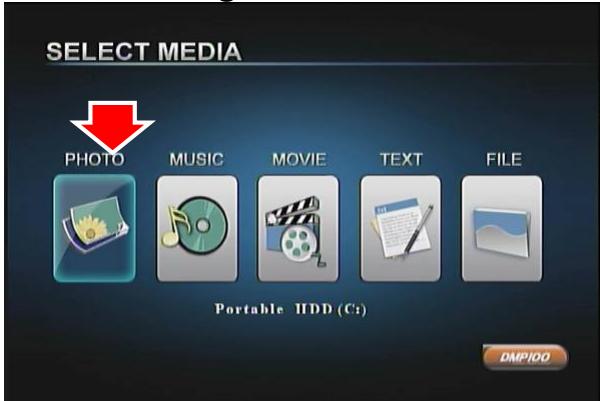
4.3 Input Device Select
1. Turn on the Media Player 100.
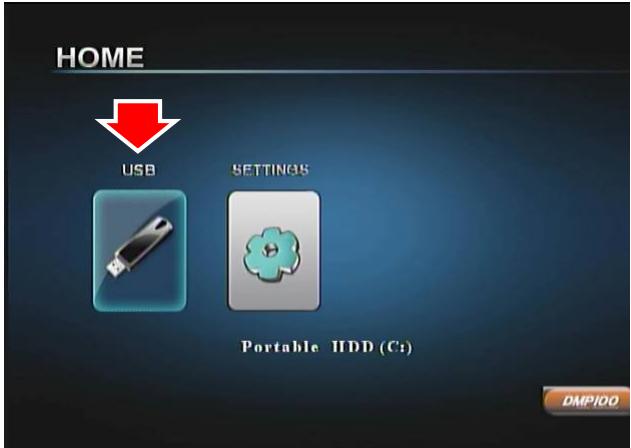
-
Plug-in your USB storage device or insert your memory card, and the screen will show the item.
-
Select it and click "OK" button.
4.4 Running the Movie Player
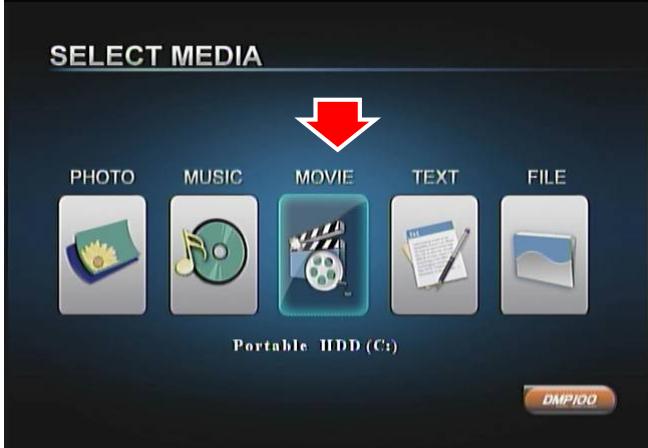
1. Click on the "Movie" icon.
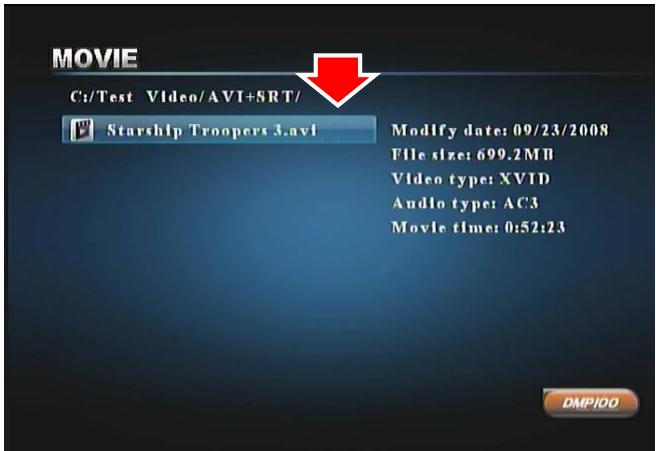
2. Find your Movie file and click "OK" button.
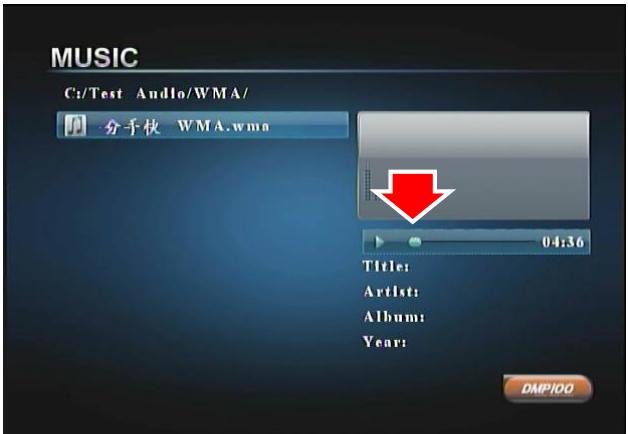
4.5 Running the Music Player
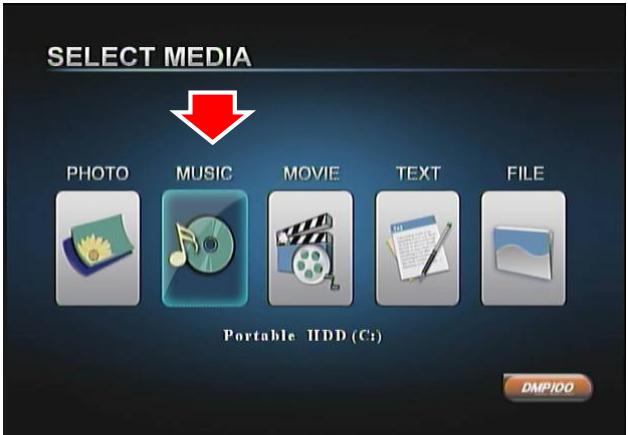
1. Click on the "Music" icon.
4.6 Running the Photo Browser
1. Click on the "Photo" icon.
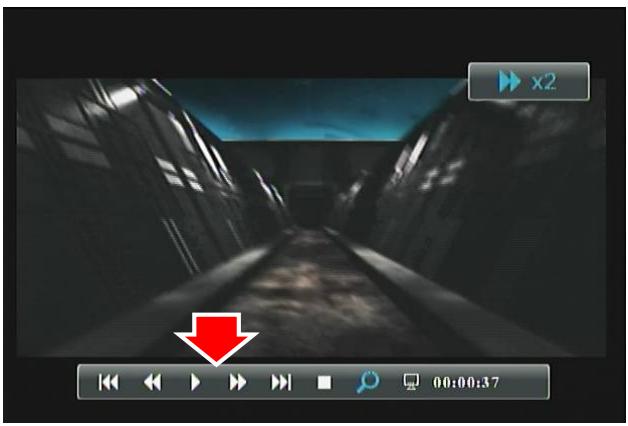
- Use the remote to control the video.
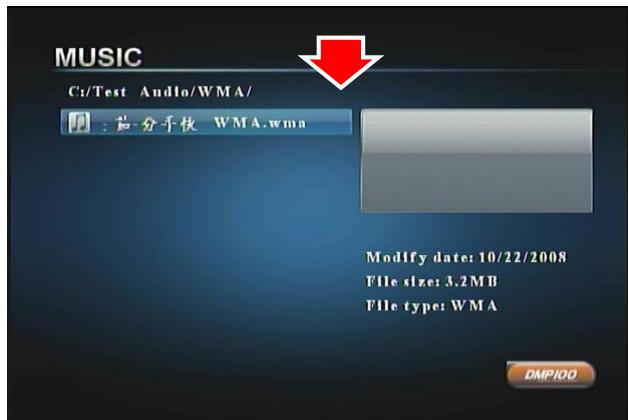
- Find your Music file and click "OK" button.
3.Use the remote to control the music playback.
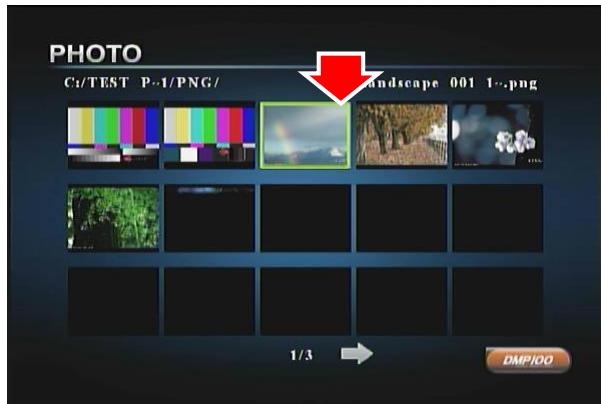
- Find your Photo file and click "OK" button.
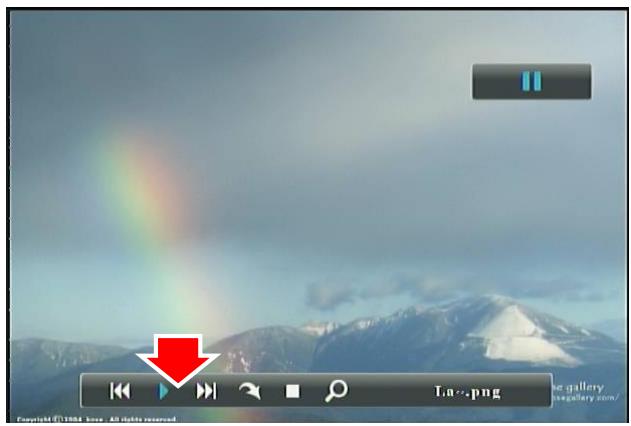
- Click "Play" to start slide show.
4.7 Running the Text Reader
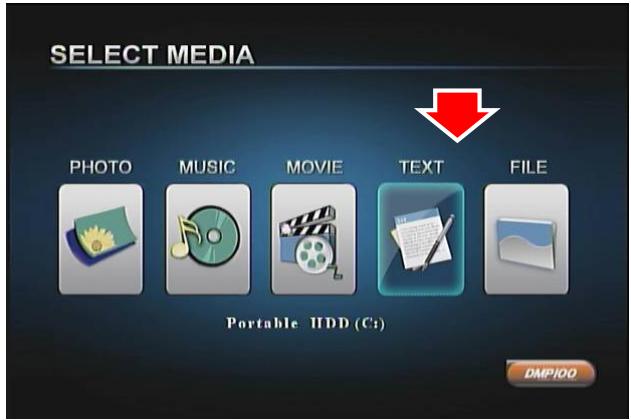
- Click on the "TEXT" icon.
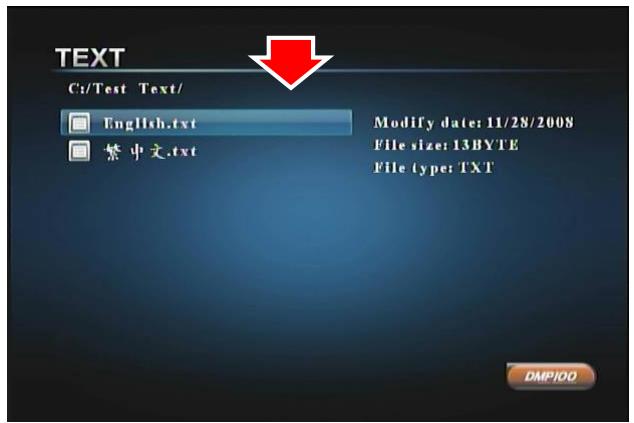
- Find your file and click "OK" button.
- The text will now be displayed.
4.8 Running the File Browser
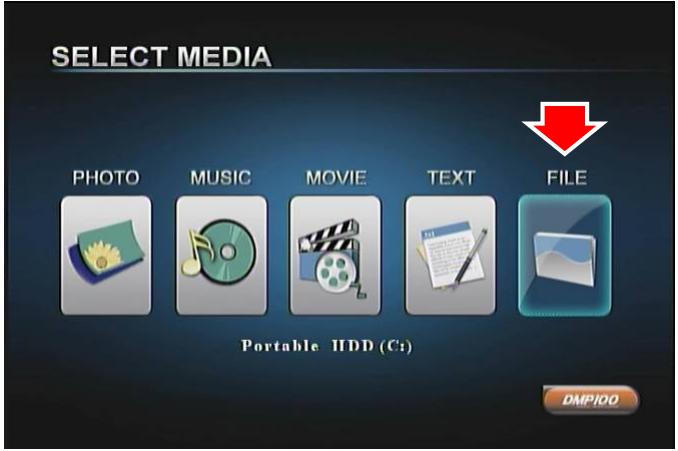
- Click on the "File" icon.
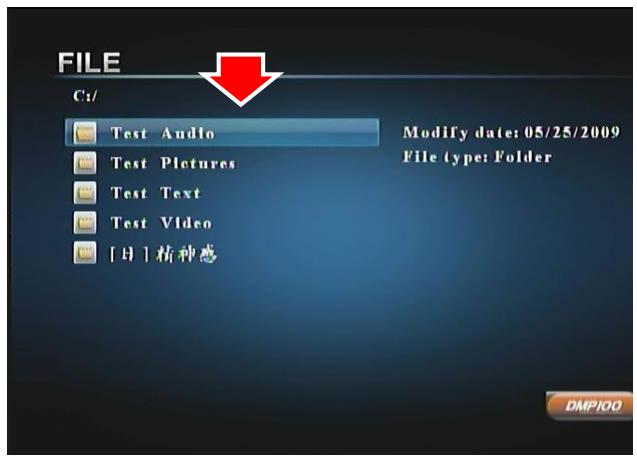
- Find your file and click "OK" button.
Chapter 5: Frequently Asked Questions
Q1. How to update the device firmware?
A1.

- Download the latest firmware file from our website.
- Unzip the firmware and copy to a USB Thumb Drive or Memory Card and plug it into the Media Player 100 device. Select the "USB" or "SD/MMC/MS" icon and then press "OK" on the Main Menu.
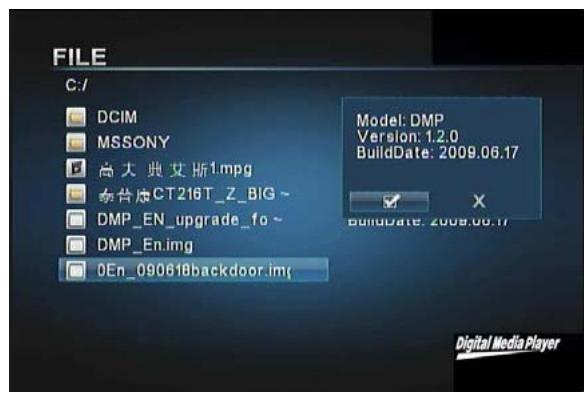
- Select "File" and press "OK" to enter file browser.
- Use Up/Down/Left/Right keys to select the firmware file, and then press “OK” to update the firmware. A dialog box will appear. Use Left/Right keys to select “V”, and then press “OK” to upgrade firmware.
- Don't do anything when upgrading the firmware. Once it is finished, it will reboot automatically.
Q2: How do I create subtitle files in SRT, SUB, SSA/ASS, and SMI format with ANSI encoding?
A2: Since the Media Player 100 only supports subtitle files in ANSI encoding format, follow these steps:
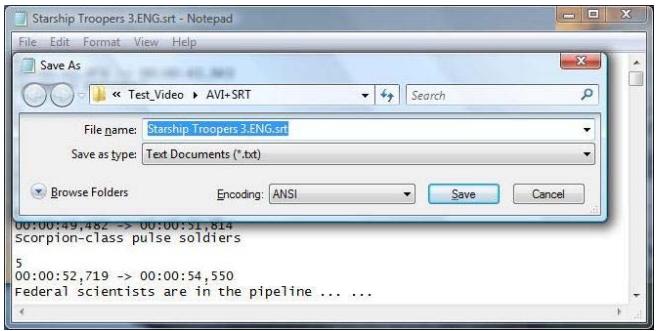
Open the subtitle file with Notepad (a program in your Windows Operating System), click on the Files Menu and select the "Save As" option. Change the Encode option to ANSI encoding and click-on Save to proceed.