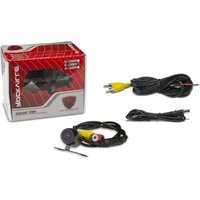
RBC3 - Caméra de recul Rockville - Notice d'utilisation et mode d'emploi gratuit
Retrouvez gratuitement la notice de l'appareil RBC3 Rockville au format PDF.


| Type de produit | Caméra de recul pour véhicule |
| Marque | Rockville |
| Modèle | RBC3 |
| Angle de vue | 170° (approximatif) |
| Résolution | 600 TVL (lignes de télévision) |
| Type de capteur | CMOS |
| Alimentation | 12V DC (câble d'alimentation inclus) |
| Consommation | ~3W |
| Sortie vidéo | RCA composite (1 Vp-p, 75 Ω) |
| Dimensions (caméra) | 30 x 30 x 25 mm (approximatif) |
| Poids (caméra) | ~50 g |
| Distance de vision nocturne | Jusqu'à 10 m (avec infrarouges) |
| Indice de protection | IP67 (étanche) |
| Température de fonctionnement | -20°C à +70°C |
| Fixation | Support réglable inclus |
| Longueur du câble | ~5 m |
| Fonction principale | Aide visuelle lors des manœuvres de marche arrière |
| Fonctions supplémentaires | Vision nocturne, lignes de guidage activables |
| Entretien et nettoyage | Nettoyer la lentille avec un chiffon doux et sec ; éviter les solvants |
| Sécurité | Ne pas immerger le connecteur ; installation par un professionnel recommandée |
| Pièces détachées et réparabilité | Contacter le service client Rockville pour les câbles ou supports |
| Informations générales | Utiliser exclusivement avec une tension 12V DC ; respecter la polarité |
FOIRE AUX QUESTIONS - RBC3 Rockville
Questions des utilisateurs sur RBC3 Rockville
0 question sur cet appareil. Repondez a celles que vous connaissez ou posez la votre.
Poser une nouvelle question sur cet appareil
Téléchargez la notice de votre Caméra de recul au format PDF gratuitement ! Retrouvez votre notice RBC3 - Rockville et reprennez votre appareil électronique en main. Sur cette page sont publiés tous les documents nécessaires à l'utilisation de votre appareil RBC3 de la marque Rockville.
MODE D'EMPLOI RBC3 Rockville
ROCKVILLE
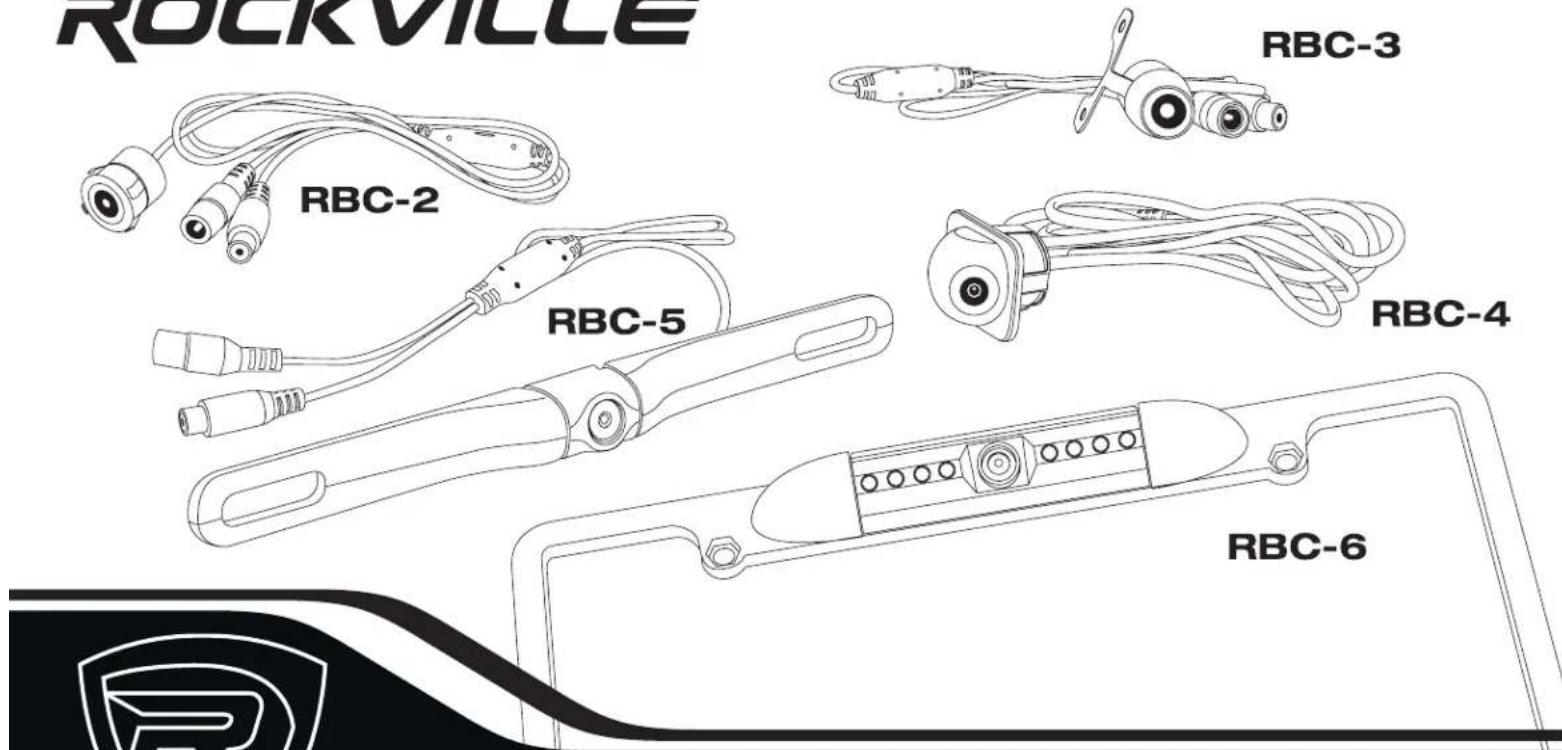

RBC SERIES
REARVIEW BACK-UP CAMERAS OWNER'S MANUAL
WIRING DIAGRAM (RBC-2 shown, wiring procedure is the same for all cameras)
![graph TD A["Camera"] --> B["Yellow PLUGS: VIDEO OUT to MONITOR"] B --> C["Red PLUG"] B --> D["BLACK PLUG"] C --> E["POWER DC 12V to REVERSE LIGHTS"] D --> E F["Black Plug"] --> G["Red +"] H["Black (-)"] --> I["Red (+)"] J["Red wire should be tapped into the rearview camera wire of the receiver's har…](/content/2026/07/1447975/images/8e1bad2d9817432f01f4def6ae26aa234694f3d88aadbd6db5d0532b73a1c9e1.jpg)
MOUNTING DIAGRAM
BUTTERFLY BRACKET MOUNT
1. Drill two holes into vehicle exterior at
desired installation area.
2. Use strews provided to secure camera to vehicle exterior
3. Insert camera cable through secondary hole.
![graph TD A["Car Body"] --> B["RBC-3"] B --> C["Car Body"] D["RBC-4"] --> E["3. Continue to insert camera until you hear a click and the camera body is flush with the vehicle exterior"]](/content/2026/07/1447975/images/81cf0ce7c1adda6a5f3c9581e174dc44162a16ad4b5ea7123669f445db6b02c2.jpg)
FLUSH MOUNT A
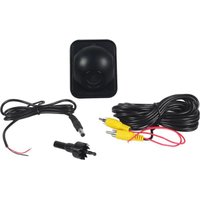
1. Drill proper size hole (18.5mm) into
2. Insert camera through the hole from the exterior of the vehicle.

- Continue to insert camera until you hear a click and the camera body is flush with the vehicle exterior.
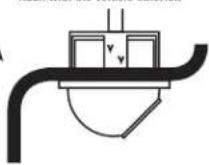
FLUSH MOUNT B
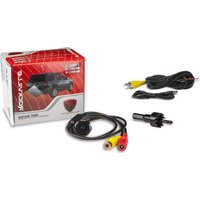
1. Drill proper size hole (18.5mm) into vehicle rear bumper. Optional butterfly mount included. Follow Butterfly Bracket Mount directions.
2. Insert camera through the hole from the exterior of the vehicle.

- Continue to insert camera until you hear a click and the lens is flush with the vehicle exterior.

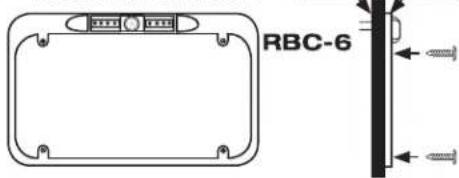
LICENSE PLATE MOUNT
1. Drill proper size hole into vehicle rear bumper for camera cables.
2. Remove license plate top screws.
Attach camera to license plate using provided screws.
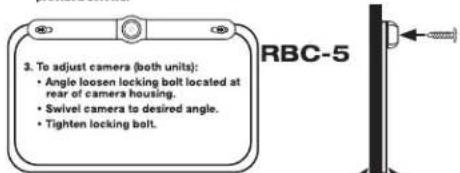
FULL LICENSE PLATE MOUNT
FEATURES
• Waterproof and Fog Resistant
- Easy Installation
- Auto Turn-On
• True Color Reproduction
• Automatic White Balance
• Guidance Distance Grid
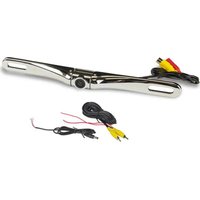
- Includes: DC Power Cable, RCA Video Control Cable, Mounting Screws
SPECIFICATIONS
• NIGHT VISION IMAGE SENSORS: PC6070
• POWER SUPPLY: DC9V - 15V
- LENS ANGLE: 170°
• TV SYSTEM: PAL/NTSC
• VIDEO OUTPUT: 1.0vp-p,75ohm
• S/N RATIO: ≥48dB
• IP RATING: Ip67
• OPERATING TEMPERATURE: -22°F - 158°F
• RELATIVE HUMIDITY: 95% Max.
• WHITE BALANCE: Auto
• MINIMUM ILLUMINATION: 0.0 to 0.1 Lux (depending on model)
- AGC: Auto
• ELECTRONIC SHUTTER: 1/60(NTSC) 1/50(PAL), 1/10,000second
• EFFECTIVE PIXELS: 648H x 488V
• RESOLUTION (TV LINES): 420
TROUBLESHOOTING
NO IMAGE: Check that POWER cable is connected properly.
Check that VIDEO cable is connected properly
Make sure vehicle is in reverse.
Make sure monitor is properly installed.
IMAGE BLURRING: Make sure CAMERA LENS is clean.
IMAGE SHAKING: Make sure MOUNTING SCREWS are tight.
IMAGE SLANTING: Adjust CAMERA ANGLE.
Never attempt to disassemble camera as there are no user serviceable parts.
Should you need assistance, please call our technical help line at 1-646-758-0144, Monday through Friday, 9am to 5pm EST.
ROCKVILLE

RockvilleAudio.com
© 2020 ROCKVILLE // Features and specifications are subject to change and or improvement without notice.
Marque : Rockville
Modèle : RBC3
Catégorie : Caméra de recul