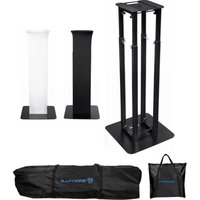
RTP82 - Support haut-parleur Rockville - Notice d'utilisation et mode d'emploi gratuit
Retrouvez gratuitement la notice de l'appareil RTP82 Rockville au format PDF.


| Type de produit | Appareil électronique audio (non catégorisé) |
| Marque | Rockville |
| Modèle | RTP82 |
| Dimensions (approx.) | 430 x 250 x 80 mm |
| Poids (approx.) | 5 kg |
| Alimentation | 230 V AC, 50 Hz |
| Fonctions principales | Lecture audio, réception radio, amplification |
| Entretien et nettoyage | Nettoyer avec un chiffon doux et sec. Ne pas utiliser de produits abrasifs. |
| Sécurité | Ne pas exposer à l'humidité ou aux sources de chaleur. Débrancher avant nettoyage. |
| Pièces détachées et réparabilité | Pièces détachées disponibles : télécommande, antenne, câbles. Réparation par un professionnel recommandée. |
| Informations générales | Notice d'utilisation disponible en PDF. Pour toute question, consulter le manuel. |
FOIRE AUX QUESTIONS - RTP82 Rockville
Questions des utilisateurs sur RTP82 Rockville
0 question sur cet appareil. Repondez a celles que vous connaissez ou posez la votre.
Poser une nouvelle question sur cet appareil
Téléchargez la notice de votre Support haut-parleur au format PDF gratuitement ! Retrouvez votre notice RTP82 - Rockville et reprennez votre appareil électronique en main. Sur cette page sont publiés tous les documents nécessaires à l'utilisation de votre appareil RTP82 de la marque Rockville.
MODE D'EMPLOI RTP82 Rockville
RTP82
Assembly Instructions
Thank you for purchasing these RTP82 Adjustable Height Totem Pole Lighting Stands. Please read these instructions carefully before use. Make sure all parts are included. If any parts are missing please contact our technical help line at 1-646-758-0144, Monday through Friday, 9am to 5pm EST. Additionally, you can check for assembly instruction on our YouTube channel or you can subscribe and search for "RTP82".
| base plate | 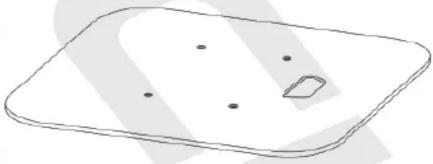 | 1 pc. |
| top plate | 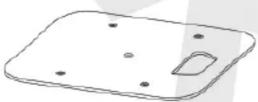 | 1 pc. |
| scrim: 1 black, 1 white |   | 1 each |
| top support legs |  | 2 pcs. |
| base support legs | 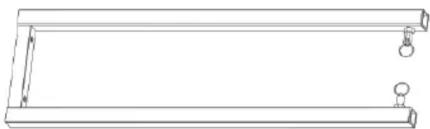 | 2 pcs. |
| cross brace supports |  | 4 pcs. |
| hand tightening bolts |  | 9 pcs. |
| standard bolts |  | 9 pcs. |
| 2mm washers | [SCH] | 9 pcs. |
| 35mm pole mount speaker adapter |  | 1 pc. |
Included
(not pictured)
• 2 EVA foam pads for top plate
- Hook and loop fastener cable ties
• 1 bag for base and top support legs
• 1 bag for top and base plates
Specifications
• Maximum Stand height: 98"
• Minimum Stand height: 53"
- Load capacity: 132 lbs
- Base plate size: 19.68" x 19.68"
- Top plate size: 11.81" x 11.81"
- Stand weight: 44 lbs
- Transport dimensions (W x D x H): 19.68" x 19.68" x 55"
Tools needed:
- Adjustable wrench (if using the standard bolts)

1

Attach the top plate (A) to the top support legs (D) using 4 of the hand tightening screws (C). Optionally you may use the included standard bolts. Make sure the cross brace supports (B) are inserted between the hand tightening screws and the top support legs as shown in the diagram above.
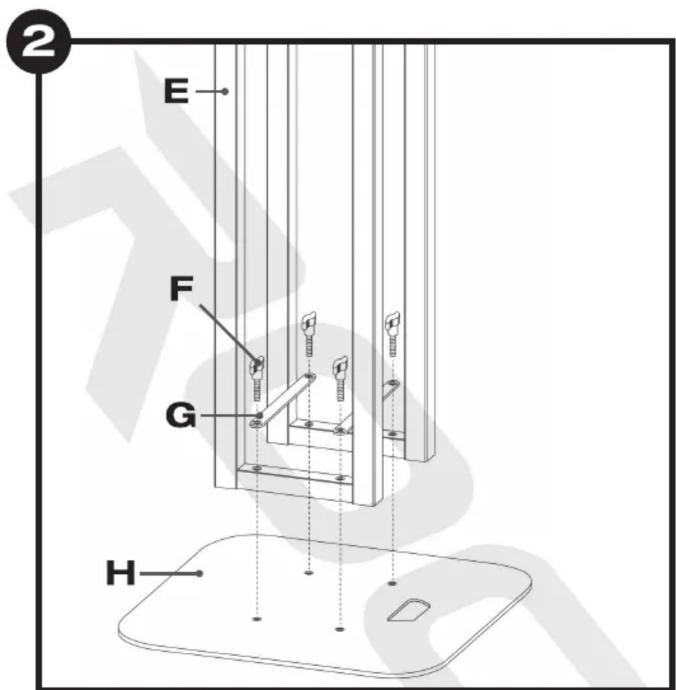
Attach the base plate (H) to the base support legs (E) using 4 of the hand tightening screws (F). Optionally you may use the included standard bolts. Make sure the cross brace supports (G) are inserted between the hand tightening screws and the base support legs as shown in the diagram above.
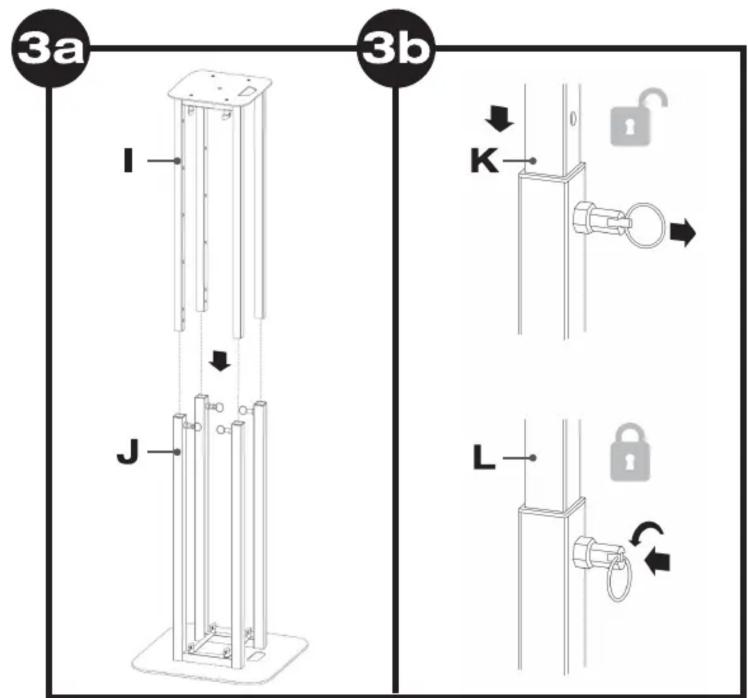
Ensure that all four height adjustment mechanisms are unlocked by pulling the pins out and rotating the rings (diagram 3b, figure L). Now slide the top plate assembly (I) onto the base plate assembly (J) as shown in diagram 3a. Lock the unit at the appropriate height by engaging the adjustment pins in the appropriate holes of the top support legs and close the locks by turning the rings 90° (diagram 3B, figure L).

At this point you may apply the EVA foam pads (if needed) or attach the 35mm speaker adapter (M) using the remaining hand tightening bolt (N). Additionally you can use the included hook and loop fastener cable ties to guide any cables along the stand legs and through the handle cut out in the top plate (O).
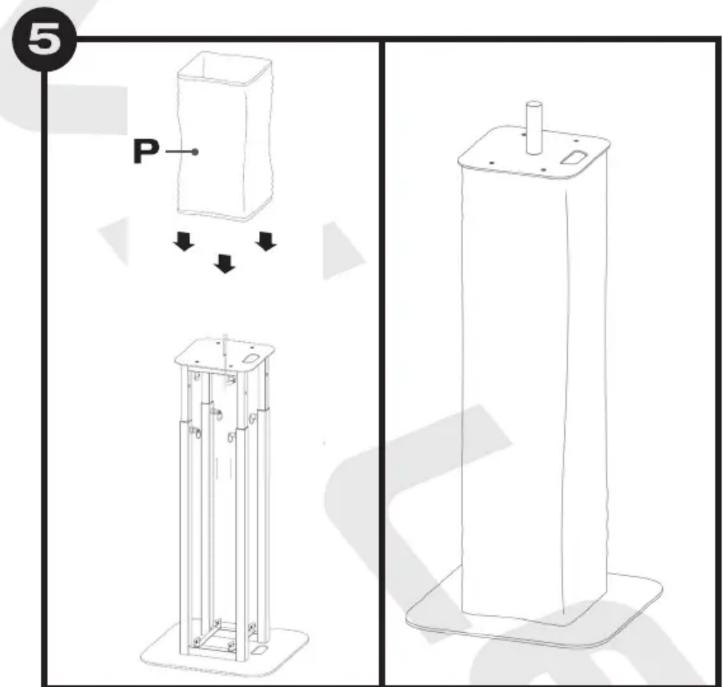
Finally, carefully guide the black or white (pictured, fig P) scrim over the unit. The scrim will fit the unit when fully extended and was designed to be folded or rolled over when using the stand at lower heights.
** The scrims can be wiped down with a damp cloth or hand/machine washed at a maximum of 30 degrees. They are treated with a fire retardant finish, which must be re-applied after washing. A suitable fire retardant spray/treatment is available online or from your local supplier.
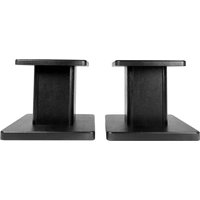

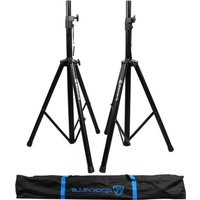
Marque : Rockville
Modèle : RTP82
Catégorie : Support haut-parleur