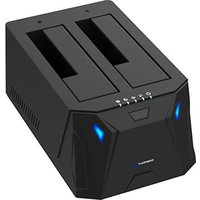
EC-HD2B - Station d'accueil pour disque dur Sabrent - Notice d'utilisation et mode d'emploi gratuit
Retrouvez gratuitement la notice de l'appareil EC-HD2B Sabrent au format PDF.


| Type de produit | Boîtier externe pour disque dur 2.5" SATA |
| Modèle | EC-HD2B |
| Marque | Sabrent |
| Dimensions (approx.) | 12 x 7,5 x 1,3 cm |
| Poids (approx.) | 100 g |
| Matériau | Plastique noir |
| Interface | USB 3.0 (USB 2.0 compatible) |
| Alimentation | Par port USB (bus-powered) |
| Disque dur compatible | Disque dur SATA 2,5 pouces (7 mm ou 9,5 mm) |
| Capacité max | Jusqu'à 2 To (selon le disque) |
| Vitesse de transfert | Jusqu'à 5 Gbit/s (USB 3.0) |
| Fonctions principales | Convertir un disque dur interne en externe, plug-and-play |
| Systèmes d'exploitation | Windows, macOS, Linux |
| Câble fourni | Câble USB 3.0 Type-A vers Micro-B |
| Entretien et nettoyage | Essuyer avec un chiffon doux sec. Ne pas utiliser de produits chimiques. |
| Sécurité | Débrancher avant d'ouvrir. Ne pas exposer à l'humidité. |
| Pièces détachées disponibles | Câble USB, boîtier |
| Réparabilité | Outil nécessaire pour ouvrir le boîtier. Le disque dur est remplaçable. |
| Garantie | 1 an |
FOIRE AUX QUESTIONS - EC-HD2B Sabrent
Questions des utilisateurs sur EC-HD2B Sabrent
0 question sur cet appareil. Repondez a celles que vous connaissez ou posez la votre.
Poser une nouvelle question sur cet appareil
Téléchargez la notice de votre Station d'accueil pour disque dur au format PDF gratuitement ! Retrouvez votre notice EC-HD2B - Sabrent et reprennez votre appareil électronique en main. Sur cette page sont publiés tous les documents nécessaires à l'utilisation de votre appareil EC-HD2B de la marque Sabrent.
MODE D'EMPLOI EC-HD2B Sabrent
SABRENT Connecting Differently™
EC-HD2B
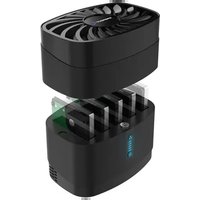
USB 3.0 TO SATA DUAL DOCKING STATION FOR 2.5" OR 3.5" HDD & SSD

natural_image
Exterior view of a black SABRENT device with ventilation slots and mounting bracket (no readable text or symbols beyond branding)USER MANUAL
With a Sabrent EC-HD2B SATA Docking Station you can easily Hot-Swap 2.5"/3.5" SATA Hard Drives when connected to your Desktop or Notebook. As a Standalone Duplicator Dock it can be used to duplicate/clone an existing hard drive without connecting to a computer.
REVIEW/LED INDICATOR

1 POWER LED
2 CLONE STATUS
3 CLONE BUTTON
4 HARD DRIVE LED INDICATOR

5 HARD DRIVE BAYS
6 USB 3.0 PORT
7 DC-IN JACK
8 POWER SWITCH

Connect the power adapter to the back of the dock

natural_image
3D rendering of a black SABRENT wall socket connected to a white electrical outlet, no text or symbols visible on the device itself.Connect the power adapter to a power outlet
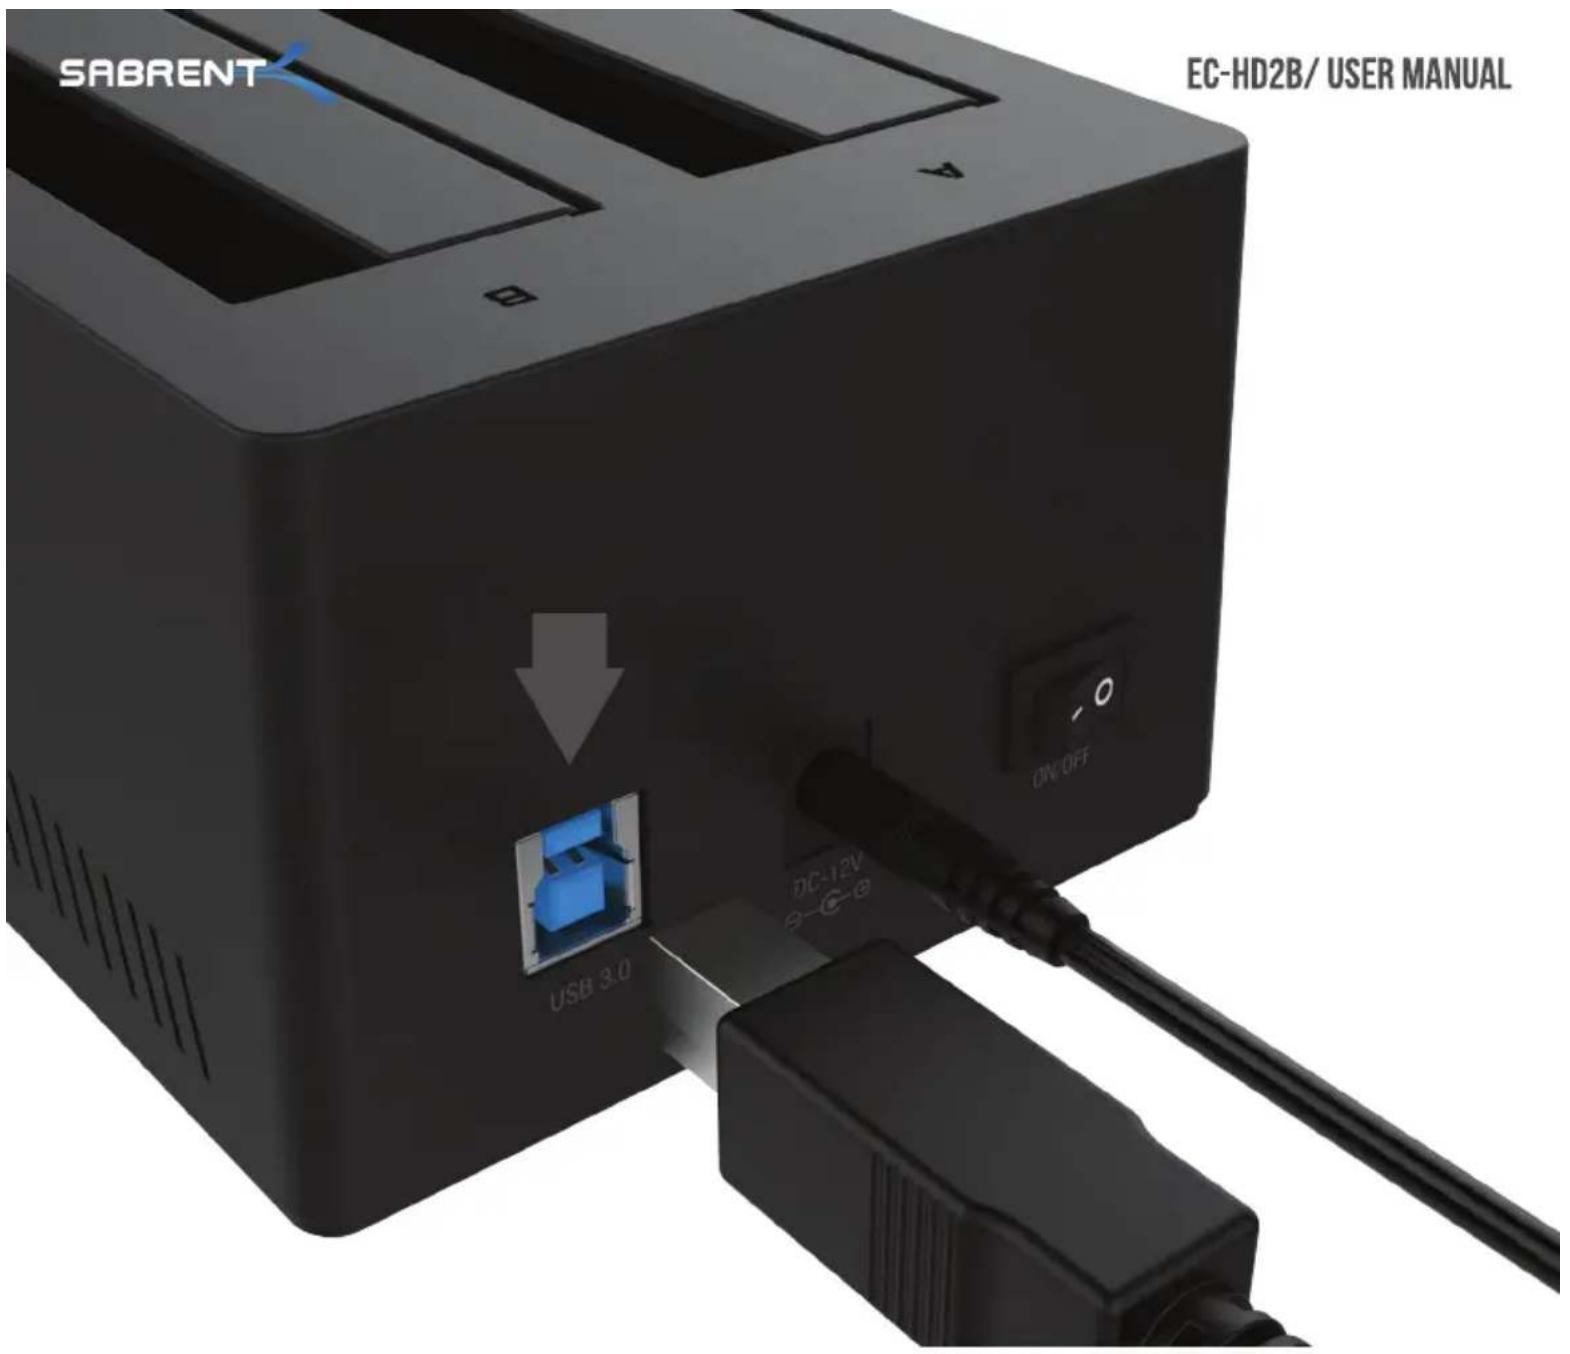
Connect the USB cable to the back of the dock

Connect the other end of the USB cable to your computer USB port
natural_image
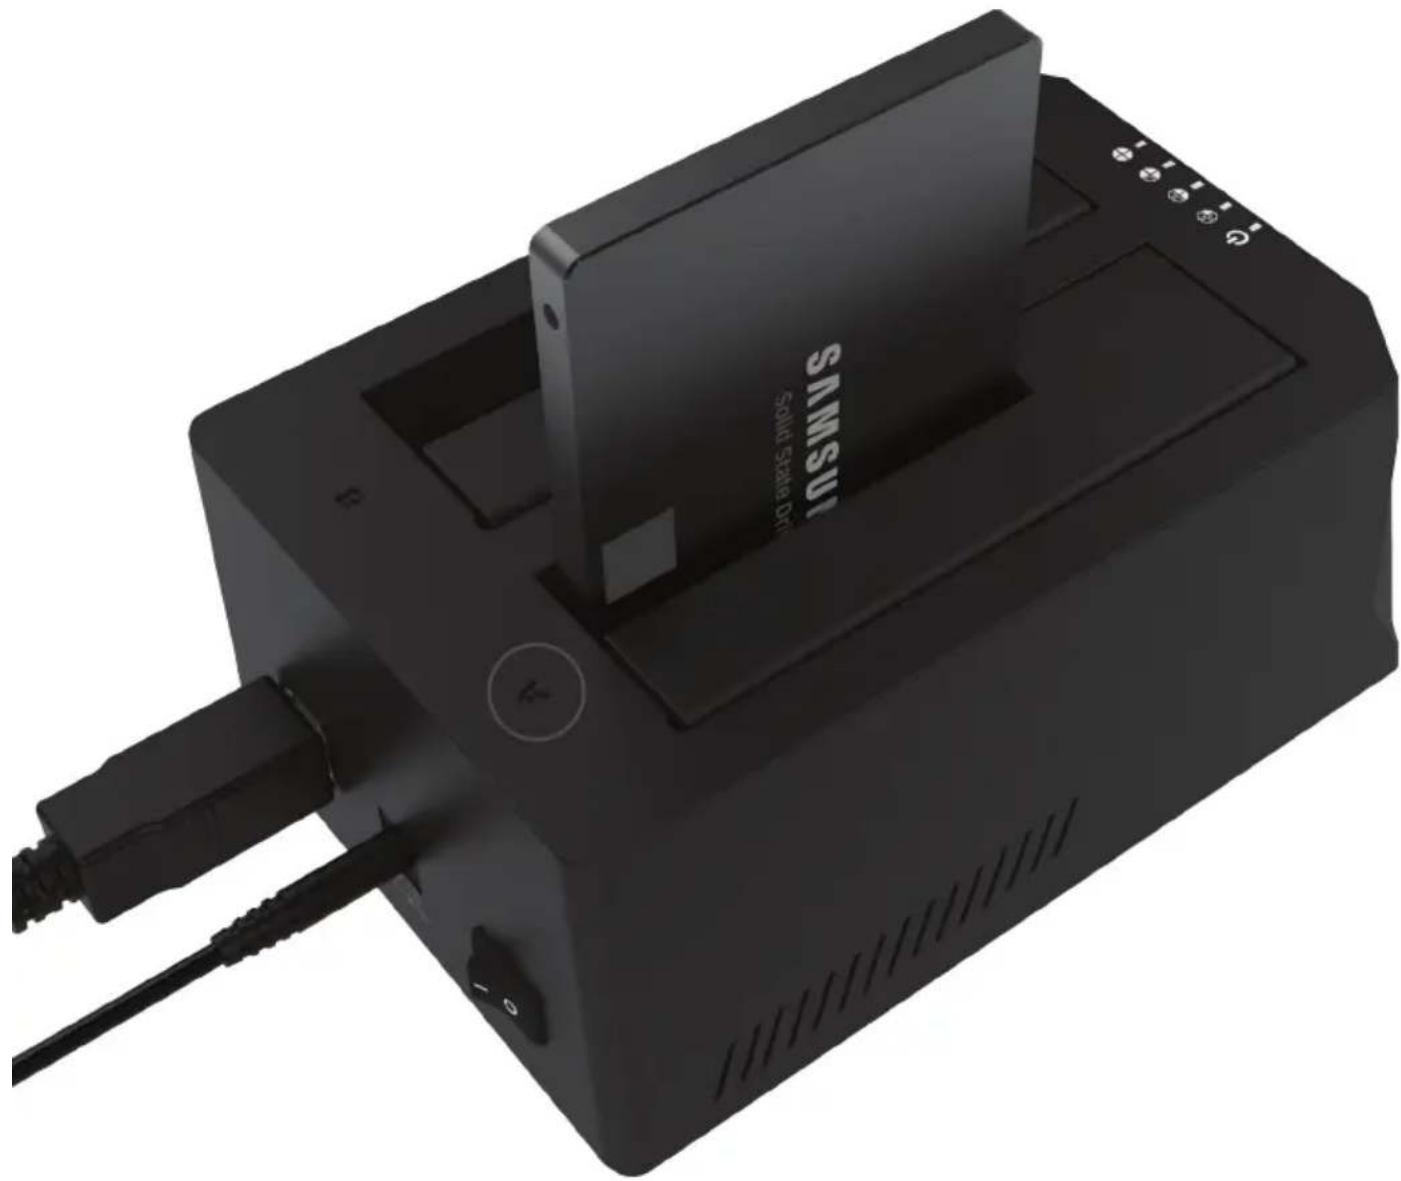
Black Siemens 3.01 microcontroller with external cable and connector (no visible text or symbols on main body)Insert your hard drive into the Hard Drive Bay A

natural_image
Exterior view of a black Samsung Smart Media Unit (EC-HD2B/USER) with visible ports and cable, no readable text or symbols beyond branding.NOTE: PLEASE DO NOT REMOVE YOUR HARD DRIVE OR INSERT A NEW ONE WHILE THE OTHER HARD DRIVE IS IN USE
When using a second hard drive, insert it into Hard Drive Bay B
EC-HD2B/ USER MANUAL
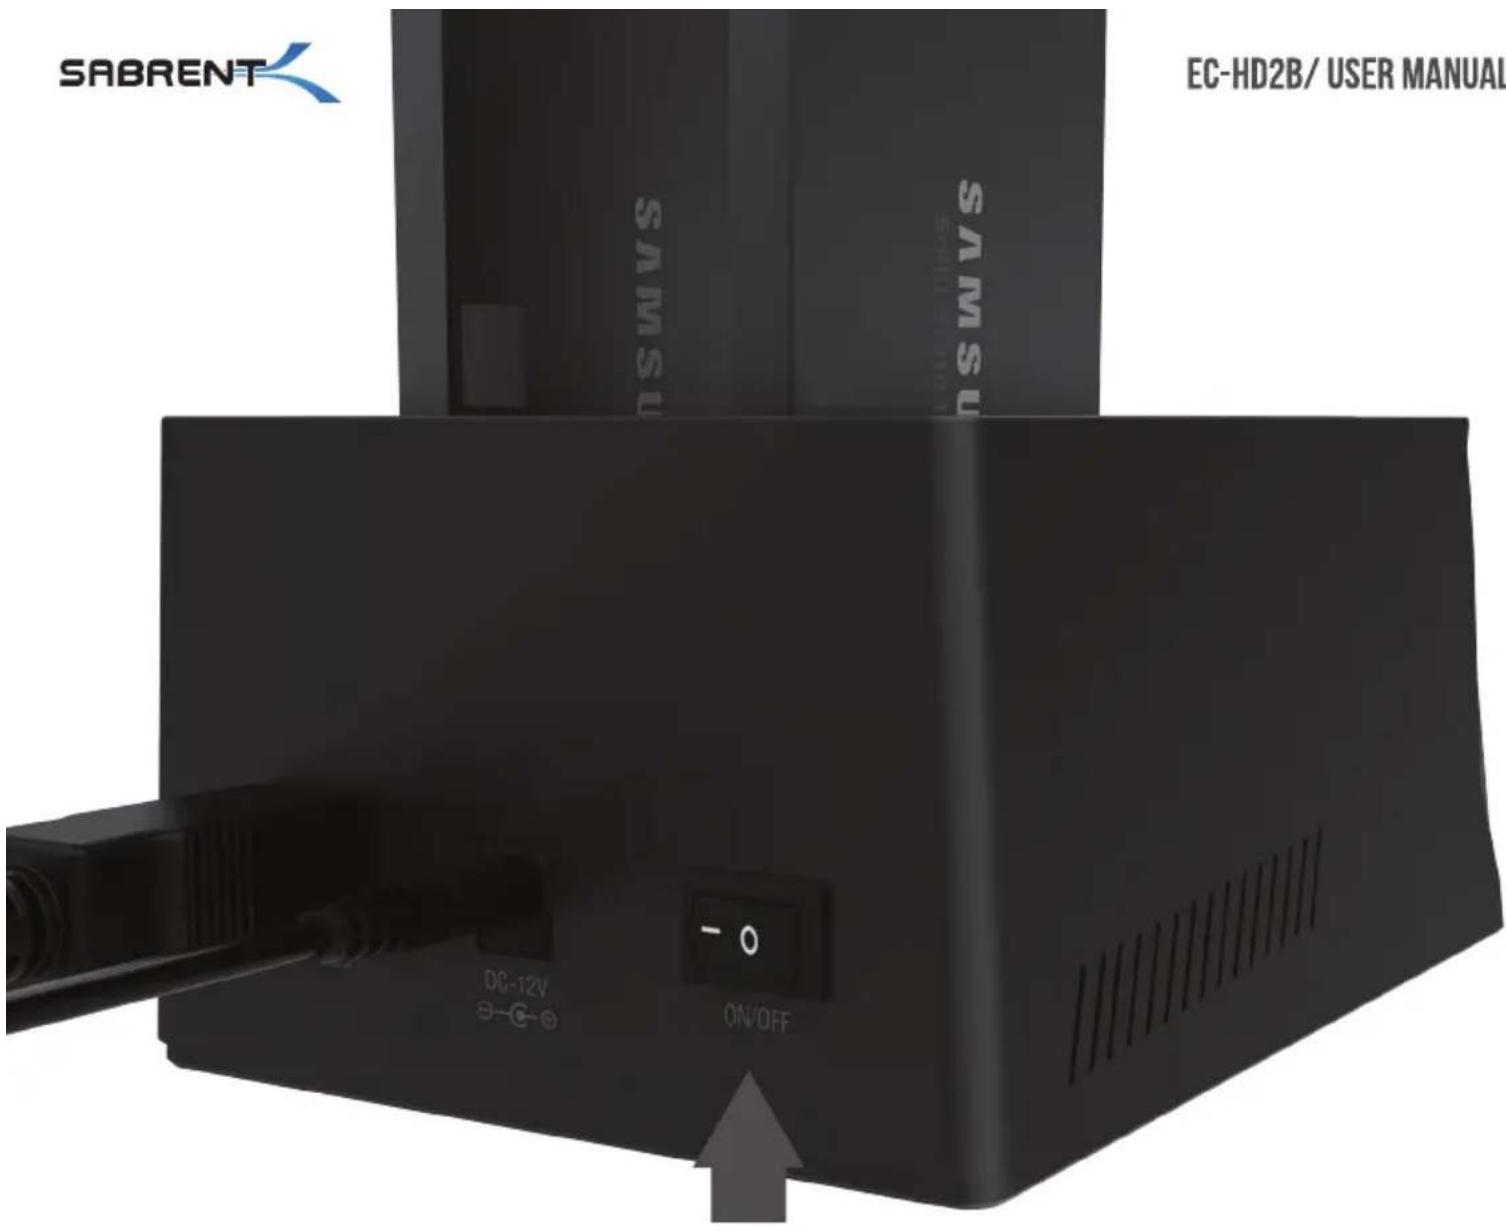
Press the Power Switch to ON
natural_image
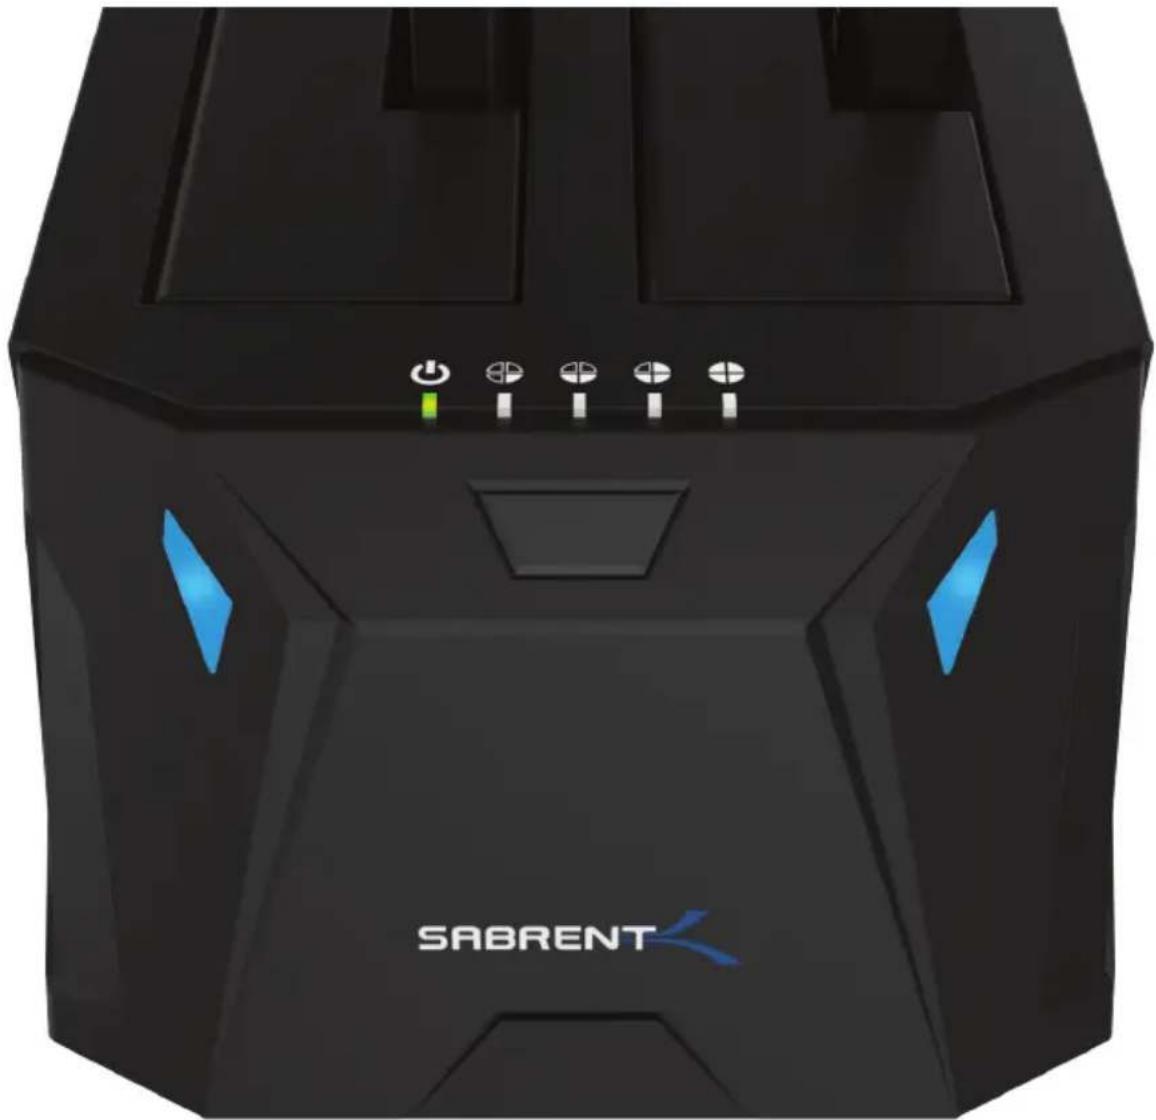
Black SABRENT device with blue LED indicators and control buttons (no readable text or symbols beyond branding)NOTE: PLEASE DO NOT REMOVE YOUR HARD DRIVE WHILE IN USE
You should get Blue LEDs on HDD A and HDD B when using both drive bays. You should also get a Green LED on the Power Indicator
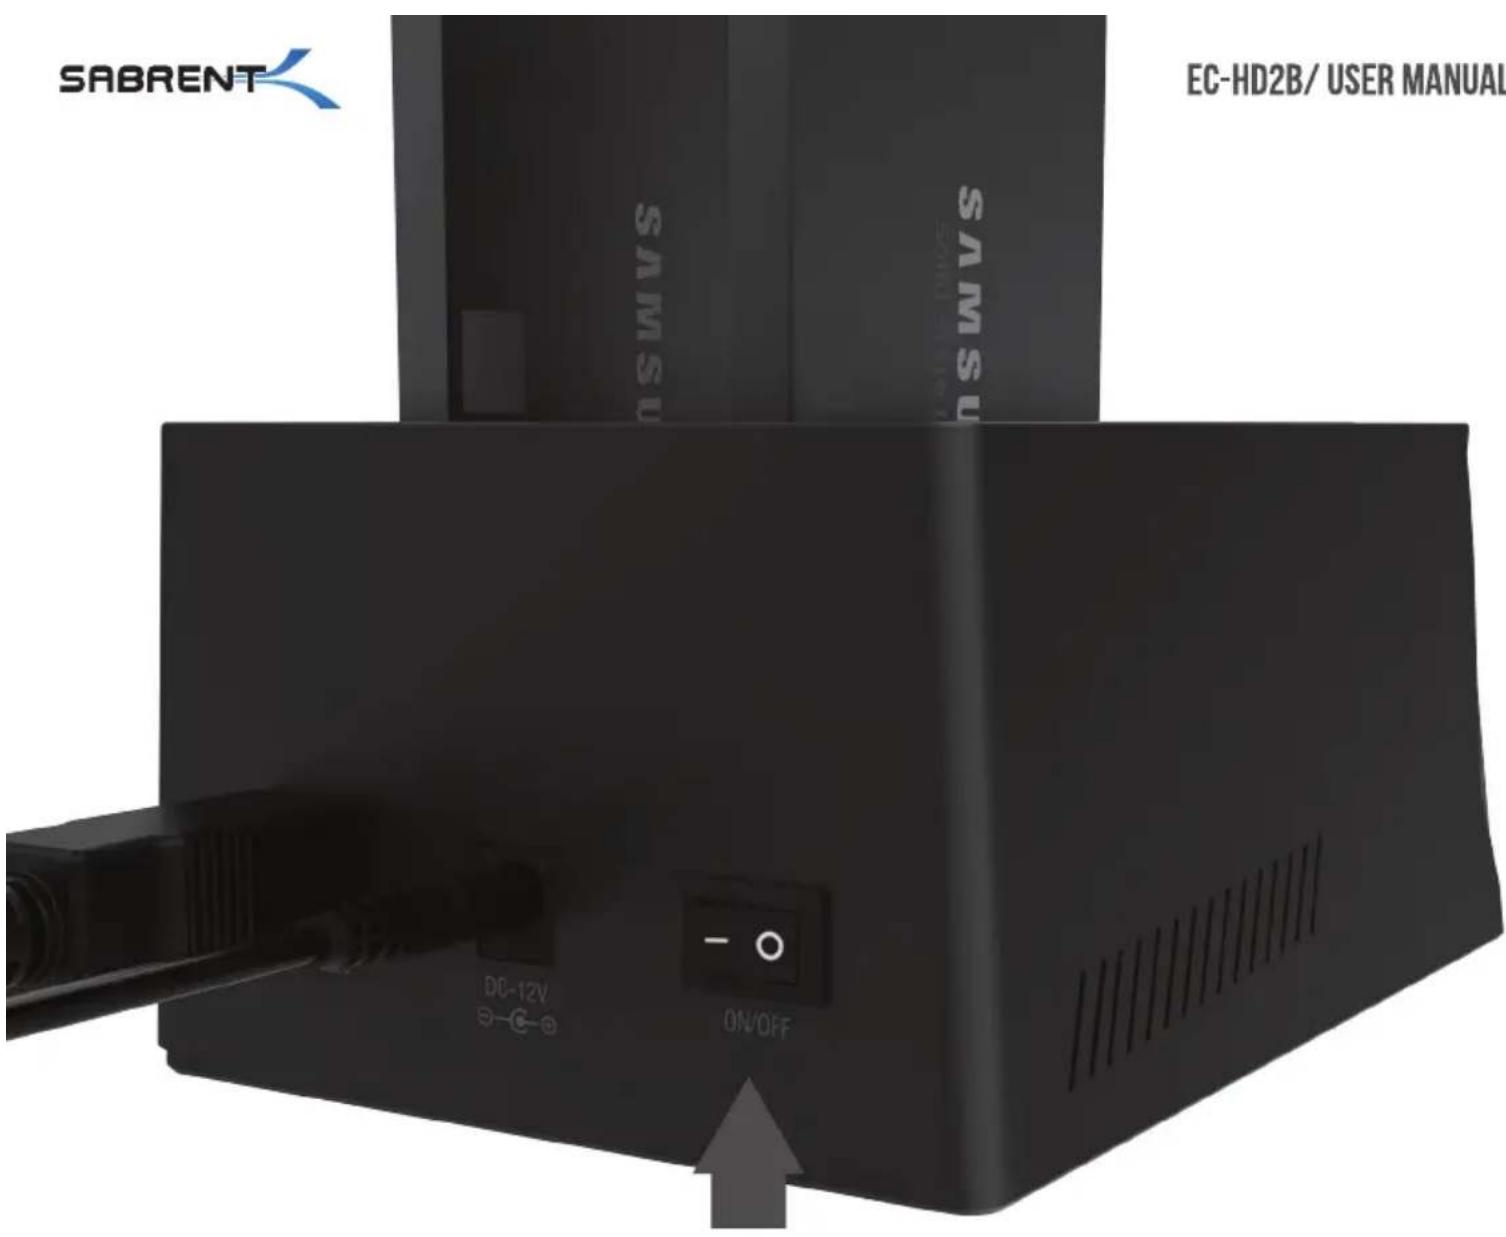
When not in use, press the Power Switch to OFF
WINDOWS PC HARD DRIVE WITH DATA/FILES
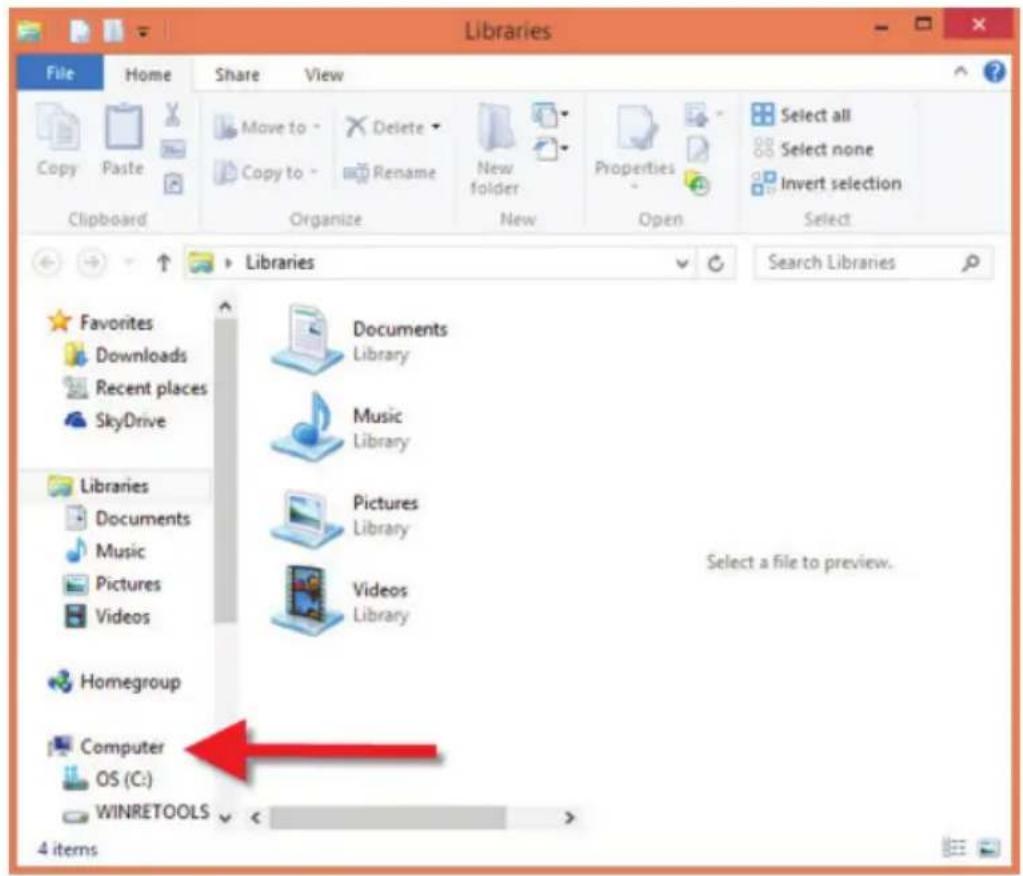
Click on the Start Icon located on the bottom left of the screen and then click on Computer

Note: You can also click on the File Explorer Icon and then click on This PC or Computer

You should get a new drive letter every time you insert a hard drive with data/files

WINDOWS PC NEW HARD DRIVE SETUP (HARD DRIVE WITH NO DATA/FILES)
Click on the Start Icon located on the bottom left of the screen and then RIGHT click on Computer

Note:
You can also click on the File Explorer Icon and then click on This PC or Computer


Click on Manage

Click on Disk Management
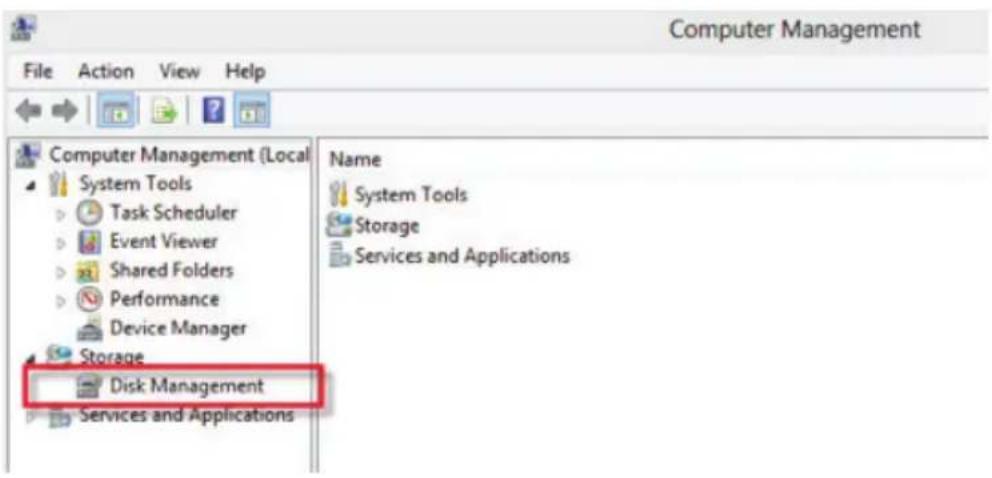
Note: Disk 0 should be your internal hard drive Disk 1 should be your external hard drive but SETUPS MAY DIFFER RIGHT click on Unallocated and click on New Simple Volume
| Disk 0 Basic 465.76 GB Online | (C:) 195.32 GB NTFS Healthy (System, Boot, Page File) |
| Disk 1 Basic 465.76 GB Online | 465.76 GB Unallocated |
| CD-ROM 0 DVD (F:) No Media |
Go through the Setup Wizard to assign a drive letter
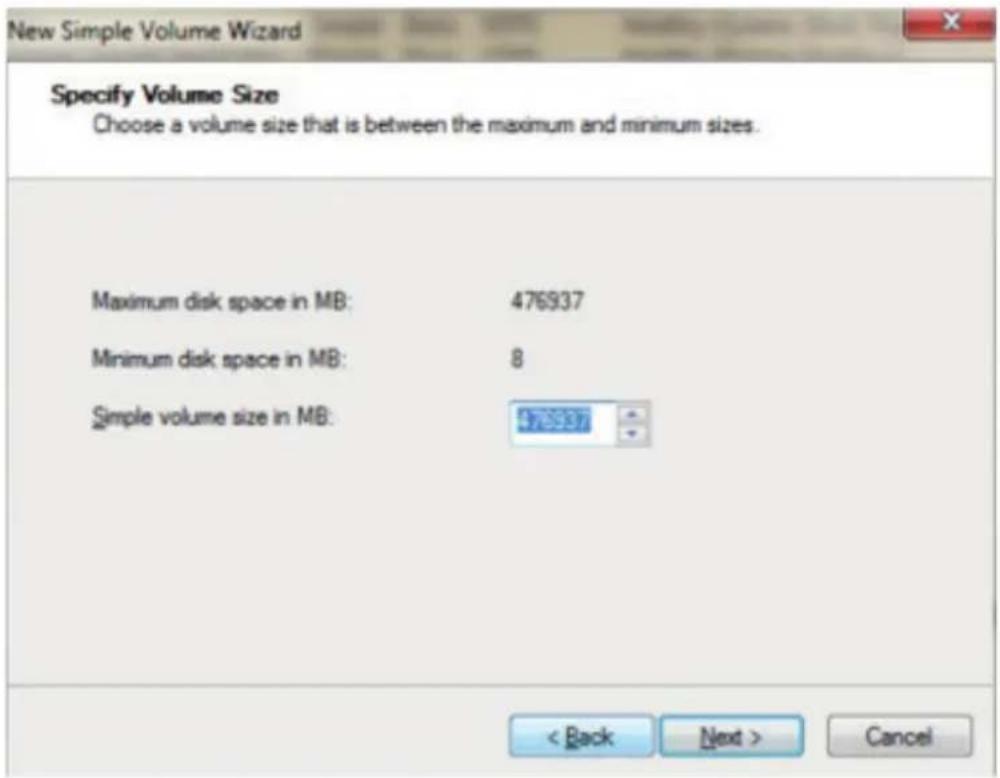
MAC OS HARD DRIVE WITH DATA/FILES
A new Icon should pop up on your main screen each time you insert a hard drive with DATA/Files

natural_image
Illustration of a gray server with a yellow top and indicator lights (no text or symbols)
Click on the Icon to view your hard drive
Note: You can also click on the Finder icon and select your hard drive under Devices
MAC OS NEW HARD DRIVE SETUP (HARD DRIVE WITH NO DATA/FILES)
Click on the Search Icon on your toolbar

Type in Disk Utility and click on it

Click the icon for your external hard drive located in the sidebar on the left Click on the Erase tab at the top of the window

Select the volume format you want and give it a name

Click on Erase
NOTES
- This is backwards compatible on USB 2.0 and 1.1 with their transfer speeds.
- Please do not remove your hard drive while hard drive is being accessed.
- The dock will automatically go into sleep mode if the connection is left idle for more than 30 minutes.
- Accessing the hard drive will automatically cancel sleep mode and power back up the hard drive.
TROUBLESHOOTING/SUPPORT
Power LED does not come on?
- Make sure that you have a tight connection between the power adapter and dock.
- Try it on a different power outlet.
HDD LED does not come on?
• Re-seat the hard drive into the bay.
- Swap the hard drive out with a spare.
Computer does not recognize the hard drive?
- Make sure that you have a tight connection between the dock and 3.0 cable.
- Try the USB cable on a different USB port on your computer.
- New hard drives must be setup, please review new hard drive setup for your OS.
- Swap the hard drive out with a spare.
Please contact our Technical Support team if issues continue
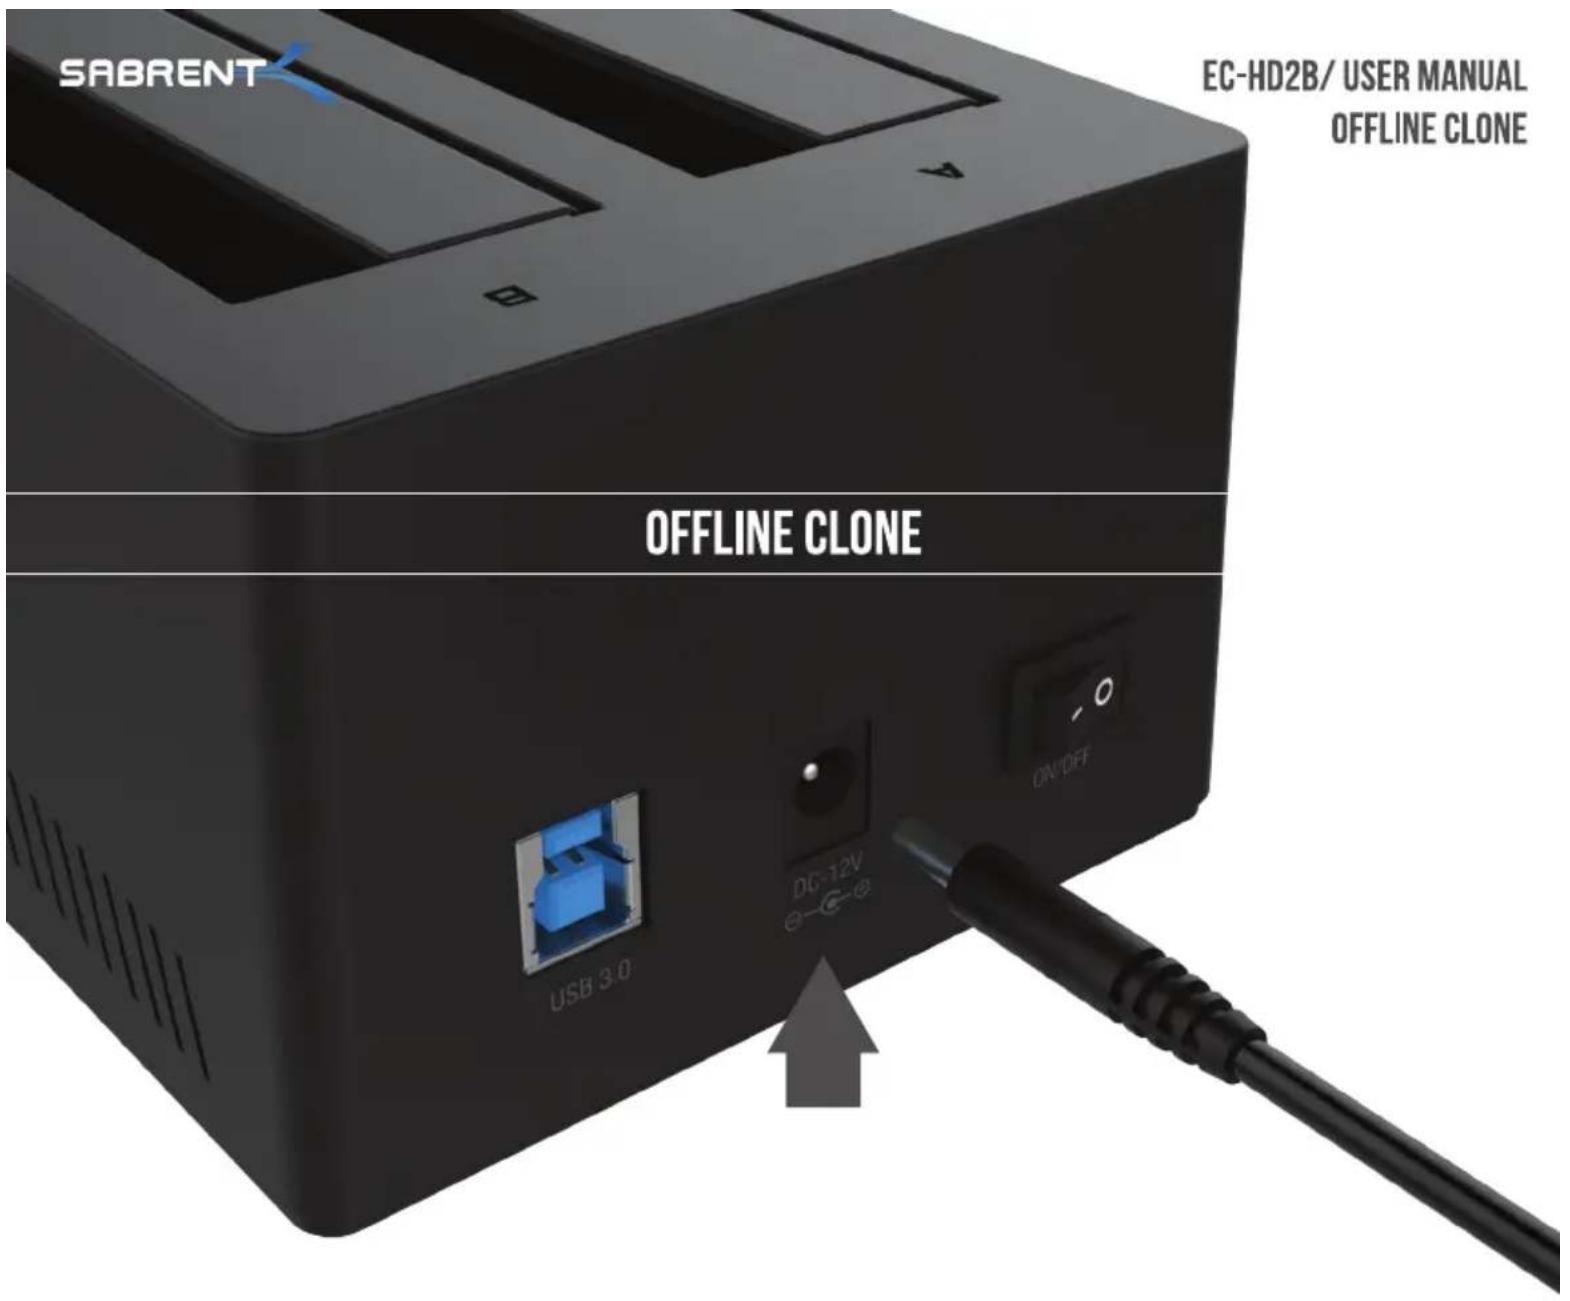
Connect the power adapter to the back of the dock

Connect the power adapter to a power outlet

natural_image
Black Siemens Solid State Drive electronic device with cable and indicator lights (no readable text or symbols beyond branding)Insert your Source hard drive into HDD A

EC-HD2B/ USER MANUAL
OFFLINE CLONE
NOTE: THE CAPACITY OF YOUR TARGET HDD B MUST BE EQUAL OR GREATER WHEN COMPARED TO YOUR SOURCE HDD A YOU CAN'T CLONE INTO A HARD DRIVE WITH LESS CAPACITY
Insert your Target hard drive in HDD B

Press the Power Switch to ON
natural_image
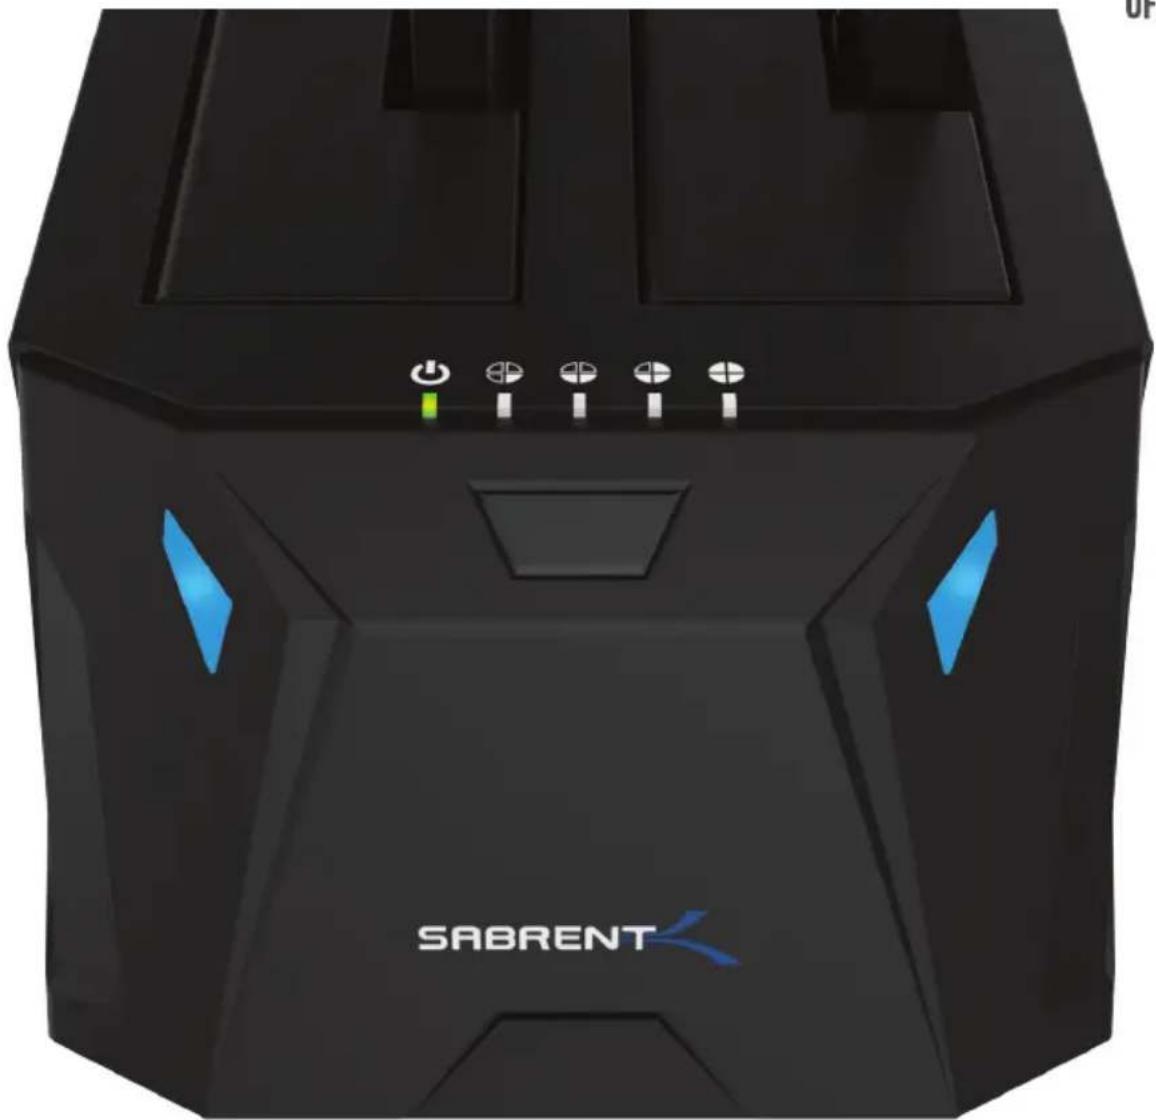
Black SABRENT device with blue LED indicators and control buttons (no readable text or symbols beyond branding)NOTE: PLEASE DO NOT REMOVE YOUR HARD DRIVE WHILE IN USE
You should get Blue LEDs on HDD A and HDD B You should also get a Green LED on the Power Indicator

NOTE: PLEASE DO NOT REMOVE YOUR HARD DRIVE WHILE IN USE
Hold Down the Offline Clone Button and release when you see a Blue LED illuminate in the Status LED Indicator

NOTE: THE OFFLINE CLONE OPERATION WILL START WHEN A BLUE LED IN THE STATUS LED INDICATOR BEGINS TO FLASH
Then quickly press the Offline Clone Button

natural_image
Close-up of a black computer monitor with five function buttons and a 25% label (no readable text or symbols beyond the label)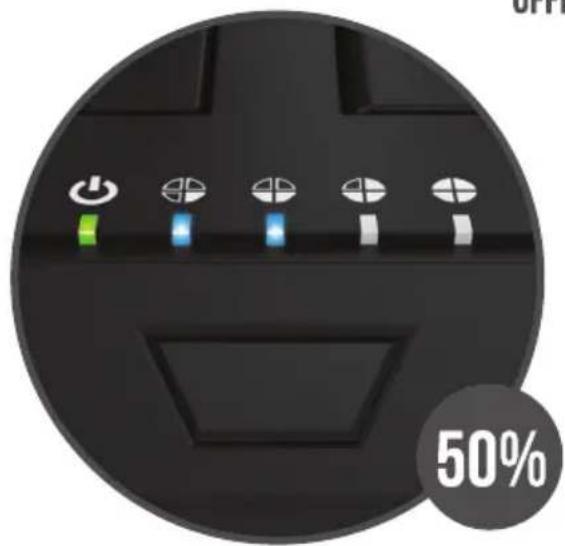
natural_image
Close-up of a black electronic device control panel with five indicator lights and a 50% label (no readable text or symbols beyond the label)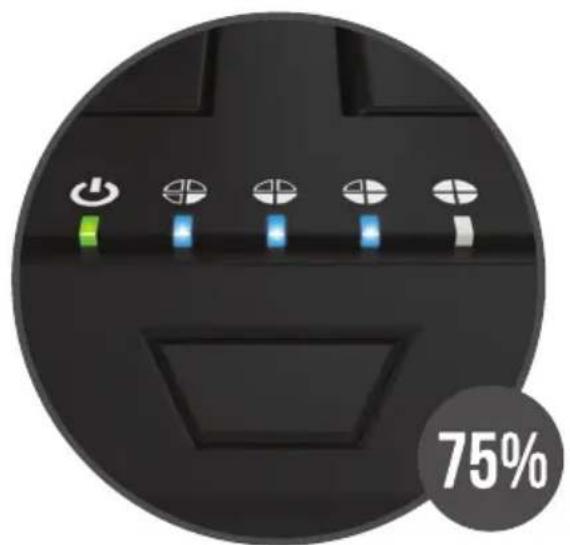
natural_image
Close-up of a black computer keyboard with five indicator lights and a 75% label (no readable text or symbols beyond the percentage value)
natural_image
Close-up of a black remote control panel with five indicator lights and a 100% label (no readable text or symbols beyond the graphic)WHEN COMPLETED YOU WILL GET SOLID BLUE LEDS ON ALL THE STATUS LED INDICATORS
A new LED will turn solid Blue in the Status LED Indicator with each LED representing 25% completion

Power off the dock and remove your hard drives
NOTES
- All data in HDD B will be deleted once offline clone starts.
• We highly recommend backing up all your data first before you clone your hard drive. - Hard drive with bad sectors might not clone. Simply replace it with a new hard drive.
- If the capacity for HDD B is bigger than HDD A, the capacity remaining in HDD B upon completion of the offline clone will show up as Unallocated. Go into Disk Management on Windows/Disk Utility on Mac and allocate the remaining capacity.
TROUBLESHOOTING/SUPPORT
Power LED does not come on?
- Make sure that you have a tight connection between the power adapter and dock.
- Try it on a different power outlet.
HDD LED does not come on/ turns off during offline clone?
• Re-seat the hard drive into the bay.
• Try it on the second HDD bay
- Swap the hard drive out with a spare.
Cloning process will not start?
- Power off the dock, re-seat drives, power backup and try again.
- Check if the capacity of HDD B is larger or equivalent to that of HDD A.
Capacity means the actual space that can be used, instead of the one marked on the product. For example, the actual capacity of a disk marked 1000GB or 1TB might only be 930GB. The actual capacity of a hard drive is usually different from that on its label.
- You can check the actual capacity of a hard drive in Windows Disk Management/ Mac Disk Utility.
Please contact our Technical Support team if issues continue
SABRENT
WWW.SABRENT.COM



- SABRENT Connecting Differently™
- USB 3.0 TO SATA DUAL DOCKING STATION FOR 2.5" OR 3.5" HDD & SSD
- WINDOWS PC HARD DRIVE WITH DATA/FILES
- Click on the Start Icon located on the bottom left of the screen and then click on Computer
- WINDOWS PC NEW HARD DRIVE SETUP (HARD DRIVE WITH NO DATA/FILES)
- Click on the Start Icon located on the bottom left of the screen and then RIGHT click on Computer
- Note:
- Click on Manage
- Go through the Setup Wizard to assign a drive letter
- MAC OS HARD DRIVE WITH DATA/FILES
- MAC OS NEW HARD DRIVE SETUP (HARD DRIVE WITH NO DATA/FILES)
- Select the volume format you want and give it a name
- NOTES
- TROUBLESHOOTING/SUPPORT
- Power LED does not come on?
- HDD LED does not come on?
- Computer does not recognize the hard drive?
- Please contact our Technical Support team if issues continue
- Then quickly press the Offline Clone Button
- HDD LED does not come on/ turns off during offline clone?
- Cloning process will not start?
- SABRENT
Marque : Sabrent
Modèle : EC-HD2B
Catégorie : Station d'accueil pour disque dur