
Tracker 1 - Trépied Vanguard - Notice d'utilisation et mode d'emploi gratuit
Retrouvez gratuitement la notice de l'appareil Tracker 1 Vanguard au format PDF.


| Type de produit | Trépied |
| Marque | Vanguard |
| Modèle | Tracker 1 |
| Hauteur maximale | 160 cm |
| Hauteur minimale | 45 cm |
| Longueur pliée | 55 cm |
| Poids | 1,5 kg |
| Charge maximale | 5 kg |
| Matériau | Aluminium |
| Niveau de bulle | Oui |
| Rotule | Intégrée, inclinaison à 360° |
| Fixation | Plaque rapide avec vis 1/4" |
| Nombre de sections | 4 sections |
| Type de verrouillage | Colliers à rotules |
| Entretien et nettoyage | Nettoyer avec un chiffon doux et sec. Éviter les solvants. |
| Sécurité | Verrouiller les colliers après chaque réglage. Ne pas dépasser la charge maximale. |
| Pièces détachées et réparabilité | Plaque de fixation et patins de pied disponibles en option. |
| Informations générales | Trépied léger et compact, idéal pour les appareils photo et caméras légères. |
FOIRE AUX QUESTIONS - Tracker 1 Vanguard
Questions des utilisateurs sur Tracker 1 Vanguard
0 question sur cet appareil. Repondez a celles que vous connaissez ou posez la votre.
Poser une nouvelle question sur cet appareil
Téléchargez la notice de votre Trépied au format PDF gratuitement ! Retrouvez votre notice Tracker 1 - Vanguard et reprennez votre appareil électronique en main. Sur cette page sont publiés tous les documents nécessaires à l'utilisation de votre appareil Tracker 1 de la marque Vanguard.
MODE D'EMPLOI Tracker 1 Vanguard

VANGUARD®
PROFESSIONAL TRIPODS
User Manual
Elite Series

Elite L-28

Elite L-32
Elite S

Elite I
Elite 4
Tracker Series

Tracker S

Tracker I
Tracker 2

Tracker 3

Tracker 4

Tracker B-100
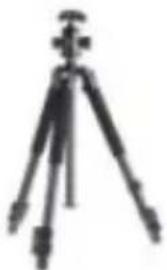
Tracker B-200

Tracker B-300
Panhead
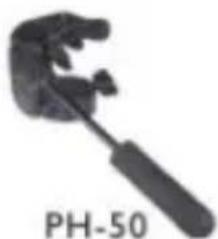

PH-55
Ballhead
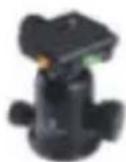
SBH-100

SBH-200
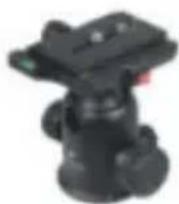
SBH-300
Parts

Parts


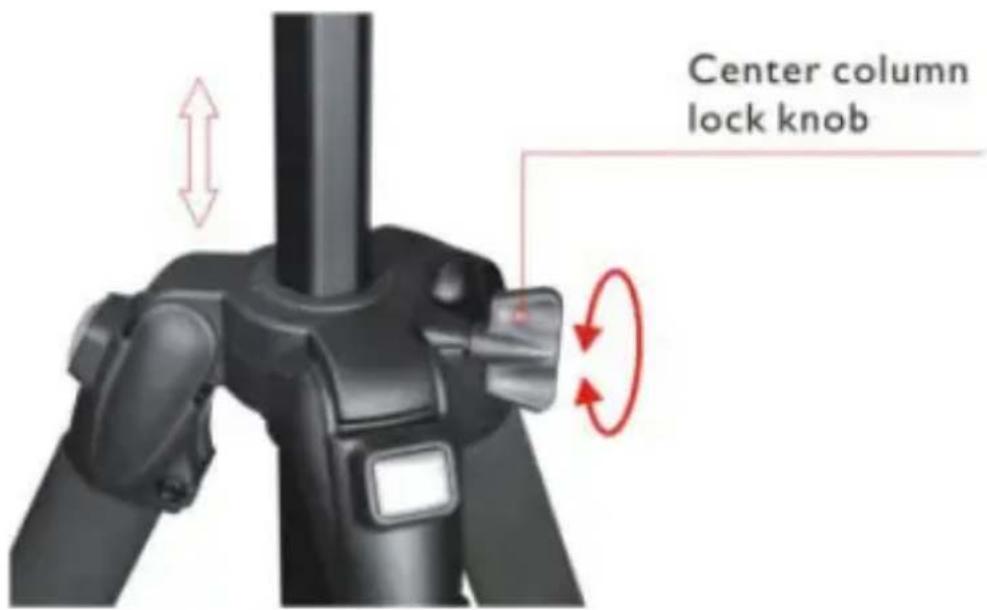
Loosen the center column lock knob and the center column can be adjusted up or down to the desired height.
• Using the low angle photo adapter

Press the two pins on the bottom of center column and pull out the adapter.

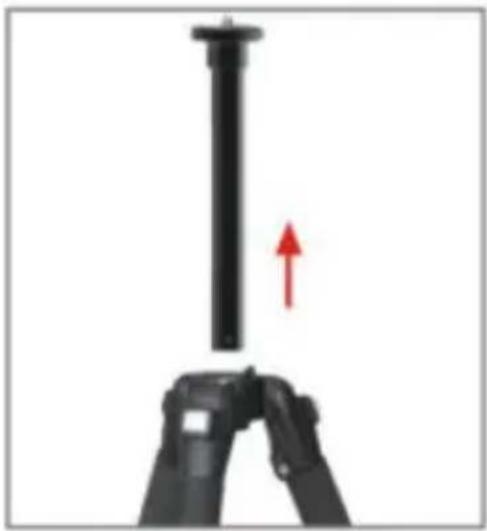
Push the low angle photographic adapter into the hole of canopy. Lock the center column lock knob. Attach the camera to the low angle photographic adapter to take photos.
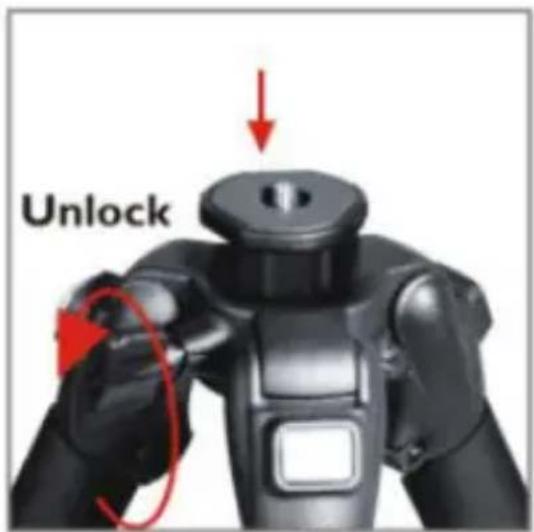

Macro photography
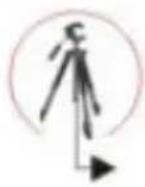
Remove the low angle photographic adapter from the center column, affix the panhead to the center column, reverse the center column by sliding it into the center hole from the bottom up, lock the center column lock knob to keep the center column in place.
This will offer the low angles needed for macro photography.

Leg angles
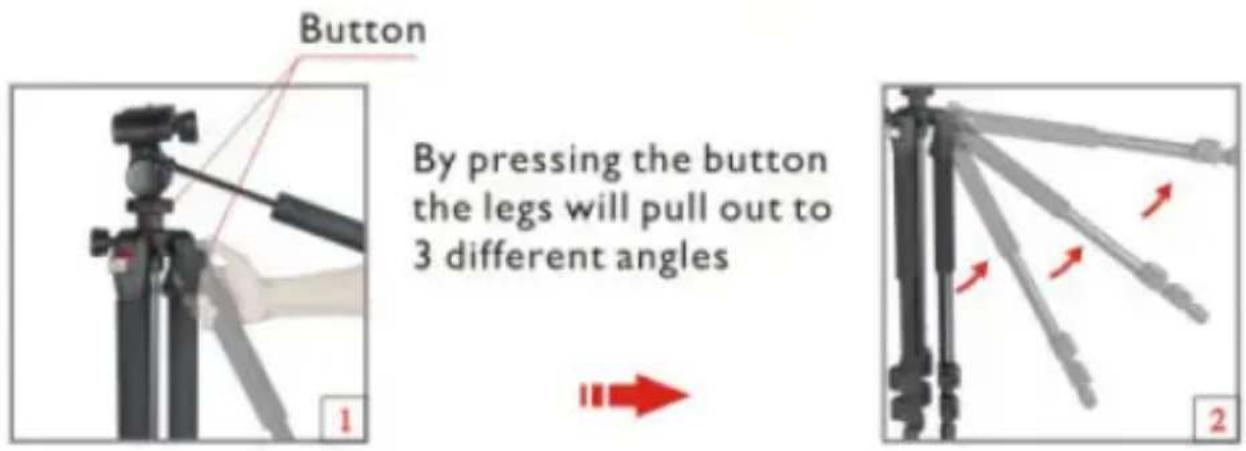
By pressing the button the legs will pull out to 3 different angles
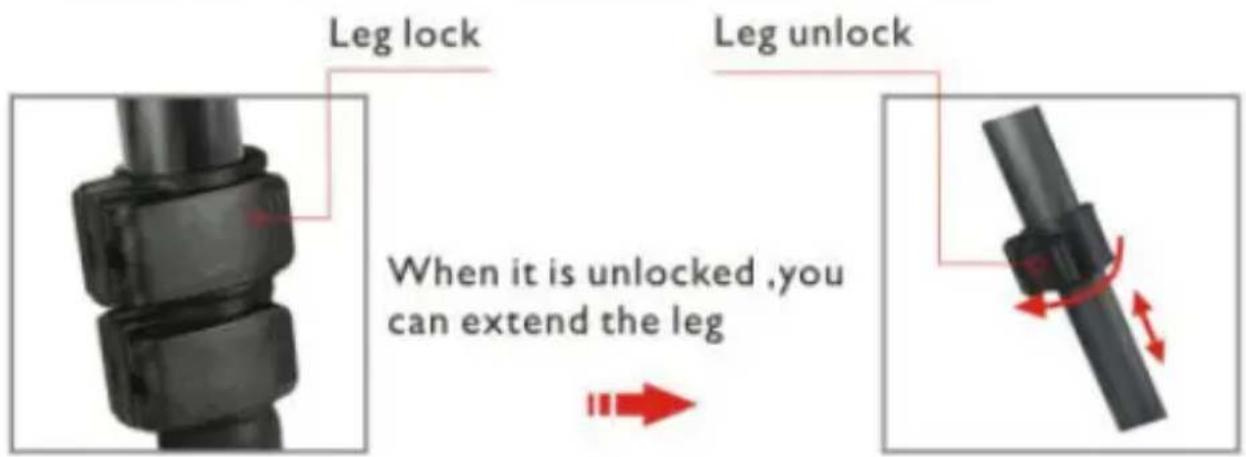
The leg locks are designed to hold heavy equipment
Wrench
Adjust the leg lock tension by using the wrench included with the tripod.

Take off the caps
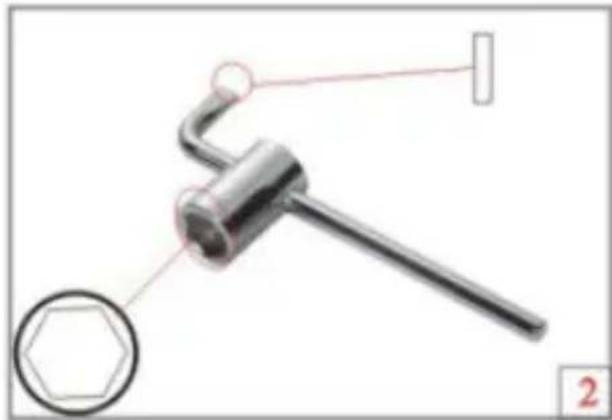
Multipurpose Wrench
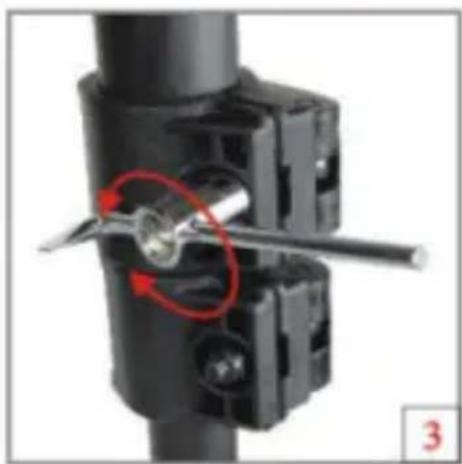
Tighten or loosen as desired
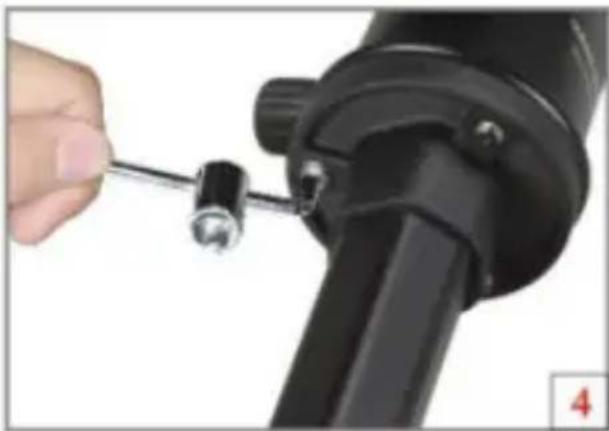
Panhead is affixed using 3 screws
PH-50

Fluid panhead +90°\~-60° tilt for smooth control of movement
move the panhead to the desired horizontal location, then lock the knob
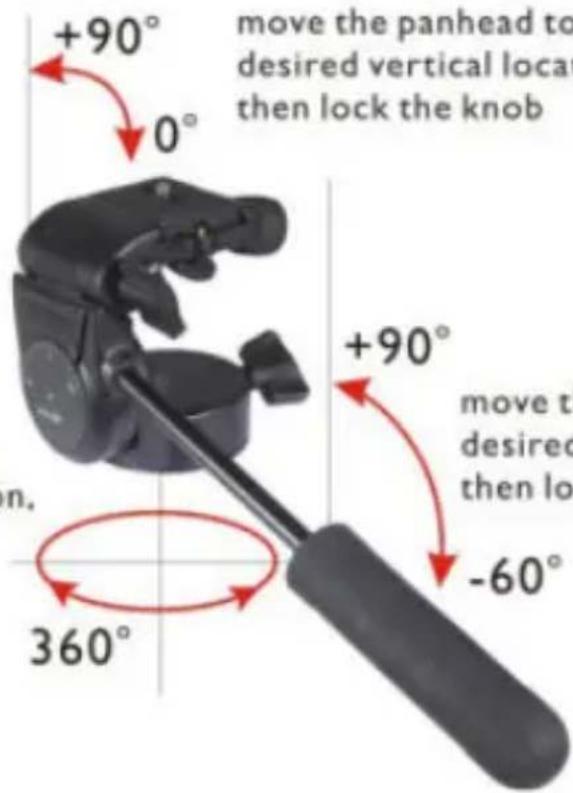
move the panhead to the desired vertical location, then lock the knob
move the panhead to the desired vertical location, then lock the knob
PH-55
+90°\~-30° tilt for smooth control of movement
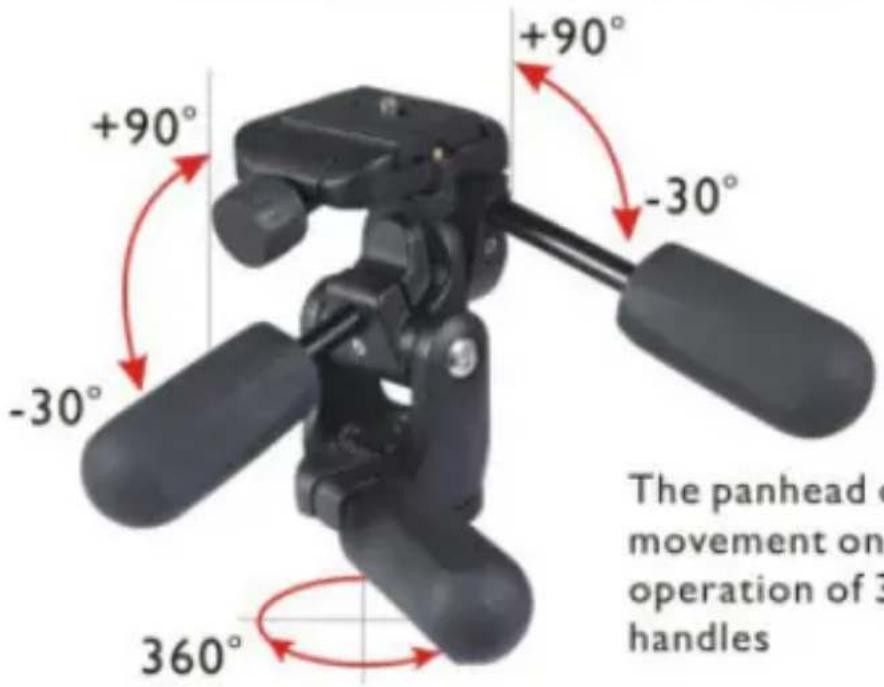
The panhead offers full range 3-way movement on 3 axis's through the operation of 3 independent locking handles
- Removing the quick shoe

Loosen the quick shoe knob and push the secondary QS lock lever down, so pin is flush with the housing, then pull the quick shoe straight back and out.

Secondary QS Lock

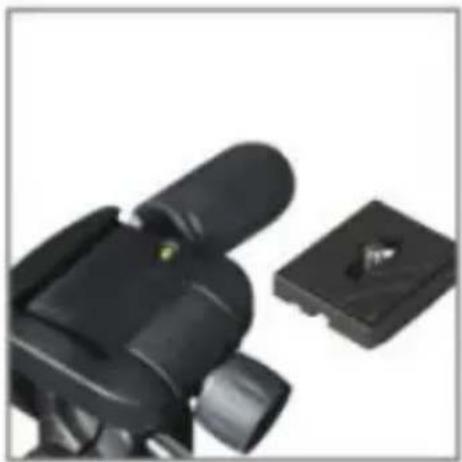
- Attach the quick shoe to a camera
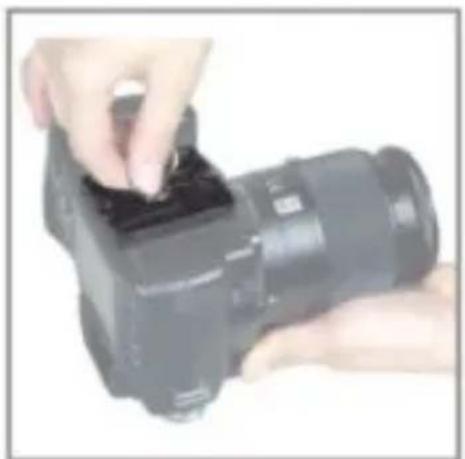
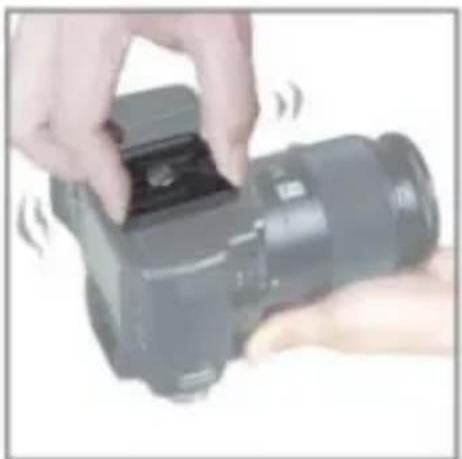
An extra 3/8-16 UNC quick shoe included, for medium format equipment.
Ball Head
1/4-20UNC screw
Dual bubble level
Progressive friction control knob
Indented indexed pan base
3/8-16UNC screw
Quick shoe
Secondary QS lock
Knob (Fine tuning)
Knob (Panning lock)
Ball Head user guide

Quick shoe

Secondary QS Lock


VANGUARD ball heads feature
Strong die-casting construction, precision machined magnesium alloy housing, and an extremely hard resin ball provides incredibly smooth movements in any position.


Features a single locking knob for 360-degree pan and a groove for 90-degree tilt movements.
Self-damping fine tuning knob

Gently clamps the ball while still letting you easily move your camera into any position. The locking mechanism secures even your heaviest equipment in under a half a turn.

• Adjustable center of gravity


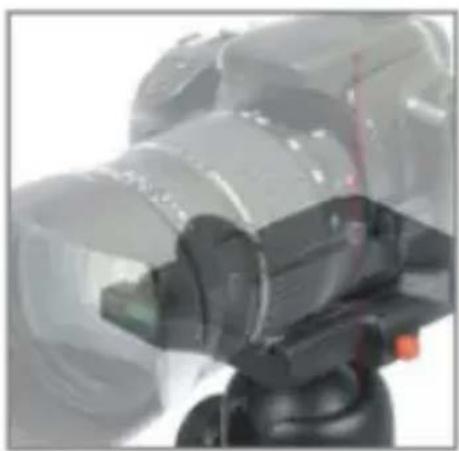
Screw can be adjusted forward or back to offer the correct center of gravity for the equipment.
Ballhead body, platform, and plate can be separated


The platform can be attached to the ballhead body

The platform can be attached to the ballhead with a screw
Screw hole to store the camera screw
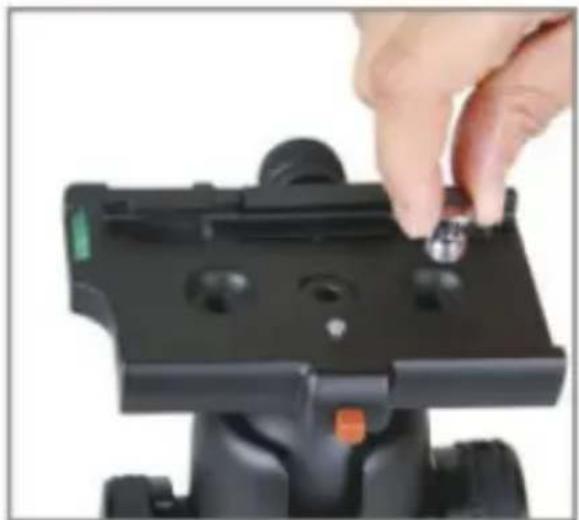
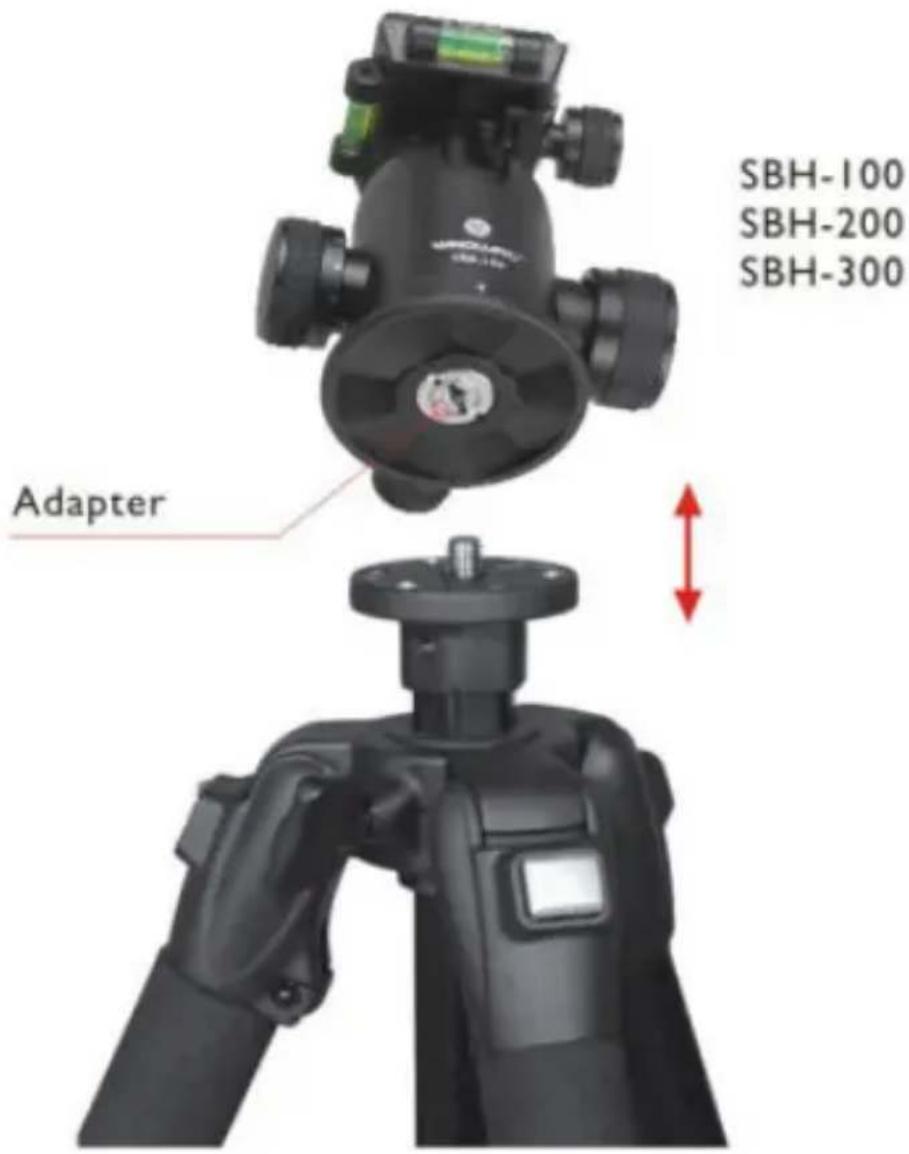
- Attaching the ball head to the tripod



- Plate adaptors

PQ-45

* Plate adaptors
* PF-2 with QS-45
* 90mm length QS
*Adjustable screw
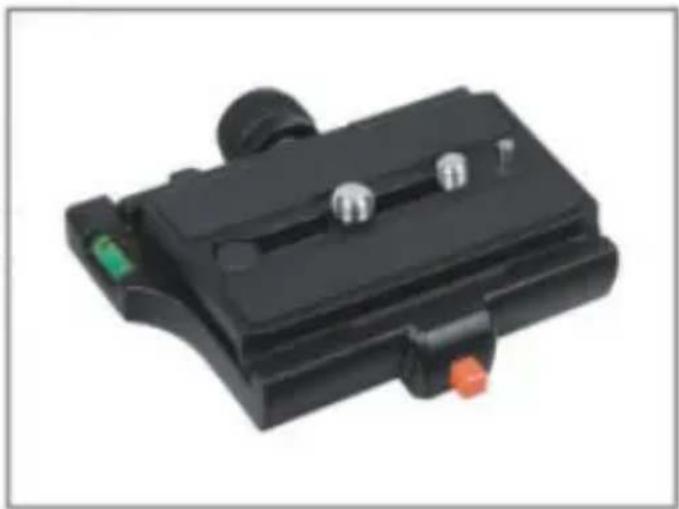


PQ-46
* Plate adaptors
* PF-2 with QS-46
* 140mm length QS
*Adjustable screw
QS-46

* Quick shoe with 1/4" & 3/8" camera screw & pin
* 140mm length QS
*Adjustable screw
AT-6 adapter
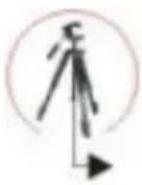
Converts the camera screw from 3/8" to 1/4".

1/4-20 UNC

3/8-16 UNC
Multi-Mount 6

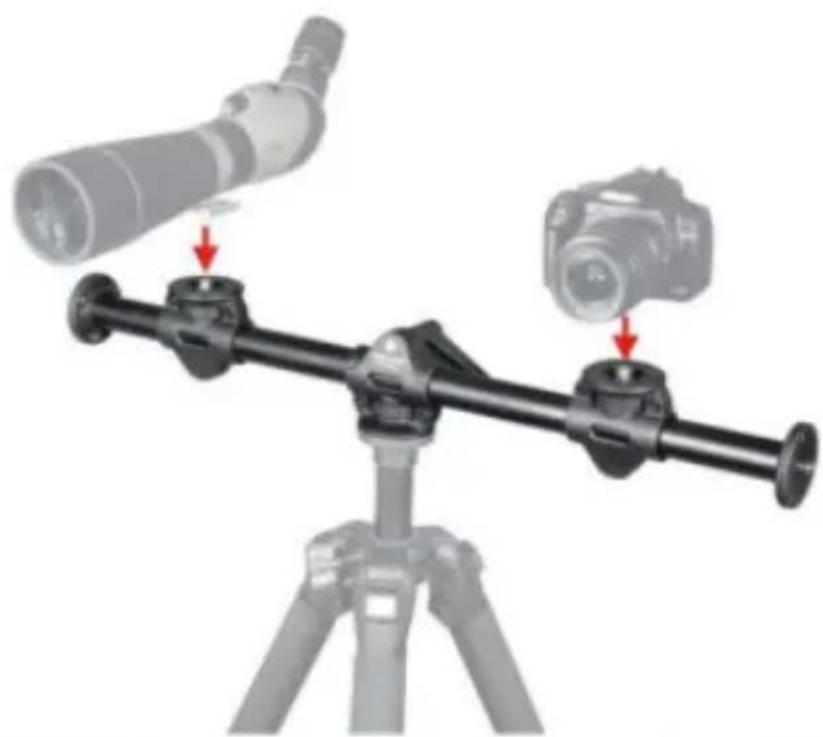

Camera can be adjusted for 360° rotation on a horizontal plane.
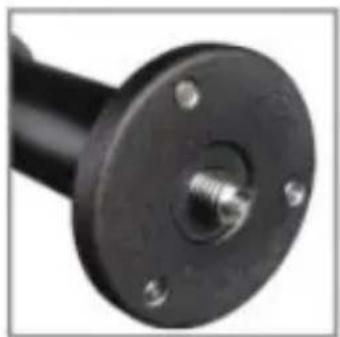
3/8" Camera screw

Center connects with 3/8" tripod screw

From 1/4"change to 3/8" for medium format equipment.
www.vanguardworld.com
- VANGUARD®
- PROFESSIONAL TRIPODS
- ELITE SERIES
- TRACKER SERIES
- PANHEAD
- BALLHEAD
- PARTS
- USING THE LOW ANGLE PHOTO ADAPTER
- MACRO PHOTOGRAPHY
- LEG ANGLES
- WRENCH
- PH-50
- PH-55
- REMOVING THE QUICK SHOE
- ATTACH THE QUICK SHOE TO A CAMERA
- BALL HEAD
- BALL HEAD USER GUIDE
- VANGUARD BALL HEADS FEATURE
- SELF-DAMPING FINE TUNING KNOB
- ADJUSTABLE CENTER OF GRAVITY
- ATTACHING THE BALL HEAD TO THE TRIPOD
- PLATE ADAPTORS
- PQ-45
- PQ-46
- QS-46
- AT-6 ADAPTER
- MULTI-MOUNT 6
Marque : Vanguard
Modèle : Tracker 1
Catégorie : Trépied