KADS4060AACA - Video camera Kogan - Free user manual and instructions
Find the device manual for free KADS4060AACA Kogan in PDF.


| Product Type | Digital Video Camera |
| Brand | Kogan |
| Model | KADS4060AACA |
| Dimensions (WxHxD) | Approx. 5.1 x 2.4 x 1.3 inches |
| Weight | Approx. 4.5 oz (128 g) |
| Power Source | Rechargeable Lithium-ion battery, USB-C charging |
| Battery Life | Up to 60 minutes at 1080p |
| Video Resolution | 1080p Full HD at 30fps |
| Photo Resolution | 5 Megapixels |
| Storage | MicroSD card up to 32GB (not included) |
| Lens Angle | 120° wide-angle |
| Display | 1.4 inch LCD screen |
| Connectivity | Micro USB, HDMI mini |
| Waterproof Rating | Not waterproof, use with housing |
| Main Functions | Video recording, time-lapse, loop recording, motion detection |
| Cleaning | Wipe with a soft, dry cloth. Do not use solvents. |
| Safety | Keep away from water and heat sources. Use only supplied charger. |
| Spare Parts & Repairability | Contact Kogan support for spare batteries, chargers, and cables. |
| General Information | Includes camera, USB cable, user manual. Intended for indoor/outdoor casual use. |
Frequently Asked Questions - KADS4060AACA Kogan
User questions about KADS4060AACA Kogan
0 question about this device. Answer the ones you know or ask your own.
Ask a new question about this device
Download the instructions for your Video camera in PDF format for free! Find your manual KADS4060AACA - Kogan and take your electronic device back in hand. On this page are published all the documents necessary for the use of your device. KADS4060AACA by Kogan.
USER MANUAL KADS4060AACA Kogan
natural_image
Black 4K Ultra HD WiFi camera with a video on display showing a motorcyclist in action (no text or symbols on device body)DS4060 DUAL SCREEN 4K 60FPS ACTION CAMERA
KADS4060AACA
SAFETY & WARNINGS
- Ensure the camera is kept secure to prevent accidental dropping or falls.
- Keep the camera away from strong magnetic interference objects, such as electrical machines, to avoid potential damage to the product and potential disruption to the sound or image quality caused by strong radio waves.
- Avoid exposing the camera directly to high temperatures and intense sunlight.
- For optimal performance, use a high-quality Micro SD Card (Class 10).
- To prevent data errors, avoid placing your Micro SD card near strong magnetic objects.
- If the device overheats, emits smoke, or produces an unpleasant smell, immediately disconnect it from the electrical outlet to prevent any potential fire hazards.
- Ensure the camera is kept out of reach of children while charging.
- Store the device in a cool, dry and dust-free location.
COMPONENTS
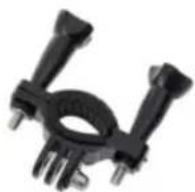
Bicycle Mount
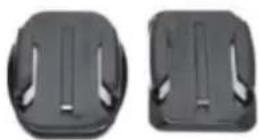
Helmet Mount (x2)

3M Adhesives (x2)
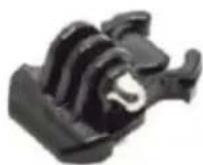
Mount 1
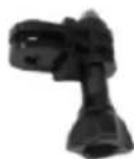
Mount 2
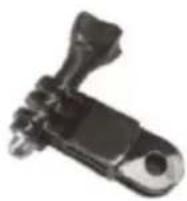
Mount 3
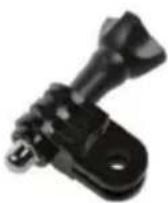
Mount 4
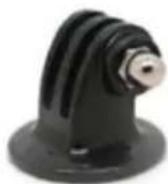
Mount 5
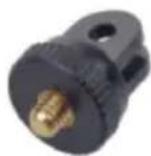
Mount 6

Cleaning Cloth
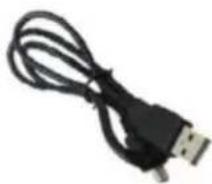
USB Cable
User Guide
OVERVIEW
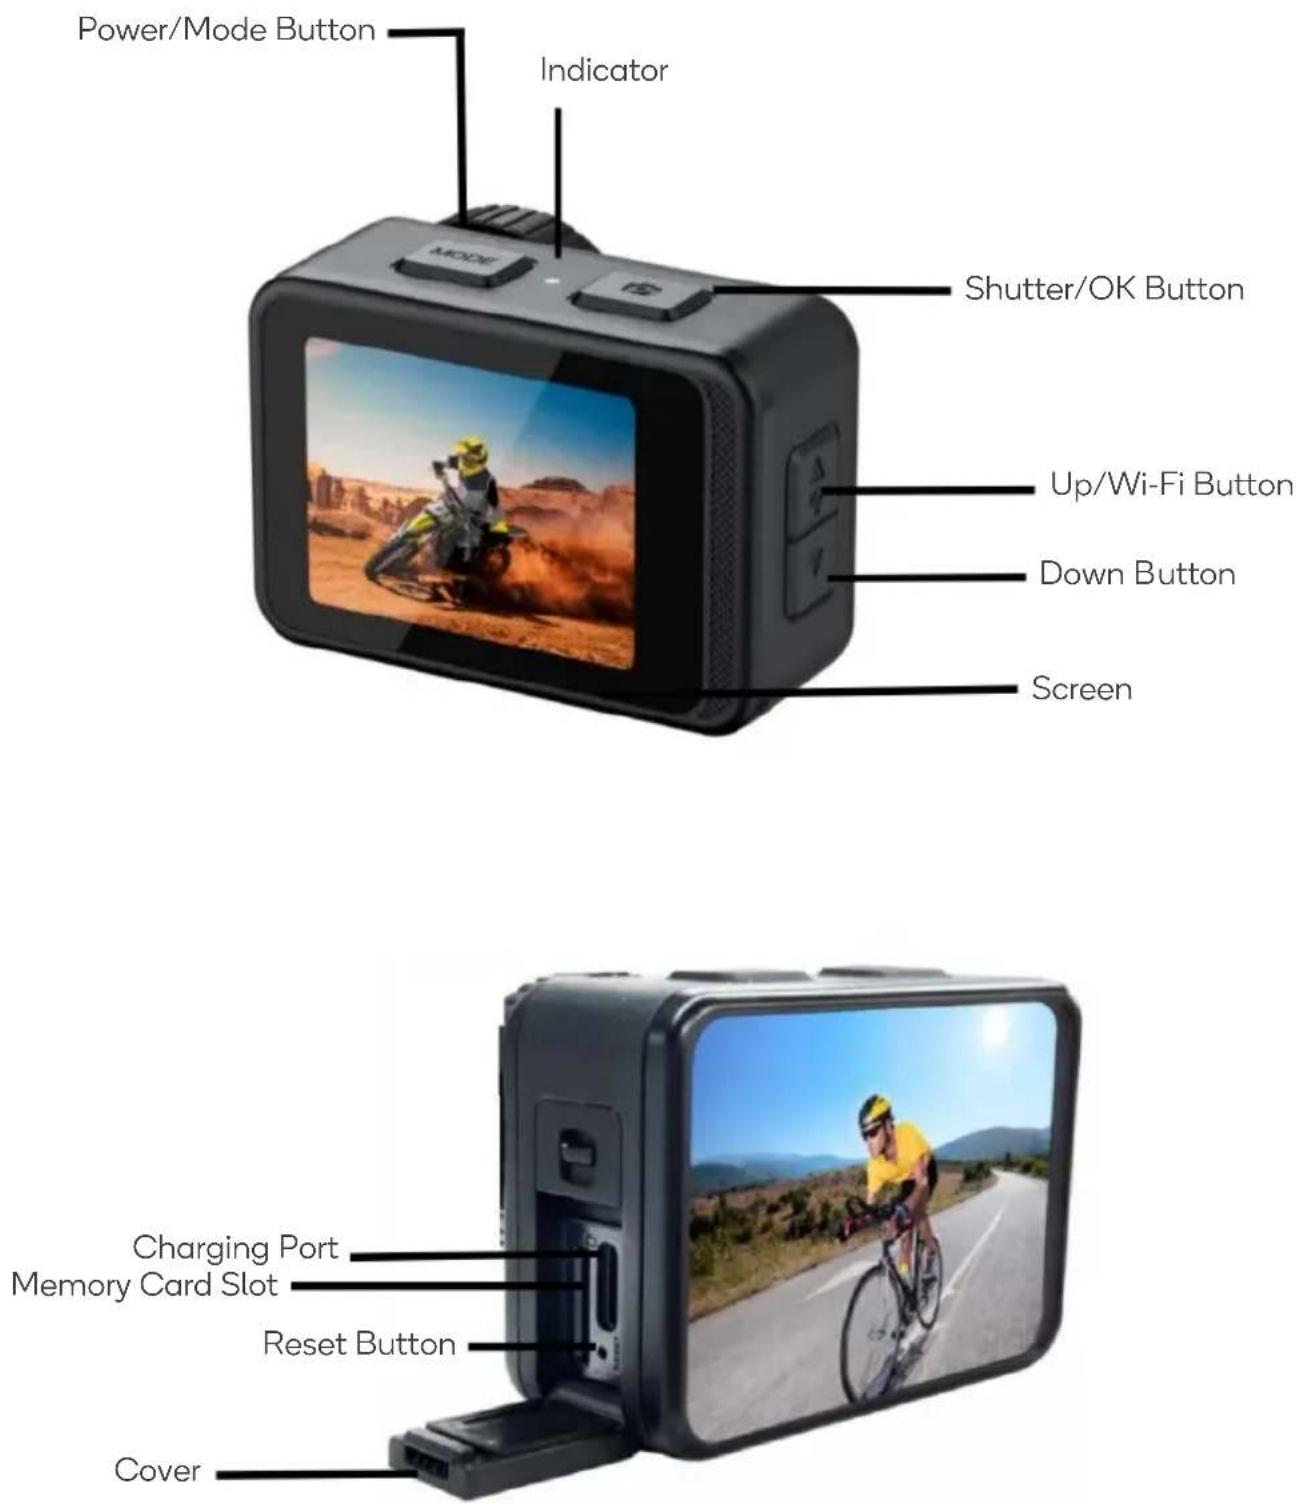
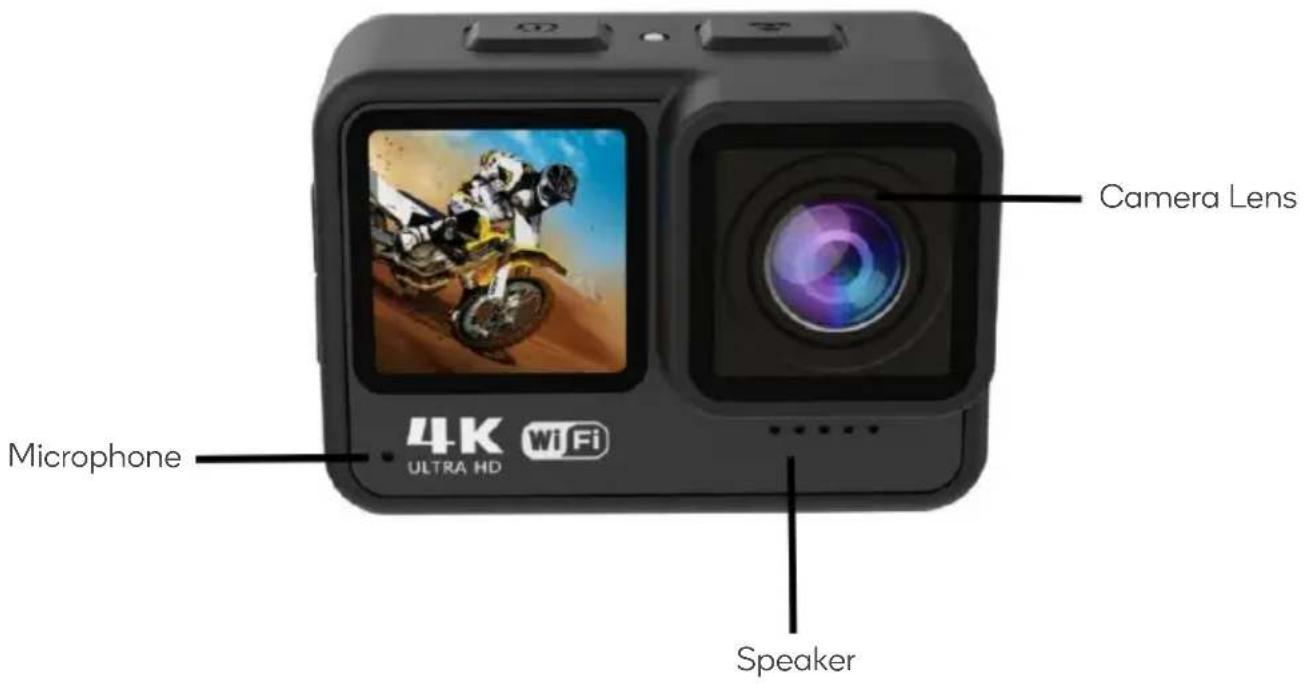
Note:
It is imperative to securely fasten the cover on the camera before submerging it in water. Failure to do so may cause leaks that could potentially harm or render your camera inoperable.
ASSEMBLY
Helmet

Bicycle

CONNECT TO XDV-PRO APP
Download the XDV-PRO App
The XDV-PRO app allows you to preview the shooting screen on the app, view videos and photos remotely, along with playback, download, delete and share files.
Scan the QR code below and download the 'XDV-PRO' app on the Google Play Store or the Apple App Store. Alternatively, search for 'XDV-PRO' on the Google Play Store or the Apple App Store.

Note:
The XDV-PRO app requires iOS 7 and later or Android 4.1 and later.
Pairing
- Power on the camera. The indicator should be alternately flashing red and blue. If it is not, press and hold the 'Up' button for 3 seconds until the indicator is flashing to enter pairing mode.
- Open the Wi-Fi settings on your smartphone and select the network name 'KADS4060AACA'. Enter the password '1234567890'.
OPERATION
Power On/Off
- Power On: Press and hold the 'Power/Mode' button for 3 seconds.
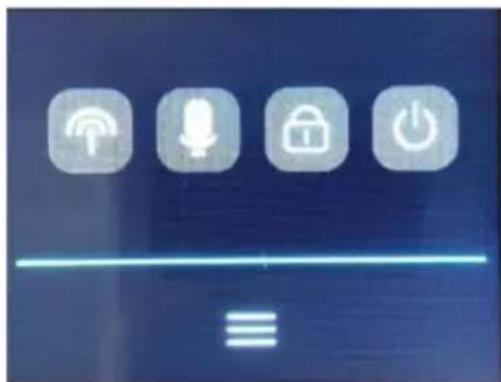
- Power Off: Press and hold the 'Power/Mode' button again for 3 seconds, or swipe downwards and tap the 'Power' icon.
Indicator
| Function Indicator | |
| Charging Solid red. | |
| Recording | Continuously flashes blue. |
| Recording stopped Solid | blue. |
| Taking a picture Flashes | blue once. |
| Pairing mode | Alternately flashing red and blue. |
| Pairing successful Solid | blue. |
Insert a Micro SD Card
Place a class 10 micro SD card (128GB max.) into the micro SD card slot. Note: Ensure the micro SD card is formatted to Fat32.
Charging
- Connect the camera to a computer or USB power adapter using the provided USB cable to charge the camera.
- To charge the camera while in the car, connect the camera to a USB port using the provided USB cable.
• The camera can be charged while in Video mode.
- The indicator will illuminate red when the camera is charging and turn off when the camera is fully charged.
Mode Overview
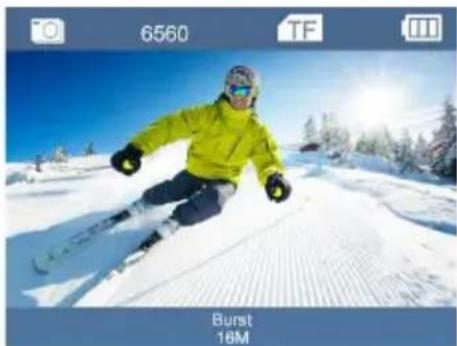
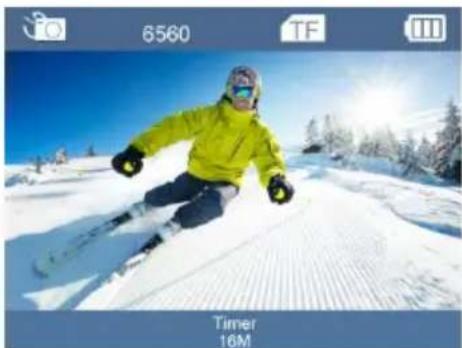
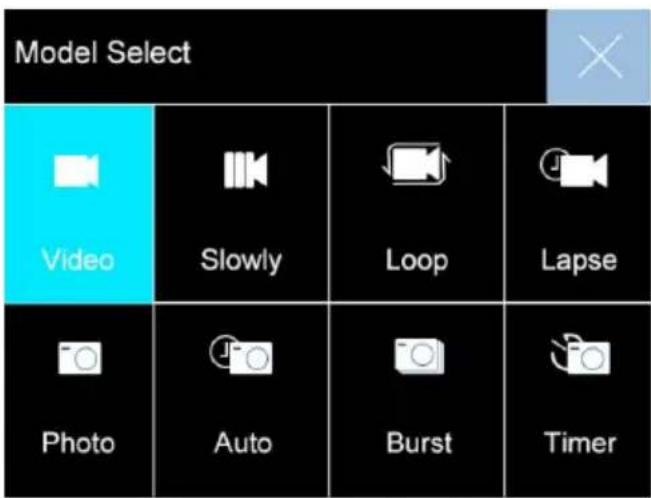
Power on the camera and repeatedly press the 'Mode' button to cycle through the camera modes.
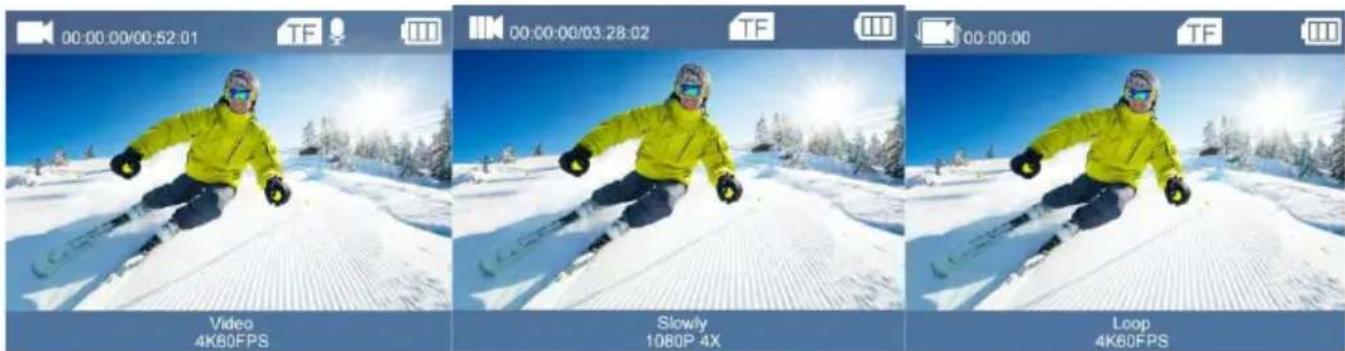
Video Recording
Slowly Recording Loop Recording
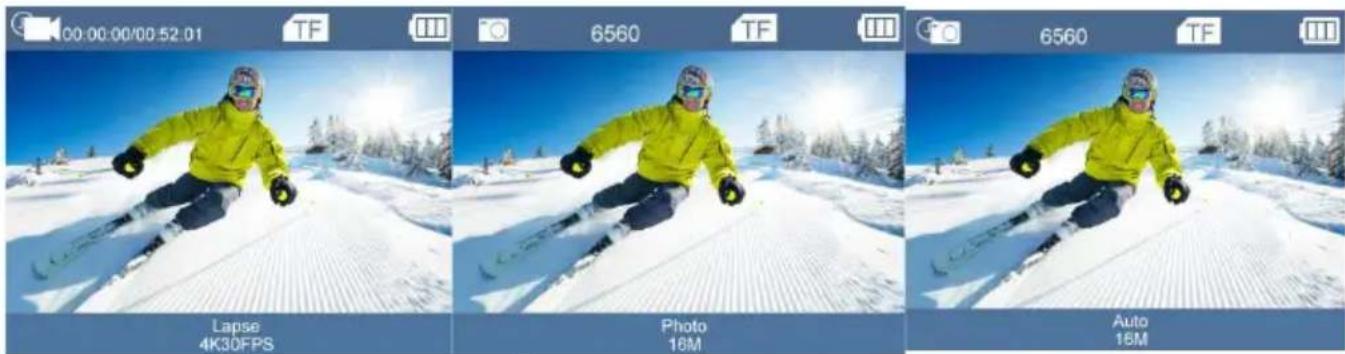
Photo Auto
Lapse Recording
natural_image
Skier in a snowy landscape with trees and sun in the background (no text or symbols on the skier or environment)Burst
natural_image
Skier in yellow jacket carving a snowy slope under bright sun (no text or symbols on the image itself)Timer
Main Menu
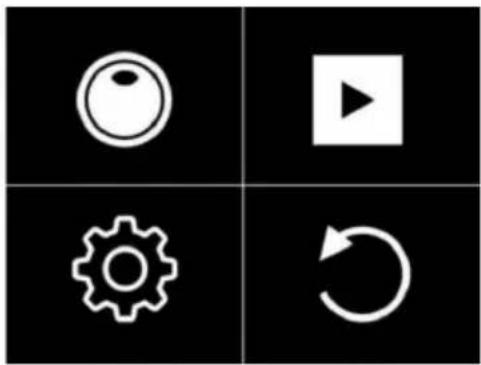
- Power on the camera and press and hold the 'OK' button for 2 seconds to enter the main menu.
- Press the 'Up/Down' buttons to navigate the sub-menus and press the 'OK' button to select the desired option.
natural_image
Four black square icons: circle, play button, gear, and refresh symbol (no text or labels)Modes:
- Select to enter the Mode sub-menu.
- Press the 'Up/Down' buttons to navigate Video and Photo modes.
Playback:
- Select ▶ to enter the Playback sub-menu.
- Press the 'Up/Down' buttons to select a file and press the 'OK' button to playback the video or photo.
- Alternatively, tap ▶ on the bottom of the screen in Video/Photo mode to enter, then tap the left/right arrow to select files.
System Settings:
- Select to enter the System Settings sub-menu.
- Press the ‘Up/Down’ buttons to navigate the settings and press the ‘OK’ button to select.
- Press the 'Mode' button to select Video/Photo/System Settings or Exit.
System Setting
- In Video/Photo mode, press and hold the 'OK' button and select the 'Settings' icon to enter the 'Settings' menu. Once the 'Settings' interface appears, use the 'Up/Down' buttons to navigate through the options and press 'OK' to choose your preferred setting.
- Alternatively, press the ‘Mode’ button to switch between Video/Photo settings, System settings, or Exit. Tap the icon at the bottom of the screen in Video/Photo mode to access the ‘Settings’ menu. Swipe to scroll through the options and tap your preferred choice to select it.
Video Settings
| Video Resolution | 4K60FPS,4K30FPS,2.7K30FPS,1080P120/60/30FPS, 720P120/60/30FPS |
| Slowly Rec Resolution | 1080P 4X, 1080P 2X, 720P 8X, 720P 4X |
| Loop Video Length 2min, 3min, 5min | |
| Time-lapse Rec Interval 0.5s/1s/2s/5s/10s/30s/60s | |
| EIS | On/Off (4K30FPS, 2.7K30FPS, 1080P60FPS, 1080P30FPS support) |
| Distortion Correction | On/Off (4K30FPS, 2.7K30FPS, 1080P60FPS, 1080P30FPS, 720P60FPS, 720P30FPS support) |
| White Balance | Auto/Sunny/Cloudy/Incandescent/Fluorescence |
| Exposure Setting | -3, -2, -1, 0, 1, 2, 3 |
| Video Quality High/Middle/Low | |
| ISO | Auto/100/200/400/800/1600/3200/6400 |
| Time Watermark On/Off | |
| Rec Audio On/Off | |
Photo Settings
| Pixel Inset 24/20/16/12/10M | |
| Auto Photo Interval 3s/10s/15s/20s/30s | |
| Burst Photo Frequency 3P/S, 5P/S, 10P/S | |
| Timer Countdown 3S/ 5S/ 10S/ 20S | |
| White Balance | Auto/Sunny/Cloudy/Incandescent/Fluorescence |
| Exposure Setting | -3, -2, -1, 0, 1, 2, 3 |
| ISO | Auto/100/200/400/800/1600/3200/6400 |
| Time Watermark On/Off | |
System Settings
| Image Rotation On/Off | |
| Wi-Fi On/Off | |
| Wi-Fi Information | Wi-Fi ID and Wi-Fi Password |
| Reset Wi-Fi Confirm/Cancel | |
| Light Source Frequency Auto/ 50Hz/ 60Hz | |
| LED Indicator On/Off | |
| Auto Screen Saver | Off/30S/1 minute/2 minutes |
| Auto Power Off | Off/3 Minutes/5 Minutes/10 Minutes |
| Button Prompt | High/Middle/Low/Off |
| Driving Mode | On/Off |
| Language | English/German/French/Spanish/Italian/Traditional Chinese/Simplified Chinese/Japanese/Russian/Korean/Polish/Portuguese/Thai |
| Time Format | YYYY/MM/DD, MM/DD/YYYY, DD-MM-YYYY |
| Time Set | Hour/Minute/Second |
| Date Set | Year/Month/Day |
| Format | Format/Cancel |
| Device Info | Product Model/Software Version/Update Time |
| Factory Reset | Confirm/Cancel |
Video Modes
Place the camera in one of the video modes (Video/Slowly/Loop/Lapse).
- When the video icon displays on the screen, press the 'OK' button to start recording. The indicator will flash blue.
- Press the 'OK' button again to stop recording. The camera will beep, and the indicator will stop flashing.
Photo Modes
- Place the camera in one of the Photo modes (Photo/Auto/Burst/Timer).
- When the photo icon displays on the screen, press the 'OK' button to take photos.
Switch Screens
Press and hold the ‘Down’ button for two seconds to switch between the front and back screens. The screen not in use will switch off.
Connect to a PC
Use the provided USB cable to connect the camera to a PC.
- When you power on the camera, a screen will display with 3 modes: USB mode (view videos and photos), PC Camera mode (use as a PC camera) and Charging mode (charge the camera).
- Press the 'Up/Down' buttons to select the mode you prefer and press the 'OK' button to enter.
SPECIFICATIONS
LCD 2.0" IPS +1.3" IPS Screen
Lens 170-degree wide angle lens
| Language | English/German/French/Spanish/Italian/Traditional Chinese/Simplified Chinese/Japanese/Russian/Korean/Polish/Portuguese/Thai |
| Video | 4K60FPS, 4K30FPS, 2.7K30FPS,1080P120/60/30FPS, 720P120/60/30FPS |
Video format MP4
Compression format H.264
Photo 24/20/16/12/10M
Memory Micro SD up to 128GB
Video mode Video/Slowly/Loop/Lapse
Picture mode Photo/Auto/Burst/Timer
WI-FI Support
Light source frequency Auto/50HZ/60HZ
USB USB 2.0
Power 5V 1A
Battery 1000mAh
Video time Up to 110 mins
Charge time About 2.5 hours
System Windows XP/Vistaor Above/WIN7/Mac OS
Size 66 x 35 x 46.3mm
NOTES
Need more information?
We hope that this user guide has given you the assistance needed for a simple set-up.
For the most up-to-date guide for your product, as well as any additional assistance you may require, head online to help.kogan.com
kogan.com
- DS4060 DUAL SCREEN 4K 60FPS ACTION CAMERA
- SAFETY & WARNINGS
- COMPONENTS
- OVERVIEW
- Note:
- ASSEMBLY
- Helmet
- Bicycle
- CONNECT TO XDV-PRO APP
- Download the XDV-PRO App
- Pairing
- OPERATION
- Power On/Off
- Indicator
- Insert a Micro SD Card
- Charging
- Mode Overview
- Main Menu
- Modes:
- Playback:
- System Settings:
- System Setting
- Video Modes
- Photo Modes
- Switch Screens
- Connect to a PC
- SPECIFICATIONS
- NOTES
- Need more information?
Brand : Kogan
Model : KADS4060AACA
Category : Video camera