KADS1030AACA - Video camera Kogan - Free user manual and instructions
Find the device manual for free KADS1030AACA Kogan in PDF.


| Product Type | Video Camera |
| Brand | Kogan |
| Model | KADS1030AACA |
| Dimensions (approx.) | 120 x 70 x 50 mm |
| Weight (approx.) | 300 g |
| Power Source | Rechargeable Li-ion battery |
| Battery Capacity | 1000 mAh |
| Recording Resolution | 1080p Full HD |
| Storage Media | SD card (up to 32GB) |
| Lens Type | Wide-angle, fixed focus |
| Zoom | Digital zoom up to 4x |
| Display | 2.0 inch LCD screen |
| Connectivity | USB 2.0, HDMI mini |
| Main Functions | Video recording, photo capture, playback |
| Care & Cleaning | Wipe with dry cloth; avoid liquids |
| Safety Precautions | Do not expose to water or extreme temperatures |
| Spare Parts Available | Battery, charger, USB cable |
| Repairability | User-replaceable battery and SD card |
| General Information | Compatible with Windows and macOS |
Frequently Asked Questions - KADS1030AACA Kogan
User questions about KADS1030AACA Kogan
0 question about this device. Answer the ones you know or ask your own.
Ask a new question about this device
Download the instructions for your Video camera in PDF format for free! Find your manual KADS1030AACA - Kogan and take your electronic device back in hand. On this page are published all the documents necessary for the use of your device. KADS1030AACA by Kogan.
USER MANUAL KADS1030AACA Kogan
natural_image
Black HD 1080P Wi-Fi camera with a skier on a snowy mountain slope (no text or symbols on the device itself)with Waterproof Case
KADS1030AACA
Safety & Warnings
- Ensure the camera is kept secure to prevent accidental dropping or falls.
- Keep the camera away from strong magnetic interference objects, such as electrical machines, to avoid potential damage to the product and potential disruption to the sound or image quality caused by strong radio waves.
- Avoid exposing the camera directly to high temperatures and intense sunlight.
- For optimal performance, use a high-quality Micro SD Card (Class 10).
• To prevent data errors, avoid placing your Micro SD card near strong magnetic objects. - If the device overheats, emits smoke, or produces an unpleasant smell, immediately disconnect it from the electrical outlet to prevent any potential fire hazards.
- Ensure the camera is kept out of reach of children while charging.
- Store the device in a cool, dry and dust-free location.
Components
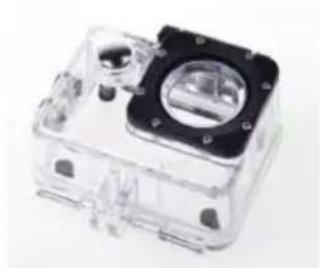
natural_image
Transparent plastic enclosure with black square lens and mounting holes (no text or symbols visible)Waterproof Case
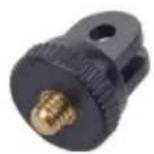
Commutator
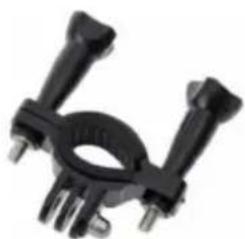
natural_image
Close-up of a black plastic clamp or bracket with four metal pins (no visible text or symbols)Bicycle Bracket
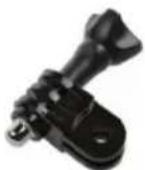
Switch Support
natural_image
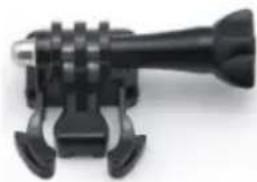
Close-up of a black camera mount with adjustable lever and mounting bracket (no text or symbols visible)Pedestal
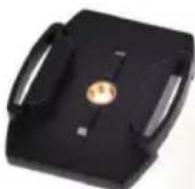
Helmet mount
natural_image
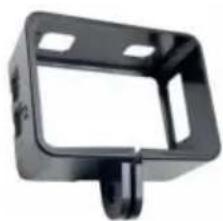
Black plastic mechanical bracket with mounting holes (no text or symbols visible)Back Clip
natural_image
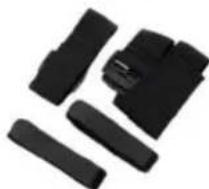
Black plastic clip components arranged in a row (no text or symbols visible)Bandage
natural_image
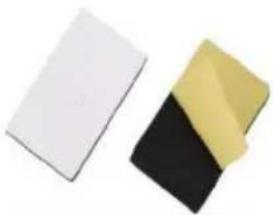
Two rectangular blocks, one white and one black-yellow, arranged side by side (no text or symbols visible)3M Adhesives
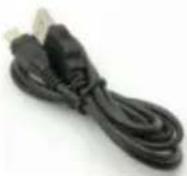
USB Cable
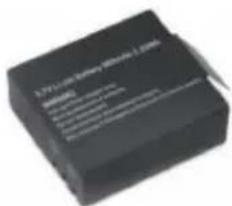
Battery
User Guide
Overview
natural_image
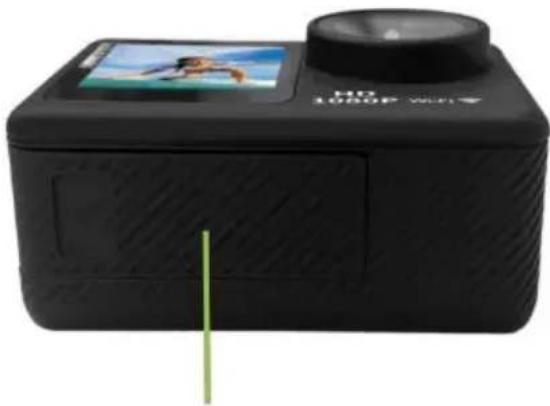
Black handheld device with a screen displaying a beach photo and 'HD 1080P WiFi' logo (no visible text beyond branding)Battery Cover
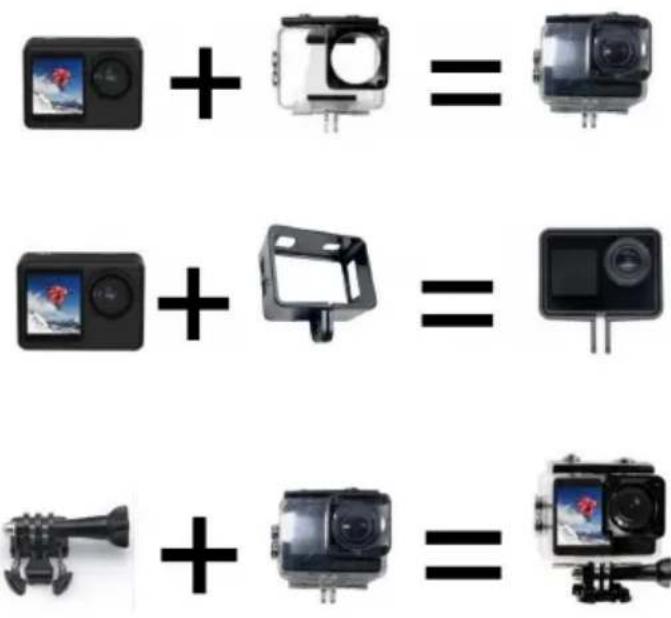
Waterproof Case
Note:
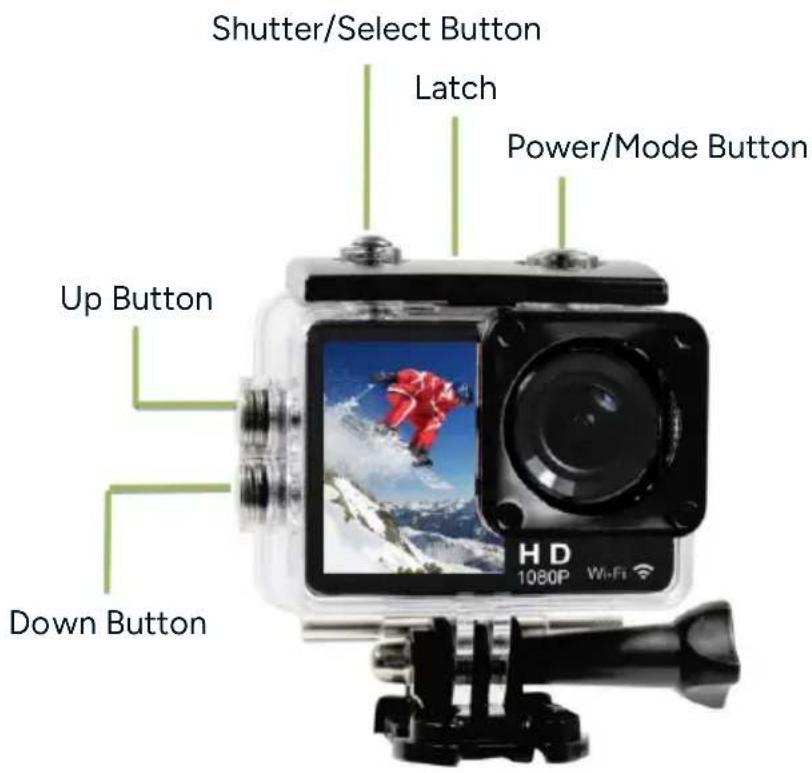
It is imperative to securely fasten the cover on the camera before submerging it in water. Failure to do so may cause leaks that could potentially harm or render your camera inoperable.
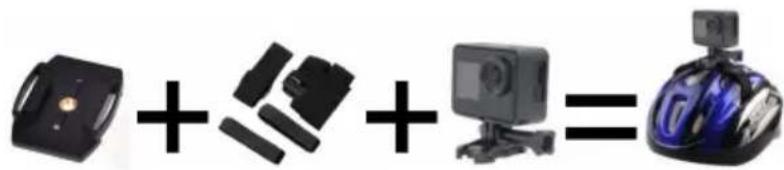
Assembly




App Installation
GoPlus Cam App
The GoPlus Cam app allows you to control the camera remotely using a smartphone or tablet. Features include full camera control, live preview, photo playback, sharing of select content and more.
Install the App
Scan the QR codes below to install the GoPlus Cam app. Alternatively, search for the 'GoPlus Cam' app on the Apple App Store or Google Play Store.

iOS

Android
Connect to the App
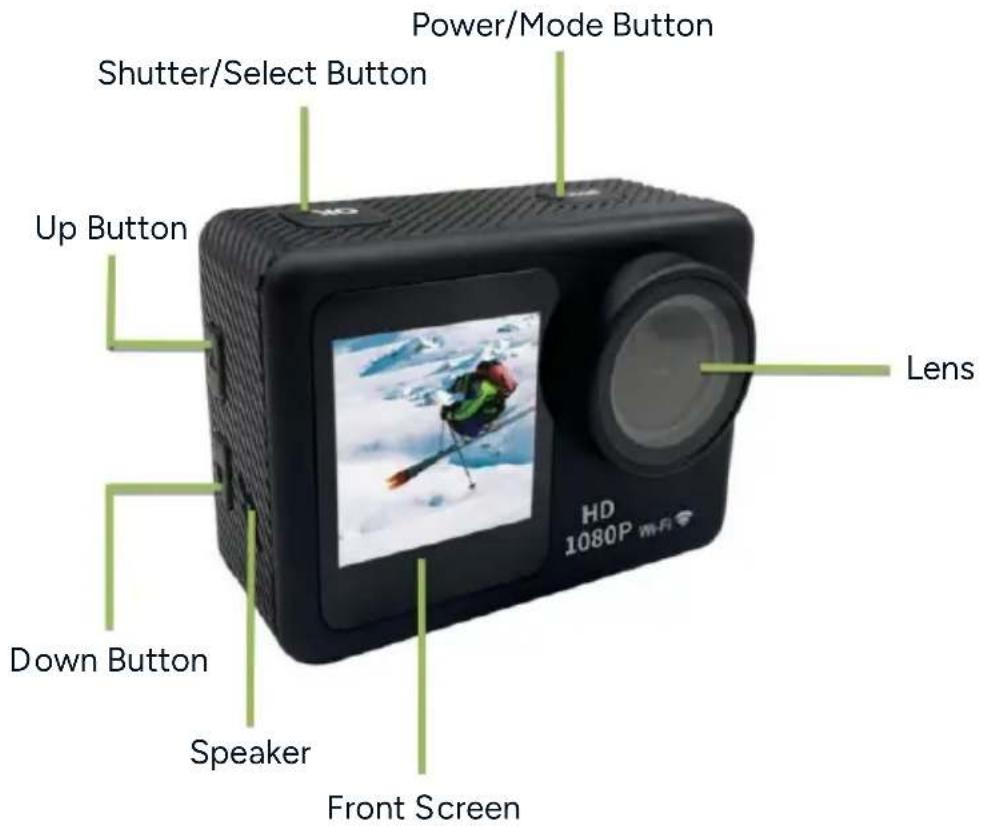
- Press the Power/Mode button to power the camera on.
- Ensure the camera is in Video or Photo mode.
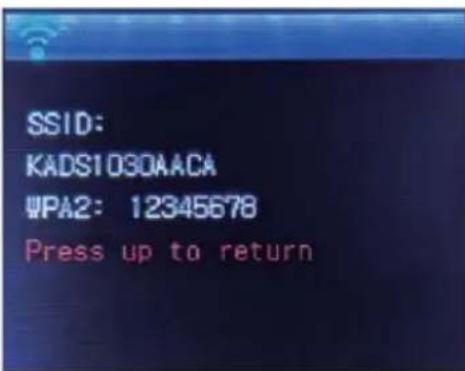
- Press the Up button to turn on the Wi-Fi. The Wi-Fi name and password will illuminate on the camera screen.
- In your smartphone or tablet's Wi-Fi settings, connect to the network called 'KADS1030AACA'.
-
Enter the password '12345678'.
-
Open the app on your smartphone or tablet and tap 'Connect'. Press the Up button on the camera to turn off the Wi-Fi.
Operation
Power On/Off
Press and hold the 'Power/Mode' button to power the camera on/off.
MicroSD Card
- This camera is compatible with 4GB, 16GB and 32GB microSD, micro SDHC and micro SDXC memory cards. The microSD card must have a Class 10 speed rating.
- It is recommended to use reputable brand memory cards for maximum reliability.
Charging The Battery
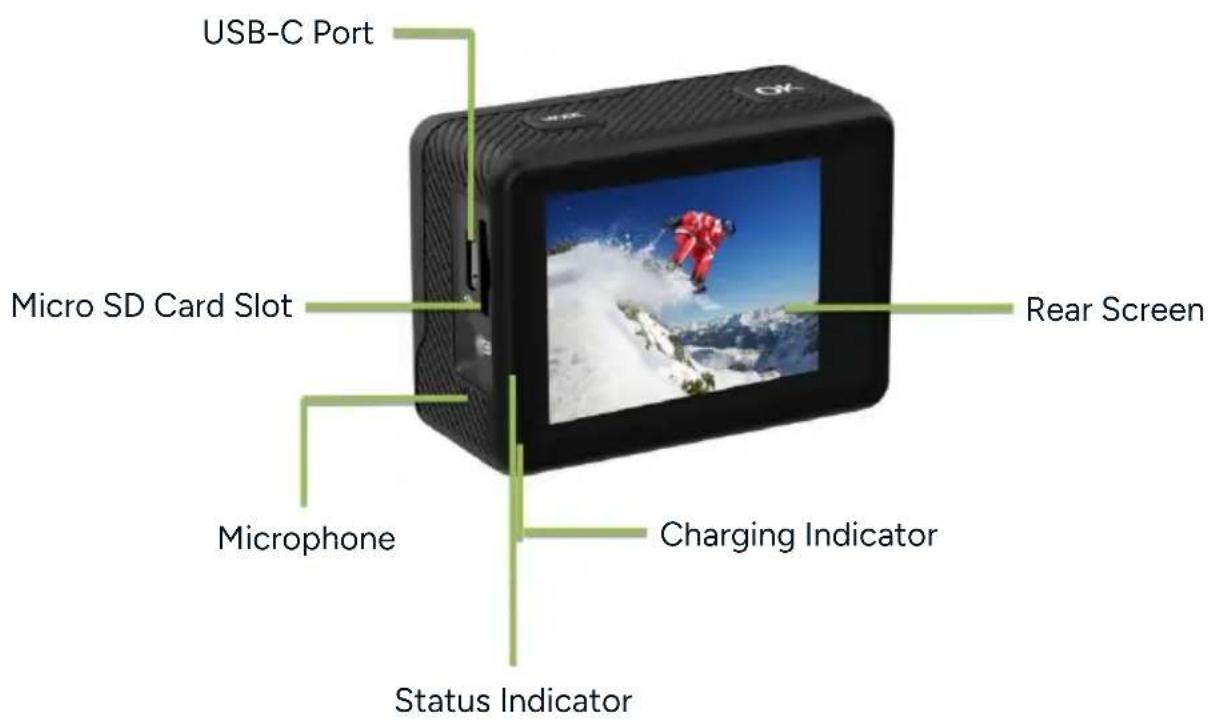
- Connect the USB end of the provided USB to USB-C cable to a computer or USB power adapter (not provided). Connect the USB-C end of the cable to the USB-C port on the camera.
- The charging indicator will illuminate solidly while the battery is charging.
- The camera will take approximately 3 hours to charge. The charging indicator will turn off when the battery is fully charged.
Overview
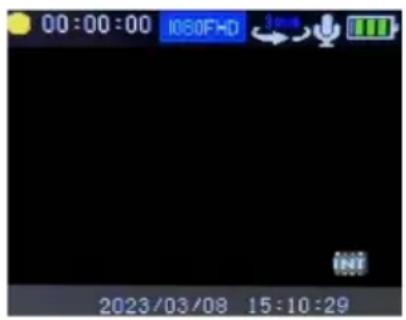
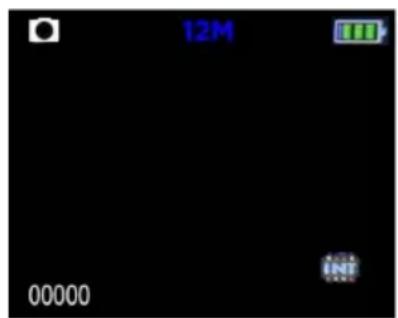
Power the camera on and repeatedly press the 'Power/Mode' button to cycle through the modes in the following order: Video, Photo, Playback and Settings.
Video Mode
- To record a video, confirm that the camera is in Video mode. If the video icon is not illuminated on the camera screen, press the 'Power/Mode' button repeatedly until it appears.
- Press the 'Shutter/Select' button to start recording. A yellow dot will flash on the screen while recording.
- Press the 'Shutter/Select' button to stop recording. The yellow dot will stop flashing to indicate recording has stopped.
- The camera automatically stops recording when the battery is out of power. Your video will be saved before the camera powers off.
Photo Mode
- To capture a photo, verify the camera is in Photo mode. If the Photo icon is not illuminated on the screen, press the 'Power/Mode' button repeatedly until it appears.
- Press the 'Shutter/Select' button to take a photo. The camera will play a shutter sound.
Playback Mode
- Press the 'Power/Mode' button to enter Playback mode.
- Press the 'Up' and 'Down' buttons to cycle through the various options.
- Press the 'Shutter/Select' button to select the desired option.
Setting Menu
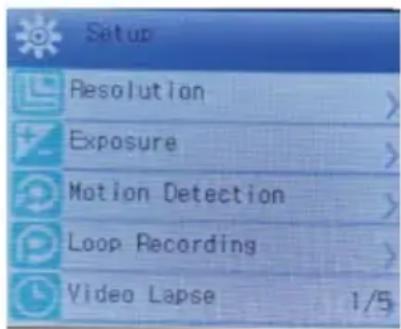
- Press the 'Power/Mode' button to enter the settings menu.
• Repeatedly press the 'Up' and 'Down' buttons to cycle through the options. - Press the 'Shutter/Select' button to select the desired option.
Page 1
• Resolution: 1080FHD 30FPS/1080P 30FPS/720 30FPS/WVGA 30FPS/VGA 30FPS.
- Exposure: -2/3, -1.0, -4/3, -5/3, -2.0, +2.0, +5/3, +4/3, +1.0, +2/3, +1/3, +0.0, -1/3.
- Motion Detection: Off/On. When you select this mode, the camera will automatically record when detecting moving objects.
- Loop Recording: Off/1 Minute/2 Minutes/3 Minutes/5 Minutes/10 Minutes.
• Video Lapse: Off/1 Second/2 Seconds/5 Seconds/10 Seconds/30 Seconds/1 Minute.
Page 2
• Record Audio: Off/On.
• Date Stamp: Off/On.
• Image Size: 12M/10M/8M/5M/3M/2MHD/1.3M/VGA.
• Capture Mode: Single/3s Timer/5s Timer/10s Timer/20s Timer.
• Continuous Shooting: Off/On.
Page 3
• White Balance: Auto/Daylight/Cloudy/Tungsten/Fluorescent.
• Frequency: 50HZ/60HZ
- OSD Mode: Off/On.
• Screen Saver: Off/1 Minute/3 Minutes/5 Minutes.
- Rotate: Off/On.
Page 4
• Auto Power Off: Off/1 Minute/3 Minutes/5 Minutes.
- Language: English/Chinese/Japanese/French/Deutsch/Korean/Italian/Portuguese
Русский /Español.
- Beep Sound: Off/On.
• Date/Time: YY/MM/DD, MM/DD/YY, DD/MM/YY.
- Car Mode: Off/On. When this mode is selected, the camera functions as a dash camera, supporting loop recording and automatically starting to record each time the vehicle is started.
Page 6
• WIFI SSID: KADS1030AACA..
• WIFI Password: 12345678.
- Format: Cancel/OK.
- Default Setting: Cancel/OK.
- Version: Firmware.
Front & Rear Screen Switching
- Press and hold the 'Down' button to switch between the rear and front screens for video and photo modes.
- The rear screen will turn off when the front screen is active, and the front screen will turn off when the rear screen is active.
Need more information?
We hope that this user guide has given you the assistance needed for a simple set-up.
For the most up-to-date guide for your product, as well as any additional assistance you may require, head online to help.Kogan.com.
kogan.com
- Safety & Warnings
- Components
- Overview
- Waterproof Case
- Note:
- Assembly
- App Installation
- GoPlus Cam App
- Install the App
- Connect to the App
- Operation
- Power On/Off
- MicroSD Card
- Charging The Battery
- Video Mode
- Photo Mode
- Playback Mode
- Setting Menu
- Page 1
- Page 2
- Page 3
- Page 4
- Page 6
- Front & Rear Screen Switching
- Need more information?
Brand : Kogan
Model : KADS1030AACA
Category : Video camera