
X-bee drone 3.2 - Drone Overmax - Free user manual and instructions
Find the device manual for free X-bee drone 3.2 Overmax in PDF.


| Product Type | Quadcopter Drone |
| Model | X-bee drone 3.2 |
| Brand | Overmax |
| Dimensions | 30 x 30 x 10 cm (folded) |
| Weight | 200 g |
| Battery | 3.7 V 1000 mAh Li-Po |
| Flight Time | Approximately 10 minutes |
| Charging Time | About 60 minutes |
| Control Range | Up to 100 meters |
| Camera | 720p HD camera with photo and video |
| Main Functions | Altitude hold, headless mode, 3D flips, one-key return |
| Remote Control | 2.4 GHz with LCD display |
| Gyroscope | 6-axis gyroscope for stability |
| Propeller Guards | Included for safety |
| Spare Parts | Propellers, battery, remote control available separately |
| Repairability | Modular design; user-replaceable parts |
| Maintenance | Clean with dry cloth; store in a cool, dry place |
| Safety Features | Low battery warning, motor auto-stop on crash |
| General Information | Designed for indoor and outdoor use; suitable for beginners |
Frequently Asked Questions - X-bee drone 3.2 Overmax
User questions about X-bee drone 3.2 Overmax
0 question about this device. Answer the ones you know or ask your own.
Ask a new question about this device
Download the instructions for your Drone in PDF format for free! Find your manual X-bee drone 3.2 - Overmax and take your electronic device back in hand. On this page are published all the documents necessary for the use of your device. X-bee drone 3.2 by Overmax.
USER MANUAL X-bee drone 3.2 Overmax
| ** The product is designed for people aged 14 and up**● We suggest those, who are just getting started to operate drones, to contact a person with more experience in this field. The users under 18 years of age can operate the product under adult supervision only.● The purpose of the safety notes is to protect the product and its users as well as bystanders and their property.● Improper operation of the product can cause injuries and property damage. |
| SPECIALLY DESIGNED FOR INDOOR AND OUTDOOR USE● The product has been designed in a way so that it can be used both indoors and outdoors.Before using the product, make sure that the area you chose is free from obstacles. Also, when operating the product always keep a safe distance from people and animals.● Do not operate the product near power lines. |
| PREVENT THE PRODUCT FROM GETTING WETBoth the drone and the controller are composed of many precision electronic components. Therefore, they must be prevented from getting wet. Exposure to water or moisture in any form can cause their malfunction or damage.DO NOT OPERATE OR EXPOSE THE PRODUCT TO RAIN OR MOISTURE |
| BATTERY INSTRUCTIONSTo avoid a potential fire hazard, please do not short circuit, puncture or reverse the polarity of batteries.Battery charging should always be done under adult supervision, and at a location out of the reach of children.The battery charging must be performed via a computer's USB port only.● DO NOT MIX NI-CAD AND ALKALINE BATTERIES |
| SAFETY NOTES FOR NI-MH BATTERIES● Make sure the batteries are properly installed observing correct polarity (+ -).DO NOT MIX NI-CAD AND ALKALINE BATTERIES● If you plan not to use the drone for extended period of time, remove the batteries from the controller to avoid their leakage, which may damage the transmitter.PLEASE DISPOSE USED BATTERIES ACCORDING TO LOCAL REGULATIONS IN SPECIAL RECYCLE SPOTS. |
| SAFETY NOTES FOR LI-POLYMER BATTERIES● Li-Polymer batteries have higher operational risks when compared to ones of other types. Therefore, using them, it is imperative to follow proper operational guidelines. The manufacturer and dealers assume no liability for any damage caused by improper usage.In order to avoid potential fire or explosion do not use any other charger except the one included with the product. DO NOT crush, disassemble, burn, or reverse the polarity of the batteries.To avoid short circuits, do not allow the metal parts to touch the battery terminals. NEVER PUNCTURE BATTERIES, OTHERWISE IT COULD CAUSE POTENTIAL FIRE HAZARD.● Battery charging should always be done under adult supervision, and at a location out of the reach of children.● In case of unnatural excessive heating of the batteries please stop using or charging them immediately. Otherwise, it may cause their swelling, deformation or explosion thereby increasing the risk of fire.**PLEASE DISPOSE USED BATTERIES ACCORDING TO LOCAL REGULATIONS IN SPECIAL RECYCLE SPOTS. DO NOT DISPOSE OF OLD BATTERIES IN THE HOUSEHOLD TRASHDO NOT CHARGE BATTERIES OVERNIGHT |
| KEEP AWAY FROM HEATR/C models are made from various forms of plastic that is very susceptible to damage or deformation due to extremely high and low temperatures. Therefore, the product should not be used or stored in places where it would be exposed to extreme temperatures. |
OBTAIN THE ASSISTANCE OF AN EXPERIENCED PILOT Although the product can be treated as a toy, it is not intended for those under fourteen years of age. Those, who are inexperienced in piloting remote-controlled drones, must know that there will be a slight learning curve until you become a skilled pilot. In order to make it easier to gain this skill we recommend exercises under the supervision of professional drone pilots.
- CONTROLLER (TRANSMITTER) DIAGRAM
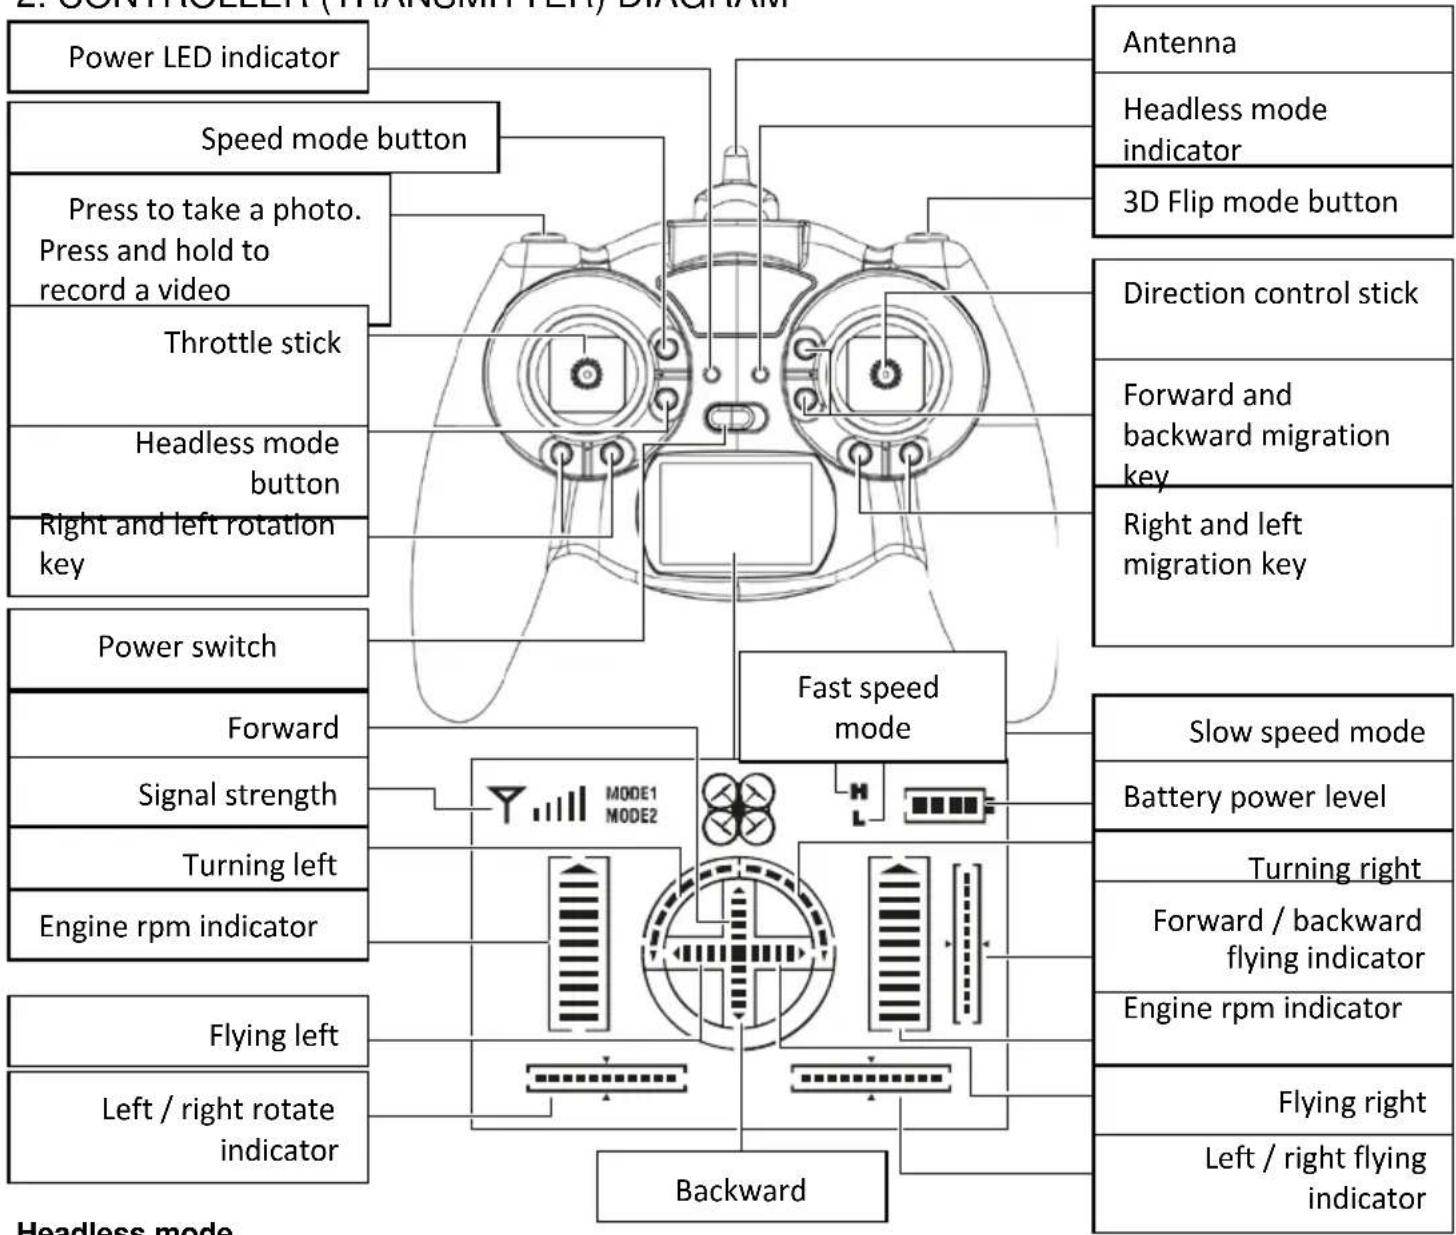
flowchart
graph TD
    A["Power LED indicator"] --> B["Speed mode button"]
    B --> C["Press to take a photo. Press and hold to record a video"]
    C --> D["Throttle stick"]
    D --> E["Headless mode button"]
    E --> F["Right and left rotation key"]
    F --> G["Power switch"]
    G --> H["Forward"]
    H --> I["Signal strength"]
    I --> J["Turning left"]
    J --> K["Engine rpm indicator"]
    K --> L["Flying left"]
    L --> M["Left / right rotate indicator"]
    M --> N["Backward"]

    O["Antenna"] --> P["Headless mode indicator"]
    P --> Q["3D Flip mode button"]
    Q --> R["Direction control stick"]
    R --> S["Forward and backward migration key"]
    S --> T["Right and left migration key"]

    U["Slow speed mode"] --> V["Battery power level"]
    V --> W["Turning right"]
    W --> X["Forward / backward flying indicator"]
    X --> Y["Engine rpm indicator"]
    Y --> Z["Flying right"]
    Z --> AA["Left / right flying indicator"]
Headless mode
Place the drone on a flat surface. Turn on both the drone and the controller. Pair (synchronize) the drone and the controller and turn on the headless mode. The controller beeps, the headless mode LED indicator starts to glow and the lights of the drone start to blink.
In this mode, to make the operation of the drone easier, the forward flight direction is set regardless of the drone position.
3. CONTROLLER (TRANSMITTER) BATTERY INSTALLATION
Use a screwdriver to open the battery cover.
Place 5 AA batteries in the battery compartment. Make sure the batteries are properly installed according to correct polarity (+ -). DO NOT MIX THE BATTERIES OF DIFFERENT TYPES
4. CHARGING THE BATTERIES
natural_image
Line drawing of a handheld electronic device with coiled cable and connector (no text or symbols)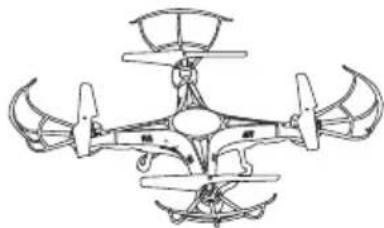
natural_image
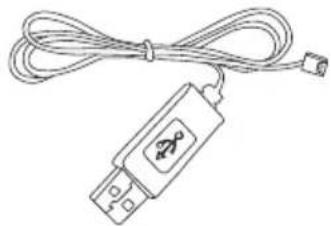
Line drawing of a four-rotor drone with four propellers and a central hub (no text or symbols)Use the included cable to charge the battery of the drone.
** Use ONLY the supplied USB cord for charging.
Battery charging should always be done under adult supervision, and via computer's USB port only.
LED indicator
| Red - on | Red - off |
| Charging... | Charging completed |
Charger specifications
| Input | Charging current | Maximum voltage |
| 5V | 500mAh | 4.2 ± 0.03V |
Battery usage and charge duration reference
| Battery type | Battery specification | Single charge working time | Charging time |
| Rechargeable lithium - polymer battery (Li - Poly) | 3.7V / 600mAh | Drone flight time: up to 12 minutes | About 90 minutes (charging current approx. 0.5 A) |
| Zinc - carbon battery (Non rechargeable) | 1.5V (GP 15G R4P) | Controller (transmitter) operation time: 18 hours | Non rechargeable (do not charge) |
5. TRANSMITTER AND RECEIVER SYNCHRONIZATION
Step 1
Turn on the drone using the switch located on the back by moving it to "ON" position. Place the drone on a flat surface to ensure the gyroscope is centered. Do not move the drone during the synchronization process.
Step 2
Switch the controller's power button to "ON" position. The LED indicator starts to blink. Wait 5 seconds until the synchronization process starts.
Push the throttle stick from the lowest to the highest position, and then push it back to the lowest position.
When the LED indicator stops blinking and starts to glow steadily it means that the synchronization process is finished.
Step 3
After the flight, move the controller's switch to "OFF" position (the power LED is off). Then, power off the drone using the same method - move the power switch located on the back of the drone to "OFF" position. The lights will go off indicating that all the systems are off.
- FLIGHT CONTROL
| Mode | Mode | |
| Left / right | Throttle stick | Ascent / descent, Rotate left / right |
| Fly forward / backward | Direction / rotation control stick | Left |
| Right |
360-degree stunts
When you press the Flip button the controller's red LED indicator starts to blink fast indicating that the drone is in 3D flip mode.
When in 3D flip mode, move the direction stick forward, backward, left or right to flip the drone in the chosen direction.
Speed modes
The device supports two flight speed modes. Press the flight speed button to switch between fast and slow mode. The current speed mode is indicated by the number of beeps (at the moment of switching) and a corresponding icon on the display ("L" for slow and "H" for fast mode).
Polski
1. INFORMACJE ODNOŚNIE BEZPIECZEŃSTWA UŻYTKOWANIA
natural_image
Line drawings of a drone with attached cable and four propellers (no text or symbols)natural_image
Line drawing of a handheld electronic device with coiled cable and connector (no text or symbols)
natural_image
Line drawing of a four-bladed drone with four propellers and a central hub (no text or symbols)natural_image
Line drawing of a handheld electronic device with coiled cable and connector (no text or symbols)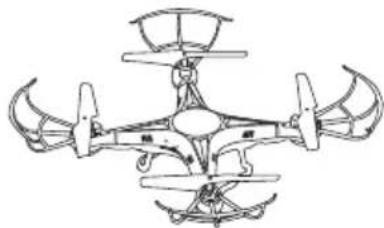
natural_image
Line drawing of a four-bladed drone with four propellers and a central hub (no text or symbols)natural_image
Line drawing of a drone with attached cable and its 3D top view (no text or symbols)natural_image
Line drawing of a handheld electronic device with coiled cable and connector (no text or symbols)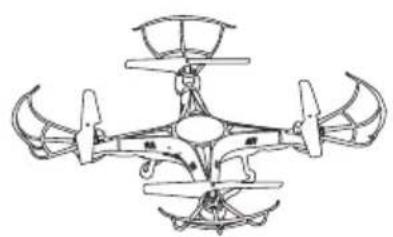
natural_image
Line drawing of a four-bladed drone with no visible text or symbolsnatural_image
Line drawing of a USB device with coiled cable and connector (no text or symbols)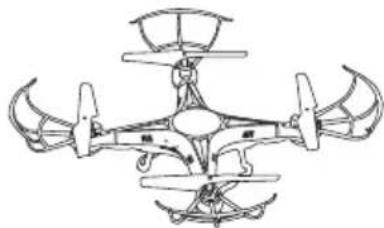
natural_image
Line drawing of a four-rotor drone with four propellers and a central hub (no text or symbols)Declaration of Conformity
We, the undersigned:
Declare the following apparatus:
| Products name: Drone | |
| Brand and Model name: | OV-X-Bee Drone 3.2 |
Hereby we confirm above product compliance with the European directive of CE:
Below standards were tested and passed:
| EMC : | ETSI EN 301 489-1 V1.8.1 (2008-04)ETSI EN 301 489-17 V2.1.1 (2009-05) |
| LVD : | EN 60950-1:2006 + A11:2009 + A1:2010+ A12:2011 |
Release date: 21.09.2012
www.overmax.eu
Brand : Overmax
Model : X-bee drone 3.2
Category : Drone