Strand - Cabinet Hygena - Free user manual and instructions
Find the device manual for free Strand Hygena in PDF.


| Product Type | Freestanding Closet |
| Brand | Hygena |
| Model | Strand |
| Overall Dimensions (approx.) | Width: 80 cm, Depth: 55 cm, Height: 185 cm |
| Weight (approx.) | 35 kg |
| Material | Particleboard with Melamine Finish |
| Color | White / Oak (depending on variant) |
| Assembly Required | Yes (2-person recommended) |
| Door Type | Hinged Doors (2 or 3 doors) |
| Internal Configuration | Single hanging rail, one shelf above |
| Maximum Load per Shelf | 10 kg |
| Maximum Load per Hanging Rail | 15 kg |
| Safety Features | Anti-tip strap included |
| Cleaning Instructions | Wipe with a damp cloth; avoid abrasive cleaners |
| Warranty | 2 years (subject to terms) |
| Spare Parts Availability | Available via customer service |
| Country of Origin | China |
Frequently Asked Questions - Strand Hygena
User questions about Strand Hygena
0 question about this device. Answer the ones you know or ask your own.
Ask a new question about this device
Download the instructions for your Cabinet in PDF format for free! Find your manual Strand - Hygena and take your electronic device back in hand. On this page are published all the documents necessary for the use of your device. Strand by Hygena.
USER MANUAL Strand Hygena
Strand - Small Bookcase
Assembly Instructions - Please keep for future reference 614/3026
614/1736
hygena
natural_image
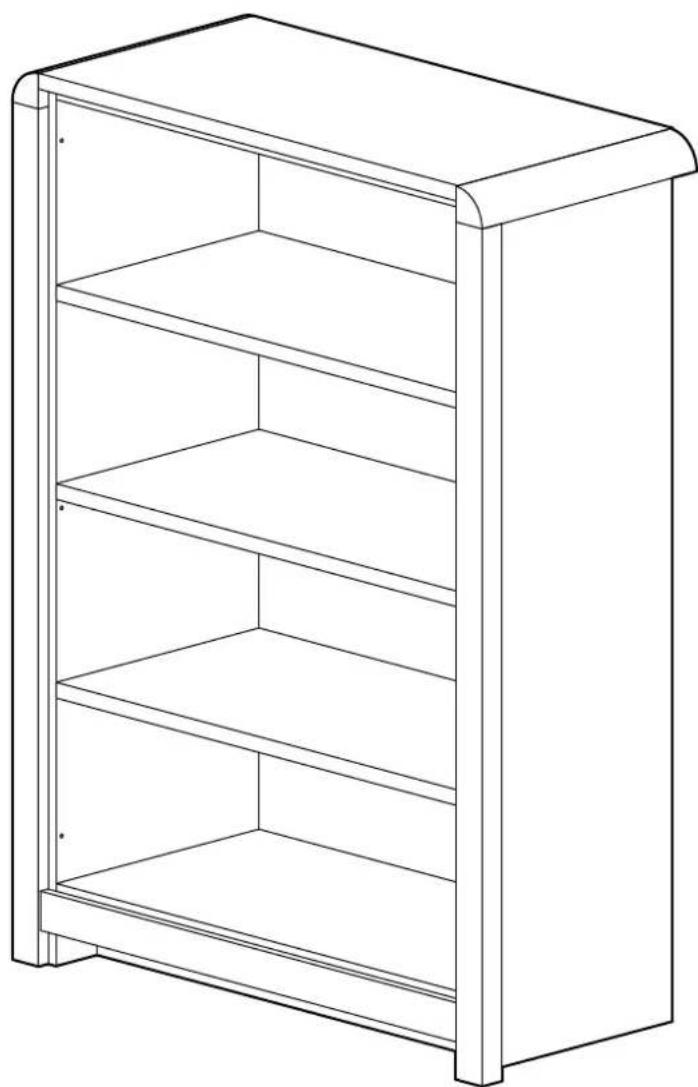
Line drawing of a multi-level shelf cabinet or storage unit (no text or symbols)Dimensions
Width - 90cm
Depth - 41cm
Height - 125cm
Important – Please read these instructions fully before starting assembly
If you need help or have damaged or missing parts, call the Customer Helpline: 0345 6403030

Safety and Care Advice
Important – Please read these instructions fully before starting assembly
- Check you have all the components and tools listed on pages 2 and 3.
- Remove all fittings from the plastic bags and separate them into their groups.
- Keep children and animals away from the work area, small parts could choke if swallowed.
- Make sure you have enough space to layout the parts before starting.
-
Do not stand or put weight on the product, this could cause damage.
-
Assemble the item as close to its final position (in the same room) as possible.
- Assemble on a soft level surface to avoid damaging the unit or your floor.
- Parts of the assembly will be easier with 2 people.
• To prevent bowing of shelves do not over load, and always distribute weight evenly. - If a residual aroma is experienced with your new furniture after the packaging is removed simply ensure the room is well ventilated and this will assist a speedy removal
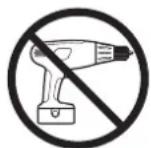
• We do not recommend the use of power drill/drivers for inserting screws, as this
could damage the unit. Only use hand screwdrivers.
- Dispose of all packaging carefully and responsibly.
- It is essential that this unit be fixed to a wall with the fittings provided.
- Please retain the product label on the back of the unit, as this information will help support any queries.
Care and maintenance
- Dust with a clean cloth or, if required a slightly damp cool cloth. Do not use household cleaners, abrasives or polishes as permanent damage may occur.
-
Your furniture is finished to the required colour. Avoid exposure to strong sunlight as this can change the colour. Change in appearance may also occur if items are permanently left on a surface.
-
Do not drag the furniture or lift it by its top.
- Avoid sharp objects, contact with water and direct heat on all surfaces
- From time to time check that there are no loose screws on this unit.
-
Loose shelves should be secured or removed before moving.
-
You should get assistance when moving or lifting your furniture. Furniture consisting of more than one unit should be disassembled before attempting to move it.
- This product should not be discarded with household waste. Take to your local authority waste disposal centre.
Note: if required the next page can be cut out and used as reference throughout the assembly. Keep this page with these instructions for future reference.
Components - Panels
If you have damaged or missing components, call the Customer Helpline: 0345 6403030
Please check you have all the panels listed below

natural_image
Simple line drawing of a three-tiered shelf or cabinet frame (no text or symbols)1 Small bookcase (125 x 90 x 41cm)
Components - Fittings
Please check you have all the fittings listed below
Note: The quantities below are the correct amount to complete the assembly. In some cases more fittings may be supplied than are required.
A | 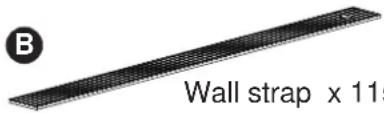 | C 5mm Screw Washer x 2 5mm Screw Washer x 2 |
Tools required

Phillips screwdriver (medium)
Assembly Instructions
Step 1
Fixing to wall
It is recommended that the unit is fixed to a wall
Fix wall strap B to the back of the unit using 15mm screw A and 15mm washer C you may need to use the step ladder for this.

15mm screw A is for fixing the
wall strap B to furniture only. In addition to this you will need to choose a screw or fi tting which is suitable for securing the wall strap B to the type of walls you have. If you are unsure about what type of screw to use seek professional help.
Assembly is complete.

Brand : Hygena
Model : Strand
Category : Cabinet