L05CBIG10 - Telephone Logik - Free user manual and instructions
Find the device manual for free L05CBIG10 Logik in PDF.


| Product Type | Cordless DECT Phone |
| Brand | Logik |
| Model | L05CBIG10 |
| Dimensions (Base) | Approx. 120 x 110 x 80 mm |
| Dimensions (Handset) | Approx. 170 x 45 x 25 mm |
| Weight (Handset) | Approx. 130 g (including battery) |
| Power Supply | AC 230V~50Hz (base) / Rechargeable Ni-MH battery (handset) |
| Battery Type | AAA Ni-MH 600mAh (2x) |
| Standby Time | Up to 120 hours |
| Talk Time | Up to 10 hours |
| Range (Indoor) | Up to 50 meters |
| Range (Outdoor) | Up to 300 meters |
| Display | Monochrome LCD with backlight |
| Keypad | Backlit alphanumeric keypad |
| Main Functions | Caller ID, phonebook (50 entries), redial, mute, tone/pulse dialing |
| Speakerphone | Yes (hands-free) |
| Ringer Volume | Adjustable with silent mode |
| Cleaning & Maintenance | Wipe with dry soft cloth; do not use solvents |
| Safety | Use only supplied power adapter; keep away from water |
| Spare Parts | Replacement batteries, chargers, handset covers available from Logik support |
| General Information | Designed for home use; compatible with standard analog telephone lines |
Frequently Asked Questions - L05CBIG10 Logik
User questions about L05CBIG10 Logik
0 question about this device. Answer the ones you know or ask your own.
Ask a new question about this device
Download the instructions for your Telephone in PDF format for free! Find your manual L05CBIG10 - Logik and take your electronic device back in hand. On this page are published all the documents necessary for the use of your device. L05CBIG10 by Logik.
USER MANUAL L05CBIG10 Logik
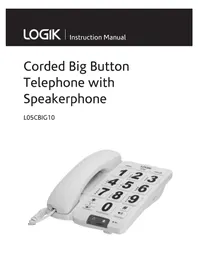
Corded Big Button Telephone with Speakerphone
L05CBIG10

Contents
Safety First 4
Unpacking......6
Getting Started....7
Locating the Base Unit 7
Wall Mounting (optional)......8
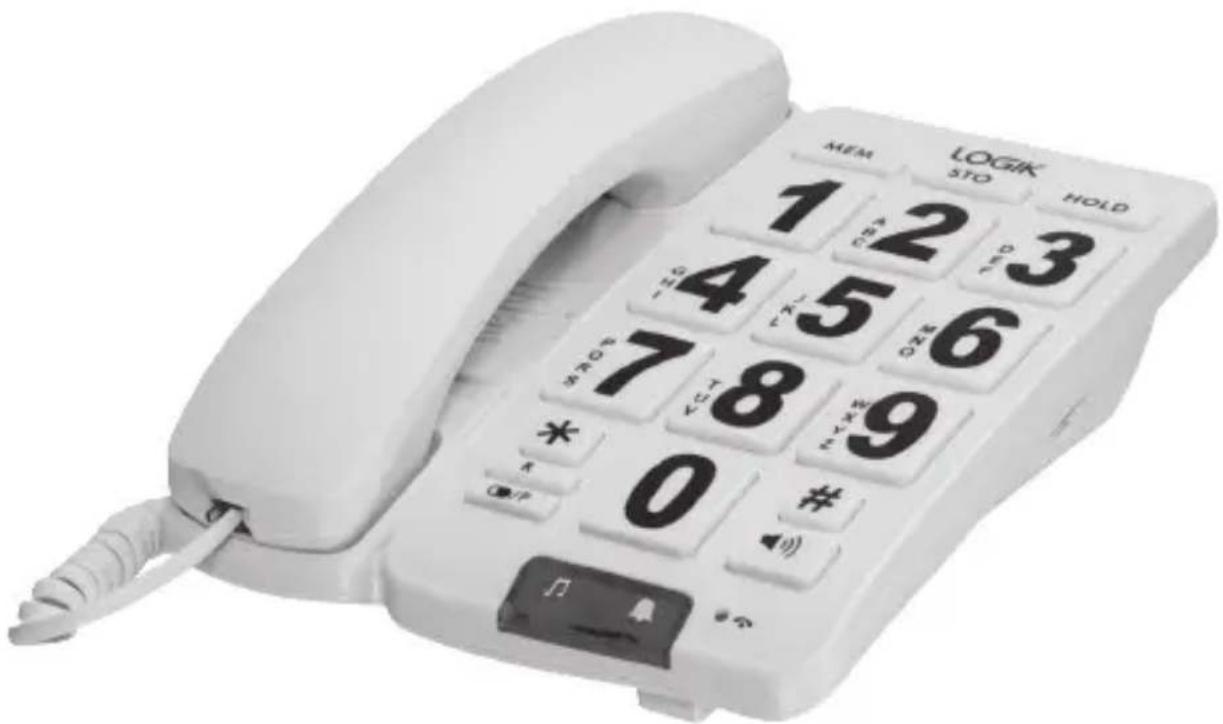
Control Overview....10
Operation 12
To Make a call....12
To Answer a Call....12
To Adjust the Handset Volume 12
To Adjust the Speakerphone Volume 12
To End a Call 12
To Switch between the Handset and the Speakerphone....12
Last Number Redial 12
Mute Function in Handset mode....13
Mute Function in Speakerphone Mode 13
Use on PBX....13
Inserting a Pause in the Dialing Sequence 13
Storing a Number in (0-9) two-touch memories 13
Dial out Stored number (0-9) two-touch memories....14
Helpful Information....15
Specifications....15
For your continued safety and to reduce the risk of injury or electric shock, please follow all the safety precautions listed below.
- Read all instructions carefully before using the telephone and keep them for future reference.
- Retain the manual. If you pass the telephone onto a third party, make sure to include this manual.
- Follow all warnings and instructions marked on the telephone.
- Do not use the product near water for example near a bathtub, kitchen sink, etc.
- Place the product securely on a stable surface. Serious damage and/or injury may result if the product falls.
- Do not cover slots and openings on the telephone. They are provided for ventilation and protection against overheating. Never place the telephone near radiators, or in places with poor ventilation.
- Do not place objects on the telephone line cable. Install the phone where no one can step or trip on the telephone line cable.
- To reduce the risk of injury or electric shock, do not disassemble the telephone. Incorrect reassembly can cause electric shock when the product is subsequently used.
- During thunderstorms, avoid using telephones except cordless types. There may be a remote risk of an electric shock from lightning.
- Do not use the telephone to report a gas leak, when in the vicinity of the leak.
- Young children should be supervised to ensure that they do not play with the telephone.
- The telephone is not intended for use by persons (including children) with reduced sensory or mental capabilities, or lack of experience and knowledge unless they have been given supervision or instructions concerning the use of the telephone by a person responsible for their safety.
CAUTION:
Installation
• Never install telephone wiring during a lightning storm.
- Never install a telephone wall socket in wet locations unless it is specifically designed for wet locations.
- Never touch uninsulated telephone wires or terminals unless the telephone line has been disconnected at the network interface.
• Use caution when installing or modifying telephone lines.
- The telephone is designed for use on vertical walls constructed of solid brick, solid concrete, solid wood and solid wood columns. It is the installer's responsibility to verify that the wall structure/surface will safely support the total load (combined weight of telephone base and handset). If the installer has any uncertainties about the wall structure/surface, they must contact a qualified installer.
- Do not use this product for any applications other than its intended purpose.
• Do not over tighten the screws.
Thank you for purchasing your new Logik
Corded Big Button Telephone with Speakerphone.
We recommend that you spend some time to read this Instruction Manual in order to fully understand how to install and operate it.
Read all the safety instructions carefully before use and keep this instruction manual for future reference.

Unpacking
Remove all items from the packaging. Retain the packaging. If you dispose of it please do so according to local regulations.
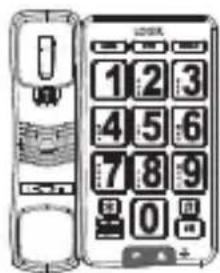
Main Unit
Handset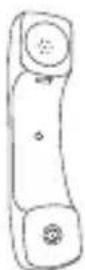

Handset Cord
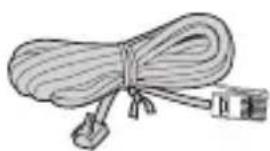
Telephone Line Cord
Instruction Manual

If items are missing, or damaged please contact Partmaster (UK only). Tel: 0344 800 3456 for assistance.
Locating the Base Unit
- The base unit should be placed on a level surface, in a position where:
• The telephone line cord will reach your telephone line wall socket. - It is not close to a sink, bath or shower, or anywhere else where it might get wet. - It is not close to other electrical equipment - fridges, washing machines, microwave ovens, TVs, fluorescent lights, etc.
- Plug the handset cord into the handset. Plug the other end into the side of the base unit.
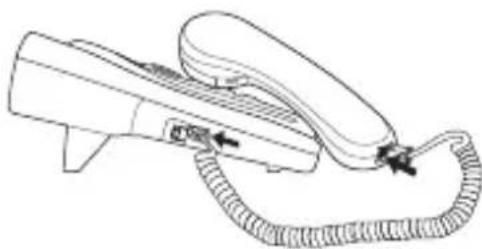
Make sure the plugs click into place.
- Place the handset on the base unit.
- Plug one end of the telephone line cord into the socket of the base unit, and the other end into your telephone line wall socket.
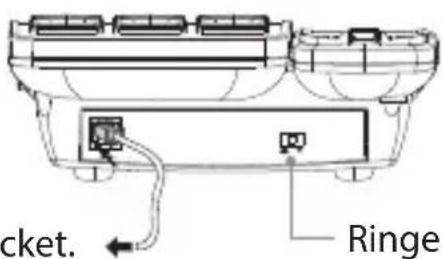
To telephone line wall socket.
Ringer HI/LOW switch.
- Lift the handset and check for a dial tone.

Always use the telephone line cord supplied with your telephone. Other telephone line cords may not work.

Wall Mounting (optional)

Before you drill any holes, make sure there is no electrical wiring or pipes hidden in the wall.
- Mark two points on the wall that are 80mm apart to lay the fixing centres as shown below.
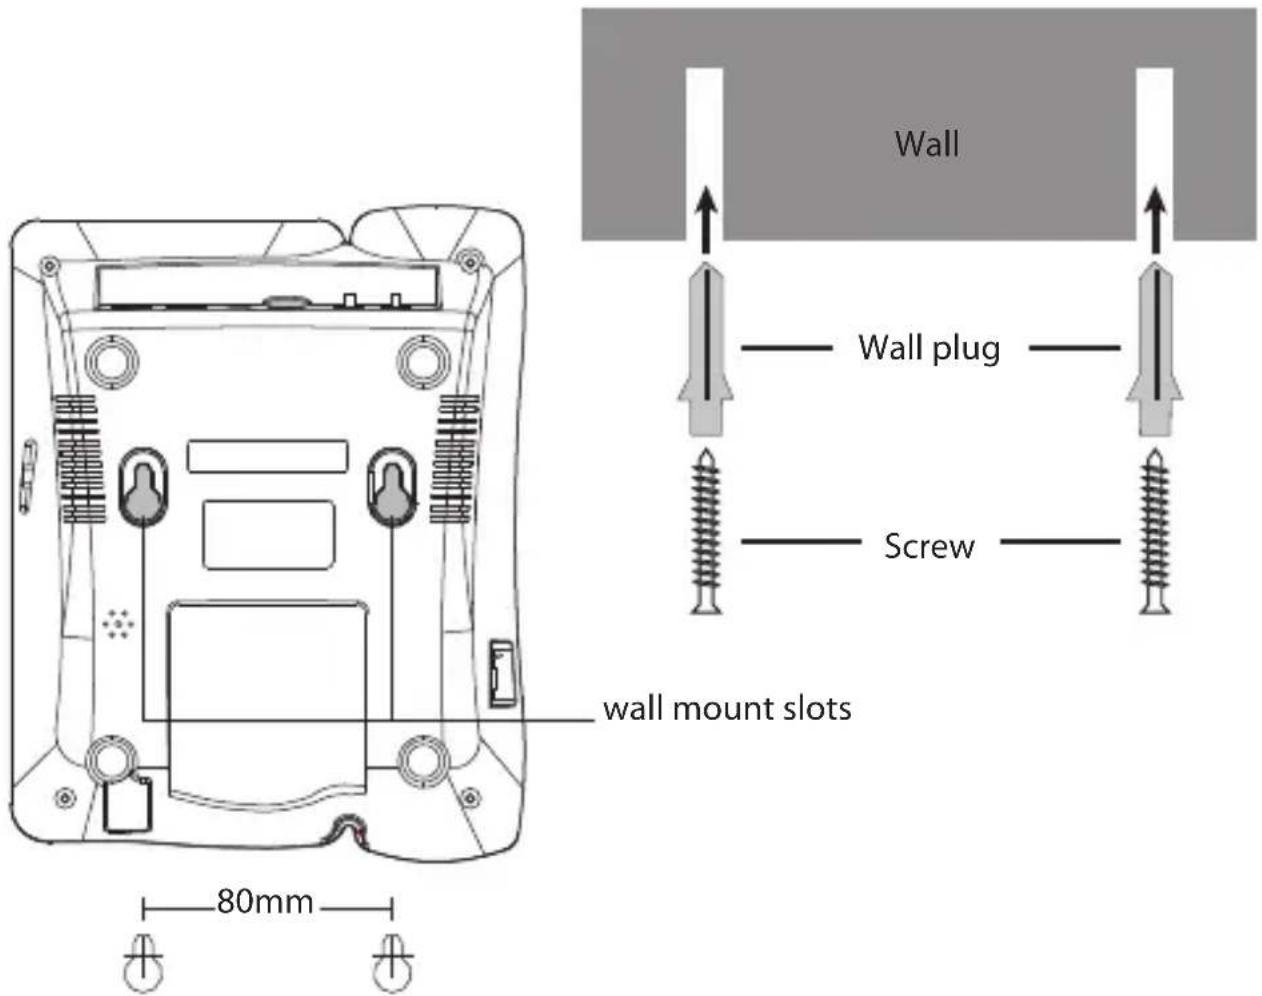
- Drill holes in the wall.
- Insert the wall plugs into the holes.
- Drive in the screws and make sure to leave approximately 5mm of the screw head from the wall to hold the base unit securely.
- Hang the base unit on the screws using the wall mount slots.
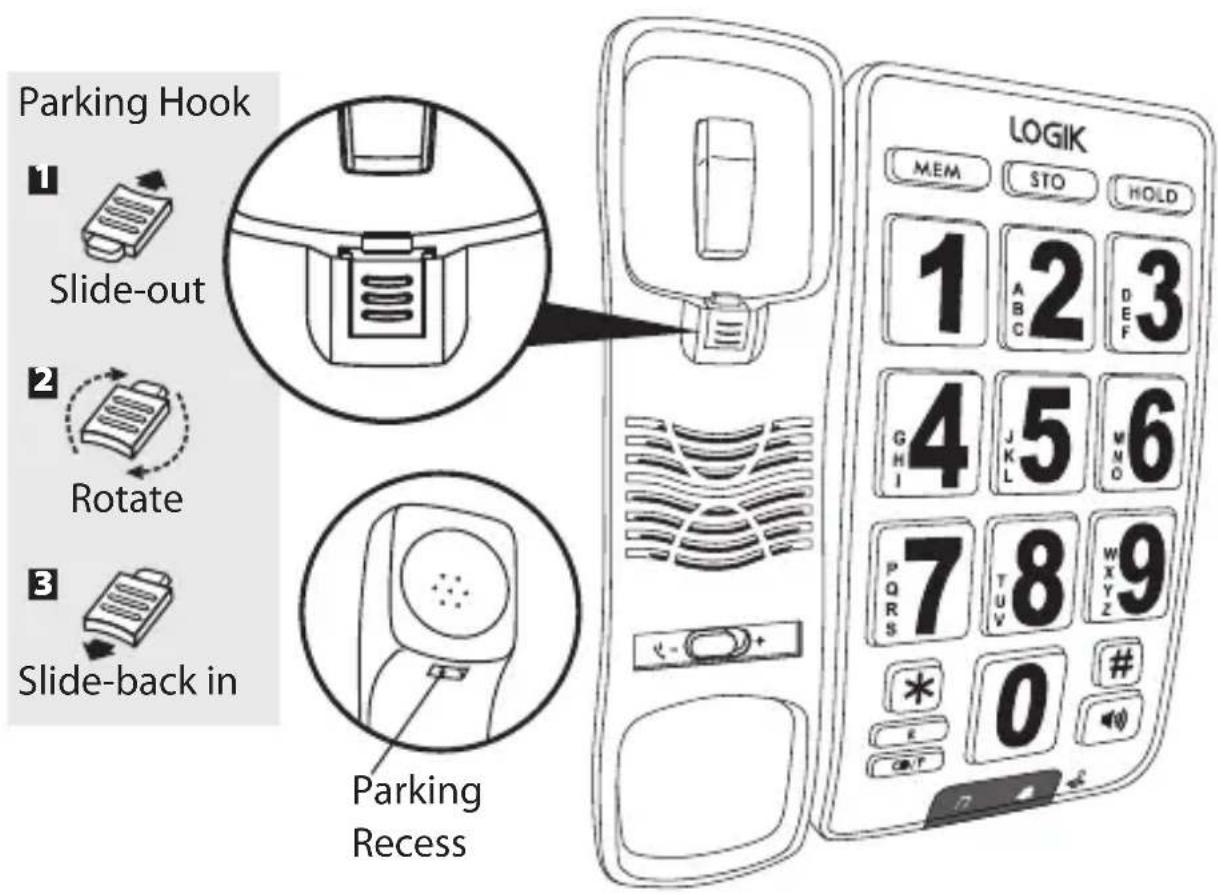
- You may need to remove the telephone from the wall and tighten the screws so that the base unit is securely fixed and does not wobble. Place the Handset on the base unit with the parking hook on the base unit arranged to fit in the parking recess under the earpiece on the handset.
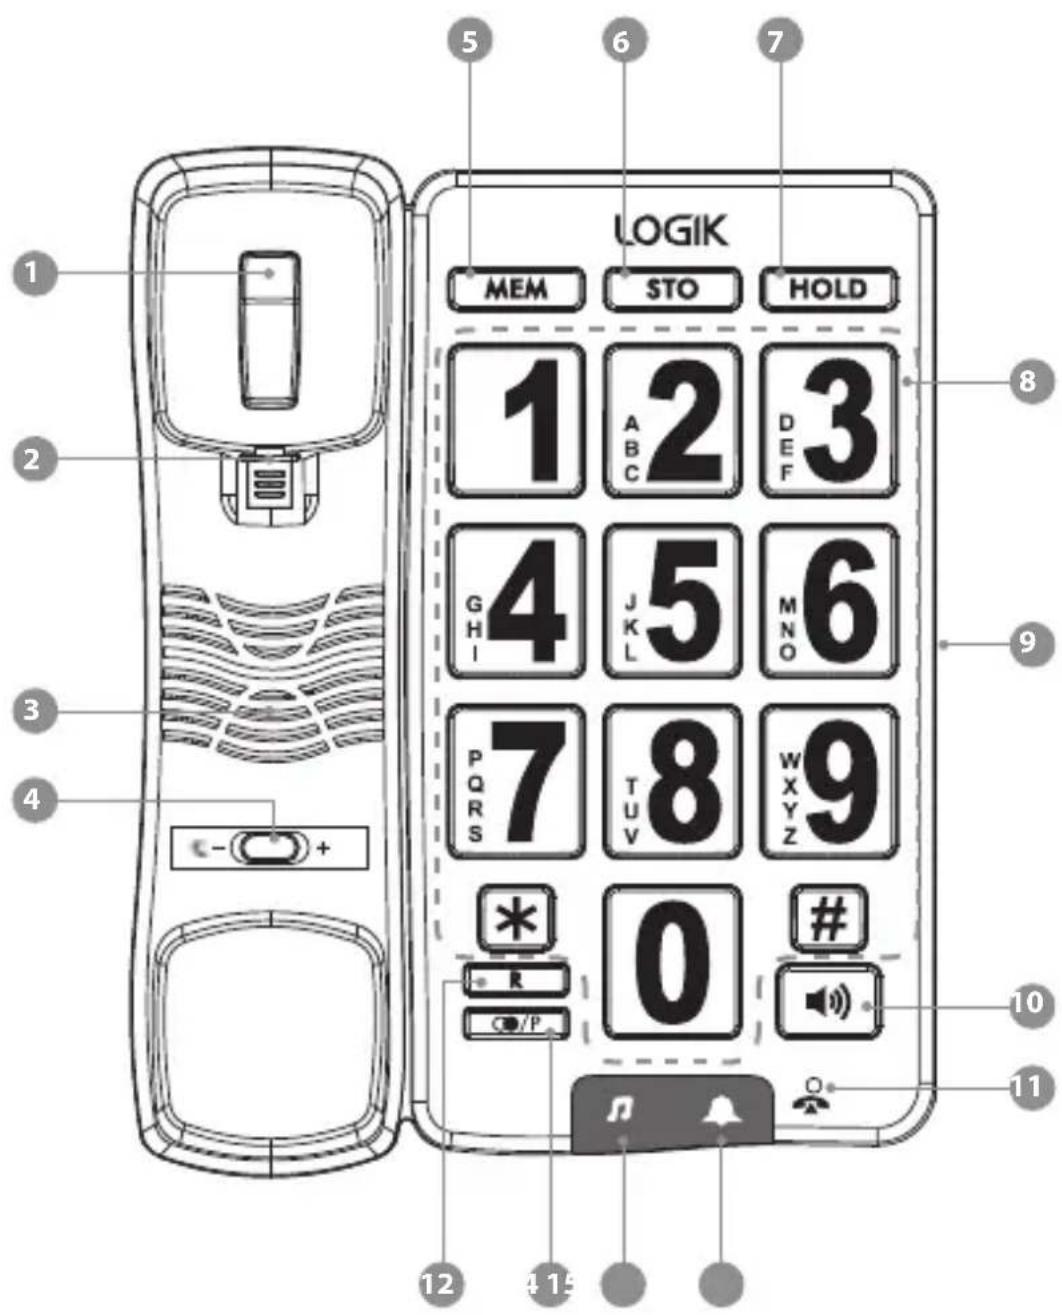
1. Switch
Allows you to make a follow-on call without replacing the handset.
2. Wallmount hook
Allows your handset to rest securely on the base unit when it's wall mounted.
3. Speaker
For the speakerphone function.
- Handset volume adjust switch
- Memory button
- Store button
- Hold button
- Dialpad
Use it for entering the number you will be calling.
9. Speakerphone volume adjust switch
- Speakerphone button
- Line in Use Light
This is on when the phone is on a call.
- button
- Cedral / Pause button
- Hold Light
This is on when a caller is put on hold.
- Ringer light
This flashes when the phone is ringing for an incoming call.
To Make a call
- Lift the handset, listen for the dial tone.
- Dial the telephone number you wish to call.
- To end the call, return the handset to the base unit.
To Answer a Call
When the phone rings, lift the handset or press the button to answer the call.
To Adjust the Handset Volume
During a call, adjust the volume of the handset earpiece by using the handset volume switch.
To Adjust the Speakerphone Volume
During a call, adjust the volume of the speakerphone by using the switch located on the base unit.
To End a Call
Replace the handset onto the base unit cradle or press the button on the base unit. The light indicator will turn OFF.
To Switch between the Handset and the Speakerphone
- During a phone conversation through the handset, press the button to speak hands-free.
- The light will illuminate, but conversation remains through the handset until the handset is placed on the base unit.
- While in speakerphone mode, lift the handset to enable a private conversation.
Last Number Redial
- Lift the handset, and listen for a dial tone.
- Press the button. The phone automatically dials the last number you called (maximum of 32 digits).
Mute Function in Handset mode
- During a call press the button. When the phone is holding, the person at the other end of the call can hear music from the phone, but cannot hear you. You can hear the music, as well, but can also hear the caller if they speak.
- To get back to the call, press the button again.
Mute Function in Speakerphone Mode
- Press the button. The person at the other end of the call will hear music but cannot hear you. You can hear the music as well, but can also hear the caller if they speak.
- To return to the call, press the button.

Do not press the HOLD button again or the call will end.
Use on PBX
If you are using your telephone on a PBX, and the PBX user guide tells you to press the RECALL or FLASH button, press the R button on the base unit.
Inserting a Pause in the Dialing Sequence
- For some switchboard systems, an access number must be dialled (usually an 8 or 9) to get another dial tone and an outside line.
- Press the button immediately after the access number to insert a pause of about 3.6 seconds, and the desired number can be dialled immediately.
- Press the button to insert a pause when dialling or storing Long Distance Access Codes.
Storing a Number in (0-9) two-touch memories
- Lift the handset and press the button.
- Key in the telephone number you wish to store. Up to a maximum of 16 digits.
- Press the button.
- Press a 0-9 button to store the number in the selected memory.
- Replace the handset on the base unit.
Dial out Stored number (0-9) two-touch memories
- To dial a number stored in two-touch memory (0-9).
- Lift up the handset.
- Press the button.
- Key in the memory location number (0-9).
- The number dials automatically.

Helpful Information
- Environment
Place the unit in a room where the temperature is between 0°C and 40°C. Allow 5cm clearance around the unit for proper ventilation. Avoid excessive smoke, dust, mechanical vibration, shock, or direct sunlight.
- Cleaning
Wipe the unit with a soft cloth. Do not use benzine, thinner, or any abrasive cleaners.
• If there is no sound
Disconnect the unit from the telephone line and connect a known working phone. If the known phone does not operate or have sound, then it could be a phone line problem. Please contact your telephone company for assistance.
- Moving your phone
Carefully pack your unit, preferably in the original packaging.
- Disposal
Old units still have some residual value. An environmentally friendly method of disposal will ensure that valuable raw materials can be recovered and used again. Up to date information concerning options of the disposal of your old unit and packaging from the new one can be obtained from your local council office.

Specifications
Product Dimension: L20cm x W16cm x H7cm
Weight: 0.6kg
Dialing Mode: Tone (DTMF)
Operating Environment: 0 - 40°C
Features and specifications are subject to change without prior notice.

For general information about this appliance
and handy hints and tips, please visit
www.knowhow.com/knowledgebank or call 0344 5611234.

Visit Partmaster.co.uk today for the easiest way to buy electrical spares and accessories. With over 1 million spares and accessories available we can
deliver direct to your door the very next day. Visit www.partmaster.co.uk or call 0344 800 3456 (UK customers only) Calls charged at National Rate.
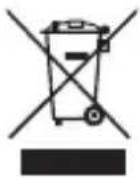
The symbol on the product or its packaging indicates that this product must not be disposed of with your other household waste. Instead, it is your responsibility to dispose of your waste equipment by handing it over to a designated collection point for the recycling of waste electrical and electronic equipment. The separate collection and recycling of your waste equipment at the time of disposal will help conserve natural resources and ensure that it is recycled in a manner that protects human health and the environment.
For more information about where you can drop off your waste for recycling, please contact your local authority, or where you purchased your product.
All trademarks are the property of their respective owners and all rights are acknowledged.
DSG Retail Ltd. (co. no. 504877)
1 Portal Way, London, W3 6RS, UK


- CORDED BIG BUTTON TELEPHONE WITH SPEAKERPHONE
- CONTENTS
- SAFETY FIRST
- UNPACKING
- GETTING STARTED
- WALL MOUNTING (OPTIONAL)
- CONTROL OVERVIEW
- OPERATION
- HELPFUL INFORMATION
- SPECIFICATIONS
- CAUTION
- INSTALLATION
- THANK YOU FOR PURCHASING YOUR NEW LOGIK
- LOCATING THE BASE UNIT
- SWITCH
- WALLMOUNT HOOK
- SPEAKER
- SPEAKERPHONE VOLUME ADJUST SWITCH
- TO MAKE A CALL
- TO ANSWER A CALL
- TO ADJUST THE HANDSET VOLUME
- TO ADJUST THE SPEAKERPHONE VOLUME
- TO END A CALL
- TO SWITCH BETWEEN THE HANDSET AND THE SPEAKERPHONE
- LAST NUMBER REDIAL
- MUTE FUNCTION IN HANDSET MODE
- MUTE FUNCTION IN SPEAKERPHONE MODE
- USE ON PBX
- INSERTING A PAUSE IN THE DIALING SEQUENCE
- STORING A NUMBER IN (0-9) TWO-TOUCH MEMORIES
- DIAL OUT STORED NUMBER (0-9) TWO-TOUCH MEMORIES
- ENVIRONMENT
- CLEANING
- IF THERE IS NO SOUND
- MOVING YOUR PHONE
- DISPOSAL
Brand : Logik
Model : L05CBIG10
Category : Telephone