Pacific W5 - PC Case THERMALTAKE - Free user manual and instructions
Find the device manual for free Pacific W5 THERMALTAKE in PDF.


User questions about Pacific W5 THERMALTAKE
0 question about this device. Answer the ones you know or ask your own.
Ask a new question about this device
Download the instructions for your PC Case in PDF format for free! Find your manual Pacific W5 - THERMALTAKE and take your electronic device back in hand. On this page are published all the documents necessary for the use of your device. Pacific W5 by THERMALTAKE.
USER MANUAL Pacific W5 THERMALTAKE
This product is intended for installation only by expert users. Please consult with a qualified technician for installation. Improper installation may result in damage to your equipment. Before you start using this product please follow these basic guidelines:
- Please carefully read through the instruction manual before beginning the installation process.
- Please remove your graphics card from your motherboard to insure the safest process and in order to prevent any possible damages to your CPU and motherboard.
- It is strongly recommended to use market proven pre-mix coolant, such as Thermaltake Coolant 1000.
Parts List
natural_image
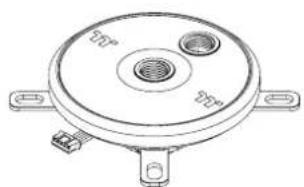
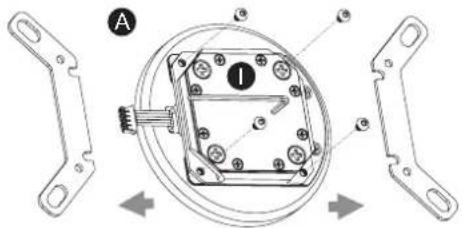
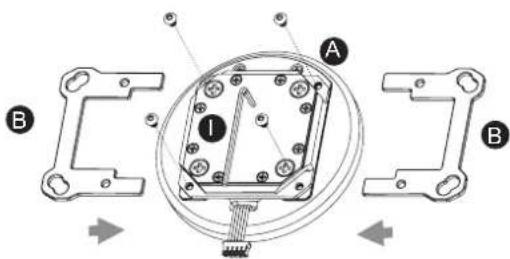
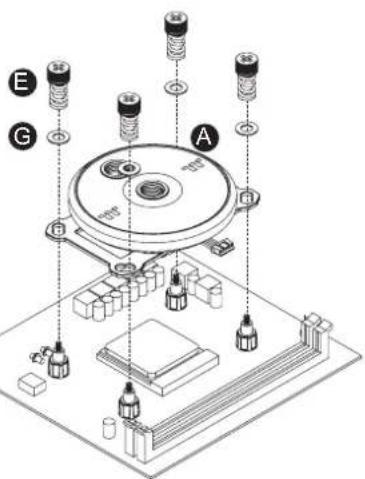
Technical line drawing of a circular mechanical component with two ports and a central hub (no text or symbols)A x 1 Water Block
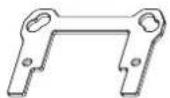
B x 2
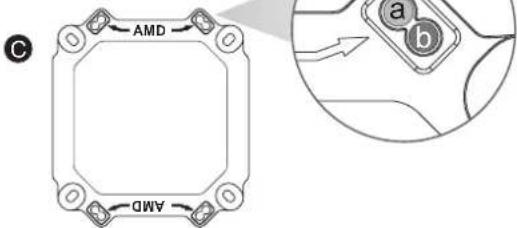
AMD clip
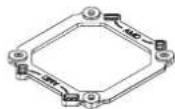
© x 1
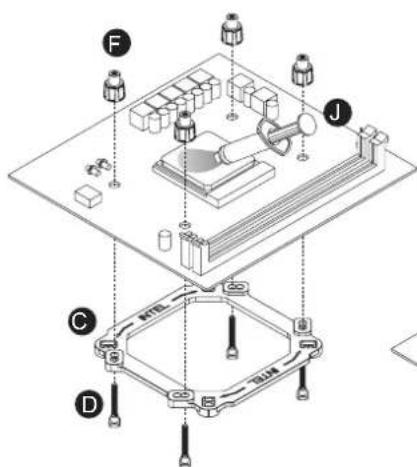
Backplate
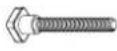
D x 4
Screw

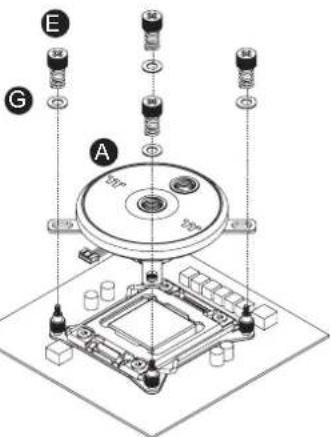
E x 4 Screw
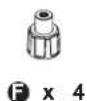
Screw

G x 4 Washer

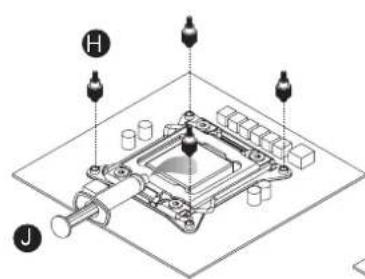
H x4 Screw
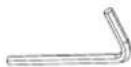
① x 1 Wrench
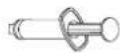
J x 1
Thermal grease
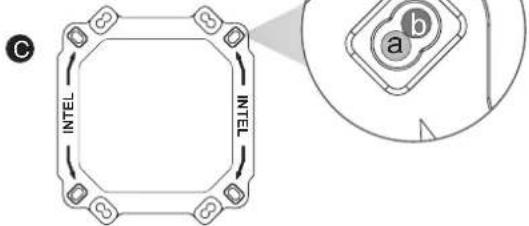
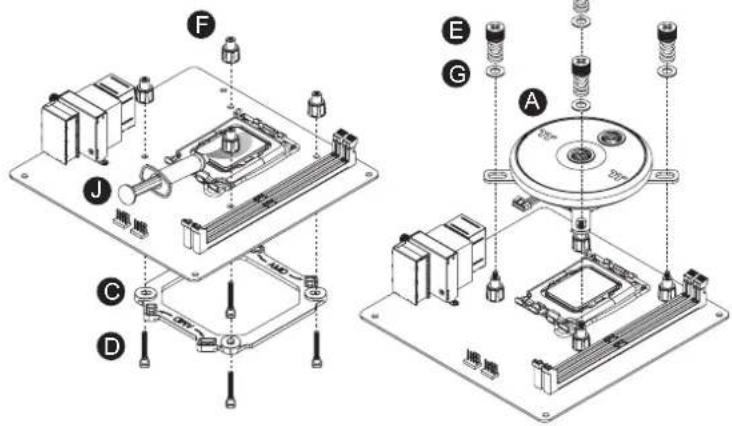
Intel
a LGA1200/1156/1155/1151/1150
b LGA1700
AMD
a AM3/AM2/FM2/FM1
b AM4
Intel LGA 1700/1200/115X
Intel LGA2066,2011-3,2011
AMD
Controller Parts List
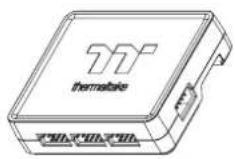
Kx 1
natural_image
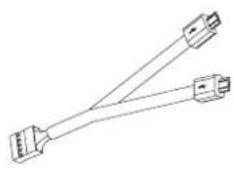
Pure electrical connector diagram without any text, numbers, or symbolsLx 1
natural_image
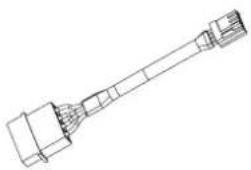
Technical line drawing of a mechanical component or assembly (no text or symbols)M×1
natural_image
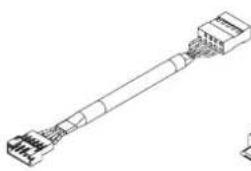
Technical line drawing of a USB connector (no text or symbols)Nx 1
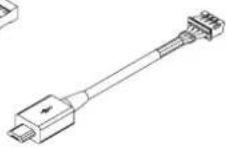
©x 1
Px 1
Conversion Cable
Bridge Cable
Velcro
Installation Guide
1
natural_image
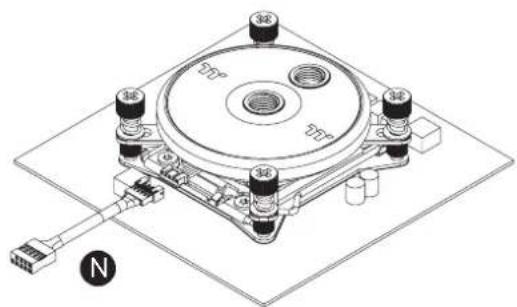
Technical line drawing of a mechanical assembly with mounting holes and a connector (no text or symbols)Install the Water Block on the mainboard properly, and connect the water block cable to the conversion cable.
2
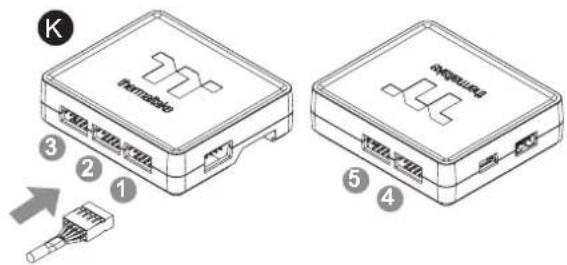
Connect the plug into the port in numerical order, start with plug one.
3
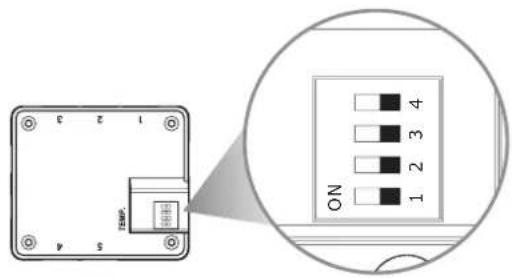
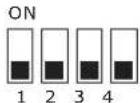
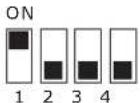
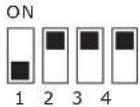
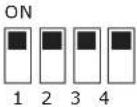
Set the DIP switch on the back side of the controller to assign the number of the controller
4
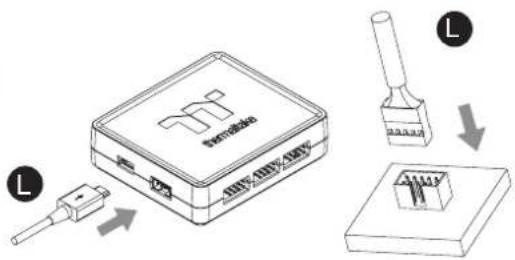
Connect the controller cable onto the mainboard (USB 2.0 9 pin) and controller.
NO.1
NO.2
NO.3
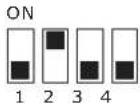
NO.4
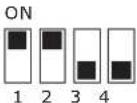
NO.5
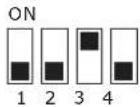
NO.6
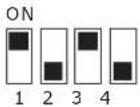
NO.7
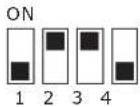
NO.8
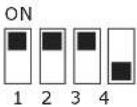
NO.9
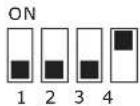
NO.10
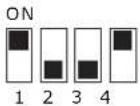
NO.11
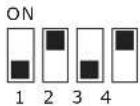
NO.12
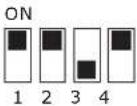
NO.13
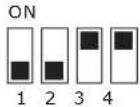
NO.14
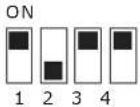
NO.15
NO.16
5
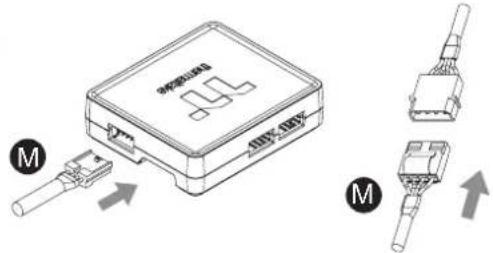
Connect the power cable to the 4pin Molex connector and controller.
6
Connect with other addressable LED product
TEMP. Controller
Plus Controller
Trio Controller
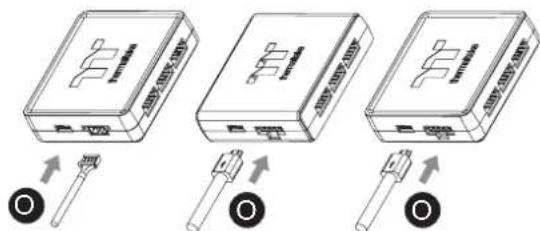
- Pacific W5 is only compatible with Temp controller
- Connect the controller cable to Temp controller, and then connect the rest of controllers in series

Brand : THERMALTAKE
Model : Pacific W5
Category : PC Case