KAVACRBR20A - Robot vacuum Kogan - Free user manual and instructions
Find the device manual for free KAVACRBR20A Kogan in PDF.


User questions about KAVACRBR20A Kogan
0 question about this device. Answer the ones you know or ask your own.
Ask a new question about this device
Download the instructions for your Robot vacuum in PDF format for free! Find your manual KAVACRBR20A - Kogan and take your electronic device back in hand. On this page are published all the documents necessary for the use of your device. KAVACRBR20A by Kogan.
USER MANUAL KAVACRBR20A Kogan
natural_image
Technical line drawing of a circular mechanical component with diagonal lines and a small circular feature (no text or symbols)EASYCLEAN R20 ROBOT VACUUM WITH MOPPING FUNCTION
KAVACRBR20A
SAFETY & WARNINGS
The following symbols represent the following meanings:
 |  |
| Violation of safety instructions will to lead personal injury | Violation of safety instructions may result in minor personal injury or product damage |
| Warning | |||
 | Only a qualified technician can disassemble, repair or modify the product, otherwise it may catch fire or cause electric shock |  | Do not use other adapters, otherwise it may cause damage fire or electric shock |
 | Do not touch the charger with wet hands while it is charging, or it may cause damage or electric shock |  | Do not over bend power cord of the adapter or place heavy objects on it, otherwise it may damage the power cord, causing a fire or electric shock |
 | Do not let clothes or body parts (hair, fingers etc.) get caught in the machine brushes or wheels, as they may cause damage to machine and personal injury |  | Do not allow the unit to be near lights, matches or other heat sources and explosive items. Do not allow the machine to become. otherwise it may be damaged or create a risk of fire. |
 Attention Attention | |||
 | Turn off the power during transportation and storage. |  | Ensure the power adapter is securely connected to the main unit socket when it is being charged. |
 | Do not allow children to use the unit or leave children unattended while the unit is in use. |  | Do not place the unit in areas where it may fall. |
 | Do not stand or sit on the unit or place heavy objects on it. |  | Do not use the unit in confined areas and ensure fragile items are removed from the cleaning. |
 | Do not use outdoors. |  | This unit is not intended for commercial or large-scale use and will experience failure if overused. |
OVERVIEW
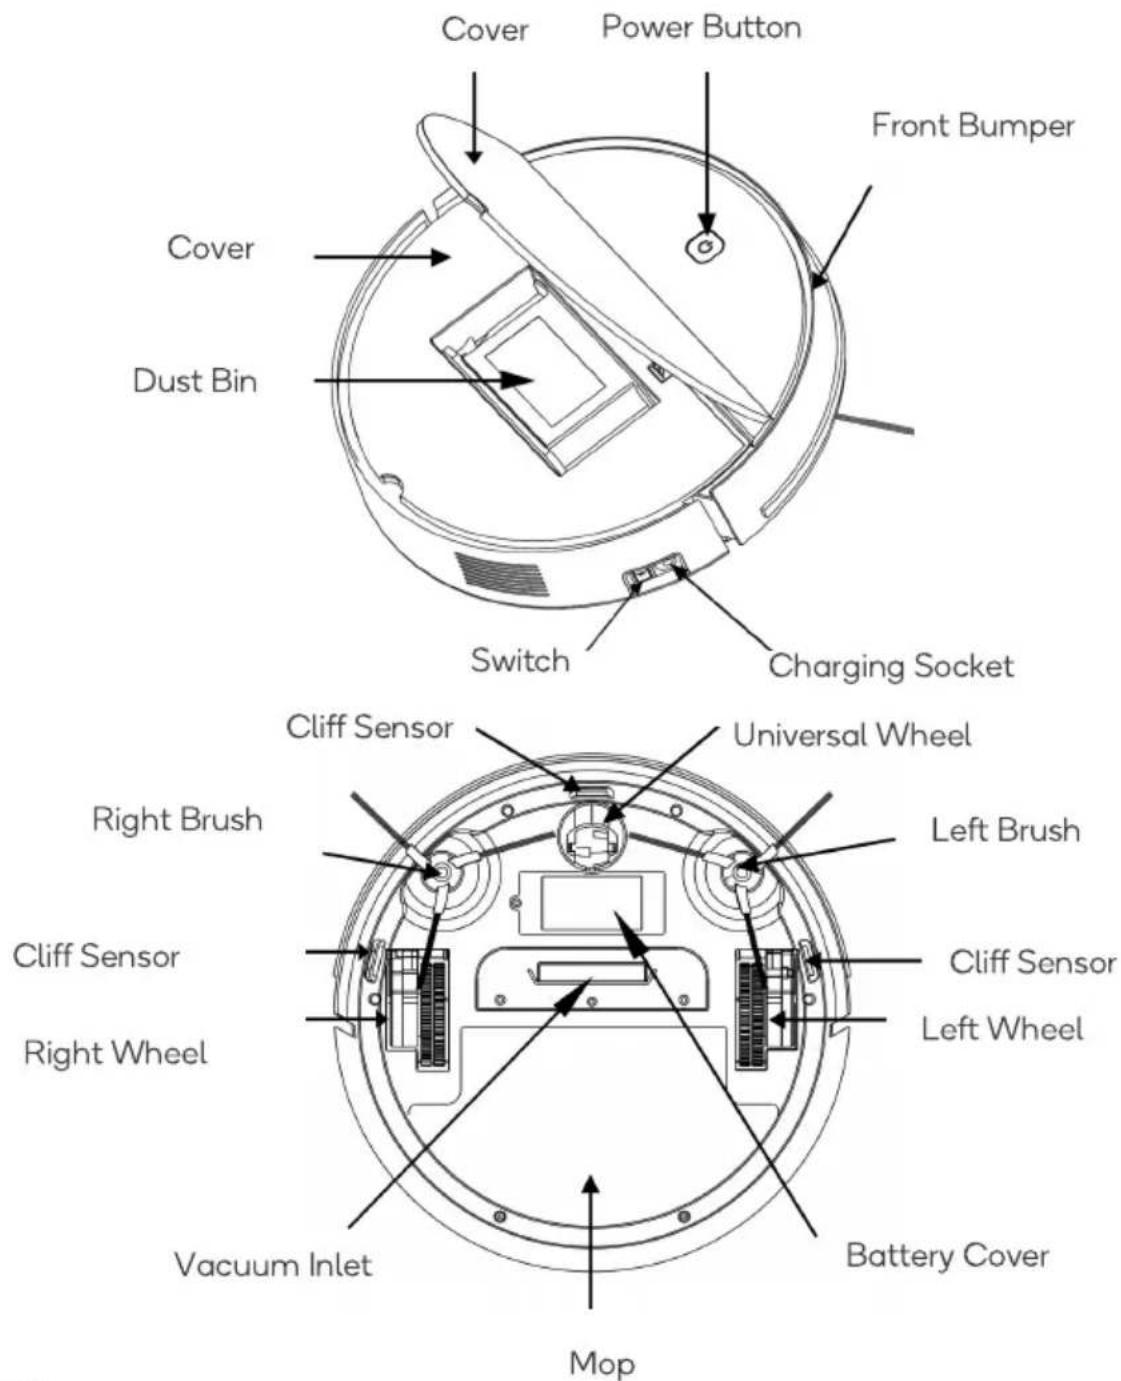
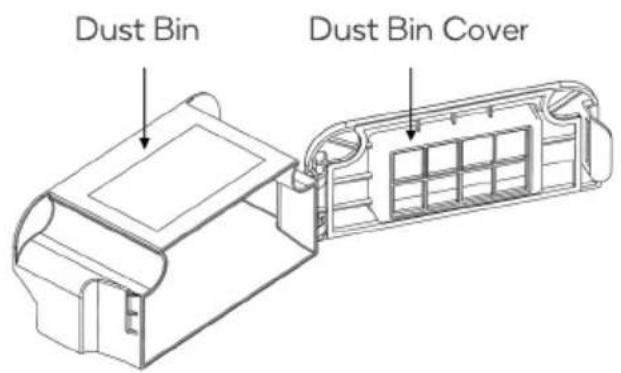
Dust Bin
OPERATION
Before First Use
• Charge for 8 hours.
- Remove power cords and other hazards from the area.
- Note that the unit may become stuck in gaps less than 6cm such as bed or other furniture.
- Before using this product on the carpet, remove the two side brushes and ensure any tassels are tucked out of the way.
Note: This product can be used on wood, tile and cement floors and short hair carpet (less than 1cm).
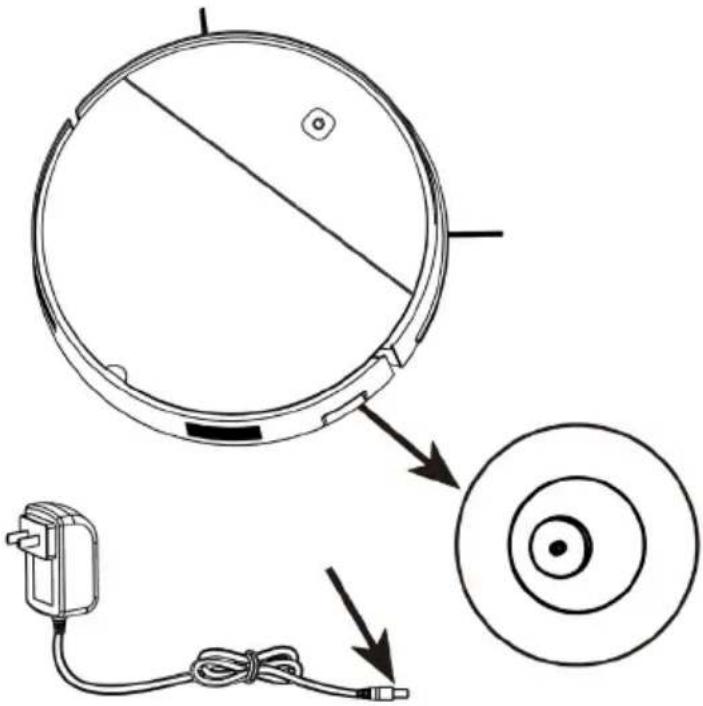
Charging
Connect the power adapter to the port on the unit. During charging, the charging indicator will blink red and it will turn green when charging is completed.
Cleaning
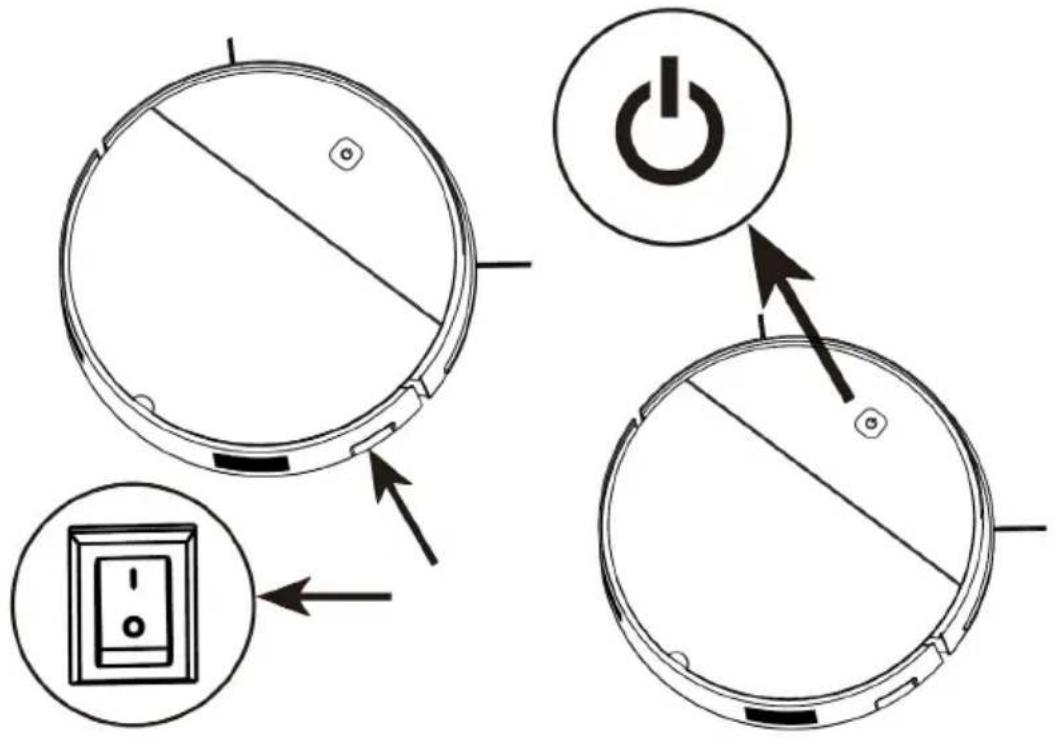
Turn the power switch on and the power indicator light will turn on. "I" indicates on and "O" indicates off.
Press the power button to start auto cleaning.
flowchart
graph TD
    A["Power Switch Icon"] --> B["Circular Component 1"]
    B --> C["Power Switch Icon"]
    C --> D["Circular Component 2"]
    D --> E["Power Switch Icon"]
    E --> F["Power Switch Icon"]
    style A fill:#f9f,stroke:#333
    style C fill:#ccf,stroke:#333
    style D fill:#cfc,stroke:#333
During operation, press the power button again to stop auto cleaning.
Turn the side power switch off to turn the unit off.
Mop Function
Dampen the mop and attach it directly to the underside of the unit.
Side Brushes
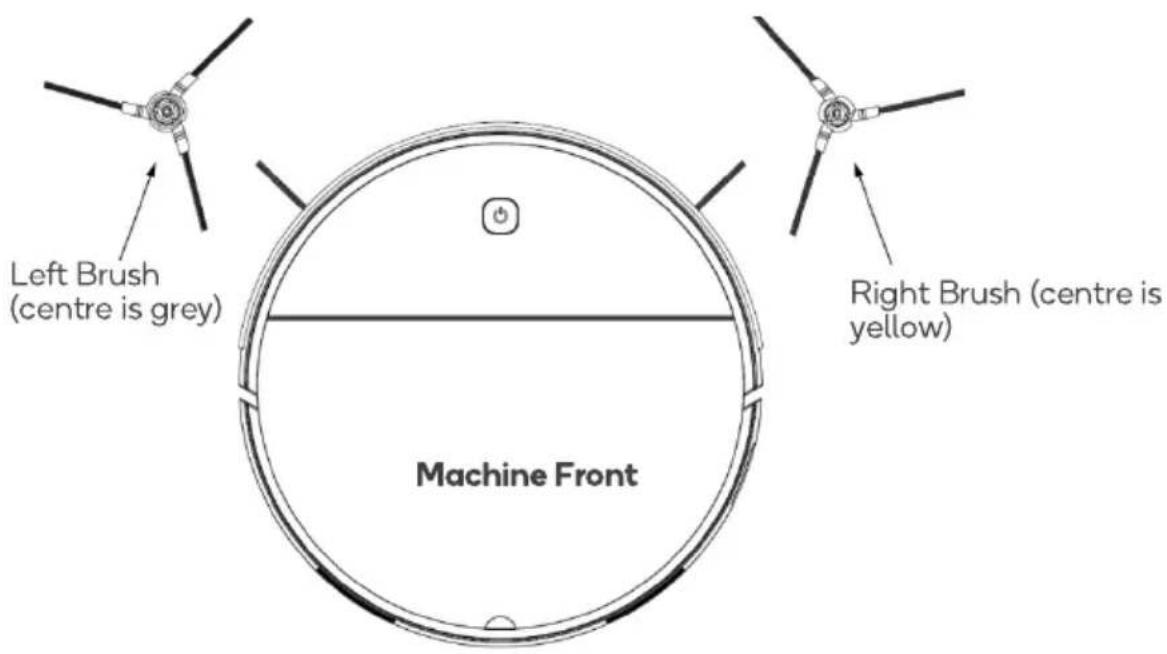
- The right and left brushes are not interchangeable. They can be distinguished by the centre colour of the side brush.
- Clean the brushes frequently to maintain effective operation (see Cleaning & Care).
CLEANING & CARE
Dust Bin
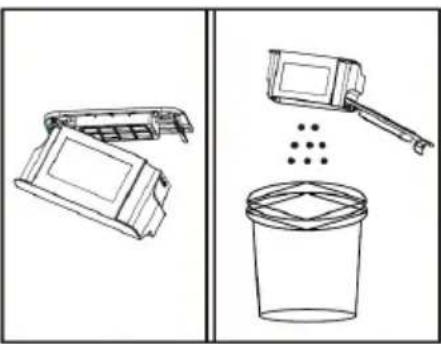 | 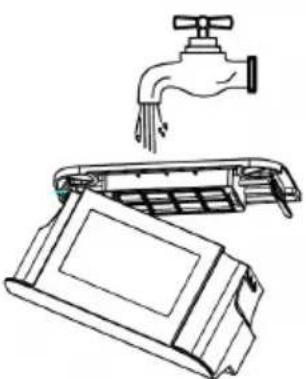 | 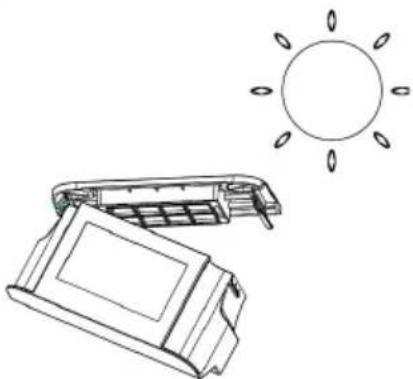 |
| Remove and empty dust bin | Clean filter with water | Dry fully |
Clean frequently to ensure effective operation and to avoid overworking the motor.
Mop
Clean the mop after each use.
Suction Inlet & Side Brush
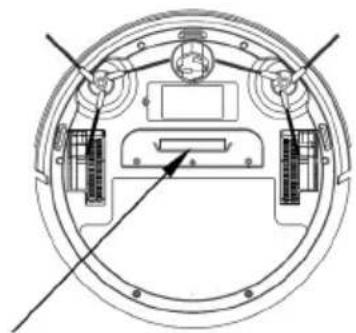 | 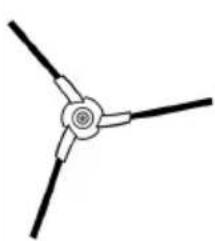 | 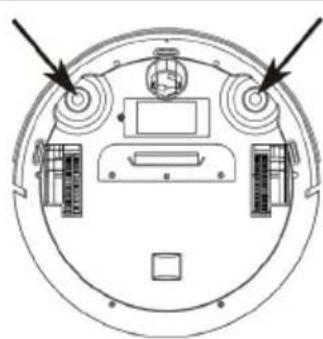 |
| Clear suction inlet of dust | Remove side brushes and clear debris | |
To remove side brushes, use a screwdriver to remove the screws holding them in place.
Other Parts
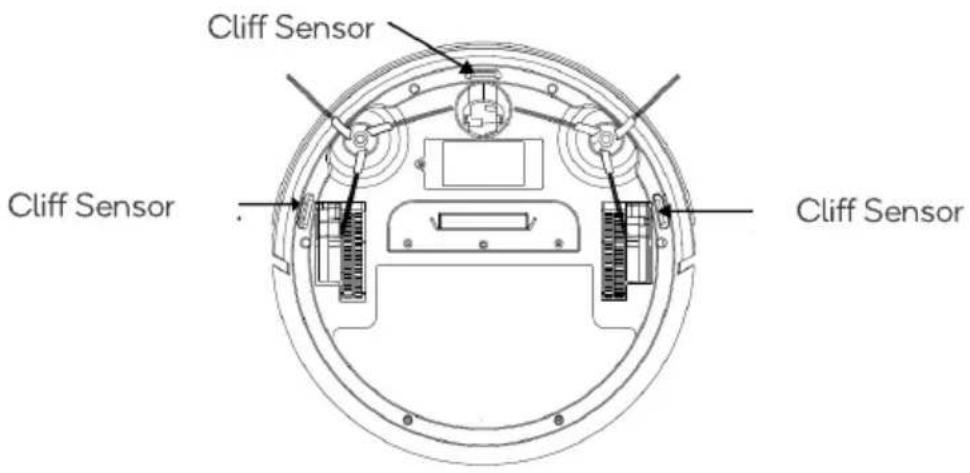
Clean the cliff sensors to keep sensitivity high.
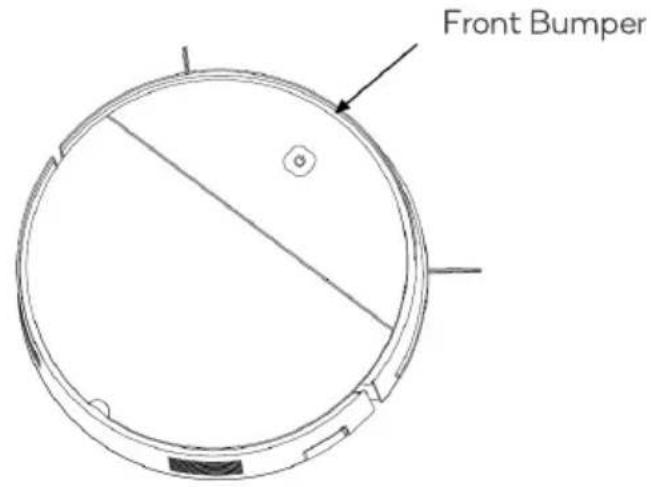
Clean the gap between cover and bumper.
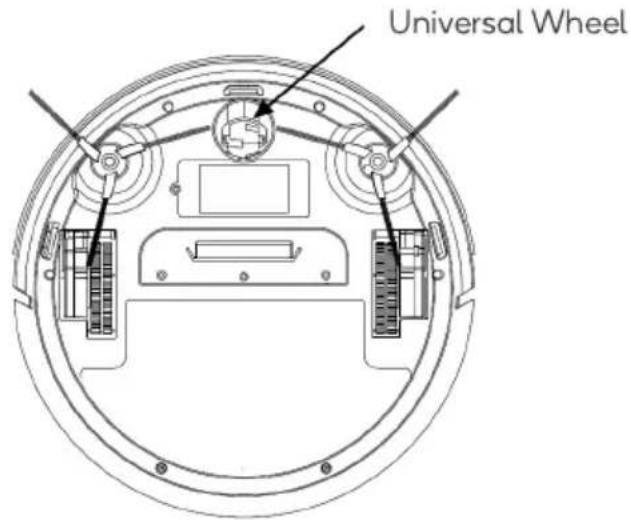
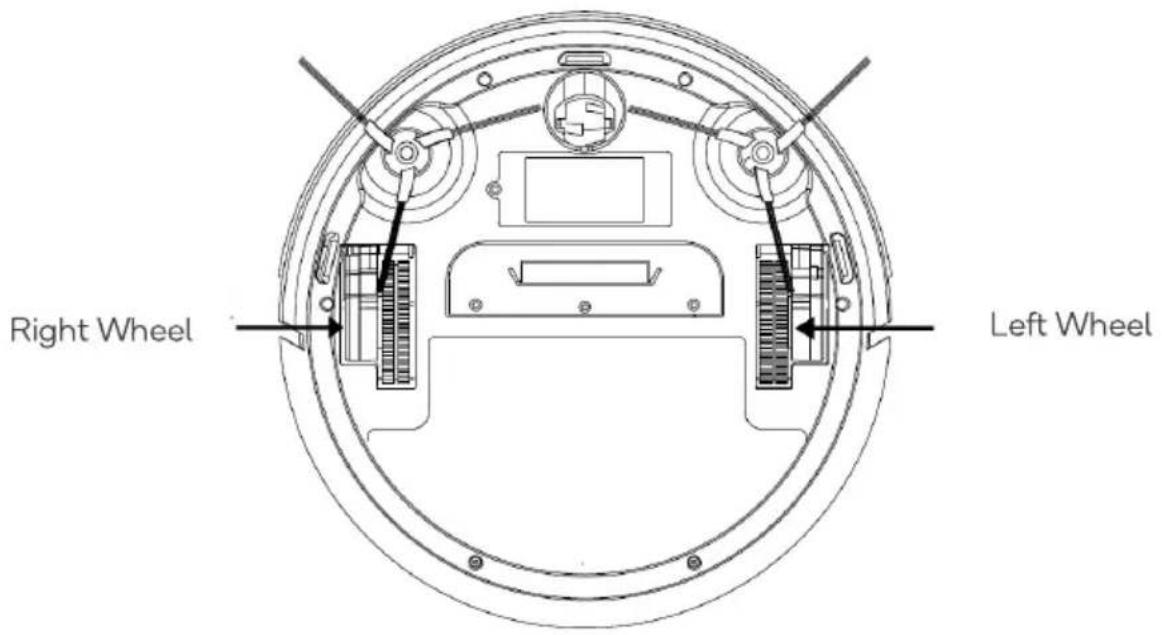
Clean universal wheel to reduce noise and debris getting caught.
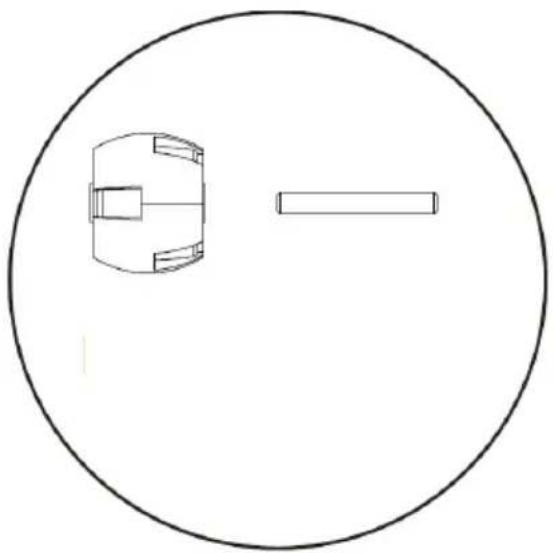
Remove universal wheel and clean runner and spindle
natural_image
Simple line drawing of a mechanical component inside a circle (no text or symbols)Clean universal wheel to reduce noise and debris getting caught.
SPECIFICATIONS
| Work voltage | 14.8V | Rated Input Voltage | 19.0V |
| Rated power | 16W | Rated Input Current | 0.6A |
| Input | 100-240V, 50/60Hz, 0.5A | ||
| Output | 19V=0.6A | ||
| Battery | Li-ion 1500mAh | ||
TROUBLESHOOTING
| Situation | Possible Reason | Solution |
| Unit not turning on | Unit not turned on | Turn on power switch |
| Ran out of battery | Charge with adapter | |
| Unit not charging | Charging contact fail | Ensure adapter contact OK |
| Unit going backwards | Cliff sensor dirty | Clean sensors with dry cloth |
| Unit cannot reverse | Front bumper problem | Tap front bumper |
| Unit working abnormally | Wheels tangled | Clean it |
| Side brush abnormal | Incorrectly installed | Reinstall correctly |
| Tangled | Clean it | |
| Dust bin abnormal | Incorrectly installed | Put it properly |
| Universal wheel abnormal | Tangled | Remove wheel and clean |
| Other abnormality or issue persisting | Unknown | Turn unit off and on Place floor and turn on again |
If the above steps do not resolve an issue you are facing, stop using the unit and contact Kogan.com.
IN THE BOX
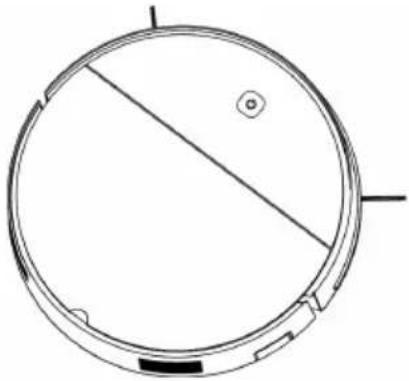 | 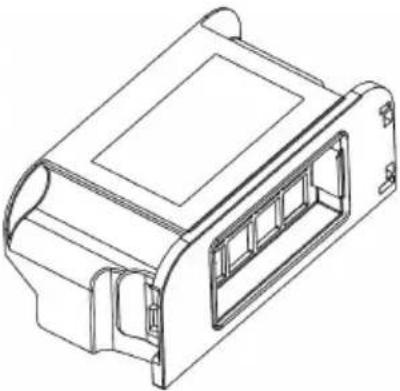 | 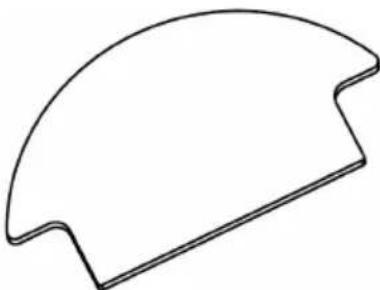 | |
| Main Unit | Dust Bin | Mop | |
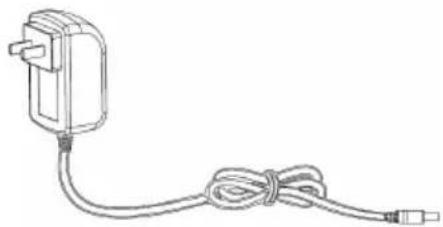 |  | ||
| Power Adapter | Quick Start Guide | ||
NOTES
Need more information?
This is a Quick Start Guide and we hope that this has given you the assistance needed for a simple set-up.
For the most up-to-date guide for your product, as well as any additional assistance you may require, head online to help.kogan.com
kōgan
Brand : Kogan
Model : KAVACRBR20A
Category : Robot vacuum