KAVACRBR40A - Robot vacuum Kogan - Free user manual and instructions
Find the device manual for free KAVACRBR40A Kogan in PDF.

User questions about KAVACRBR40A Kogan
0 question about this device. Answer the ones you know or ask your own.
Ask a new question about this device
Download the instructions for your Robot vacuum in PDF format for free! Find your manual KAVACRBR40A - Kogan and take your electronic device back in hand. On this page are published all the documents necessary for the use of your device. KAVACRBR40A by Kogan.
USER MANUAL KAVACRBR40A Kogan
Ensure to read all instructions and warnings in this user guide prior to first use. Retain this user guide for future reference.
- The vacuum can be used adults and by persons with reduced physical, sensory, or mental capabilities, or lack of experience and knowledge if they have been given supervision or instruction concerning use of the vacuum in a safe way and understand the hazards involved.
- Do not allow children to use this appliance as a toy.
- Children must be supervised to ensure they do not play with the appliance.
- Keep children and pets away from the vacuum.
- This vacuum can only be used for indoor domestic floor cleaning. Do not use outdoors, on objects, or in commercial/industrial environments.
- Do not use the vacuum in the environments where it may fall (for example, on top of furniture or on balconies).
- Clear the area to be cleaned. Remove power cords and small objects from the floor that could entangle the Appliance. Tuck rug fringe under the rug base and lift items such as curtains and tablecloths off the floor.
- If there is a drop-off in the cleaning area due to a step or stairs, you should operate the Appliance to ensure that it can detect the step without falling over the edge. It may become necessary to place a physical barrier at the edge to keep the unit from falling. Make sure the physical barrier is not a trip hazard.
- Only use this appliance as described in this user guide. Only use attachments recommended or sold by Kogan.com.
- Please make sure your power supply source voltage matches the power voltage marked on the adapter.
- For indoor household use only. Do not use this Appliance in outdoor, commercial or industrial environments.
- Use only the original rechargeable battery provided with the appliance. Non-rechargeable batteries are prohibited.
- Do not use without a dust bin in place.
- Do not operate the appliance in an area where there are lit candles or fragile objects.
- The operating environment of this vacuum is between -5^ - 40^ .
- Do not operate the appliance in a room where an infant or child is sleeping.
- Do not use the appliance on wet surfaces or surfaces with standing water.
- Do not allow the appliance to pick up large objects like stones, large pieces of paper or any item that may clog the appliance.
- Do not use the appliance to pick up flammable or combustible materials such as gasoline, printer or copier toner or use in areas where they may be present.
- Do not use an appliance to pick up anything that is burning or smoking, such as cigarettes, matches hot ashes or anything that could cause a fire.
- Do not put objects into the suction intake. Do not use if the suction intake is blocked keep the intake clear of dust, lint, hair or anything that may reduce airflow.
- Take care not to damage the power cord. Do not pull on or carry the appliance by the power cord, use the power cord as a handle, close a door on the power cord or pull the power cord around sharp edges or corners. Do not run the appliance over the power cord. Keep the power cord away from hot surfaces.
- Do not use the power cord if it is damaged, it is not to be repaired. Cease use immediately and contact help.Kogan.com for support.
- Turn off the power switch before cleaning or maintaining the appliance.
- Remove the power cord and turn off the power switch to the appliance before removing the battery for disposal of the appliance.
- The battery must be removed and discarded according to local laws and regulations before disposal of the appliance.
- Dispose of used batteries according to your local environmental laws and regulations.
- Do not incinerate the appliance even if it is severely damaged. The batteries can explode in a fire.
- The appliance contains batteries that are only replaceable by trained professionals. To replace the battery, contact help.Kogan.com for support.
- If the appliance will not be used for an extended time, power off and place it in storage.
- WARNING: For the purposes of recharging the battery, only use the power adapter supplied with this appliance.
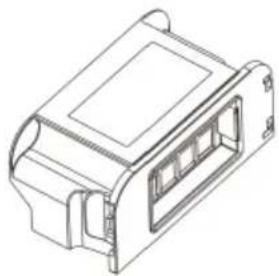
COMPONENTS

natural_image
Top-down technical drawing of a circular device with mesh pattern and labeled 'kugan' (no other text or symbols)Vacuum
natural_image
Isometric line drawing of a mechanical component with no visible text or symbolsDust Bin (inside the vacuum)
natural_image
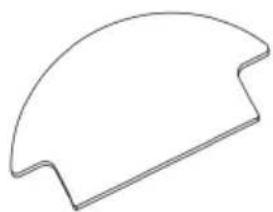
Simple curved line drawing resembling a partial arch or sector (no text or symbols)Mop pad (attached under the vacuum)

natural_image
Pure electrical circuit lines without any symbolsSide Brush (x2)

natural_image
Simple line drawing of a cable and plug assembly (no text or symbols)Power adapter

Remote control

text_image
USER GUIDE kogan.com EASYCLEAN R40 ROBOT VACUUM CLEANER AND MOPUser guide
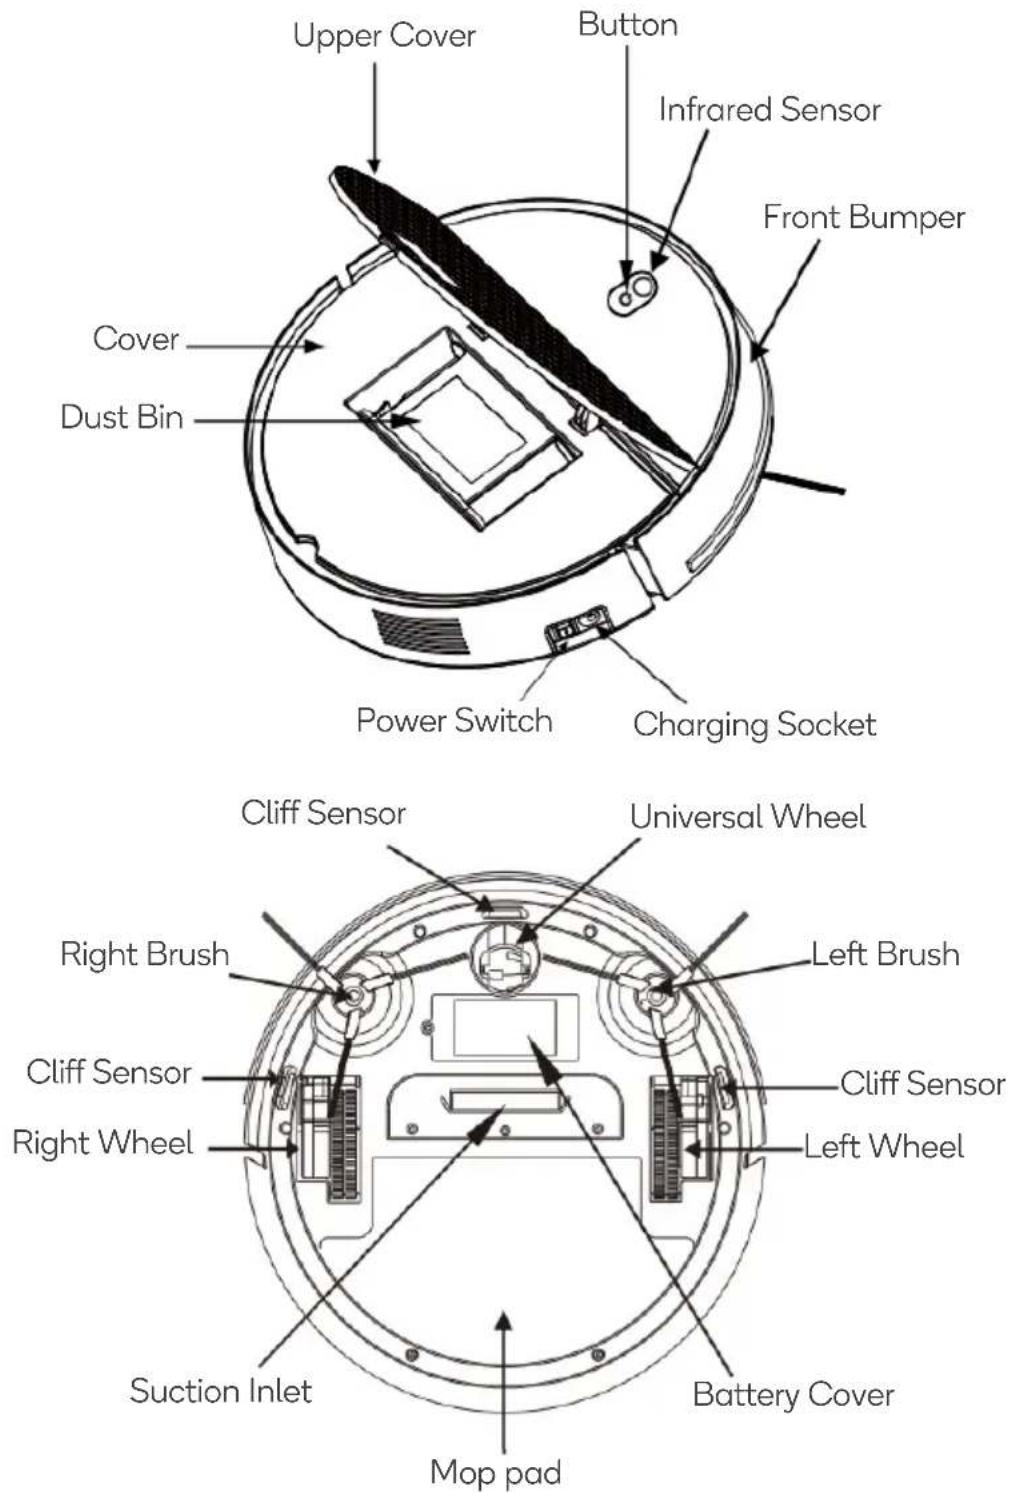
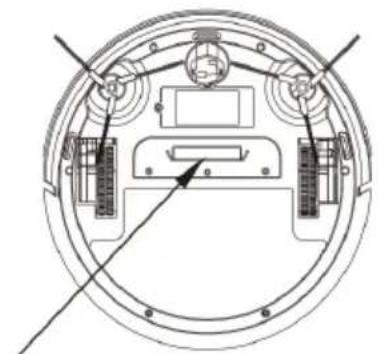
OVERVIEW
Vacuum
text_image
Upper Cover Button Infrared Sensor Front Bumper Cover Dust Bin Power Switch Charging Socket Cliff Sensor Universal Wheel Right Brush Left Brush Cliff Sensor Right Wheel Cliff Sensor Left Wheel Battery Cover Suction Inlet Mop padDust Bin
text_image
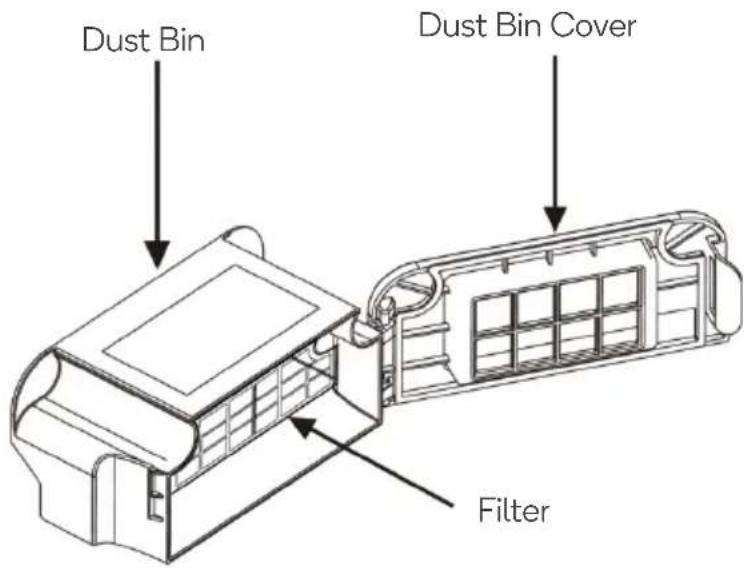
Dust Bin Dust Bin Cover FilterRemote Control

text_image
Standby/wake Start/stop Standby/Wake Start/Stop Mode Directional buttons Spot clean Auto Spot Edge clean Auto EdgeOPERATION
Quick Operation
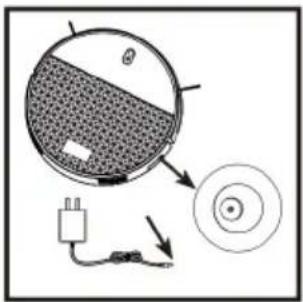 | ChargingCharge the machine using the power adapter.The indicator will be RED whilst charging.The indicator will turn GREEN once fully charged.Note: Charge the machine for more than 8 hours for the first-time use. |
 | Power On/OffPlace the power switch in the ON position ("I" turn ON, "O" turns OFF) to the turn the vacuum on. The indicator will turn GREEN.Place the power switch in the OFF position to turn the vacuum off. |
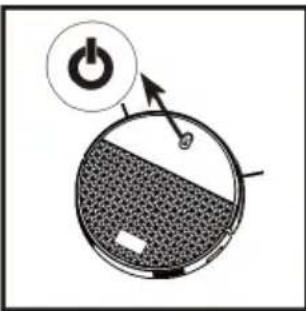 | Start / Stop CleaningPress the power “⏻” button, the vacuum will commence cleaning.Press the power “⏻” button again to pause cleaning.Note: Refer to “Remote Control Functions” for more operation. |

text_image
Standby/Wake Start/Stop Spot Auto Edge
Standby/Wake

Start/Stop

Directional buttons
- Press this button, the vacuum enters standby mode. During standby all other buttons are invalid.
- Press this button again to wake up the machine.
Press this button to pause/resume cleaning.
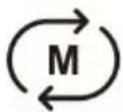
Press this button to change the machine direction.
Mode
Press this button to cycle through the different cleaning modes (Auto/Spot/Edge)

flowchart
graph TD
    A["Robot 1"] --> B["Arrow Right"]
    C["Robot 2"] --> D["Arrow Left"]
    E["Robot 3"] --> F["Arrow Right"]
    B --> G["Radial Path"]
    D --> G
    F --> G

Auto
The vacuum will clean in a random zig-zag route.

natural_image
Simple line drawing of a robot head and abstract geometric shapes (no text or symbols)
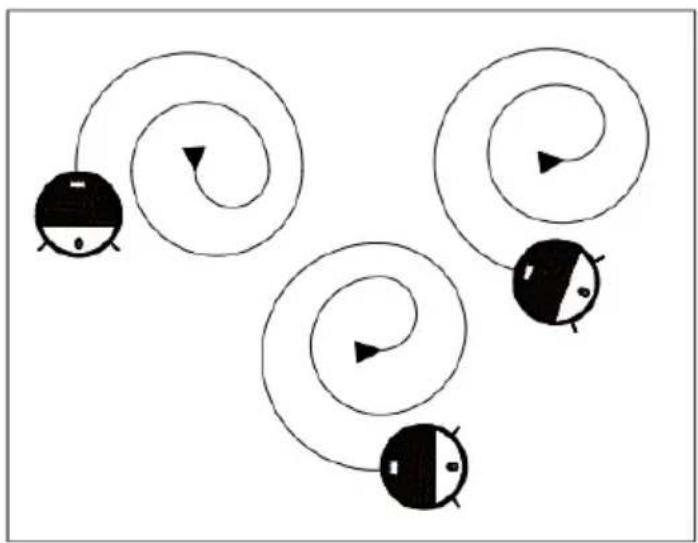
Spot cleaning
The vacuum will begin cleaning in a spiral pattern.
natural_image
Abstract diagram with four spiral-shaped objects and black-and-white cartoon faces, no text or symbols present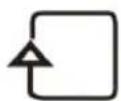
Edge cleaning
Press this button, the machine cleans along the wall or furniture edge
natural_image
Empty white square with a small black-and-white icon in the bottom-right corner (no text or symbols)Mop Function (wet/dry clean)
- For mopping, damped the mop cloth with water and attach it to the lower part of the vacuum cleaner body. The vacuum cleaner will now operate in wet and dry-cleaning mode simultaneously.
- When the mop pad is dirty, rinse it with clean water and reattach it to the vacuum cleaner to continue mopping.
Side Brush
- The right and left brushes are not interchangeable. The brushes can be identified by the centre colour of the side brush.
o Left brush - GREY centre
- Right brush – YELLOW centre
-
To ensure a good use effect, users should clean the surrounding hair and other debris in time after using the machine for a period.
-
The users should change the side brush according to the diagram left and right. (use the screwdriver to remove the fixed screw and side brush, then fix the side brush for replacement).
-
For a good cleaning effect, please use the machine carefully.

text_image
Left side brush (GREY centre) Right side brush (YELLOW centre) kugan FrontBEFORE FIRST USE
Checks to the area
Ensure there are no loose wires or cables scattered on the ground. This is to prevent the vacuum becoming entangled or dragged along.
Ensure all fragile items, those easy to topple, dangerous items, and valuables are removed. This is to prevent items being damaged and personal injuries.
- Arrange chairs, table and other objects neatly to create the biggest space possible before cleaning.

natural_image
Line drawing of a cozy living room with sofa, coffee table, TV, and lamp (no text or symbols)
natural_image
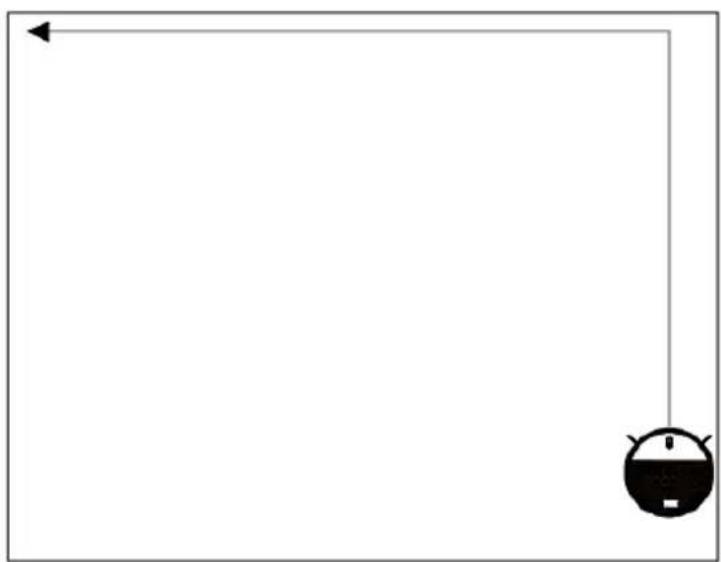
Line drawing of a modern living room interior with TV, sofa, and coffee table (no text or symbols)- It may be necessary to place a physical barrier at the edge of a drop to stop the unit from falling over the edge.

natural_image
Line drawing of a wooden deck with railings and two circular symbols below (no text or labels)
natural_image
Architectural diagram of a balcony with railings and two circular markers (no text or symbols)- Do not use the vacuum to clean liquids.

natural_image
Simple 3D diagram showing a cube with a shaded circle, a small irregular shape, and a cross symbol on the floor (no text or labels)
natural_image
Simple 3D coordinate system with two circular icons, one shaded and one checked, placed on a plain white background (no text or symbols)CLEANING & CARE
Dust Bin
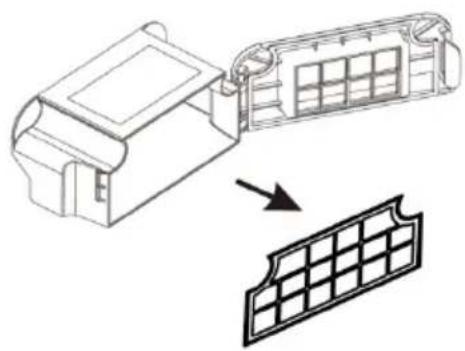
- Open the dust bin, remove the filter and empty the dirt into the bin.
natural_image
Technical line drawing of a mechanical component with a grid-patterned panel below (no text or symbols)- Clean the filter with water.

natural_image
Simple line drawing of a container with a lid and a hand holding a small container above it (no text or symbols)- Allow the filter to fully dry before placing it back in the vacuum.

natural_image
Line drawings of three household appliances: a faucet, a portable device with grid panel, and a flat-screen appliance (no text or symbols)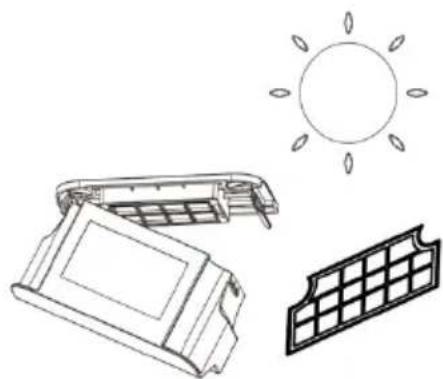
natural_image
Illustration of a solar panel with its sun symbol, alongside an open solar panel and a grid-patterned panel (no text or symbols)Note:
Clean the dust bin frequently to ensure effective operation and avoid overworking the motor.
Mop
Clean and dry the mop after every use.

Suction Inlet & Side Brushes
Clean the suction inlet and remove the dust and debris.
Release the screws and remove the two side brushes and clear debris.
natural_image
Technical line drawing of a circular mechanical or electronic component with internal components and no visible text or symbolsSuction inlet

natural_image
Technical line drawing of a propeller and its internal components (no text or symbols)Note:
Use a screwdriver to remove the screws, then hold them in place.
Additional Components
- Wipe the three cliff sensors on the underside of the vacuum.
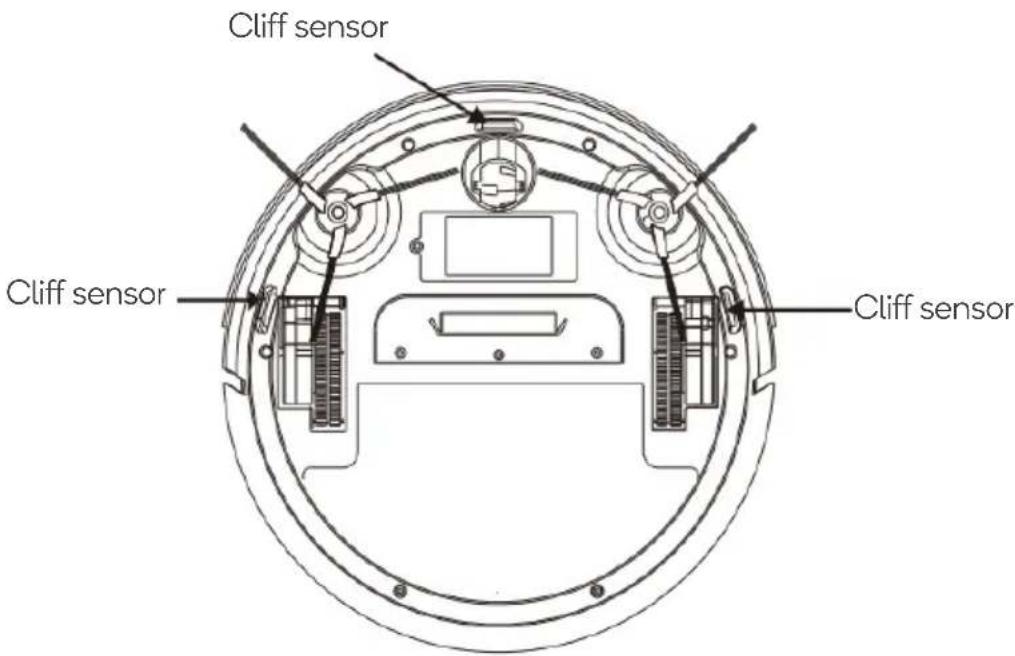
text_image
Cliff sensor Cliff sensor Cliff sensor- Clean the gap between cover and the front bumper.

text_image
Front bumper kugan- Wipe the universal wheel, runner and spindle to reduce noise and avoid debris getting caught in the moving parts.
Universal wheel
Spindle
Runner
- Clean the Right and Left wheels to reduce noise and avoid debris getting caught in the moving parts.
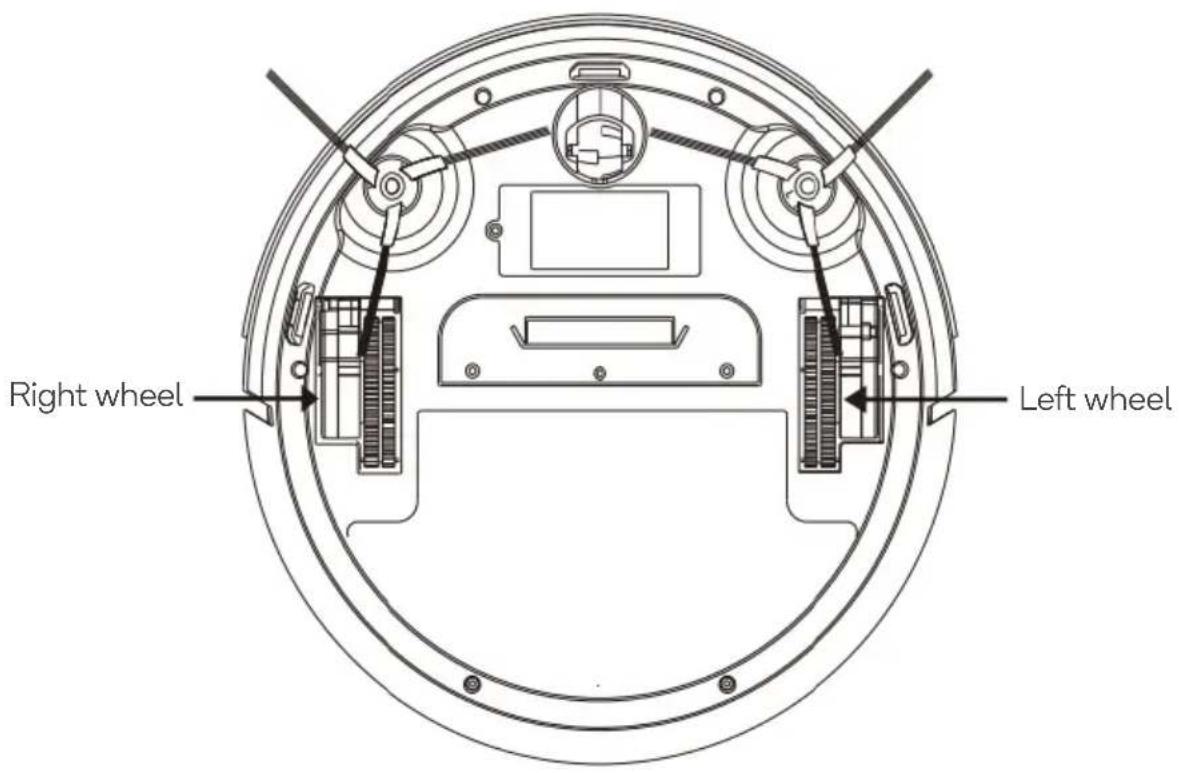
text_image
Right wheel Left wheelTROUBLESHOOTING
| Situation | Possible Reason | Solution |
| Unit not turning on | Power switch in the off position | Turn power switch on. |
| Ran out of battery | Charge with adapter. | |
| Unit not charging | Charging contact fail | Ensure the power adapter is plugged into the vacuum and power socket correctly. |
| Unit going backwards | Cliff sensor dirty | Clean sensors with a dry cloth. |
| Unit cannot reverse | Front bumper stuck | Gently tap the front bumper. |
| Unit working abnormally | Wheels tangled | Clean it the wheels and remove any dirt and debris. |
| Side brush abnormal | Incorrectly installed | Reinstall correctly. |
| Tangled | Clean it the side brush. | |
| Dust bin abnormal | Incorrectly installed | Remove the dust bin and install it correctly. |
| Universal wheel abnormal | Tangled | Clean it the universal wheel and remove any dirt and debris. |
| Remote control can’t use | The remote control does not have batteries | Insert new AAA batteries. |
| Vacuum is out of range from the remote control. | Reduce the distance to within 4m without any obstructions in between. | |
| Other abnormality or issue persisting | N/A | Turn the vacuum off and then on.If the problem persists, contact help.Kogan.com for support. |
Note: If the above solution can't solve the problems, contact help.Kogan.com for support.
Do not disassemble or attempt to repair the machine by yourself.
SPECIFICATIONS
Work voltage 14.8V
Rated power 16W
Rated Input Voltage 19V
Rated Input Current 0.6A
Adapter input 100-240V, 50/60Hz. 0.5A
Adapter output DC 19V 0.6A
Battery Li-ion 2000mAh
NOTES
Need more information?
We hope that this user guide has given you the assistance needed for a simple set-up.
For the most up-to-date guide for your product, as well as any additional assistance you may require, head online to help.kogan.com
kogan.com