
CAPPUCCINO 900 - Coffee machine POLTI - Free user manual and instructions
Find the device manual for free CAPPUCCINO 900 POLTI in PDF.
| Product type | Automatic coffee machine |
| Brand | POLTI |
| Model | CAPPUCCINO 900 |
| Power supply | 230 V, 50 Hz |
| Power | 1400 W |
| Water tank capacity | 250 cl (about 20 cups) |
| Milk tank capacity | About 4 cups (levels) |
| Functions | Cappuccino, frothed milk, coffee, chocolate |
| Control | 3-position rotary knob |
| ON/OFF indicator | Green |
| Ready indicator | Indicates the machine is ready |
| Heating indicator | Lit during preparation |
| Safety | Safety micro-switch on coffee container |
| Automatic cleaning | Self-cleaning milk circuit after each use |
| Periodic cleaning | Coffee dispenser and dispensing spout (every 20-30 cycles) |
| Drip tray | Removable, easy to clean |
| Warranty | 1 year |
| Manufacturer | POLTI S.p.A., Italy |
Frequently Asked Questions - CAPPUCCINO 900 POLTI
User questions about CAPPUCCINO 900 POLTI
0 question about this device. Answer the ones you know or ask your own.
Ask a new question about this device
Download the instructions for your Coffee machine in PDF format for free! Find your manual CAPPUCCINO 900 - POLTI and take your electronic device back in hand. On this page are published all the documents necessary for the use of your device. CAPPUCCINO 900 by POLTI.
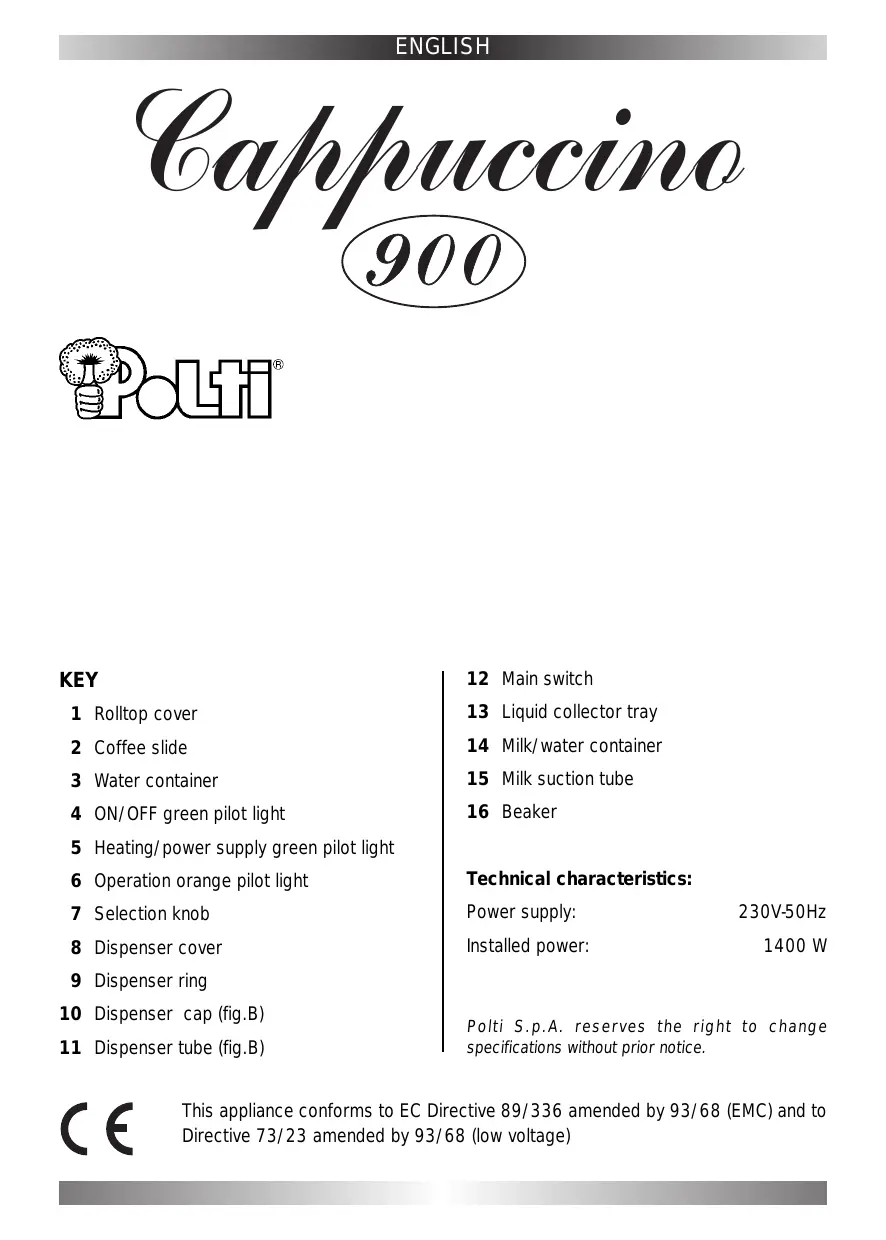
USER MANUAL CAPPUCCINO 900 POLTI
1 Rolftop cover
2 Coffee slide
3 Water container
4 ON/OFF green pilot light
5 Heating/power supply green pilot light
6 Operation orange pilot light
7 Selection knob
8 Dispenser cover
9 Dispenser ring
10 Dispenser cap (fig.B)
11 Dispenser tube (fig.B)
12 Main switch
13 Liquid collector tray
14 Milk/water container
15 Milk suction tube
16 Beaker
Technical characteristics:
Power supply: 230V-50Hz
Installed power: 1400 W
Polti S.p.A. reserves the right to change specifications without prior notice.
Attention! Do not use the appliance without reading the instructions.
- Before using the POLTI CAPPUCCINO read this manual carefully and store it for future use.
- Before connecting the appliance, ensure that the mains power supply and the power supply stated on the appliance match and that the mains socket is equipped with an earth.
- Do not touch the appliance with wet hands or feet when it is plugged into the mains.
- Do not place the appliance in water or in any other liquid.
- Unplug the appliance before performing any maintenance.
- Do not allow children to use the machine or any others who may not know how to operate it.
- Should CAPPUCCINO not be in use, it is advisable to unplug it from the mains.
- Do not switch off or disconnect the machine before the pilot light is off (6).
INSTRUCTIONS FOR USE
I. Before operating the machine, check that all components are correctly installed as shown in the figure (fig. A) and that the knob on the control plate is on "▼" position.
II. Open the rolloff cover (1) completely allowing it to slide in its guide (D).
III. Fill the container (3) with tap water (fig.E), the capacity is about 250 cc., sufficient to prepare about 20 cappuccinos. To make filling easier, the water container can be taken out and then correctly replaced in its housing.
IV. Insert the plug into a suitable mains socket equipped with an earth and press the main switch (12). The ON/OFF green pilot light (4) will switch on. When the machine reaches its ideal conditions for the preparation of the drink, the heating green pilot light (5) will switch on (For the first dispensing always wait for the green pilot light (5) to switch on, otherwise it may happen that the drink is not perfect).
V. Release the container (14) and fill it with the desired amount of cold milk (fig. G). Each level corresponds to the dosage for a cup of cappuccino.
VI. Correctly replace the container in its housing paying attention that the suction tube (15) is correctly positioned.
VII. Position the cup on the liquid collector tray (13) (fig. H). The machine is now ready to prepare the cappuccino.


PREPARING A CAPPUCCINO
- Fill the container (14) with cold milk as previously described in point V and VI of the "Instructions for use" paragraph.
- Use the beaker supplied (16) to make a dose by filling it to the level with soluble granular type coffee. Pour the dose in the coffee slide (2) (fig. F).
For each coffee please pour one single coffee dose.
- Turn the Knob (7) clockwise, towards the indicator , the pilot light (6) switches on. A dose of coffee is installed and the milk is drawn up to dispense an excellent cappuccino. Do not worry if you do not hear any noise after turning the selection knob (7); the machine prepares your CAPPUCCINO silently. When the desired amount of milk is reached, turn the knob (7) back to the initial position, indicated with "▼". During all the operation phase the pilot light (6) remains on. Wait a few seconds after the pilot light (6) switches off before withdrawing the cup to collect all the milk in the tube.
PREPARING WHIPPED MILK
- Fill the container (14) with cold milk as previously described in point V and VI of the "Instructions for use" paragraph.
- Turn the knob (7) clockwise, towards the indicator , the pilot light (6) switches on and the milk will pour into the cup in just a few seconds. When the milk inside the cup reaches the desired amount, turn the knob (7) back to the initial position indicated with "▼". During the operation phase the pilot light (6) remains on. Wait a few seconds after the pilot light (6) switches off before withdrawing the cup to collect all the milk in the circuit.
PREPARING ESPRESSO
- Fill the container (14) with water, instead of milk (fig. I) and perform the same operations described in the "Preparing a Cappuccino" paragraph.

PREPARED HOT CHOCOLATE DRINK
- To prepare a good hot chocolate drink, add two teaspoons of soluble hot chocolate powder to the empty cup and then perform the same operations described in the "Preparing whipped milk" paragraph.
CLEANING AFTER USE
Before switching the machine off after use, clean it following the instructions below.
- Do not switch off or disconnect the machine before the pilot light (6) is off.
- Rinse the milk container (14), fill it with water and replace it in its housing.
- Place an empty container over the liquid collector grill and perform the dispensing operation by turning the knob (7) clockwise towards the indicator until the equivalent of a cup full of hot water pours out. Turn the knob back to the initial position "▼". By allowing water to pass through the circuit, a self-cleaning operation is performed which eliminates any residual milk.
IT IS NECESSARY TO PERFORM THE CLEANING OPERATION EVERY TIME YOU USE THE MACHINE. THIS DOES NOT MEAN THAT YOU HAVE TO CLEAN IT AFTER THE DISPENSING OF EVERY SINGLE DRINK, BUT ONLY WHEN YOU FINISH USING THE MACHINE. IN ANY CASE, IT IS NOT ADVISIBLE TO LEAVE THE CIRCUIT DIRTY WITH MILK FOR MORE THAN AN HOUR.
NOTE: IF YOU DO NOT USE THE MACHINE FOR A LONG TIME, IT IS NECESSARY TO EMPTY THE COFFEE CONTAINER BY FOLLOWING THE INSTRUCTIONS IN THE "CLEANING THE COFFEE CONTAINER" PARAGRAPH.
CLEANING THE COFFEE SLIDE (FIG. M)
(NECESSARY AFTER ABOUT 20/30 DISPENSINGS)
It is necessary to periodically clean the coffee slide and the piston group.
To perform this operation proceed as follows:
- Ensure the machine is unplugged from the mains.
- Take the coffee slide (2) with two fingers and lift it upwards.
- Unscrew the red screw (f) used to lock the piston.
- Slide the piston (g) out lifting it upwards.
- Wash the components with soap and warm water, then rinse and dry well.
- Slide the piston group down on the metallic bar and fix it in its place by screwing the red screw.
- Place the slide back in its place.


NOTE: when you take out the slide (2) a safety microswitch which stops the functioning of the machine is disconnected.
CLEANING THE DISPENSER RING
(ADVISABLE AFTER ABOUT 20/30 DISPENSINGS)
The dispenser ring (9) should be cleaned periodically.
To perform this operation proceed as follows:
- Remove the dispenser cover (8) by pulling it towards you.
- Remove the dispenser ring (9) by pulling it out of the machine (fig. P).
- Lift the cover (10).
- Wash the two parts in soap and warm water and dry them thoroughly.
- Replace the cover carefully over the dispenser ring and insert the unit into the machine.
- Replace the dispenser cover (8).

CLEANING THE LIQUID COLLECTOR TRAY
- Periodically empty and clean the liquid collector tray (13) with soap and warm water, by simply removing it from its housing (fig. Q). Replace it after cleaning.

USEFUL ADVICE
- Do not leave unused milk in the container.
- To obtain a creamier product it is advisable to use cold milk.
- For a richer coffee, use mineral water instead of tap water.
GUARANTEE
POLTI CAPPUCCINO is guaranteed to the original purchaser for one year from purchase date against manufacturing or raw material defects. The guarantee is not valid if the appliance has been misused in any way or if the instructions have not been adhered to. In case of damage or malfunctioning, contact the nearest authorised Help Centre. Unauthorised alterations or repairs to the machine will automatically invalidate this guarantee.
POLTI S.p.A. declines any responsibility in case of accidents arising from using the CAPPUCCINO 900 maker in ways not complying with the instructions contained herein.
ATTENTION
The appliance is built according to the current recycling rules. It is recommended not to throw away the transport protection packing materials, but take them to the relevant collection centre.
TROUBLESHOOTING
| TROUBLE | CAUSE | SOLUTION |
| Turbulent dispensing with steam output | The milk or water are not cold enough | Use milk or water at refrigerator temperature (about 10 °C) |
| The operation cycle does not start | The coffee slide (2) is not in the right position | Put the slide in its place |
| In the dispensing phase you can hear some noise but the drink does not come out | The water container (3) is empty or badly positioned | Check the water level and correctly position the container |
ATTENTION! For each coffee please pour one single coffee dose with the measure (16) (fig. F).
Caffuccino
900

BESCHRIJVING
- Technical characteristics:
- Attention! Do not use the appliance without reading the instructions.
- INSTRUCTIONS FOR USE
- PREPARING A CAPPUCCINO
- For each coffee please pour one single coffee dose.
- PREPARING WHIPPED MILK
- PREPARING ESPRESSO
- PREPARED HOT CHOCOLATE DRINK
- CLEANING AFTER USE
- CLEANING THE COFFEE SLIDE (FIG. M)
- (NECESSARY AFTER ABOUT 20/30 DISPENSINGS)
- CLEANING THE DISPENSER RING
- (ADVISABLE AFTER ABOUT 20/30 DISPENSINGS)
- CLEANING THE LIQUID COLLECTOR TRAY
- USEFUL ADVICE
- GUARANTEE
- ATTENTION
- TROUBLESHOOTING
- Caffuccino
- 900
- BESCHRIJVING
Brand : POLTI
Model : CAPPUCCINO 900
Category : Coffee machine