
Mist HU-7W - Air-conditioner WILFA - Free user manual and instructions
Find the device manual for free Mist HU-7W WILFA in PDF.


| Product Type | Portable Air Conditioner |
| Brand | Wilfa |
| Model | Mist HU-7W |
| Cooling Capacity | 7,000 BTU/h |
| Dehumidification | 1.2 L/h |
| Fan Speeds | 3 (Low, Medium, High) |
| Timer | 24 hours |
| Remote Control | Yes, included |
| Noise Level | ≤ 52 dB(A) |
| Power Consumption | 900 W (cooling) |
| Power Supply | 220-240 V ~ 50 Hz |
| Dimensions (W x H x D) | 33 x 68 x 30 cm |
| Weight | 23 kg |
| Refrigerant | R410A |
| Energy Efficiency | Class A |
| Water Tank Capacity | 1.5 L |
| Exhaust Hose Length | 1.5 m |
| Controls | Electronic with LED display |
| Filter Type | Washable mesh filter |
| Operating Modes | Cool, Fan, Dehumidify, Sleep |
| Installation | Window kit included |
| Cleaning | Clean filter every 2 weeks |
| Maintenance | Drain water tank manually |
| Safety Features | Overheat protection, auto restart |
Frequently Asked Questions - Mist HU-7W WILFA
User questions about Mist HU-7W WILFA
0 question about this device. Answer the ones you know or ask your own.
Ask a new question about this device
Download the instructions for your Air-conditioner in PDF format for free! Find your manual Mist HU-7W - WILFA and take your electronic device back in hand. On this page are published all the documents necessary for the use of your device. Mist HU-7W by WILFA.
USER MANUAL Mist HU-7W WILFA
natural_image
White laboratory appliance with digital display and storage bins (no visible text or symbols)Wilfa MIST
Hybrid ultrasonic humidifi er
Bruksanvisning
Bruksanvisning
Operating Instructions
HU-7W


| Norsk |
| Svenska |
| Dansk |
| Suomi |
| English |
natural_image
Three line drawings of different electronic devices or devices, including a box with a lid and a display case (no text or symbols visible)natural_image
Line drawing of a box containing circular objects and a ring, no text or symbols present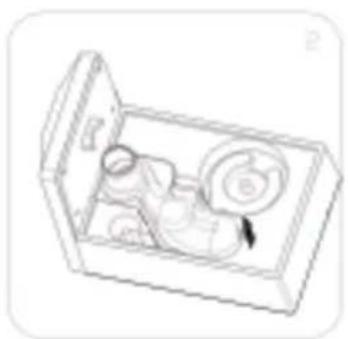
natural_image
Line drawing of an open box containing a small object and two circular items (no text or symbols)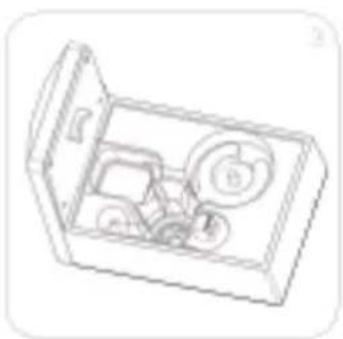
natural_image
Line drawing of a closed mechanical device with internal components (no text or symbols)natural_image
Three line drawings of different household appliances or devices, including a box with a lid and a device with a screen (no text or symbols present)natural_image
Line drawing of a box containing several circular objects, possibly tools or items, with no visible text or symbols.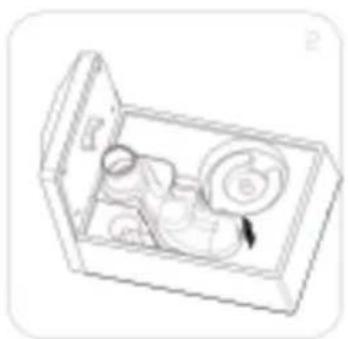
natural_image
Line drawing of an open box containing a tray with items, no text or symbols present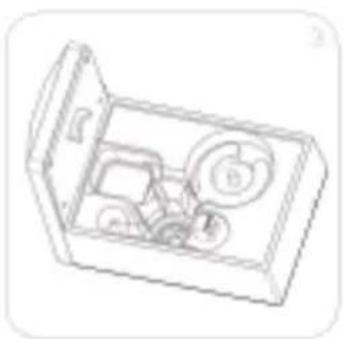
natural_image
Line drawing of a closed mechanical device with internal components (no text or symbols)
natural_image
Three line drawings of different electronic devices or devices, including a front panel, a screen with a lens, and a base unit (no text or symbols present)natural_image
Line drawing of a box containing several circular objects, possibly tools or devices, with no visible text or symbols.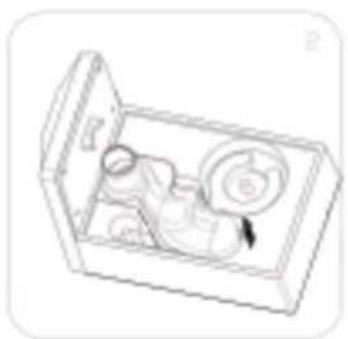
natural_image
Line drawing of an open toolbox containing a cylindrical object and two circular items (no text or symbols)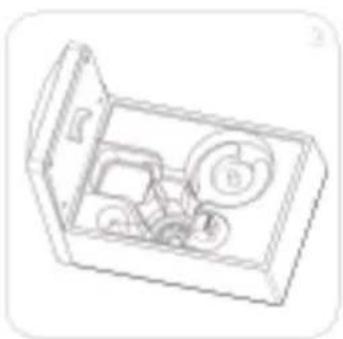
natural_image
Line drawing of an open mechanical device with internal components (no text or symbols)
natural_image
Three line drawings of different electronic devices or containers, no text or symbols present.natural_image
Line drawing of a box containing three circular objects with numbers 6 and 8, no text or symbols present.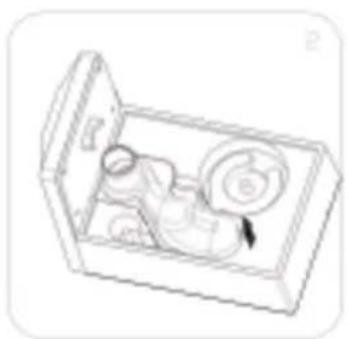
natural_image
Line drawing of a box containing an open lid with internal compartments (no text or symbols)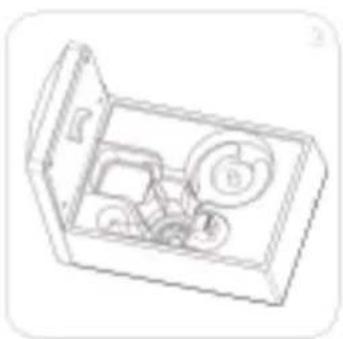
natural_image
Line drawing of an open mechanical device with internal components (no text or symbols)Important safeguards ....3
Overview......6
Operation....7
Cleaning & maintenance....9
Where to place your device....11
Troubleshooting....11
IMPORTANT SAFEGUARDS
PLEASE READ THIS MANUAL CAREFULLY BEFORE OPERATION AND SAVE IT FOR FUTURE REFERENCE.
- Check the voltage carefully to ensure your home power voltage fits the product
- Ensure the plug exactly inserts to the right socket. Make sure there is a good contact.
- Do not extend the wire.
- Pull out the plug by hand rather than pulling on the wire.
- Do not use the product in dusty, oily or smoky environments, as this may cause electric shock and fire.
- Do not use the product in a wet environment, such as a bathroom, as this may cause electric shock and fire.
- In some cases, such as in areas of high humidity or if the unit is used at maximum capacity, this can eventually cause steam to be emitted, resulting in the area where the unit is situated becoming moist. Regular monitoring of the unit is therefore recommended, and if this occurs, the unit should be stopped.
- Do not use the product near a window, to avoid rain or curtains covering the air inlet or mist outlet. This will cause the temperature to rise and may cause fire.
- Do not place your hands or appliances on top of the product as this may damage the device or result in the device not functioning properly.
- Remove the water tank before moving the device.
- Do not touch the plug or wire with wet hands as this may cause electric shock.
- Do not clean the water sink while the water is still hot.
- Please place the device on an even surface. If the surface is uneven, this may cause the water to flood out.
- Do not clean your machine while it is operating.
- Wait 60 minutes after you turn it off before cleaning the machine.
- Do not expose the machine to sunshine or place it to close to a heater.
- Please disconnect the unit from the electrical socket while you fill it with water, clean the unit, or if the unit is left unused for a long time.
- Do not place metal or easily combustible material close to the air intake or mist outlet areas.
- If the unit is damaged or does not work, please take to a certified repair shop or back to the shop from which you bought the unit. Do not perform disassembly or assembly by yourself.
- Care should be taken when using the appliance due to the emission of hot water vapor.
- If the supply cord is damaged, it must be replaced by the manufacturer, the manufacturer's service agent or similarly qualified persons in order to avoid a hazard.
- This appliance may be used by children aged 8 years and above and by persons with reduced physical, sensory or mental capabilities or lack of experience and knowledge if they have been given supervision or instruction concerning use of the appliance in a safe way and understand the hazards involved. Children must not play with the appliance. Children must not perform cleaning or user maintenance without supervision.
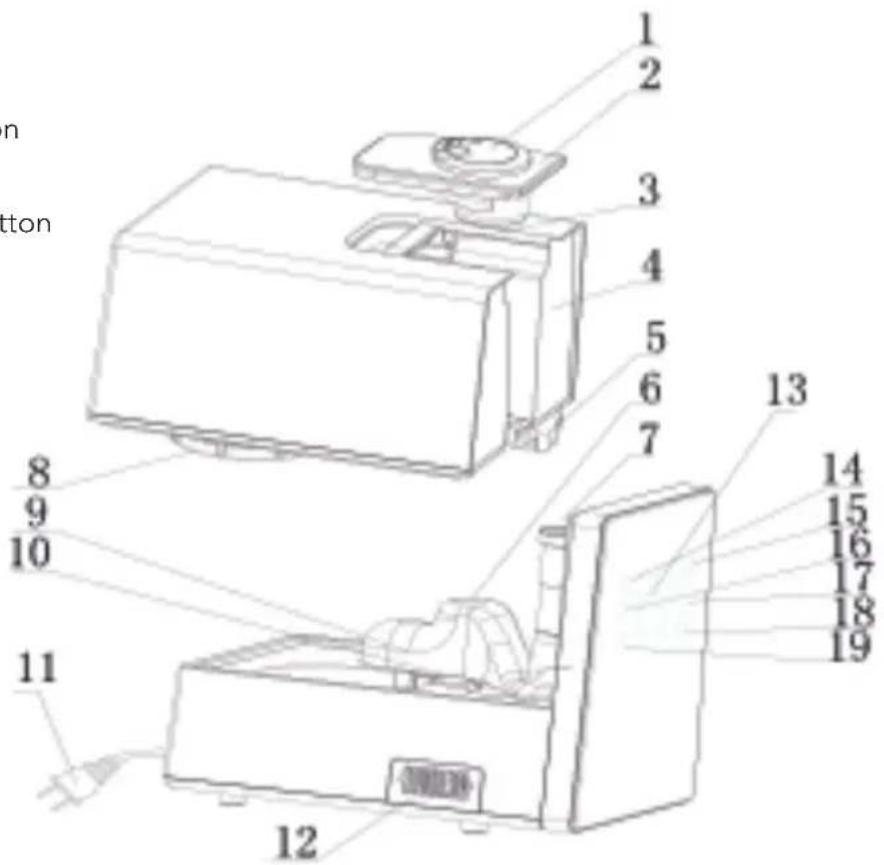
Overview
① Nozzle
② Handle cap
③ Handle
④ Water tank
⑤ Water level senor
⑥ Air fl ue
⑦ Mist tube
⑧ Water tank cover
⑨ Transducer
⑩ Heating element
⑩ Power cord
⑫ Aroma box
13 LED display
14 On/off button
⑮ Mist level button
⑯ Timer button
⑰ Set humidity button
⑱ Heating button
19 Auto button
Operation
- The working environment for humidifi er is when temperature is between 5 to 45 degrees Celsius, and relative humidity is lower than 80% RH.
- Use clean water lower than 40 degree (pure water is recommended).
- Clean water tank and water fl ume when use again after a long time.
LED display
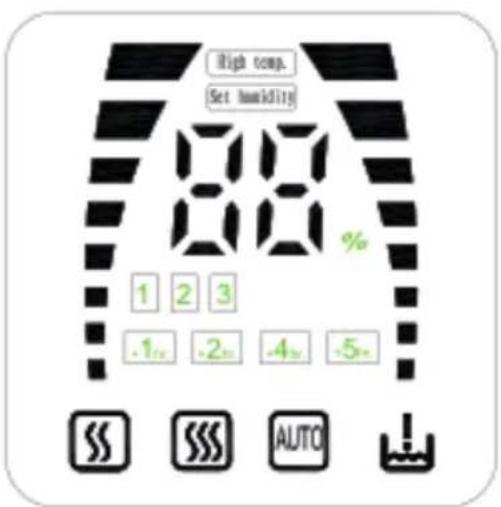
-1.2.4.5: Timer icon
1 2 3: Cool mist humidifying level icon
88: Humidity icon
: Waterless icon
AUTO : Auto function icon
: Low warm mist level icon
: Medium warm mist level icon
: High warm mist level icon
High temp.: High temperature warning icon
When the device is broken down or is improper used, the PTC heating element or the atomizer may be overheated, the device will stop working automatically with the high temp. icon shining.
Set humidity: Set Humidity status icon
Control panel and Remote Control
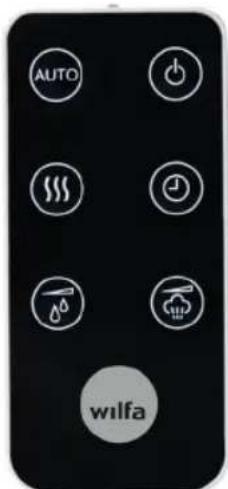

On/off: Plug in the power, there is a beep sound, and the machine comes to the standby mode. Once press this button, the machine start to work with LED display on. Press this button again, the machine stops working and come to the standby mode.

AUTO: By pressing this button, the machine will enter an automatic control mode. the device will choose suitable humidifying level as per environmental humidity and maintains the humidify between 55% - 65%.


Set Humidity: Humidity can be increased from 40% to 80% at every 5%.
The machine will check the surrounding humidity automatically when turned on.
Constant humidity: The machine will control the humidity automatically when set a humidity, For example, Just like set a humidity 50%, The machine will check around humidity to see if it has reached 50%, Less than 50%, machine keep working, Equal to 50% or above, Machine stop working. Then when the humidity goes down by 4% (less than 46%) and the machine will stop working for 3 minutes, the machine will work again.
When turning on the device, the machine will start to work for 1 minute no matter if the surrounding humidity reaches the set humidity or not.

Warm Mist: This button is used to adjust the level of warm mist, there are 4
levels: max, med, min and off. When the warm mist function is off, the machine only works with cool mist.
natural_image
Three technical line drawings of a box device, showing front, side, and top views (no text or symbols)Cleaning & maintenance
- Before cleaning, turn off the appliance and unplug the machine.
- Do not clean the unit while it is operating.
Transducer & heating element
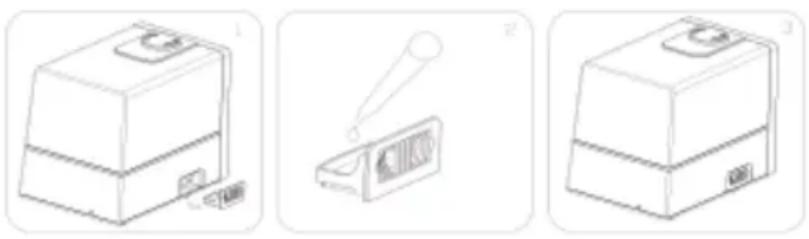
- In some areas the water quality is hard, causing the surfaces of the transducer and heating element to become covered with limescale. Users must clean the transducer and heating element surface with a mild cleaning agent.
Remove the air fl ue by following the steps below:
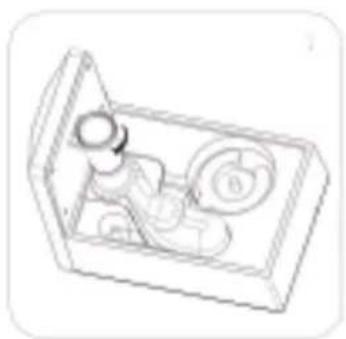
- Turn the mist tube counterclockwise to remove it (picture 1).
- Hold the tail of the air fl ue and pull it up (picture 2).
- Clean the water sink (picture 3) by following the steps below. Fit the mist tube and air flue back in the machine after cleaning.
natural_image
Line drawing of a box containing three circular objects with numbers 6 and 8, no text or symbols present.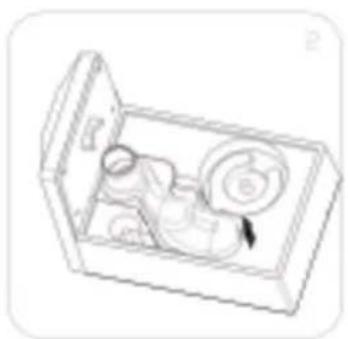
natural_image
Line drawing of a box containing an open lid with internal compartments (no text or symbols)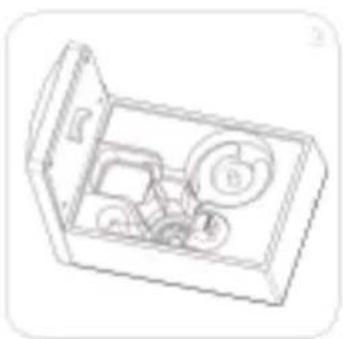
natural_image
Line drawing of an open mechanical device with internal components (no text or symbols)- Add a little cleaning agent to the transducer surface (more or less depending on the amount of scaling), then infuse water into the sink to soak the sink fully for 10-15 min.
- Clean with brush until scaling disappears.
- Rinse twice with water.
- To avoid damage, do not use metal or stiff materials to clean to transducer.
Water sink inside
- Remove the water from the sink, clean off the scaling with a brush, then wipe with a damp cloth.
- Rinse it with water.
- Do not pour water directly into the sink when cleaning the water sink.
- To avoid damaging the transducer, do not use acid detergents to wash the water sink inside.
Water tank inside
- Clean water tank inside and water sink twice per week if using the machine frequently.
- Use a soft cloth and wipe down the side of water tank if it has limescale.
- If there is dirt on the inside of the tank wall, this may be removed by cleaning with a mild detergent. Clean off the detergent completely afterwards.
- Do not put acid, alkalescent or bleach detergents into water tank to avoid damage.
Body and water tank outside
- Wipe down with a soft cloth. Use mild detergent when dirty.
Storage
- Drain water from the tank and body, clean off any dirt, wipe out water and air the machine.
- Ensure that there is no water in the machine and place it in the box.
- Store the package in dry place.
Where to place your device
Place it on a solid, even surface
The humidifier should be placed on a horizontal surface and kept steady.
Place it well away from heat sources
The humidifier should be placed well away from heat sources, such as stoves or fireplaces. Avoid exposing the machine to direct sunlight.
Place it well away from furniture and electronic appliances
Mist spraying from the humidifier should not be directed towards furniture or other electronic appliances, to avoid damaging them with moisture.
Troubleshooting
If the machine is not working properly, please try the following:
| Problem Possible reasons Solutions | ||
| No steam | Check plug Plug into socket | |
| Check power switch Turn on power switch | ||
| No water in tank Add water | ||
| Too little water in tank Add water until enough | ||
| Peculiar smell steam | New machine | Take off tank cover, place the water tank in cool and dry place for 12 hours |
| Too dirty water, Or water in tank for too long | Clean the water tank, Replace with clean water | |
| Noise | Tank in incorrect position Put the tank in correct position | |
| Less water in tank Add water | ||
| Uneven level for machine Place it on even flat or ground | ||
| Steam out from outlet surrounding | Clearance between steam outlet and water tank | Sink the steam outlet cap in water and use it again |
| High Temp. warning | No water in water sink caused by broken water level sensor | Contact the store where the product was purchased |
| High water level in the water sink caused by wrong way of adding water | Pour out all the water in the water sink and reset the water tank | |
Under the Waste Electrical and Electronic Equipment Directive (WEEE), such waste must be collected separately and processed. If in future you need to discard this product, please do not throw it out with your normal rubbish. Please send this product to a collection point where one is available.
Brand : WILFA
Model : Mist HU-7W
Category : Air-conditioner