
Ronin Thumb Controller - Remote control DJI - Free user manual and instructions
Find the device manual for free Ronin Thumb Controller DJI in PDF.


| Brand | DJI |
| Model | Ronin Thumb Controller |
| Category | Remote Control |
| Type | RONIN TC |
| Supported Devices | Ronin, Ronin-M |
| Operating Frequency | 2.415 GHz – 2.454 GHz |
| Working Current | <100 mA @ 3.3 V |
| Communication Distance | 200 ft (60 m) |
| Battery Life | 18 hours |
| Standby Life | 20 hours |
| Operating Temperature | -4°F to 122°F (-20°C to 50°C) |
| Battery Type | LiPo |
| Battery Voltage | 3.7 V |
| Battery Capacity | 1150 mAh |
| Charge Time | 2 hours |
| Weight | 1.75 oz (50 g) |
| Size | 2.7 × 1.4 × 0.9 in (68 × 36 × 23 mm) |
| Mounting Bracket Diameter | 1.0 in or 1.2 in (25 mm or 30 mm) |
| Display | White OLED, 0.96 inch, 128 × 64 dots |
| Control Interface | Pressure-sensitive thumb stick |
| Functions | SmoothTrack modes (Off, On, Auto Center), Follow Speed (Fast, Normal, Slow), Axis calibration, Channel mapping, Direction reversal, Sensitivity adjustment |
| Connectivity | Micro-USB for charging and firmware updates; Wireless binding via internal receiver (Ronin-M) or external receiver (Ronin) |
| Safety Precautions | Read disclaimer before use; user responsible for proper use; avoid touching during calibration; follow local regulations |
Frequently Asked Questions - Ronin Thumb Controller DJI
User questions about Ronin Thumb Controller DJI
0 question about this device. Answer the ones you know or ask your own.
Ask a new question about this device
Download the instructions for your Remote control in PDF format for free! Find your manual Ronin Thumb Controller - DJI and take your electronic device back in hand. On this page are published all the documents necessary for the use of your device. Ronin Thumb Controller by DJI.
USER MANUAL Ronin Thumb Controller DJI
Disclaimers and Warnings
Congratulations on purchasing your new DJI product. Carefully read the manual and all disclaimers before using this product. By using this product, you hereby agree to this disclaimer and signify that you have read it in its entirety. You agree that you are responsible for your own conduct, for all content that is created using this product, and for any consequences that may arise from either. You agree to use this product only for purposes that are proper and in accordance with local regulations, stated terms, and all applicable polices and guidelines.
By reading this disclaimer, you also agree that:
- Any part of this disclaimer is subject to change without prior notice. Refer to www.dij.com for the latest version.
- DJI reserves the right of final interpretation of this disclaimer.
As DJI has no control over use, setup, final assembly, modification, or misuse of its products, no liability shall be assumed or accepted for any resulting damage or injury. By using, setting up, or assembling the product, the user accepts all resulting liability. DJI assumes no liability for damages or injuries incurred directly or indirectly from the use of this product.
DJI and Ronin are registered trademarks. All names of products, brands, etc. appearing in this manual are trademarks or registered trademarks of their respective owner companies. This product and manual are copyrighted by DJI, with all rights reserved. No part of this product or manual shall be reproduced in any form without the prior written consent or authorization of DJI. No patent liability is assumed with respect to the use of the product or information contained herein.
Content
Disclaimers and Warnings 1
In the Box 3
Introduction 4
Thumb Controller 4
External Receiver (For Ronin Only) 5
Installation 6
Installing the Thumb Controller 6
Installing the External Receiver (For Ronin Only) 7
Binding the Thumb Controller to the Gimbal 8
Binding to the Ronin-M 8
Binding to the Ronin 8
Indicator Status 10
Using the Thumb Controller 11
Gimbal 13
Channel 14
Settings 14
DJI Assistant App Tuning 16
DJI PC/MAC Assistant Tuning 17
Settings 17
Updating the Thumb Controller and the Receiver 18
Specifications 20
In the Box
Check to ensure that all of the following items are included in the package. If any items are missing, contact DJI or your local dealer.
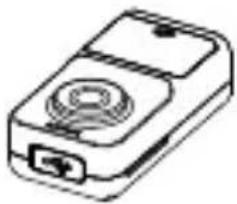
The following items are included with the Thumb Controller for the Ronin-M:
natural_image
Line drawing of a handheld electronic device with a circular button and ports (no text or symbols)Thumb Controller×1 Quick Release
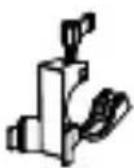
Accessory Mountx1
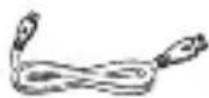
Micro-USB Cable×1 Step-down

Adapterx1
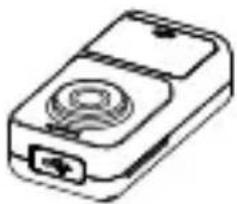
The following items are included with the Thumb Controller for the Ronin:
natural_image
Line drawing of a handheld electronic device with a circular button and ports (no text or symbols)Thumb Controller×1 Quick Release
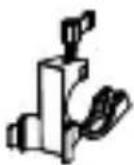
Accessory Mountx1
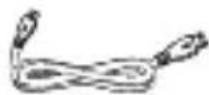
Micro-USB Cablex1 Step-down

Adapter×1
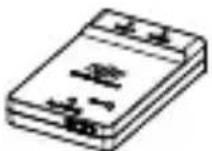
External Receiver ×1

4-Pin Cable×1 Adhesive Tapex1
Introduction
The Thumb Controller is designed specifically for DJI Ronin series handheld gimbals. It provides a simple, intuitive interface for controlling the gimbal's pan, tilt, and roll motions. The pressure-sensitive thumb stick and the easy-to-read OLED display give Ronin users more control than ever before.
The Thumb Controller communicates with the Ronin-M via a preinstalled internal receiver. An external receiver is needed when the Thumb Controller is used with the Ronin.
Thumb Controller
![[1] [3] [2] [4]](/content/2026/05/870224/images/fc38ba41b31185031e6b2312e11b31cd101988daa89ae06692b137522faea22a.jpg)
natural_image
Concentric circles diagram with radial arrows, no text or symbols present[1] Power Button Press and hold the power button to turn on/off the Thumb Controller.
[2] Status Indicator Indicates the status of the Thumb Controller.
[3] OLED Display Displays the menu of the Thumb Controller.
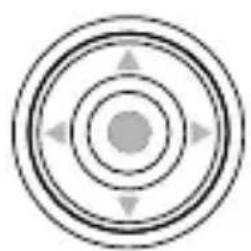
[4] Pressure-Sensitive Thumb Stick Transmits the user's input to the pressure sensor.
natural_image
Line drawing of a device with a labeled component [5] (no text or symbols on the device itself)![[6]](/content/2026/05/870224/images/fa4cb530e1e202ac17a6e83da5e1a322521deed249ccf725dec445d2b13e66c7.jpg)
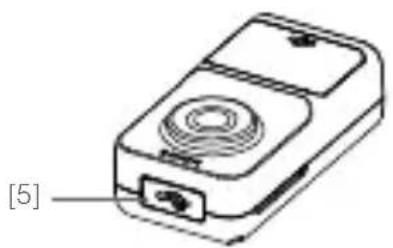
[5] Micro-USB Port For charging the Thumb Controller and upgrading its firmware.
[6] Override Button Allows a reset of the Thumb Controller following a failed update process.
External Receiver (For Ronin Only)
![[1] [2] [3] ±40k±](/content/2026/05/870224/images/0c5fa4b57d9aec4e772f60cee95482f716b763a6cd83eb0ade9cff31e7d2a57e.jpg)
natural_image
Illustration of a rectangular electronic device with labeled ports and a label [4] (no text or symbols on the device itself)[1] CAN Ports Connects the receiver to the Ronin.
[2] Bind Button
Connects the Thumb Controller to the Ronin.
[3] LED Indicator
Indicates the status of the receiver.
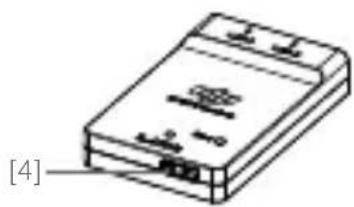
[4] Micro-USB Port
For upgrading the firmware.
Installation
Installing the Thumb Controller
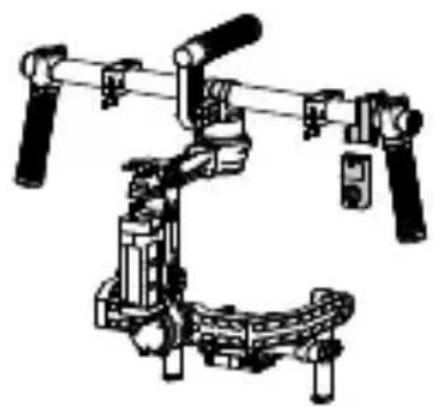
- Install the quick-release accessory mount by clamping it around the handlebar of the Ronin and tightening the screw. Only use the step-down adapter when installing onto a Ronin-M.
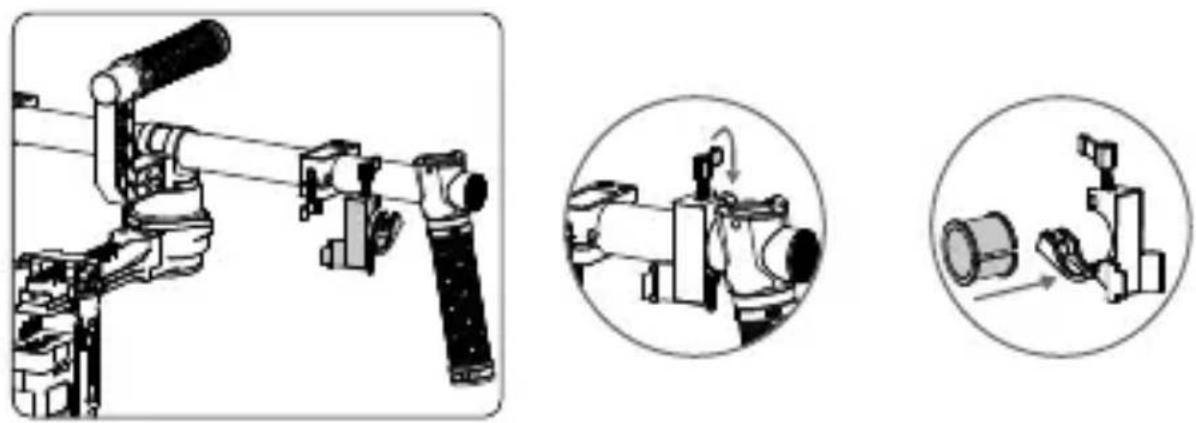
- Clip the Thumb Controller into the quick-release accessory mount and ensure that it is secure.
natural_image
Mechanical device with articulated arms and mounting base (no visible text or symbols)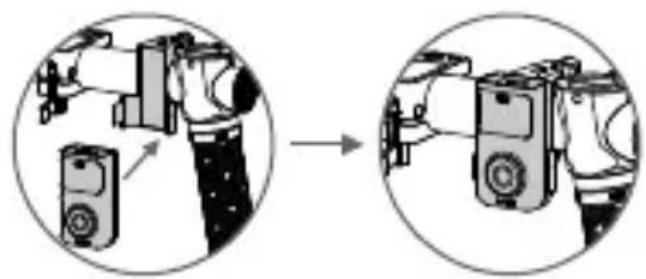
natural_image
Diagram showing a device being processed from a left-side view, with no visible text or symbols.Installing the External Receiver (For Ronin Only)
-
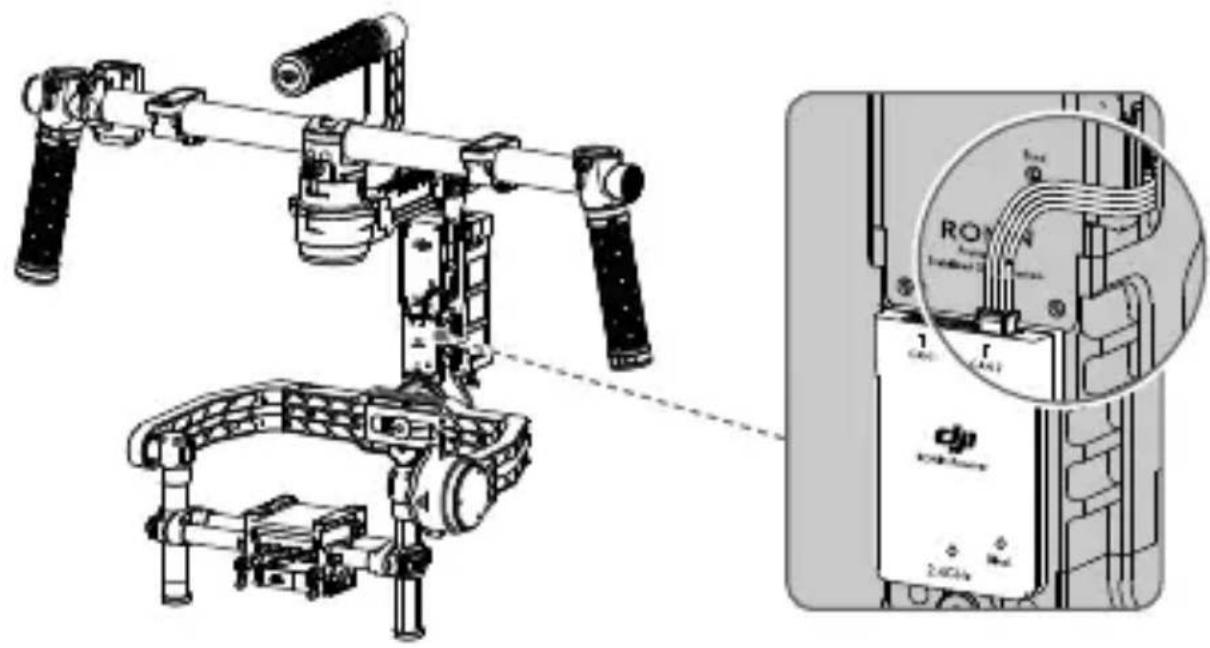
Use the 4-pin cable to connect the CAN port on the Ronin to the CAN 1 or CAN 2 port on the receiver.
-
Use the provided adhesive tape to secure the receiver on the Ronin.
natural_image
Technical illustration of a mechanical device with attached wiring and a close-up inset showing internal components (no text or symbols)Binding the Thumb Controller to the Gimbal
Binding to the Ronin-M
- Turn on the Ronin-M.
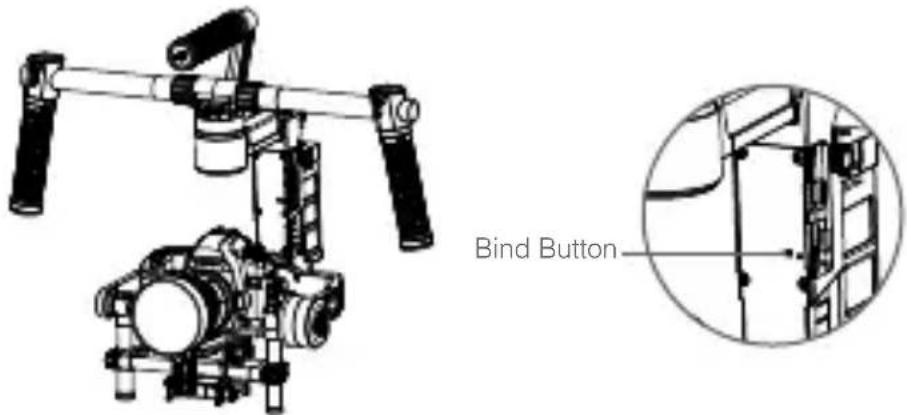
- Press the Ronin-M's Bind Button (shown below) one time. The LED indicator on the Ronin-M will rapidly blink green.
- Turn on the Thumb Controller. If the LED indicator on the Ronin-M and the LED indicator on the Thumb Controller both glow solid green, they have been successfully connected.
Binding to the Ronin
- Turn on the Ronin.
- Press the Bind Button on the receiver one time. The LED indicator on the receiver will rapidly blink green.
- Turn on the Thumb Controller. If the LED indicator on the receiver and the LED indicator on the Thumb Controller both glow solid green, they have been successfully connected.
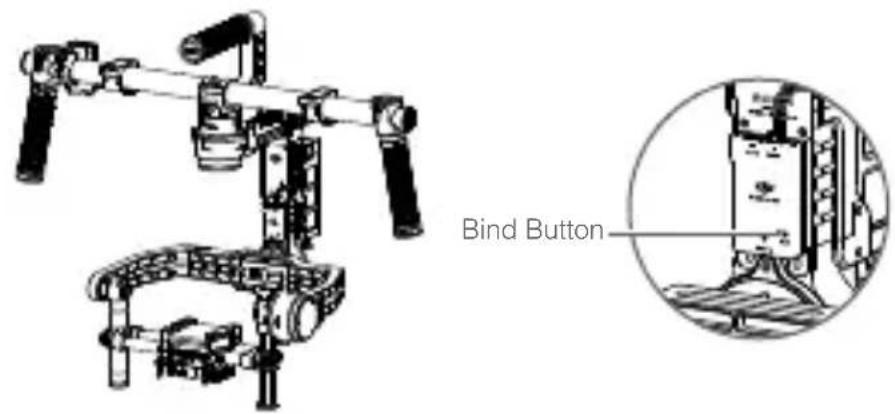

The binding process only needs to be performed one time, unless the bind button is pressed or the Ronin/Ronin-M needs to be connected to another Thumb Controller.
Indicator Status
| Thumb ControllerLED Indicator Status | Description |
| H — Solid Red The Thumb Controller is being updated. | |
| R · Blinking Red | The Thumb Controller is not connected to the receiver. |
| G — Solid Green | The Thumb Controller is connected to the receiver. |
| G · Blinking Green The update process is complete. | |
| Y — Solid Yellow The Thumb Controller is fully charged. | |
| External Receiver LED Indicator Status | Description |
| — Solid Red The receiver is being updated. | |
| Blinking Red | The Thumb Controller is not connected to the receiver. |
| — Solid Green | The Thumb Controller is connected to the receiver. |
| Blinking Green The update process is complete. | |
| Blinking Green Quickly Binding. | |
Using the Thumb Controller
The OLED screen displays information about the Thumb Controller and gimbal when it is turned on. The main user interface of the device is shown below:
![[1] [2] [ju, ST S >>] T P Menu [3] [4] [5] RONIN](/content/2026/05/870224/images/ae4a0692e19641ed1021c7d114d9f01cb98cb14f5df5375adfd0367b6b318a0a.jpg)
[1] Signal Strength
[2] Pan/Tilt/Roll Axis Position
[3] SmoothTrack Mode
[4] SmoothTrack Follow Speed
[5] Battery Level
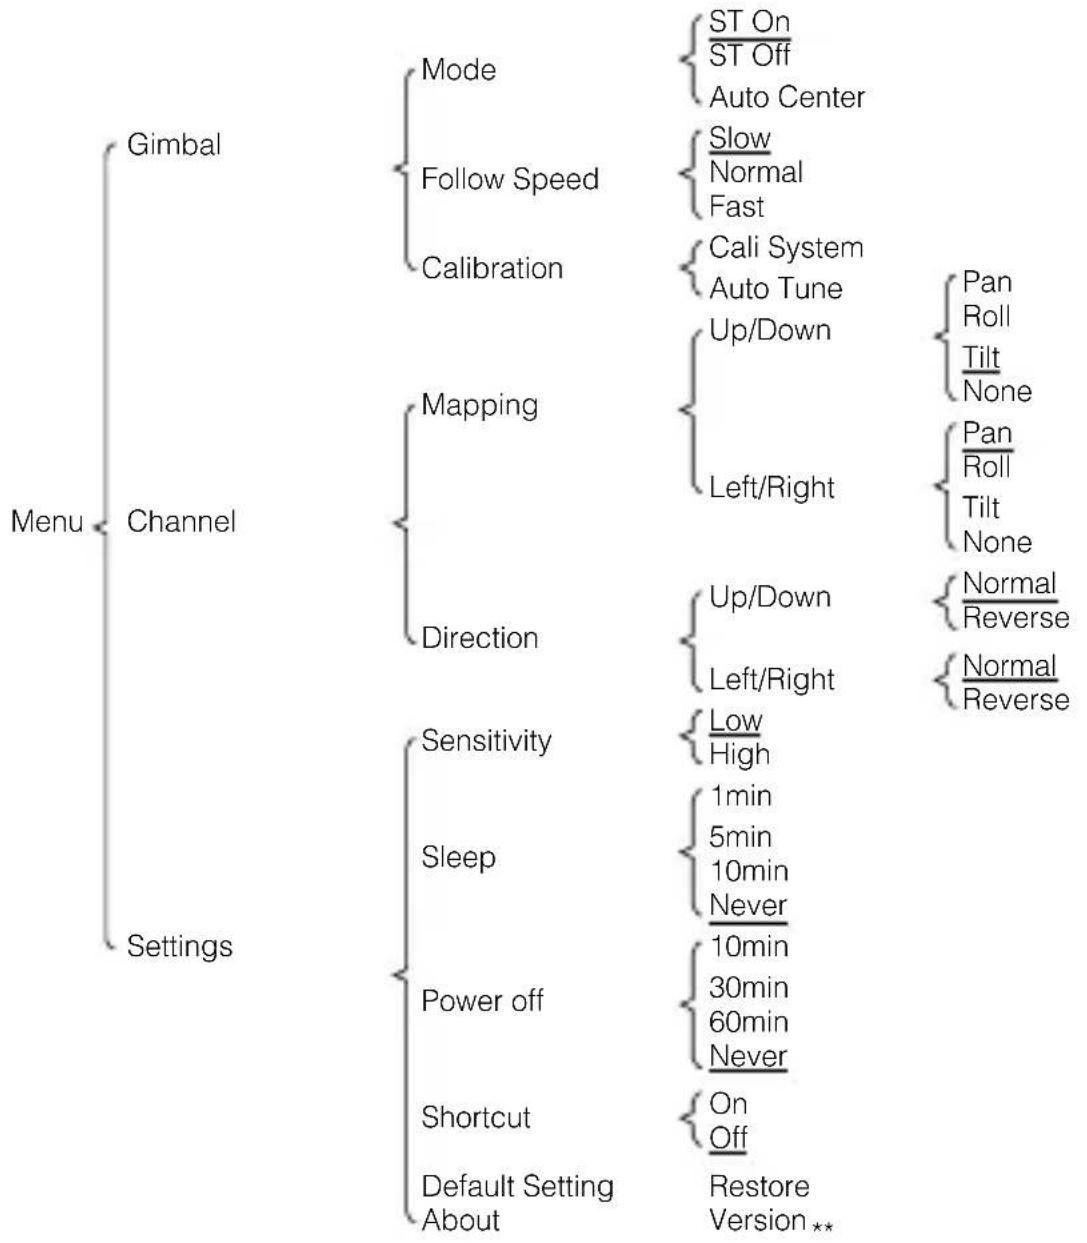
To enter the Main Menu, press and hold the center of the thumb stick. The default settings are underlined on the diagram below.
flowchart
graph TD
    A["Menu"] --> B["Gimbal"]
    A --> C["Channel"]
    A --> D["Settings"]

    B --> B1["Mode"]
    B --> B2["Follow Speed"]
    B --> B3["Calibration"]
    B1 --> B1a["ST On ST Off Auto Center"]
    B2 --> B2a["Slow Normal Fast"]
    B3 --> B3a["Cali System Auto Tune"]
    B1a --> B1a1["Up/Down"]
    B2a --> B2a1["Left/Right"]
    B3a --> B3a1["Pan Roll Tilt None"]
    B3a --> B3a2["Pan Roll Tilt None"]
    C --> C1["Mapping"]
    C --> C2["Direction"]
    C1 --> C1a["Up/Down"]
    C1 --> C1b["Left/Right"]
    C2 --> C2a["Low High"]
    C2 --> C2b["Sleep 1min 5min 10min Never 10min 30min 60min Never"]
    C3 --> C3a["Shortcut On Off"]
    C3 --> C3b["Default Setting Restore Version **"]
The Main Menu contains three tabs: Gimbal, Channel and Settings.
Press up/down on the thumb stick to select an item. Press right to view and select options, and press left to return to the Main Menu.
Gimbal
Mode
ST Off: SmoothTrack is off. The Thumb Controller is free to control the pan axis. The gimbal will stop and hold the last position determined by the pan axis control stick, without applying SmoothTrack.
ST On: SmoothTrack is on. The Thumb Controller is free to control the pan axis. The gimbal will stop and hold the last position determined by the pan axis control stick, while applying SmoothTrack.
Auto Center: SmoothTrack is on. The gimbal will apply SmoothTrack when reorienting and resetting the pan angle to the forward-facing direction after the pan axis control stick is released.
Follow Speed
The Follow Speed tab allows you to select the SmoothTrack speed.
There are 3 possible speeds: Fast, Normal, and Slow. The value of each speed can be adjusted in the DJI Assistant app or the PC/MAC Assistant.
Calibration
“Cali System” should be used if there is perceptible drift on any axis. The calibration procedure should take approximately 90 seconds to complete.
Selecting “Auto Tune” will automatically adjust each motor’s stiffness settings to achieve an optimal balance. This process should take approximately 20
seconds to complete.
The gimbal cannot be controlled by the Thumb Controller or the remote controller during calibration. Do not touch or move the gimbal during either process.
Channel
Mapping
Allows you to assign control of the pan, tilt, or roll motion of the gimbal to the up/down or left/right input of the thumb stick.

- By default, the up/down input on the thumb stick controls the tilt axis movement of the gimbal and the left/right input on the thumb stick controls the pan axis movement of the gimbal.
- If you reassign the control input of either axis, only the most recent assignment will be valid.
Direction
Under the ‘Normal’ setting, the gimbal moves in the same direction of the input of the thumb stick. (Default settings: up/down tilt, left/right pan)
Selecting ‘Reverse’ for the up/down or left/right input will reverse the controls respectively.
Settings
Sensitivity
There are two sensitivity settings for the Thumb Controller: High/Low.
Sleep
If the Thumb Controller has been idle for longer than the specified amount of time, the OLED display will be turned off.
Power Off
If the Thumb Controller has been idle for longer than the specified amount of time, it will be turned off.
Shortcut
Enabling this allows you to switch SmoothTrack modes and change the SmoothTrack speed quickly by double tapping the thumb stick.
On the Home Screen:
Double tap right to select ST (SmoothTrack) Off. Double tap left to select ST (SmoothTrack) On. The “ST” icon will appear. Double tap down to select Auto Center. The “STA” icon will appear. Double tap up to change the Follow Speed. The icons “S>>>”, “S>>” and “S>” represent Fast, Normal, and Slow respectively.
Default Settings
Restores all settings to the factory defaults.
About
Displays the firmware version that is currently installed on the Thumb Controller.
DJI Assistant App Tuning
You can adjust various parameters in the DJI Assistant app.
Turn on the Thumb Controller and the gimbal, then launch the DJI Assistant app. To meet your specific requirements, you can also access advanced functions through the Assistant app. In the Control Menu, you can adjust the Deadband, Maximum Speed, Smoothing, and Controller Priority.
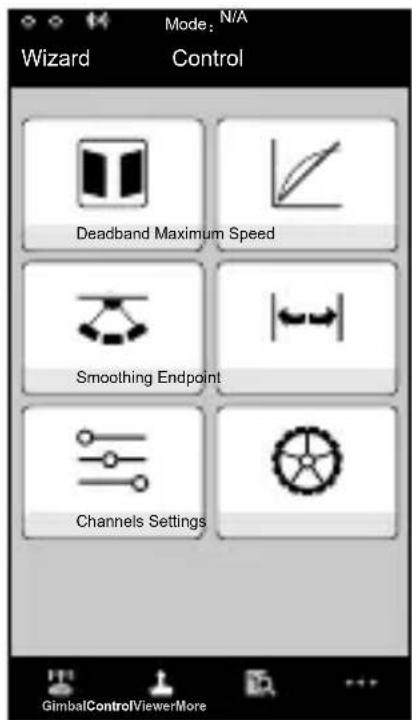

- Controller Priority: If both the Thumb Controller and a remote controller simultaneously send control signals to the gimbal, the input from the selected controller will take priority.
• Refer to the Ronin/Ronin-M User Manual for more details.
DJI PC/MAC Assistant Tuning
The DJI PC/MAC Assistant allows you to tune the Thumb Controller and update its firmware.
The tuning procedures offered through the DJI Assistant app are the same as those offered through the DJI PC/MAC Assistant. There is no need to adjust the settings in both applications.
The DJI Assistant app and the PC/MAC Assistant program cannot be connected to the Thumb Controller at the same time. If you are running the Assistant app on your mobile device, do not connect the Micro-USB cable to your computer.
Settings
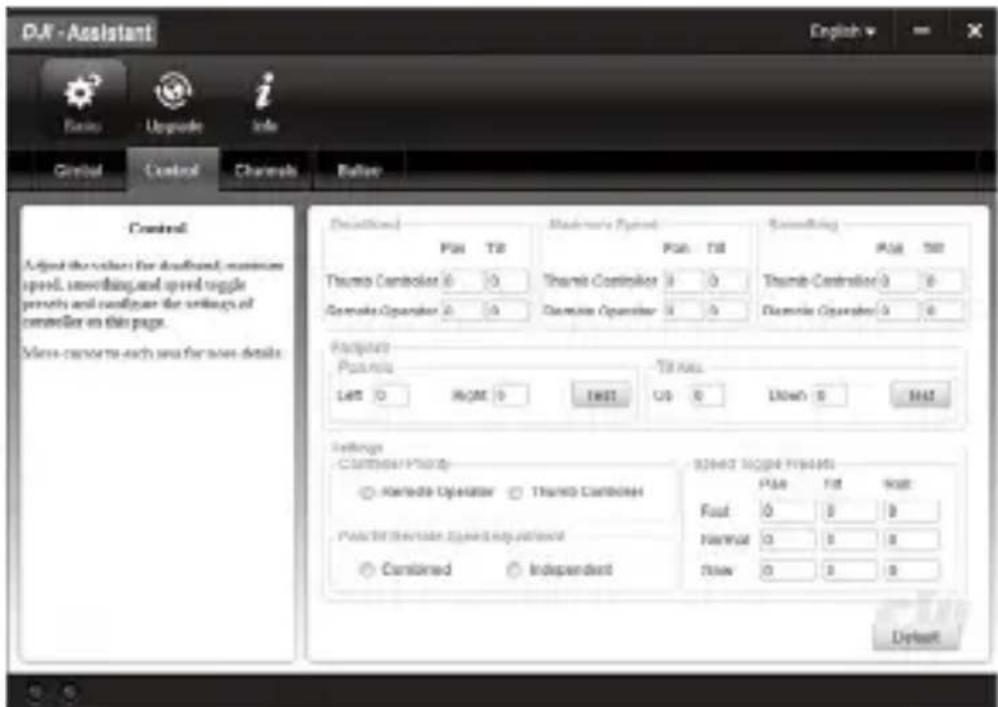
In the Control Menu, you can adjust the Deadband, Maximum Speed, Smoothing, and Controller Priority.
Updating the Thumb Controller and the Receiver
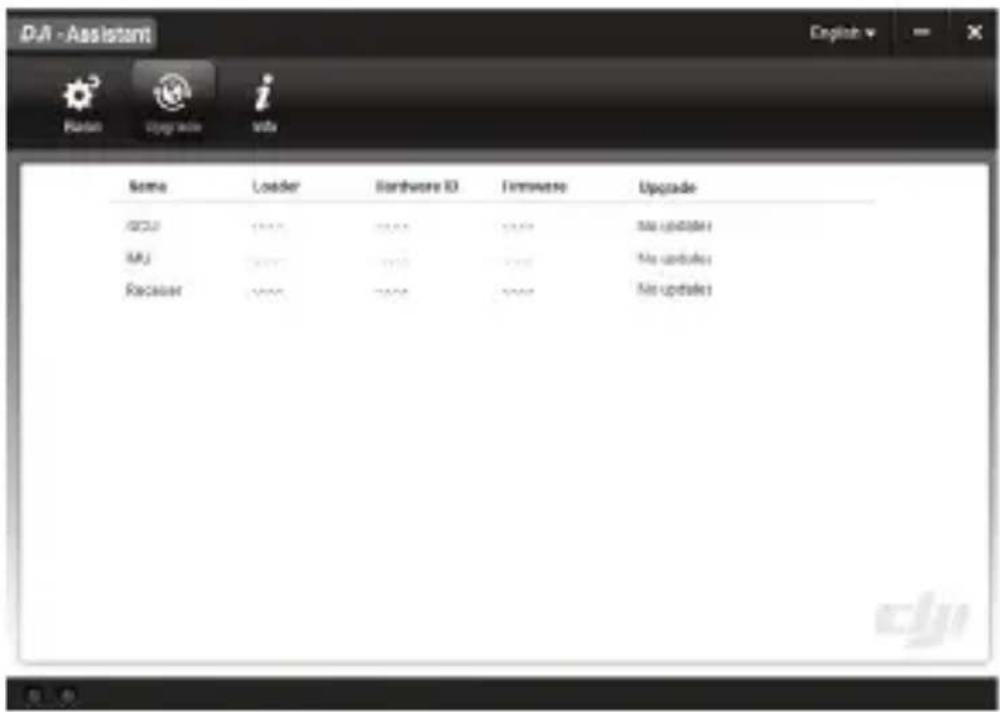
You can find the latest firmware version information on this page and update the firmware by following the steps below:
- Use the Micro-USB cable to connect the Thumb Controller to your computer, then wait until the indicator in the Assistant blinks blue.
- Click "Update."
-
Wait for the download to finish.
-
Click "Update" again and then click "Confirm."
-
After the update is complete, turn the Thumb Controller off and then on again.
-
Repeat this process with the Ronin-M or the Ronin External Receiver.

- Ensure your computer is connected to the internet.
- Close all antivirus programs and network firewalls.
- Ensure the device is turned on before beginning the update process.
- Do not disconnect the USB cable until the update is complete.
If the Thumb Controller fails to update, follow the steps below:
- Press and hold the override button.
- Use the USB cable to connect the Thumb Controller to the computer.
- Now, release the override button and wait for the connection to be established.
- Click the "Update" button after the Thumb Controller has been successfully connected to the DJI PC/MAC Assistant. The Thumb Controller will be operate normally after the update is complete.
Specifications
| Type RONIN TC | |
| Supported Devices Ronin, Ronin-M | |
| Operating Frequency 2.415 GHz ~ 2.454 GHz | |
| Working Current <100 mA @ 3.3 V | |
| Communication Distance 200 ft. (60 m) | |
| Battery Life 18 h | |
| Standby Life 20 h | |
| Operating Temperature -4°F to 122°F (-20°C ~ 50°C) | |
| Battery Type LiPo | |
| Battery Voltage 3.7 V | |
| Battery Capacity 1150 mAh | |
| Charge Time 2 h | |
| Weight 1.75 oz. (50 g) | |
| Size | 2.7 × 1.4 × 0.9 in. (68 × 36 × 23 mm) |
| Mounting Bracket Diameter 1.0 in. or 1.2 in. (25 mm or 30 mm) | |
| Display | White OLED, 0.96 inch, Dots: 128 × 64 |
The content is subject to change.
Download the latest version from http://www.dji.com/product/ronin-thumb-controller/download
If you have any questions about this document, please contact DJI by sending a message to DocSupport@dji.com.
© 2015 DJI. All Rights Reserved.

- Disclaimers and Warnings
- Content
- In the Box
- Introduction
- Thumb Controller
- External Receiver (For Ronin Only)
- Installation
- Installing the Thumb Controller
- Installing the External Receiver (For Ronin Only)
- Binding the Thumb Controller to the Gimbal
- Binding to the Ronin-M
- Binding to the Ronin
- Using the Thumb Controller
- Gimbal
- Mode
- Follow Speed
- Calibration
- Channel
- Mapping
- Direction
- Settings
- Sensitivity
- Sleep
- Power Off
- Shortcut
- Default Settings
- About
- DJI Assistant App Tuning
- DJI PC/MAC Assistant Tuning
- Updating the Thumb Controller and the Receiver
Brand : DJI
Model : Ronin Thumb Controller
Category : Remote control