
TRC-1480 MK2 - Weather Station DENVER - Free user manual and instructions
Find the device manual for free TRC-1480 MK2 DENVER in PDF.


| Product Type | Wireless Indoor/Outdoor Weather Station |
| Model | TRC-1480 MK2 |
| Brand | Denver |
| Indoor Temperature Range | -10°C to +50°C (+14.2°F to +122°F) |
| Outdoor Temperature Range | -50°C to +70°C (-58°F to +158°F) |
| Temperature Resolution | 0.1°C |
| Transmission Frequency | 433 MHz |
| Transmission Range | Up to 30 meters (no obstructions) |
| Outdoor Sensor Update Interval | 1 minute |
| Alarm Duration | 2 minutes |
| Power Supply (Indoor Unit) | 2 x AAA batteries |
| Power Supply (Outdoor Sensor) | 2 x AAA batteries |
| Display | LCD showing time, date, indoor/outdoor temperature, weather forecast icons |
| Weather Forecast | Sunny, Sunny & Cloudy, Cloudy, Rainy (predicts next 6-12 hours) |
| Clock Features | 12/24 hour format, calendar, alarm with snooze |
| Number of Supported Outdoor Sensors | Up to 3 (CH1, CH2, CH3) |
| Temperature Units | °C or °F selectable |
| Min/Max Memory | Records and displays indoor/outdoor min/max temperatures |
| Reset Function | Rear reset button restores factory settings |
| Low Battery Indicator | Icon on LCD for outdoor sensor low battery |
| Recommended Placement | Place indoor unit near an open window for accurate weather forecast; avoid air-conditioned areas |
Frequently Asked Questions - TRC-1480 MK2 DENVER
User questions about TRC-1480 MK2 DENVER
0 question about this device. Answer the ones you know or ask your own.
Ask a new question about this device
Download the instructions for your Weather Station in PDF format for free! Find your manual TRC-1480 MK2 - DENVER and take your electronic device back in hand. On this page are published all the documents necessary for the use of your device. TRC-1480 MK2 by DENVER.
USER MANUAL TRC-1480 MK2 DENVER
INSTRUCTION MANUAL DENVER TRC-1480 MK2
Wireless Indoor and Outdoor Thermometer, Clock and Weather Station
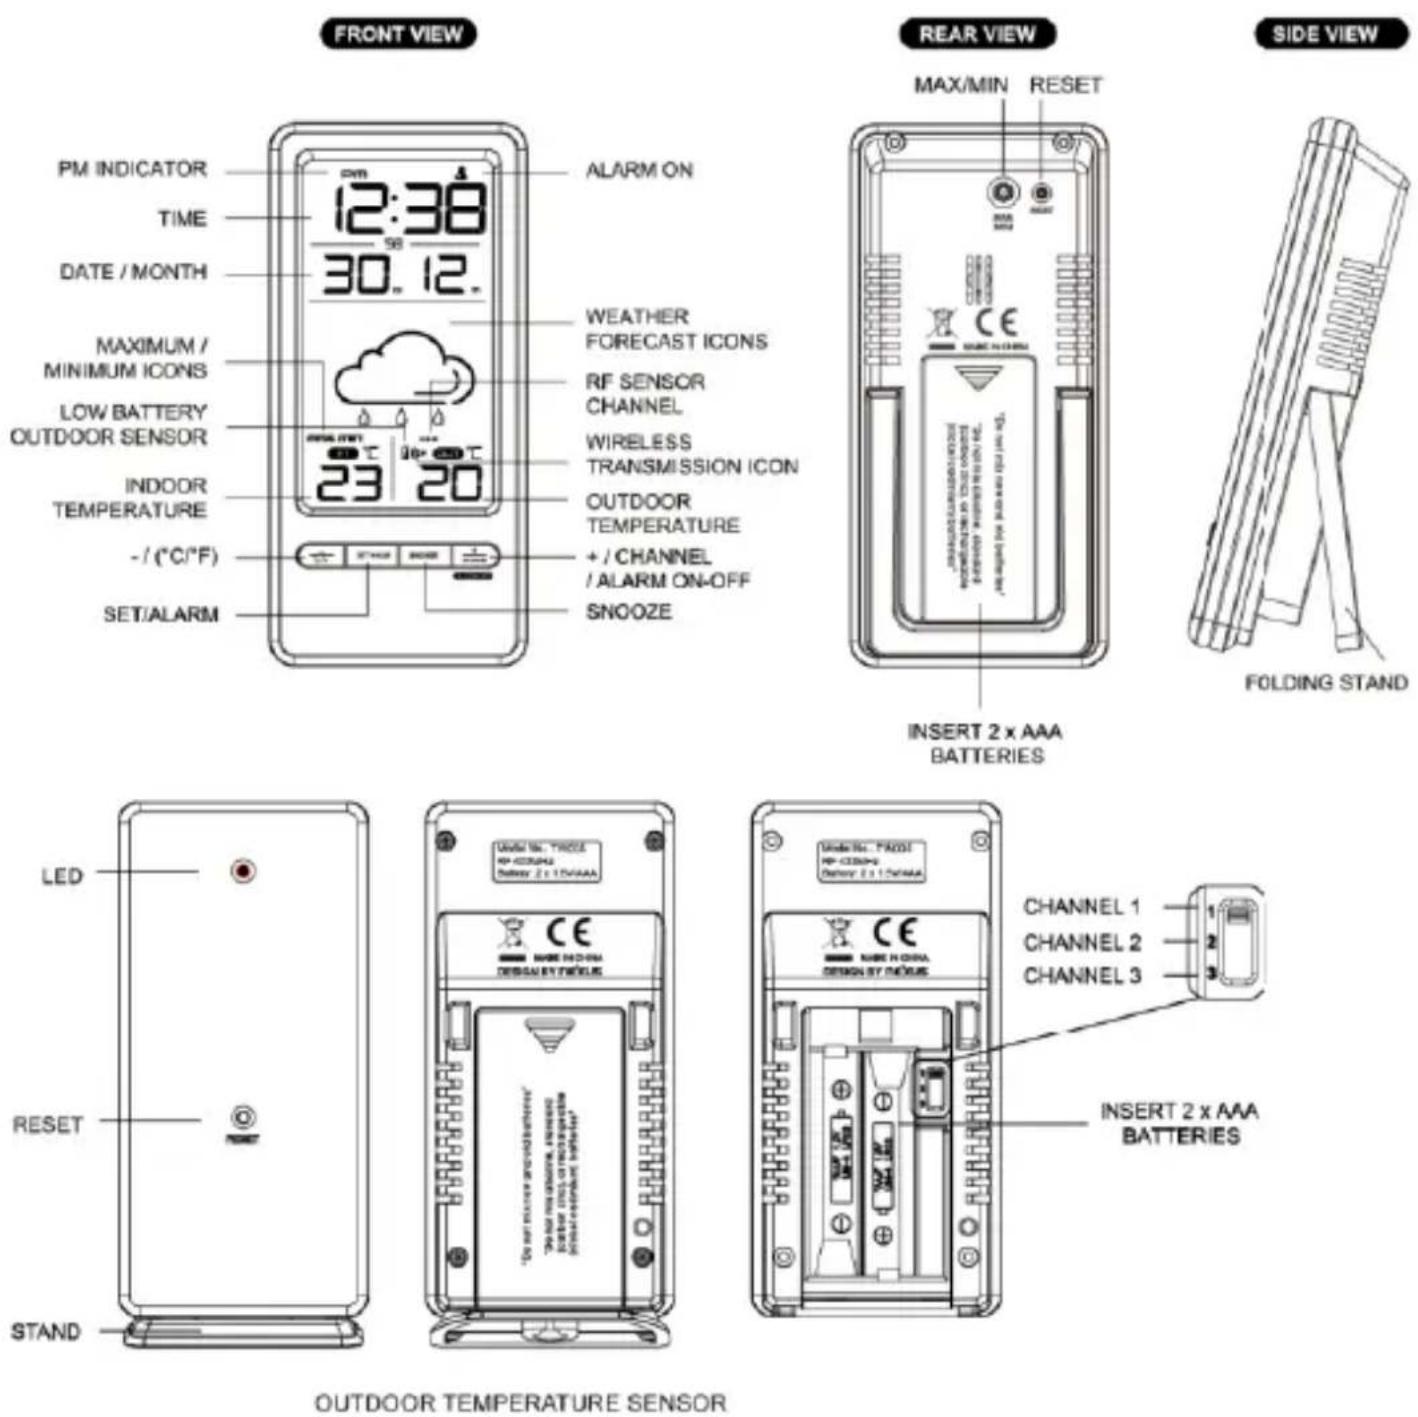
QUICK START GUIDE
- Slide the battery cover at the rear of your indoor unit open.
- Insert 2 x AAA batteries in the battery compartment; observe correct polarity (+/-) as printed inside the battery compartment.
-
Replace the battery cover. After a few seconds the LCD shows default time, calendar and current indoor temperature and starts to search for the outdoor temperature signal.
-
Insert 2 x AAA batteries in the outdoor sensor. The outdoor temperature will be displayed with "CH1" shown on the lower line of the LCD. Your indoor unit is synchronized with the outdoor sensor on Channel 1; the outdoor temperature is displayed.
Please note:
Your outdoor sensor has a transmission range of 30m with no obstructions. The actual transmission range can vary, depending on the signal path. Obstructions (roof, walls, floors, ceilings, trees, etc.) affect the signal range.
SET CALENDAR, 12/24-HOUR FORMAT AND TIME
- Press and hold SET / ALM SET for 2 seconds, the time digits change to “2008 YR” and start flashing. Press +/- to set the year.
- Press SET / ALM SET again, the month digits start flashing. Press +/- to set the month.
- Press SET / ALM SET again, the date digits start flashing. Press +/- to set the date.
- Press SET / ALM SET again, the time digits change to "24 Hr", press +/- to select "12 Hr" time format or "24 Hr" time format. When selecting "12 Hr", the AM / PM icon will be displayed.
- Press SET / ALM SET again, the time digits "0:00" show and the hour digits start flashing. Press +/- to set the hours.
- Press SET / ALM SET again, the minute digits start flashing. Press +/- button to set the minutes.
- Press SET / ALM SET to return to normal mode, or wait 30 seconds for the unit to return automatically.
SET ALARM
- Press SET / ALM SET, the time digits change to the alarm time digits "AM 7:00 AL". Press and hold SET / ALM SET for 2 seconds, the hour digits start flashing. Press +/- to set your desired alarm time hour.
- Press SET / ALM SET again, the alarm minute digits start flashing. Press +/- to set the alarm minutes.
- Press SET / ALM SET again, time digits change to "05" and start flashing. Press +/- to set the snooze duration between 1 and 20 minutes.
- Press SET / ALM SET to return to normal mode, or wait 30 seconds for the unit to return automatically.
TURN ALARM ON OR OFF
Press SET / ALM SET to display the alarm time. When the alarm time is displayed, press + to turn on / off the daily alarm. When the alarm function is turned on, the 📄con appears between the hour and minute digits.
SNOOZE FUNCTION
When your alarm turns on, the clock sounds a beep to wake you up. The icon starts flashing.
-
Press SNOOZE to stop the alarm temporarily, the icon keeps flashing. The alarm will beep again after 5 minutes.
-
Press + / CHANNEL (ALM On-Off) to stop the alarm, the alarm beep will stop and the icon illuminates; the alarm will beep again at the same time the next day.
Alarm Duration: 2 minutes.
DISPLAY TEMPERATURE IN DEGREES C OR F
Press - (°C/°F) to display the temperature in degrees Celsius or Fahrenheit.
- Press MAX/MIN at the rear to display the indoor/outdoor maximum or minimum temperatures.
- When maximum indoor/outdoor temperatures are displayed, press and hold MAX to clear the maximum values; the unit will start recording and displaying updated data again.
- When minimum indoor/outdoor temperature and humidity are displayed, press and hold MIN to clear the minimum values; the unit will start recording and displaying updated data again.
USE INSTRUCTIONS FOR THE WEATHER STATION
There are four types of weather display on your weather station: SUNNY / SUNNY AND CLOUDY / CLOUDY / RAINY.
 | SUNNY |
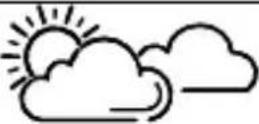 | SUNNY AND CLOUDY |
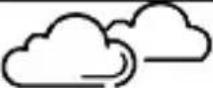 | CLOUDY |
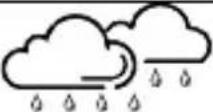 | RAINY |
Please note: For better use of your weather station, place it in a location with air circulation, e.g. close to an open window. Placing it in an air-conditioned environment will affect its accuracy. After your weather station is powered up, it will take around 24 hours to stabilize. The weather icons on the display give reference to the next 6-12 hours weather conditions. It may not match with the current weather condition outside.
SYNCHRONIZE CLOCK WITH MULTIPLE OUTDOOR SENSORS
Your indoor unit comes with one outdoor sensor. You can purchase a second or third outdoor sensor to work with this unit simultaneously.
-
Press + / CHANNEL (ALM On-Off), the bottom line of the LCD shows "CH2" and "--". Press and hold + / CHANNEL / ALM On-Off for 2 seconds. Insert 2 x AAA batteries in the second outdoor sensor. Change the button setting from "1" to "2" for selecting channel 2. The temperature of the second outdoor sensor is displayed on the lower line on the LCD.
-
Repeat this step to synchronize a third outdoor sensor on "CH3".
TROUBLESHOOTING
-
In case your indoor unit shows irrelevant information or digits, it may be affected by electrostatic discharge or interferences from other devices. Press RESET on the rear of the unit. Your unit will be reset to the factory settings (time and calendar) and you need to set time and calendar again.
-
In case the outdoor temperature shows "--":
2.1) Press + / CHANNEL (ALM On-Off) to display the correct channel, "CH1" is your default channel;
2.2) If the outdoor temperature shows "CH1", press and hold + / CHANNEL (ALM ON-OFF) for 2 seconds. The outdoor temperature will be displayed in approx 1 minute;
2.3) If above procedures do not work, repeat 2.2), bring in the outdoor sensor and press RESET on the outdoor sensor.
Please note: If you observe a "Low Battery" icon on the lower left side of the LCD (which means your outdoor sensor has a low battery level), replace the batteries of the sensor.
CARE AND MAINTENANCE
- Do not expose the unit to extreme temperatures, water or direct sunlight.
- Avoid contact with corrosive materials.
- Do not subject the unit to excessive force, dust or humidity.
- Do not open the casing or tamper with components of the unit.
SPECIFICATIONS
Indoor Temperature Range -10°C to +50°C (+14.2°F to +122°F)
Outdoor Temperature Range -50°C to +70°C (-58°F to +158°F)
Out of Range Display Temperature: HH.H / LL.L
Outdoor Temperature Interval 1 minute
Temperature Resolution 0.1°C
Alarm Duration 2 minutes
Transmission Frequency 433Mhz
Transmission Distance Up to 30 meters (no obstructions)
ALL RIGHTS RESERVED, COPYRIGHT DENVER ELECTRONICS A/S
DENVER®
www.denver-electronics.com

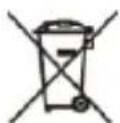

Electric and electronic equipment contains materials, components and substances that can be hazardous to your health and the environment, if the waste material (discarded electric and electronic equipment) is not handled correctly.
Electric and electronic equipment is marked with the crossed out trash can symbol, seen below. This symbol signifies that electric and electronic equipment should not be disposed of with other household waste, but should be disposed of separately.
All cities have established collection points, where electric and electronic equipment can either be submitted free of charge at recycling stations and other collection sites, or be collected from the households. Additional information is available at the technical department of your city.
Hereby, Inter Sales A/S, declares that this product (FILL IN MODEL NO.) is in compliance with the essential requirements and other relevant provisions of Directive 1999/5/EC. A copy of the Declaration of conformity may be obtained at:
Inter Sales A/S
Stavneagervej 22,
DK-8250 Egaa
Denmark
Imported by:
DENVER ELECTRONICS A/S
Stavneagervej 22
DK-8250 Egaa
Denmark
www.facebook.com/denverelectronics
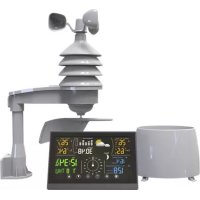
Brand : DENVER
Model : TRC-1480 MK2
Category : Weather Station