
BDRON-400 - Drone BRIGMTON - Free user manual and instructions
Find the device manual for free BDRON-400 BRIGMTON in PDF.


| Product Type | Drone |
| Brand | Brigmton |
| Model | BDRON-400 |
| Battery | Li-Po 3.7V 380mAh (included) |
| Charging Time | Approximately 50 minutes |
| Remote Control Batteries | 4× AA (not included) |
| Camera | HD camera, supports photo and video recording |
| Storage | Micro SD card (not included) |
| Speed Modes | 3 levels: 40%, 70%, 100% |
| Special Functions | 360° flip, auto frequency adjustment |
| Propellers | 4 blades (clockwise and anticlockwise pairs) |
| Age Recommendation | 14 years and older |
| Indoor/Outdoor Use | Suitable for both, but avoid wind |
| Safety Features | Low battery LED indication, auto frequency adjustment |
| Included Accessories | USB charger, battery, remote control, manual |
| Maintenance | Keep dry, avoid heat, use original spare parts |
Frequently Asked Questions - BDRON-400 BRIGMTON
User questions about BDRON-400 BRIGMTON
0 question about this device. Answer the ones you know or ask your own.
Ask a new question about this device
Download the instructions for your Drone in PDF format for free! Find your manual BDRON-400 - BRIGMTON and take your electronic device back in hand. On this page are published all the documents necessary for the use of your device. BDRON-400 by BRIGMTON.
USER MANUAL BDRON-400 BRIGMTON
natural_image
Exterior view of a SKY Dreamer drone with visible propeller and control panels (no text or symbols on the aircraft body)BDRON-400
DRON HD CÁMARA
natural_image
Two electronic devices with cables and connectors, one connected to a USB port (no visible text or symbols)natural_image
Close-up of hands operating a Drip 14 controller with dual dials (no visible text or symbols)natural_image
Line drawing of a mechanical device with front and top views (no text or symbols)natural_image
Black-and-white photo of a quadcopter drone with visible propeller and control panels (no text or symbols on the aircraft body)BDRON-400
HD CAMERA DRONE
Instruction Manual
WARNING
- Please read these operating instructions before using the device.
- Do not use the device in prohibited areas or on humans or animals.
- Do not use the device under adverse wind conditions, is not ready.
- This device must be used by people over 14 years.
- It has small parts that can be swallowed by children.
- The device is designed to correct and use common sense, not to be used violently, shocks, etc.
- Do not put your fingers into the propellers when they are spinning, may cause damage.
- Keep the device away from other flying devices during flight.
IMPORTANT
Please use the device according to the manual and these warnings. Any modifications to the equipment, improper use or lack of reading this manual can result in dangerous situations or accidents, please be cautious.
The firm is not responsible for damages or accidents caused by improper use, misuse of the equipment, uses not allowed, etc.
This device must be used by people over 14 years.
Use of this device requires skills radio controlled flight and the pilot, takeoff, landing, drops, scratches and bumps make BDRON-400 a consumable device, because with use, the device will lose power.
This device requires maintenance by the user. Please contact our Technical Assistance Services in doubt.
SAFETY
- Use the device away from crowds.
- Use either an interior and exterior (in environments without wind), but you must always fly away from obstacles.
- The internal mechanism is composed of many high precision parts and mechanical components. Keep the device away from water and moisture to ensure the proper functioning of these components.
- Always use spare parts and tools supplied by our Technical Department.
- When inserting the batteries, check the polarity. If you are not using the device for a long period of time, remove the batteries. Never throw batteries in the trash, but in a clean point and following the rules of their community.
- Batteries should only be charged using the supplied adapters and chargers. Respect the charging time.
- Keep your device away from heat and fires since the material to warp.
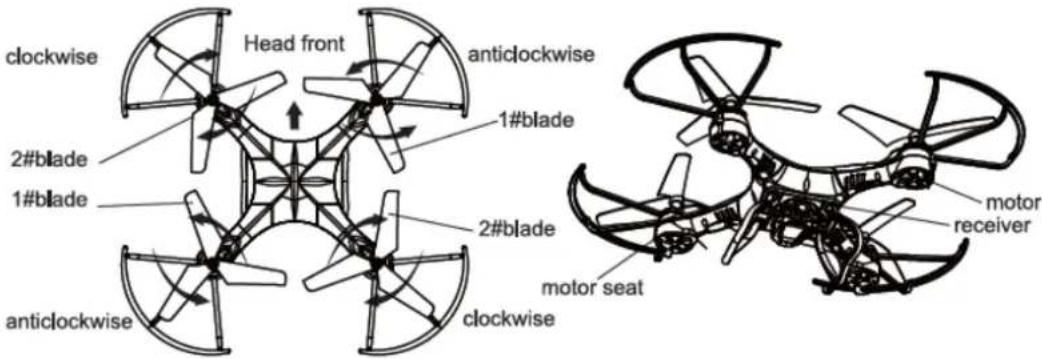
DRON PARTS
OPERATION
BATTERY CHARGE
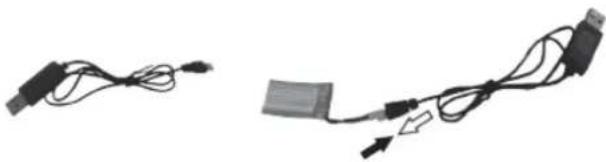
Connect the battery cable provided (check the appropriate polarity) and the cable to the USB charger. Connect the charger to the mains. EL estimated charge time is 50 minutes but it depends on the state of the battery, the font used for loading, etc.
natural_image
Two electronic devices with cables and connectors, one connected to a battery and the other linked via wires (no visible text or symbols)When connecting the cable to the power (no battery connected) red indicator lights. When connecting the battery this indicator will turn off and remain off during charging. When charging is completed, the indicator lights again.
- During charging keeps the battery in a dry and ventilated place away from ignition sources. 18-25 ^0 temperature.
- Use the accessories supplied for charging.
- Do full loads. This will prolong the life of the battery.
- Use only original batteries.
REMOTE CONTROL
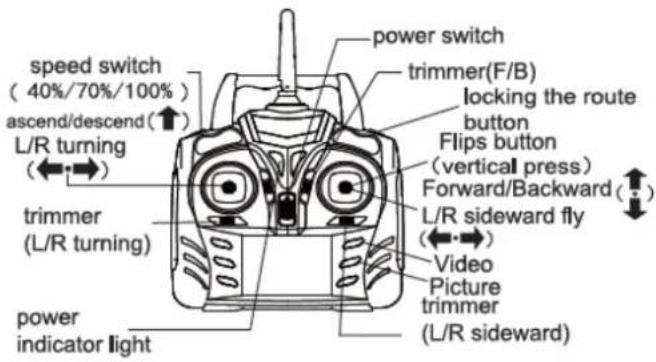
Insert 4 batteries "AA2 on the remote control. The red light starts flashing rapidly indicating that it is seeking the DRON connection. Once connected remains solid red color.
Once the batteries flashes red slowly run out.
You can adjust the movements with the buttons.
ON
1) Turn on DRON connecting the battery.
2) Turn on the remote control, the red indicator flashes quickly until you connect with DRON.
3) IMPORTANT: When you turn the knob, make sure the lever off is in the down position. From the engine so could crash or cause an uncontrolled flight that seriously damage the DRON.
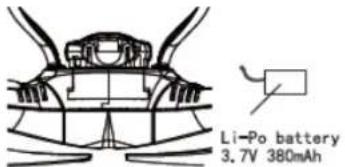
Step 1: Connect the battery following the proper polarity and place the DRON on a flat surface.
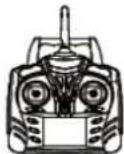
Step 2: Turn off lever in the down position. Turn the remote control and wait for connect and light stays fine. You can now fly the DRON.
Step 3: Once the flight is completed, disconnect the battery.
Step 4: If you will not use the device for a long period of time, remove the batteries from the remote control.
ADJUSTMENT OF FLIGHT
Practice with slow movements before long flights or taller. Use the device in an open area, in the absence of objects that may interfere with the flight.
First perform simple turns left and right, forward and backward.
Red lights indicate the front of the DRON. You can also locate the front and rear parts according to the color of the propellers.
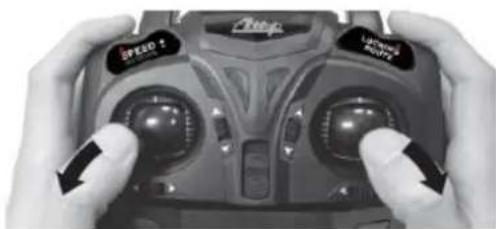
AUTO frequency adjustment. Press as indicated in the figure:
natural_image
Close-up of hands holding a Chip controller with labeled buttons (no readable text beyond branding)This will adjust the DRON and you can start over from 0.
| MODE | ILLUSTRATION | MODE | ILLUSTRATION | ||
| Aileron | 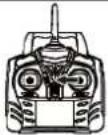 | 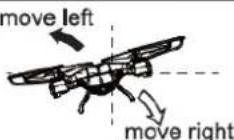 | Throttle | 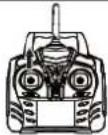 | 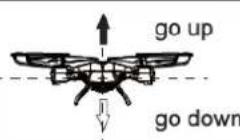 |
| Elevator | forwardBackward | Rudder | turn leftturn right | ||
Adjustment movements
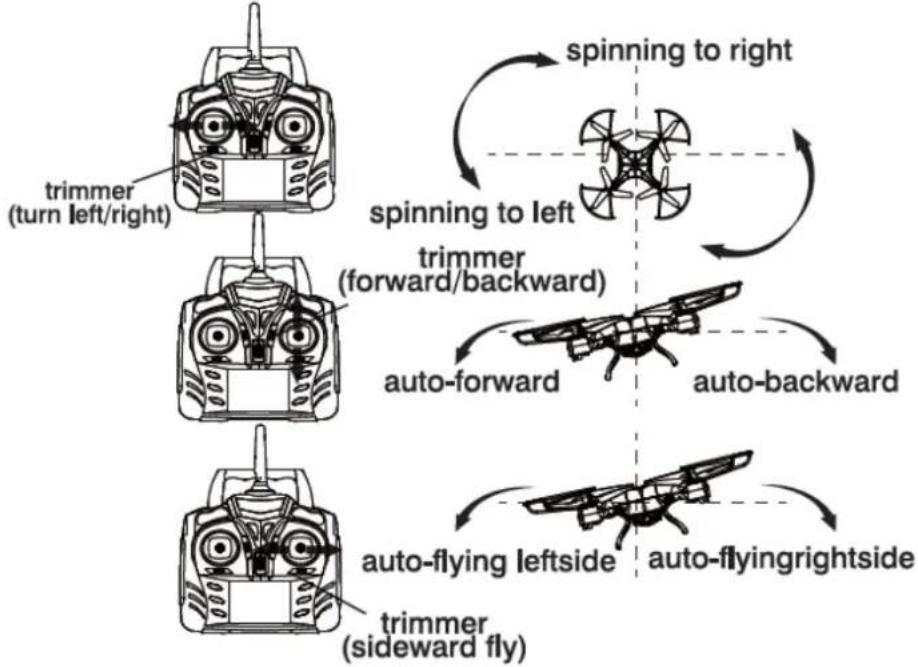
flowchart
graph TD
    A["Top 3D Trimmers"] --> B["Top 3D Rotation System"]
    B --> C["Spinning to Left"]
    C --> D["Spinning to Right"]
    D --> E["Trimmer (Forward/Backward)"]
    E --> F["Auto-Forward"]
    F --> G["Auto-Backward"]
    G --> H["Trimmer (Sideward fly)"]
    H --> I["Auto-flying Leftside"]
    I --> J["Auto-flying Rightside"]
360^
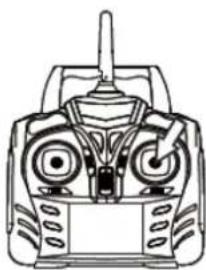
Stabilize the DRON for 360°.
Press the button moves inward:
natural_image
Line drawing of a mechanical device with front and side views (no text or symbols)You will hear a "beep" repeated. Now you can click on the direction you want to turn 360°. Press again to repeat this kind of turns.
Summary of movements:
| MODE | ILLUSTRATION | MODE | ILLUSTRATION | |
| Pull to Right side flip | 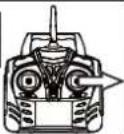 | 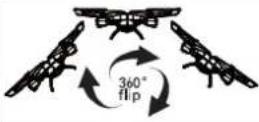 | 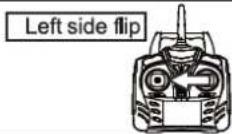 | 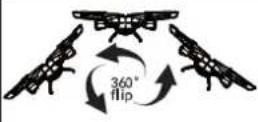 |
| front flip | 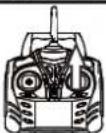 | 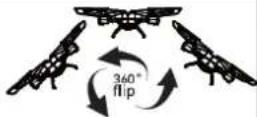 | 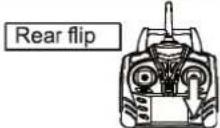 | 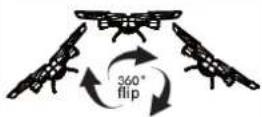 |
RECORDING PHOTOS AND VIDEOS
1) Before turning on the device, insert a micro SD card input camera cards.
2) Once you connect the controller to the DRON and you can make photos and videos by pressing PHOTO / VIDEO on the remote.
3) When taking a DRON PHOTO leds blink once. If you start recording a video, while this recording DRON flash lights. To stop the video press again and the lights stop flashing.
4) Connect the USB cable to the microUSB jack DRON and the other end to your PC. You can download the videos / photos.
NUMBERING OF PARTS
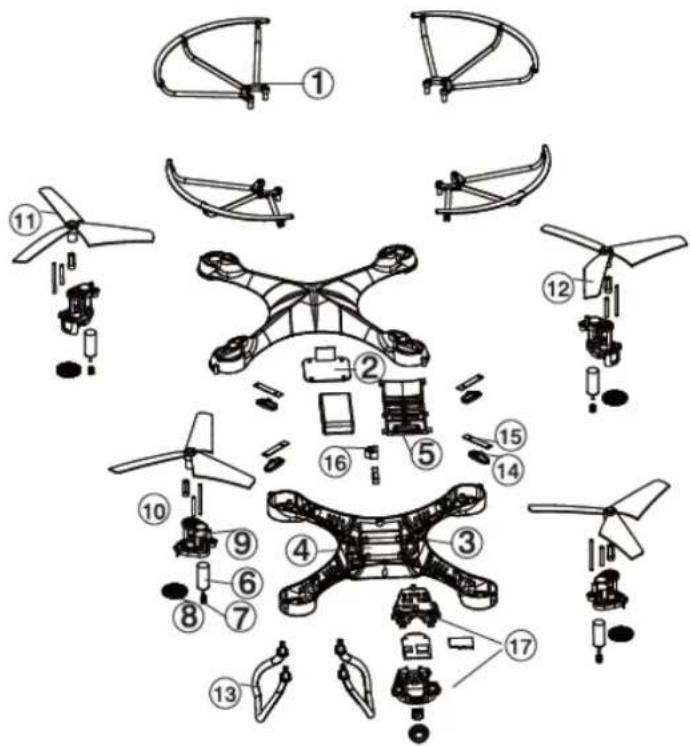
"Features can change without notice"

IMPORTED
FERSON ELECTRÓNICA, S.A.
CIF: A-41111881
SANTA CLARA DE CUBA 12
SEVILLA
ESPAÑA
DECLARATION OF CONFORMITY
Ferson Electrónica, S.A. declares under our responsibility that the equipment meets the requirements indicated in the following directives:
DIRECTIVAS EMC
EN 300 440-2 V1.4.1: 2010
ETSI EN 301 489-1 V1.9.2: 2011
EN 301 489-03 V1.6.1: 2013
EN 55014-1: 2006+A1+A2
EN 62479: 2010
EN 62115: 2005+A11:2012
EN 60825-1: 1994+A1:2002+A2: 2001
EN71-1: 2011+A3: 2014
2009/48/EC
EN 71-2: 2011+A1: 2014
EN71-3:2013
Description of apparatus:
Model BRIGMTON BDRONE-400
Radio Controlled Device


Brand : BRIGMTON
Model : BDRON-400
Category : Drone