
URBN Heat Monte Carlo - Iron OBH NORDICA - Free user manual and instructions
Find the device manual for free URBN Heat Monte Carlo OBH NORDICA in PDF.


User questions about URBN Heat Monte Carlo OBH NORDICA
0 question about this device. Answer the ones you know or ask your own.
Ask a new question about this device
Download the instructions for your Iron in PDF format for free! Find your manual URBN Heat Monte Carlo - OBH NORDICA and take your electronic device back in hand. On this page are published all the documents necessary for the use of your device. URBN Heat Monte Carlo by OBH NORDICA.
USER MANUAL URBN Heat Monte Carlo OBH NORDICA
text_image
OBH NORDICADESIGNING GOOD LIFE
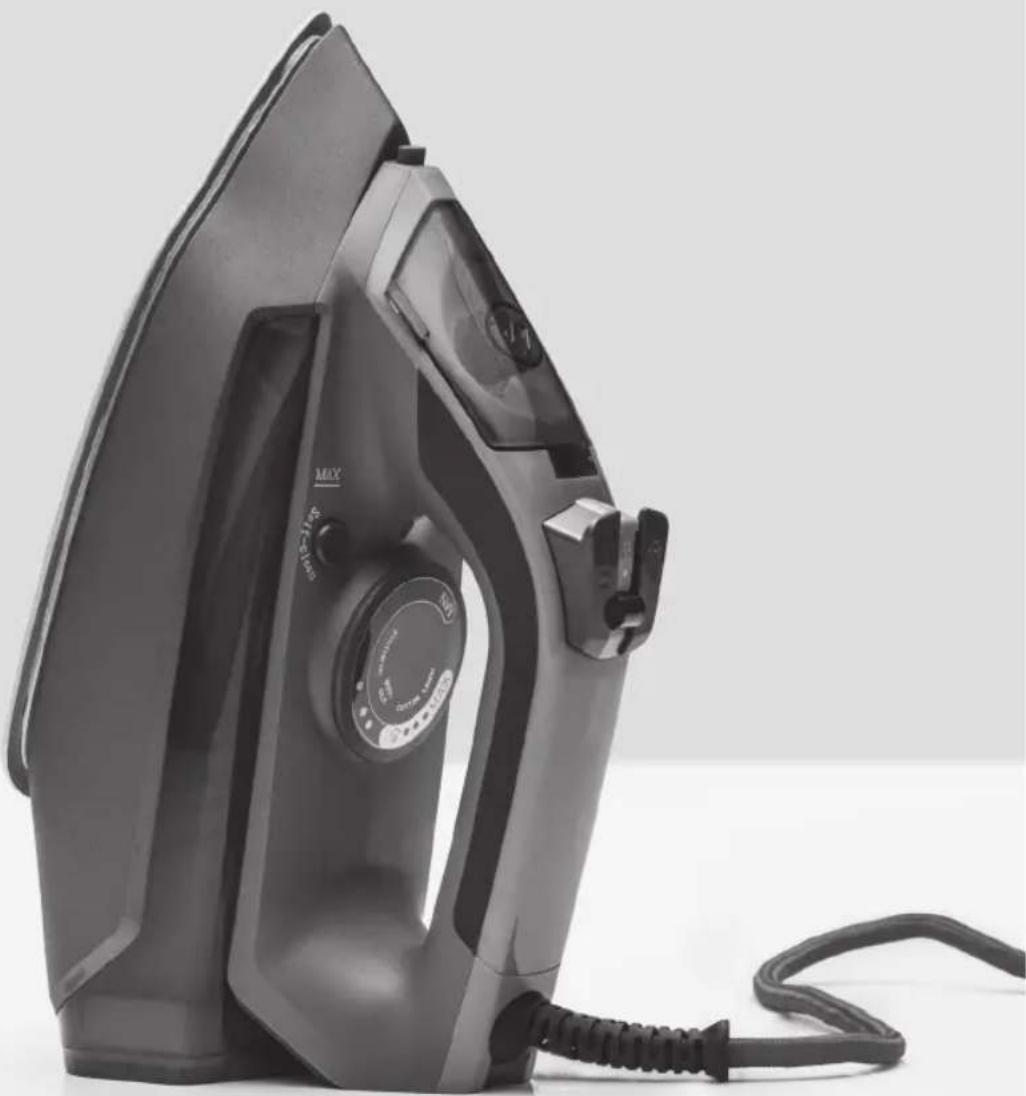
Steam Iron URBN HEAT
MONTE CARLO
Make a colorful impression
Making good!
text_image
Technical diagram of a steam iron with numbered parts for identification
OBH Nordica Denmark A/S
Ole Lippmanns Vej 1
2630 Taastrup
Tlf.: 43 350 350
www.obhnordica.dk
Tekniske data
OBH Nordica 2124
OBH Nordica Norway AS
Maridalsveien 15 E
0178 Oslo
Tlf: 2296 39 30
www.obhnordica.no
Tekniska data
OBH Nordica 2124
Never pour vinegar, descaling agents, softening agents, distilled water or other chemical additives in the iron. Such liquids may, if combined with the metallic parts of the iron, damage the iron. Possible damage to the iron or garments due to incorrect use will not be covered by the warranty.
- Read the instruction manual carefully before use and save it for future use.
- Plug the appliance to a household outlet of 220-240 volt AC only and use the appliance only for the intended use.
- Always unplug the appliance from the mains supply when not in use, if a problem occurs and before cleaning and maintenance.
- The appliance must not be immersed in water or any other liquids. Do not touch the appliance with humid or wet hands.
- This appliance can be used by children aged 8 years and over and persons with reduced physical, sensory or mental capabilities or lack of experience and knowledge, if they have been given supervision or instruction concerning the use of the appliance in a safe way by a person responsible for their safety and they understand the hazards involved.
- Children should be supervised to ensure that they do not play with the appliance. Children are not always able to understand potential risks. Teach children a responsible handling of electrical appliances.
- Keep the appliance and the cord out of reach of
children under the age of 8.
- Cleaning and maintenance shall not be made by children, unless they are over the age of 8 and supervised.
- Check that the cord is not hanging over the edge of the table.
- Never leave the iron unattended, when plugged to a wall outlet.
- Never use or store the iron outdoor or in humid rooms.
- Do not place the appliance on or near hotplates, open fire or the like.
- The iron should be used and stored on a stable and even surface.
- When the iron is in a vertical position on its heel, make sure that it is standing on a stable and even surface.
- Never iron across buttons, zips etc. This may damage the soleplate.
- Always unplug the appliance from the mains supply when the tank is being filled with water or emptied, before cleaning and maintenance and when not in use.
- The lid of the filling hole should always be closed when you use the iron.
- Never wind the cord around the iron until it has cooled completely.
- During use the iron reaches high temperatures. Do not get in direct contact with the soleplate, the water in the iron and the steam.
- Do not use the iron if it has been dropped, in case of visible damages or if it leaks water.
- Always examine appliance, cord and plug for
damage before use. If the supply cord is damaged, it must be replaced by the manufacturer, his service agent or a similarly qualified person in order to avoid a hazard.
- For additional protection the installation of a residual current device (RCD) with a rated residual operating current not exceeding 30 mA is recommended. Ask your installer for advice.
- The appliance is for domestic use only.
- If the appliance is used for other purposes than intended, or is it not handled in accordance with the instruction manual, the full responsibility for any consequences will rest with the user. Any damage to the product will not be covered by the warranty.
Parts of the appliance (see page 3)
- Soleplate
- Spray mouthpiece
- Water filling inlet
- Spray button
- Burst of steam button
- Steam button for setting the amount of steam
- Flexible cord clip
- Signal lamp
- Temperature control
- Self cleaning button
- Beaker (not illustrated)
Before use
Wipe the soleplate with a damp cloth to remove any possible residue before you use the iron. Fill water in the tank and empty it again to be sure that there are no impurities left in the water tank. Empty the water tank by opening the lid and turn the iron upside down over the kitchen sink to let the water run out.
Plug to a wall outlet and turn the temperature button to the MAX marking. Wait until the signal lamp goes out. Now iron a little on a damp cotton fabric to remove any possible steam from the soleplate.
How to use the iron
Temperature setting
Always follow the label and ironing instructions of the garment. The label shows an iron with dots indicating the correct temperature. If the iron symbol on the label is crossed, the garment cannot be ironed.
If there is no instruction as to the ironing temperature, start with the lowest possible temperature and carefully make a test. Always start at a part that will not be visible. In case of mixed kinds of fabrics, such as polyester/cotton, always iron at a temperature corresponding to polyester - i.e. the lowest temperature. You can use the following table as a guideline in case of doubt as to the temperature.
- = Ironing at low temperature. For synthetic fabrics such as e.g. acrylic, nylon, polyester etc. steam ironing is not possible at low temperatures. Set the steam button at “
•• = Ironing at medium temperature. For e.g. wool, silk etc. steam ironing is possible to a certain degree by setting the steam selector at the wanted steam setting.
•• MAX = Ironing at high temperature. For cotton and linen etc. steam ironing is possible to a certain degree by setting the steam selector at the wanted steam setting.
If the garment has prints, sequins etc. special care is required as such materials may melt. Consequently, the above instructions are not valid for such materials. We recommend that fabrics that have a tendency of becoming shiny, are ironed on the reverse side. If ironed on the right side, do it carefully and always keep the iron moving.
Filling with water
If you want to have steam, start by filling water direct from the tap.
If you use water other than tap water, the iron may be damaged and the fabric may get black spots. Any damage to the fabric that indicates that water other than tap water has been used will not be covered by the warranty and possible use of other liquids can be ascertained by our service workshop.
If you live in an area with very hard water (above 17 pH), you should clean the steam chamber regularly in order to avoid lime deposits. Follow the self-cleaning procedure described later in this instruction manual.
The iron is furthermore equipped with a built-in anti-lime filter (not changeable), which has been designed to reduce the building-up of limestone in the steam chamber and it therefore prolongs the lifetime of the iron. The anti-lime filter will, however, not entirely prevent the natural building-up of limestone in the steam chamber and it is therefore important to follow the self-cleaning procedure at regular intervals.
Unplug from the wall outlet and pour water in the delivered beaker. Push the steam selector to " ✉". Keep the iron horisontally and open the water filling inlet. Pour water slowly in the water filling inlet. Add water, but note the MAX marking. Close the lid. NOTE: If you want to iron with steam it is important that the iron is heated, before you switch the steam selector to steam.
Steam ironing
Steam ironing is only possible at high temperature settings "COTTON/LINEN". See the above table.
- Be sure to unplug from the wall outlet.
- Add water through the water inlet (the water tank should be filled to at last 1/4 ) as described above. Remember to set the steam selector at "※" first in order to prevent water from running out.
- Plug to a wall outlet and set the temperature selector at the wanted temperature. The signal lamp goes on during warming up and goes out when the iron has reached the set temperature. The iron is now ready for use. The signal lamp goes on and off during use to indicate that the thermostat keeps the correct temperature.
- Finally, push the steam selecting button to the wanted position and start ironing.
When steam ironing at too low temperatures some dripping may be seen from the soleplate as the water in the tank will not evaporate sufficiently fast. Consequently, make sure to set the steam selector corresponding to the temperature setting.
Before you start ironing, in particular for the first time, press the spray and steam selectors 3-4 times before ironing to activate these functions.
Burst of steam
Make sure that the water tank is filled at least 1/4. Set the temperature selector at the wanted position within the range of ••• and wait until the temperature has been reached (wait until the signal lamp goes off).
Lift the iron a few centimeters from the garment and press hard on the burst of steam button. The soleplate will now release a powerful burst of steam onto the garment. It may be necessary to activate the burst of steam button a couple of times in order to ensure the optimum power of the pump in the iron. Wait a couple of seconds between each pressing.
Note that the burst of steam can only be activated at high temperatures.
IMPORTANT!
If you use the steam function it is important to keep children away due to the risk of burns. Keep your fingers off the jet of steam when this function is on.
Vertical steam ironing
The iron can also be used for vertical ironing, which is perfect for removing creases on hanging clothes, curtains etc. The process is the same as for burst of steam (see above section), but the iron should be held in a vertical position about 15-30 cm away from the garment to be ironed.
Dry ironing
Turn the steam selector at position "※" (closed). Set the wanted temperature and wait until the signal lamp goes out. The appliance is now ready for use.
If there is water in the tank you can also use the spray function in exactly the same way as for the burst of steam function (see the section above) if you want to in order to have the best possible result. Make sure, however, that the temperature setting is at the right function.
Spray function
Spray is used to dampen dry garments and difficult creases. Press the spray button all the way down several times and water particles will be sprayed on the garment for easier ironing and a better result.
It will also be an advantage to use the spray function for delicate fabrics (synthetic fabrics) that are ironed at low temperatures and where you cannot use the burst of steam function.
Anti-drip system
The iron comprises an anti-drip system to prevent water from dripping on the clothes during steam ironing, in case the temperature of the iron gets too low. The anti-drip system may emit a “click”, particularly when the iron is heating or cooling. This is quite normal and does not mean that the iron is defective. If you hear a “click” during ironing, this means that the amount of steam is too high for the set temperature. You should either reduce the amount of steam or raise the temperature.
If, contrary to expectation, some water drops should occur, this does not mean that the iron is defective, but it can indicate that the water tank is about to being empty or that the iron needs cleaning.
The anti-drip system will automatically switch off the steam if the temperature is too low.
Automatic shut off function
This iron has a function that automatically switches off the iron, if e.g. the iron has not been unplugged from the mains supply after use. This function switches off the iron, if it is in a vertical position resting on the heel and has not been moved for about 8 minutes, or if it is in a horizontal position/laying on the side for more than 30 seconds.
When the switch-off function is on, the signal lamp flashes to indicate that the iron has been switched off. In order to reactivate the iron, move the iron forwards and backwards until the signal lamp goes on again and the heating starts. When the signal lamp goes out, you can start ironing.
After use
When the ironing is done, set the steam selector in position " ✉". Disconnect from the mains supply and empty the water tank by opening the filling inlet and turn the iron upside down over e.g. the kitchen sink to let the water run out. Reconnect the appliance and set the temperature at MAX for 1-2 minutes to let any remaining water evaporate. Now disconnect from the mains supply and position the iron on its heel to let the soleplate cool.
NOTE! Always position the iron on its heel when not in use!
Even the smallest amount of water in the steam chamber may damage the soleplate, if the iron is stored with the soleplate facing downwards. Such damage will not be covered by the warranty.
When the iron is cold, you can wind the cord around the heel of the iron.
Self-cleaning process - cleaning of the steam chamber of the iron
You will get the best result and the iron will last longer if the self-cleaning process is followed at regular intervals, i.e. once or twice a month. By doing this possible limestone and fluff in the steam chamber and in the steam holes will be removed.
- Unplug from the wall outlet.
• Make sure that the steam function is off. - Fill the water tank to the MAX marking.
- Position the iron vertically on its heel.
- Plug the appliance to a wall outlet. Turn the temperature indicator to MAX.
- Let the steam iron heat and wait until the signal lamp goes out.
- Unplug from the wall outlet and hold the iron horizontally over a sink.
- Press the "self-clean" button and keep it pressed during the entire process.
- Steam and boiling water will now evaporate from the holes of the soleplate. Impurities and limestone will be flushed out.
- Move the iron forwards and backwards until there is no steam evaporating from the iron. Release the “self-clean” button and pour out the rest of water from the tank.
- Repeat the self-cleaning process as described above, if necessary.
- Let the iron cool after the cleaning process and wipe the soleplate with a damp cloth.
IMPORTANT! Never press the self-cleaning button during ironing.
Cleaning and maintenance
In case fabric finish residues should stick to the soleplate, these can be removed by using a cloth soaked in a vinegar/water solution. Wipe with a damp cloth. There are various products available that can be used as cleansing agents for the soleplate if fibers or other particles stick to the soleplate. We have not tested such products and the use of such products is the user's responsibility. Damage to the soleplate or the iron due to the use of a cleansing agent is not covered by the warranty.
Do not use sharp objects or scratching detergents for the cleaning of the soleplate, as such products may damage the soleplate and thereby shorten the lifetime of the iron considerably. Always remember to empty the iron completely after use in order to avoid unnecessary scaling.
Never pour vinegar, descaling or softening agents, distilled water or any other chemical additives in the iron. Such liquids combined with the metallic parts of the iron may damage the iron. Possible damage to the iron or garments due to incorrect use is not covered by the warranty.
Disposal of the appliance
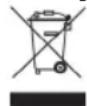
Legislation requires that all electrical and electronic equipment shall be collected for reuse and recycling. Electrical and electronic equipment marked with the symbol indicating separate collection of such equipment must be returned to a municipal waste collection point.
Warranty
Any claim shall be accompanied by the cash receipt with purchase date. When raising a claim the appliance must be returned to the store of purchase.
OBH Nordica AB
Löfströms Allé 5
172 66 Sundbyberg
Tel: 08-629 25 00
www.obhnordica.se
Technical data
OBH Nordica 2124
Built-in anti-lime filter (not changeable)
Anti-drip system
Continuous thermostat controlled temperature setting
Signal lamp
Overheating fuse
Auto shut off function 8 minutes/30 seconds

These instructions are subject to alterations or improvements.













natural_image
Black-and-white photo of a steam iron with visible control panel and cord (no text or symbols)SE/IDV/2124/UVN/150415
