
CAM-05 - Dash Cam Overmax - Free user manual and instructions
Find the device manual for free CAM-05 Overmax in PDF.


| Product Type | Car Dash Camera (DVR) |
| Brand | Overmax |
| Model | CAM-05 |
| Video Resolution | 720p (1280x720) default; VGA (640x360) |
| Photo Resolution | 3M, 2M (default), 1.3M, VGA |
| Loop Recording | Off, 1 min, 3 min (default), 5 min, 10 min |
| Motion Detection | On/Off; records 1-minute clips when motion detected |
| Time Stamp | On/Off; displays date and time on video |
| Voice Recording | On/Off; records audio with video |
| Auto Power Off | Off, 1 min, 3 min (default), 5 min |
| Light Frequency | 50 Hz (Europe) / 60 Hz (USA) |
| Storage | TF card (microSD), not included |
| USB Modes | PC Camera, Disk Drive (mass storage) |
| Charging | Via charger (included); red LED indicates charging, off when full |
| Power Source | DC 5V (car charger) or USB |
| Reset | Reset button (1mm diameter pin) for system reset |
| Supported Languages | PL, EN, CZ, SK, RO, HU (manual languages) |
| Dimensions | Approx. 7 x 5 x 3 cm (estimated) |
| Weight | Approx. 50 g (estimated) |
Frequently Asked Questions - CAM-05 Overmax
User questions about CAM-05 Overmax
0 question about this device. Answer the ones you know or ask your own.
Ask a new question about this device
Download the instructions for your Dash Cam in PDF format for free! Find your manual CAM-05 - Overmax and take your electronic device back in hand. On this page are published all the documents necessary for the use of your device. CAM-05 by Overmax.
USER MANUAL CAM-05 Overmax
Your electronic world
natural_image
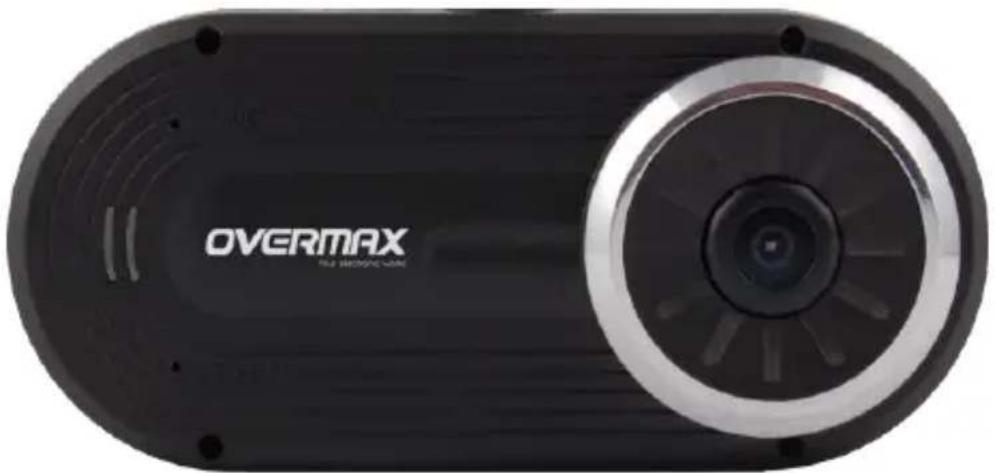
Exterior view of a black OVERMAX device with circular lens and ventilation slots (no text or symbols on body)Instrukcja obsługi
User Manual
PL/EN/CZ/SK/RO/HU
OV-CAM-05
Schemat produktu
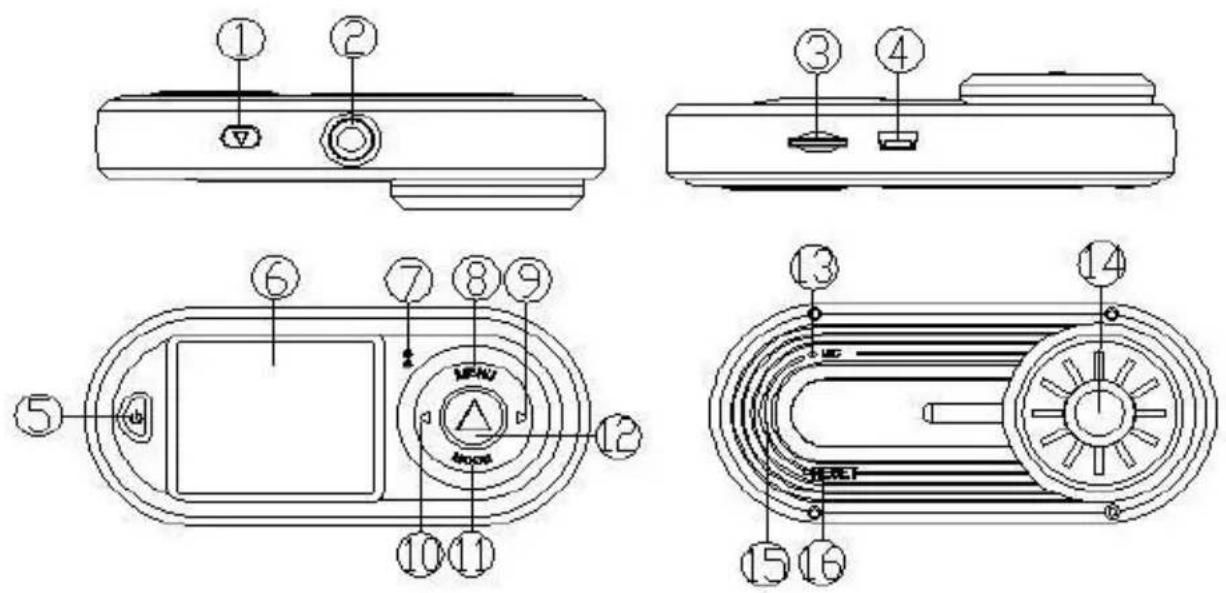
After power on, press Menu Key to enter settings interface.
Select the settings item using Up/Down key; press Record Key to enter next level menu and select specific function item, and then press Record Key to confirm. After confirmation, press Menu Key to exit.
When enters system menu settings interface, press Menu Key twice continuously.
| Items | Sub-menu | Descriptions | Functions | |
| Video mode sub-menu | ||||
| 1 | Size | 720 (default)/VGA | 1280*720p/640*360 | |
| 2 | Time stamp | On(default)/Off | Display time and date in the video files | |
| 3 | Motion direction | On/Off(default) | Video in motion detection On and Off | |
| 4 | Recycle recording | Off/1 Min./3 Min.(default)/5 Min./10 Min. | A single video file segment length of time | |
| 5 | Voice Record | On(default)/Off | Voice record On and Off | |
| Camera mode sub-menu | ||||
| 1 | Size | 3M/2M(default)/1.3M/VGA | Choose output size of the photo | |
| Replay mode sub-menu | ||||
| 1 | Delete | Cancel(default)/Execute | Select deletion file | |
| 2 | Thumbnail | Cancel/Execute | Thumbnail view | |
| 3 | Volume | 0/1/2/3/4/5(default)/6 | Adjust volume of the | |
| built-in speaker | ||||
| System setting menu | ||||
| 1 | Format | Cancel(default)/Execute | Format memory card | |
| 2 | Auto Power Off | Off /1 Min. / 3 Min. (default) / 5 Min. | If you do not do anything, DVR will turn off automatically in 1 Min. / 3 Min. (default) / 5 Min. | |
| 3 | System Reset | Execute /Cancel(default) | Restore default settings | |
| 4 | Light Frequency | 50 Hz (default) | Most popular power frequency in Europe | |
| 60 Hz | Most popular frequency in the United States | |||
| 5 | Date Settings | Adjust year, month, day and time | ||
| 6 | USB | PC Camera | Connect with USB for PC CAMERA | |
| Disk drive (default) | Connect USB and data can be read | |||
Note: when DVR turns off the last settings will be saved.
Operating Instructions
DVR has the function of video recording, photographing, preview and network camera, please insert TF card before use.
【1】Record Mode
After pressing Power Switch Key or connecting to the charger, DVR automatically enters Record Mode and starts recording, at this time, blue indicator light is flickering. During video recording, press Record Key to stop video recording, at this time, blue indicator light is always on.
When the charger is working, if power supply of charger is disconnected, DVR shuts off automatically after delaying 5 seconds.
【2】Camera Mode
After power on, press Mode Key and select to enter Camera Mode, press Record Key to take a photo.
【3】Preview Mode
After power on, press Mode Key and select to enter Preview Mode, press Up/Down Key to select the video files or photo files, press Record Key to play or pause, press Mode Key to exit preview mode.
【4】Motion Detection Function
Set up “Motion Detection” item of video mode menu as “On” to start up motion detection function. When moving object is detected, the system will record the video for one minute and save the video clip. If the object is still moving after one minute, the system will record for another one minute and save the video clip. It will stop recording and enter the detection mode again till the object stops moving.
When exits the motion detection, it automatically turns off the
motion detection function.
【5】 Charging
It can charge after DVR is connected to the charger, red indicator light is always on during charging, after fully charged, red indicator light is off.
【6】Connect to the Computer
- Disk drive function: Be sure that the
option in the system menu is set to Disk Drive, use USB cable to connect the camera to the computer. The device will be available on the PC as a Mass Storage Device. - PC Camera Function: Be sure that the
option in the system menu is set to Disk Drive, use USB cable to connect the camera to the computer. The device will be available as a PC camera.
【7】Date and Time Settings
Select "Date Settings" in the system menu interface, press Record Key to enter Date and Time settings interface.
In the date and time settings interface, press Record Key to select year, month, day, hour and minute, use Up/Down Key to adjust the year, month, day, hour and minute, after all the settings are done press Record Key to confirm exit.
【8】System Reset
If abnormal condition occurs to the device during use, use a small stick of diameter 1mm to press the Reset key, the system will reset automatically.
Český
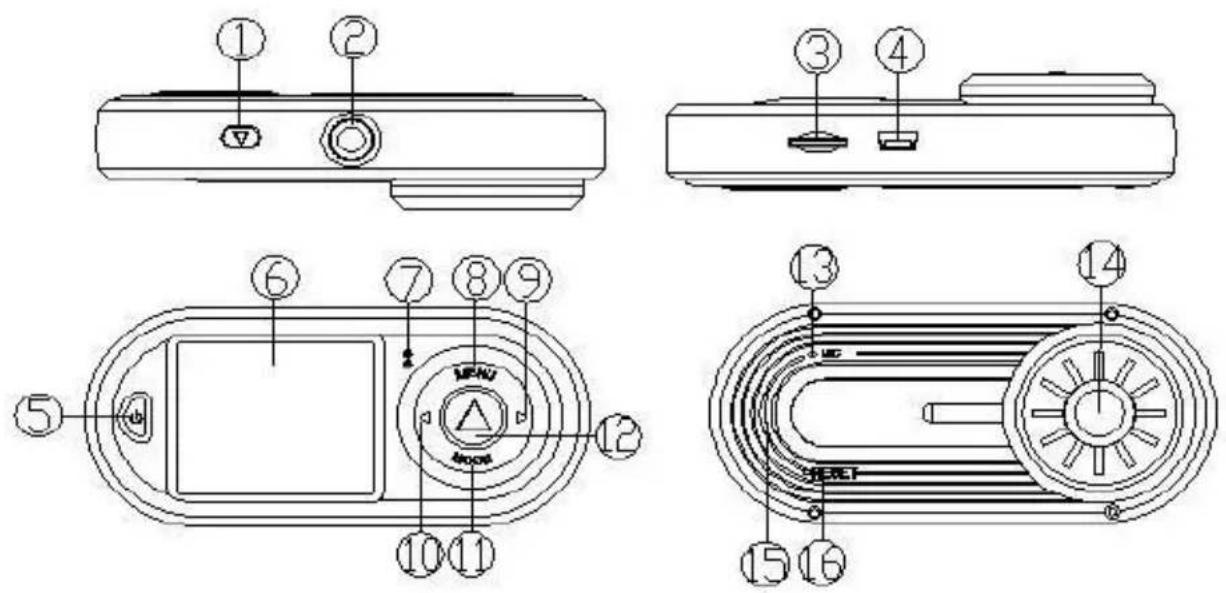
Nákres produktu
Select "Date Settings" in the system menu interface, press Record Key to enter Date and Time settings interface.
In the date and time settings interface, press Record Key to select year, month, day, hour and minute, use Up/Down Key to adjust the year, month, day, hour and minute, after all the settings are done press Record Key to confirm exit.
【8】 Resetare sistem
When exits the motion detection, it automatically turns off the motion detection function.
【5】Töltés
Your electronic world
Brand : Overmax
Model : CAM-05
Category : Dash Cam