IZ-9032 - Fan Izzy - Free user manual and instructions
Find the device manual for free IZ-9032 Izzy in PDF.


| Product Type | Ceiling fan |
| Brand | Izzy |
| Model | IZ-9032 |
| Number of Blades | 5 |
| Blade Material | Wood |
| Voltage | AC 220-240V |
| Frequency | 50/60 Hz |
| Rated Power | 85 W (max 100 W) |
| Light Source | LED (included) |
| Light Color Temperature | 3000K, 4000K, 6000K (adjustable) |
| Remote Control | Yes |
| Timer | 1, 2, 4, 8 hours |
| Speed Settings | Low, Medium, High |
| Summer/Winter Mode | Yes (reversible motor) |
| Minimum Installation Height | 2.3 m from floor |
| Minimum Clearance from Walls | 0.76 m |
| Recommended Cleaning | Soft cloth, at least yearly |
| Safety | Not for outdoor use, not near water |
| Installation | Ceiling mount, professional electrician required |
| Warranty | 2 years |
Frequently Asked Questions - IZ-9032 Izzy
User questions about IZ-9032 Izzy
0 question about this device. Answer the ones you know or ask your own.
Ask a new question about this device
Download the instructions for your Fan in PDF format for free! Find your manual IZ-9032 - Izzy and take your electronic device back in hand. On this page are published all the documents necessary for the use of your device. IZ-9032 by Izzy.
USER MANUAL IZ-9032 Izzy
natural_image
Two white ceiling fans with wooden blades and a gray fan base, shown from different angles (no text or symbols visible)Thank you for having chosen an appliance from the IZZY range.
Safety interlocks

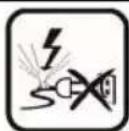
Please read these instructions carefully before using the appliance and save them for future reference. Please keep the sales receipt for guarantee purposes (pls see below “Guarantee and Customer Service”) Any us which does not conform to the instructions will absolve IZZY from an liability.
• Make sure your electricity supply is the same as the one shown on the underside of the appliance. • The fan must not be plugged into a normal socket. Install only on the ceiling.
ATTENTION: The electrical connections must be made by a qualified electrician and in accordance with the European rules for electrical installations.
- Before turning on the fan, check all connections to avoid falling and injury - You need to be very careful when you are close to the fan blades.
- Never leave the appliance unattended when operating.
- Close supervision is necessary when your appliance is being used near children or infirm persons. Ensure that they do not play with the appliance.
- This appliance is not intended for use by persons with reduced physical, sensory or mental capabilities, children or those with lack of experience and knowledge, unless they have been given supervision or instructic concerning use of the appliance by a person responsible for their safety.
WARNING: Do not expose babies and the elderly many hours in front of the fan's air.
- Switch off and unplug:
- When not in use.
- When you move it.
- Before cleaning.
- Never use the appliance for any other use than indicated.
- The device is intended for indoor use. Do not use the device outdoors.
- The device is intended only for domestic use. Any other use will cancel the warranty.
- Do not operate or place the device or parts in places of high humidity or where it may get wet.
- Do not use this appliance in the immediate surroundings of a bath, shower or a swimming pool or in places where it may get wet.
- The connection of the fan to the power supply must not get wet.
- Leave enough free space around the device so as not to block the fan movement.
- Do not use the appliance after a fall or if it is damaged and contact one of the authorized BENRUBI repair centers.
- In case that you notice some strange noise, smell, smoke or anything unusual, do not use the appliance. Disconnect it from electricity and contact an authorized BENRUBI Service Center.
- Failure to use properly may cause injury.
- Never use highly corrosive or abstractive cleaning agents. Never use metal scouring pads for cleaning.
- Do not move the appliance when it is in operation.
- Do not touch the appliance with wet or damp hands.
- This appliance is not intended to be operated by means of an external timer or separate remote control system.
- To reduce the risk of electric shock and fire, do not use this fan with any solid-state fan speed control device or dimmer.
- The important safety precautions and instructions in the manual do not cover all possible conditions that may arise.
- Check the power cord periodically for possible damages.
- If the power cord or the plug of the appliance has been damaged, do not use the appliance and contact an authorized BENRUBI Service Center.
- In case of a possible damage, do not attempt to repair the appliance by yourself. Please contact one of the authorized BENRUBI service centers.
- Any repair made by an unauthorized BENRUBI Service Center CANCELS THE GUARANTEE.
- Any misuse of the device cancels the warranty.
- Only use original spare parts
- The appliance conforms to EU directive 2014/30/EU on Electromagnetic Compatibility, the 2014/35/ EU Low Voltage Directive, the2011/65/EU RoHS Directive and the directive 2009/125/EC for eco-design.
SAVE THESE INSTRUCTIONS
Fan Installation
ATTENTION: The electrical connections must be made by a qualified electrician and in accordance with the European rules for electrical installations.

IMPORTANT: THE COMPANY HAS NO RESPONSIBILITY FOR THE INSTALLATION. THE INSTALLATION IS THE EXCLUSIVE RESPONSIBILITY OF THE CUSTOMER.
CAUTION: The fan blades must be at least 2.3 meters from the floor and at least 76cm from the wall or other obstacles. The network must be installed via a flexible cable or with a pole switch with a contact opening distance of at least 3mm.
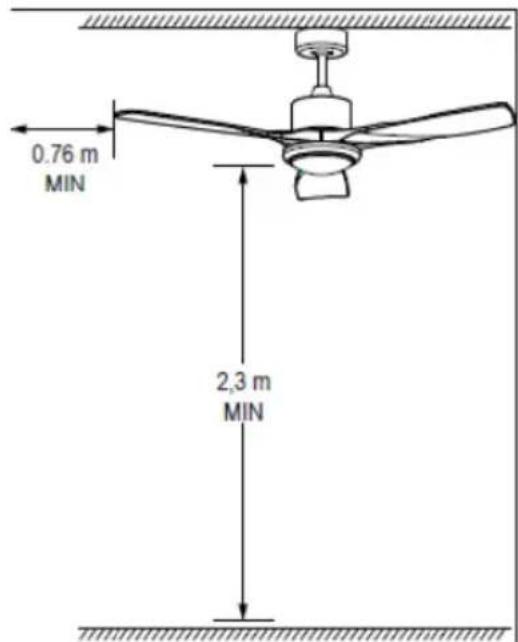
CAUTION: Before installing the fan, be sure to turn off the power. Do not switch on the power supply until the fan is fully installed and ready for use.
Fan accessories:
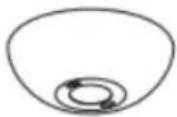 | 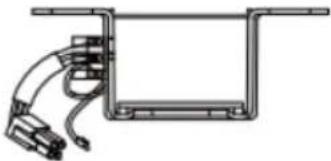 | 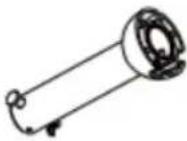 |
| Upper canopy | Support plate | Support rod |
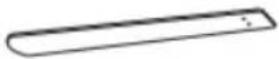 | 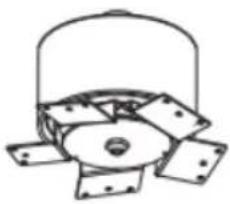 | 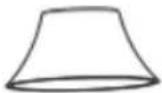 |
| Blades | Motor | Joint cover |
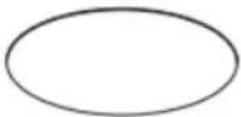 | 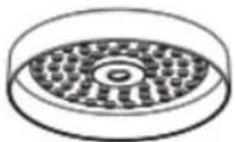 | 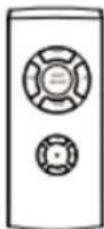 |
| Lamp shade | LED light kit | Remote control |
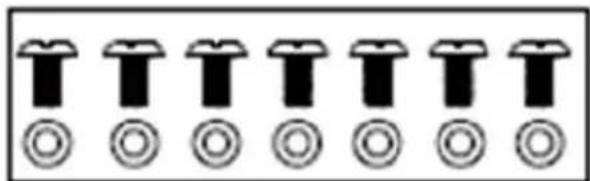
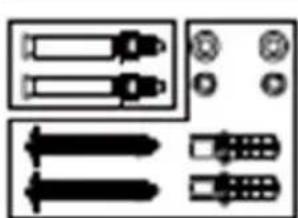
Supplied mounting accessories:
A
natural_image
Row of identical black-and-white icons resembling stylized letters or symbols, each with a circular base (no text or labels)B
natural_image
Pure electrical circuit lines without any symbols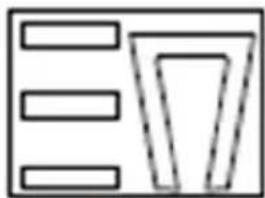
natural_image
Abstract geometric pattern with three horizontal bars and a triangular shape (no text or symbols)C

D
A. Screws and washers for fixing the blades to the motor.
B. Screws for concrete ceiling
C. Screws and washers for wood joist ceiling
D. Base support components
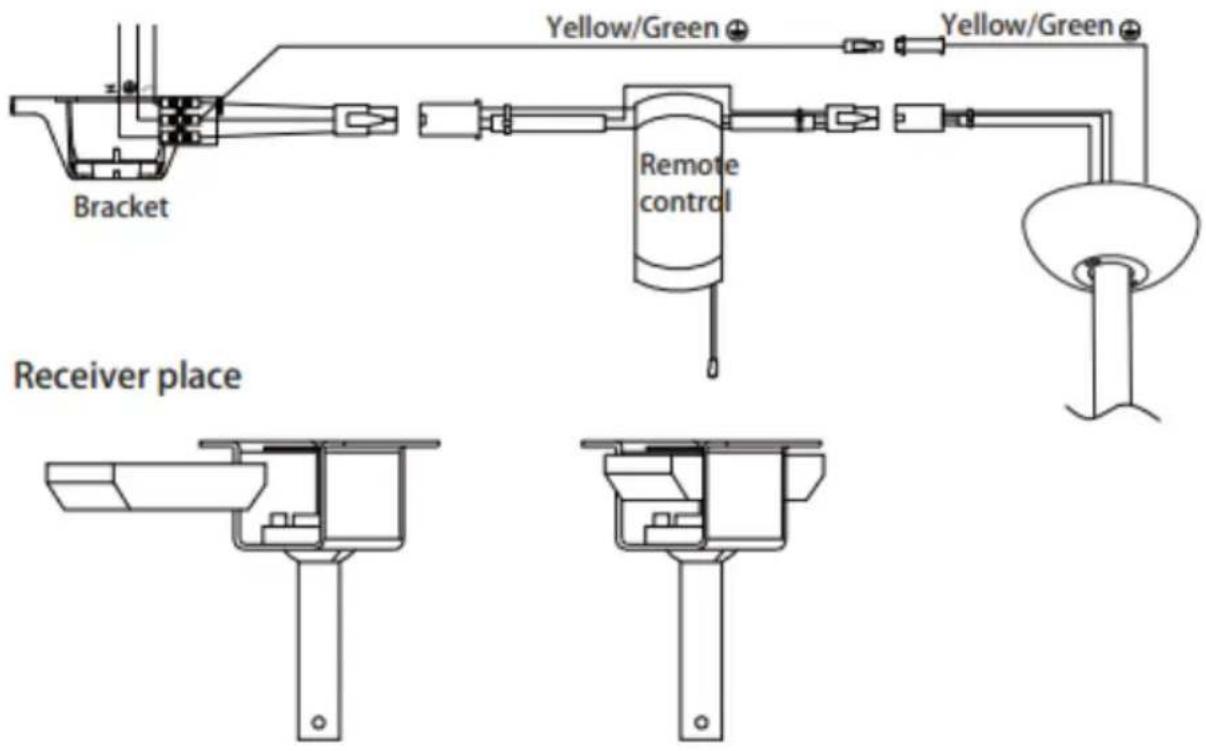
Remote control connection:
L : AC IN 220-240V
N : AC IN 220-240V
:Yellow/Green
natural_image
Technical line drawing of a mechanical assembly with no visible text or symbols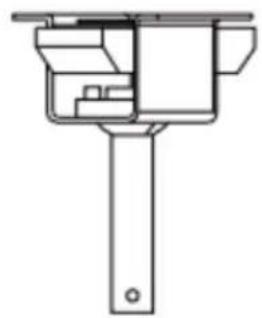
natural_image
Technical line drawing of a mechanical component with no visible text or symbolsFan installation
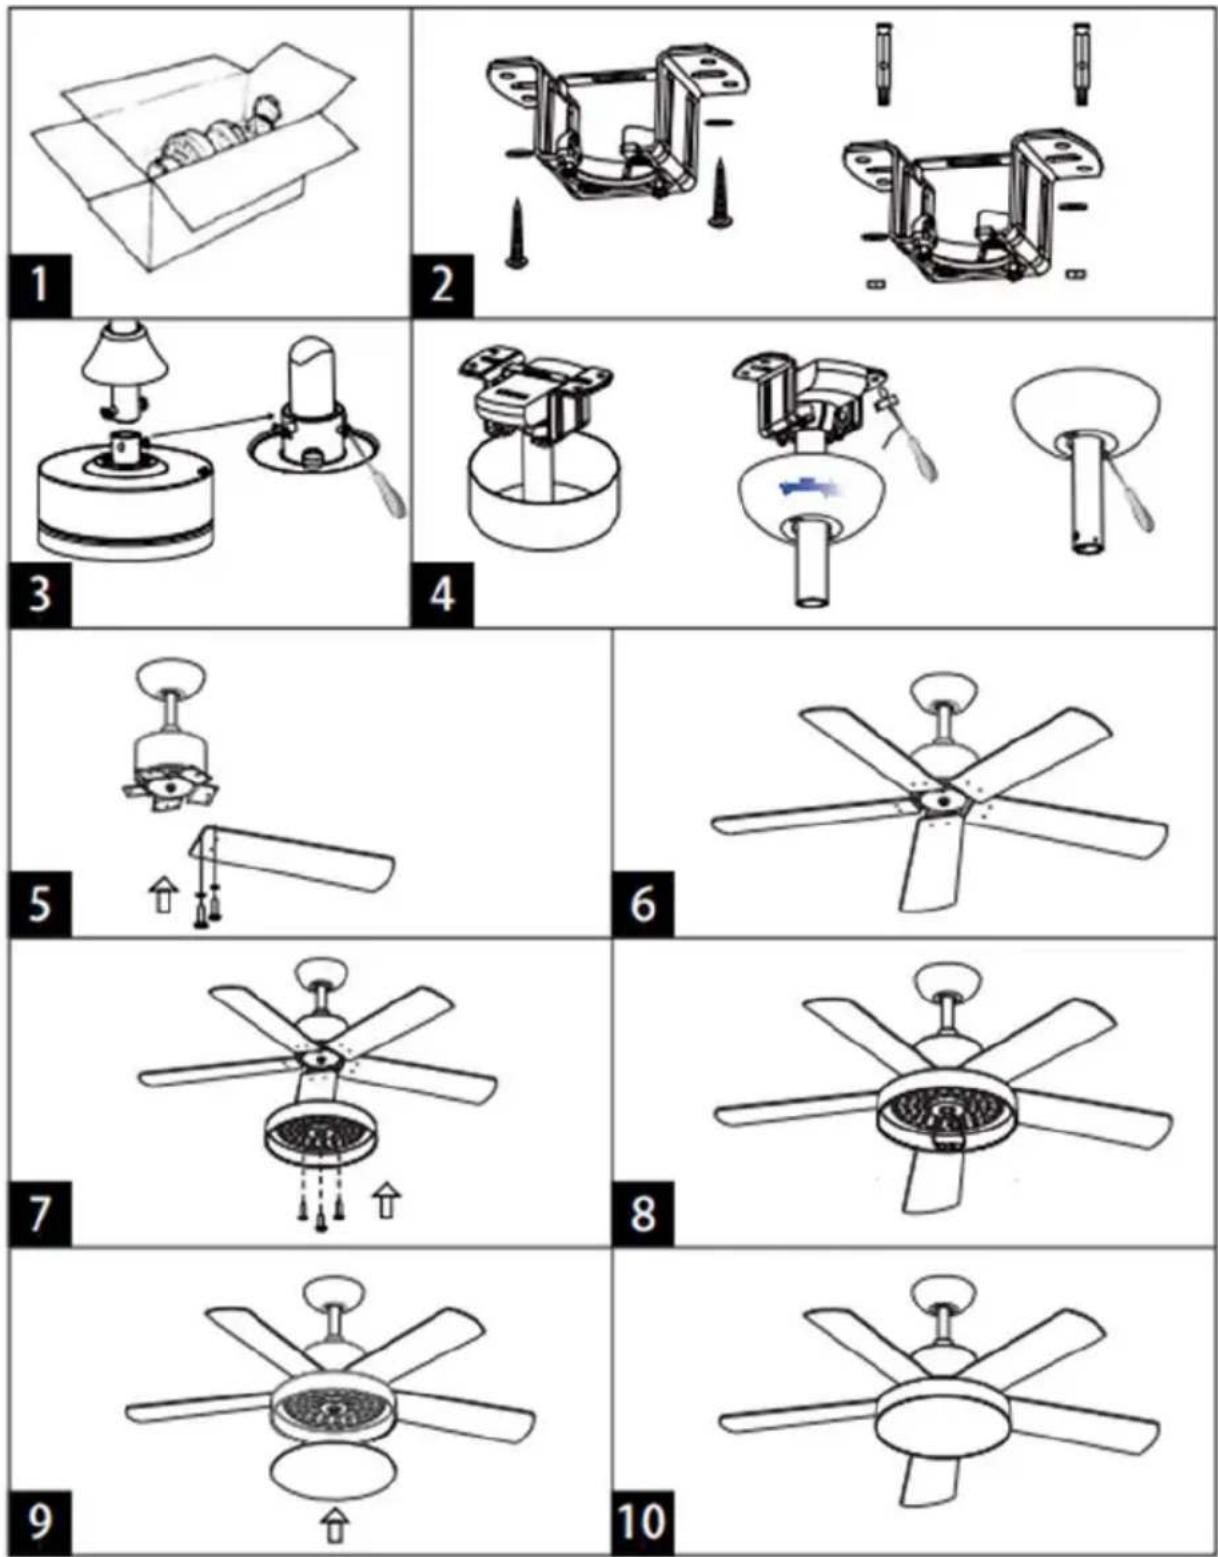
- Open the package (fig. 1). Make sure all fan and mounting accessories are in the package.
- Place the support base in a suitable plate on the roof and screw with the 3 screws and the corresponding washers (fig. 2).
Attention: The screws provided in the package are suitable for wooden beam and for concrete ceiling. - Insert the support rod between the top and bottom canopies. Insert the electrical cables coming out of the motor through the support rod and connect them to the screw terminal on the
top of the support base. Attach the support rod to the motor using the pin and the nut (fig. 3).
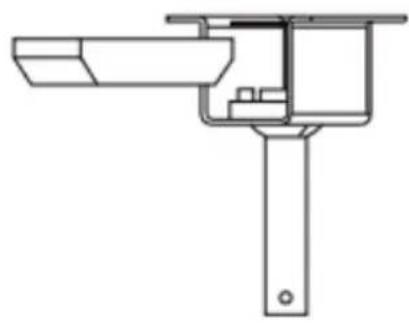
- Hang the fan on the support base hook and connect the power cord coming from the ceiling to the screw terminal on the top of the support rod. Make sure the receiver is mounted on the support plate (see section "Connecting the controller").
- Slide the upper canopy up and secure it with the screw. Slide the lower canopy down and after making sure it rests on the motor, fasten it with the screw (fig. 4).
- Align the blade slots with the blade mounting screw heads and slide so that the screw head is positioned at the end of the socket (fig. 5). Tighten the screw (fig. 6).
Note: The blades are double-sided and can be positioned according to your preference.
- Unscrew the screws from the motor base. Carefully arrange all the wires in the connecting plate. Assemble and align the holes in the rear of the LED light with the three screws on the motor connection plate (fig. 7).
- Tighten the three screws on the LED base. Connect the receiver to the motor cable. Make sure that the lighting panel can be moved after tightening the screws (fig. 8).
- Place the LED shade (fig. 8).
- The important safety precautions and instructions in the manual do not cover all possible conditions that may arise.
Summer / Winter Function
In winter mode, the ceiling fan moves in a clockwise direction, with the result that the warm air collected at the upper level of the room is evenly diffused downwards throughout the room.
Tip: you can use the winter operation of the fan in parallel with the heating system you have (eg radiators) to achieve more efficient heating and energy savings!
Make sure the fan is completely stopped before using the rotation switch.
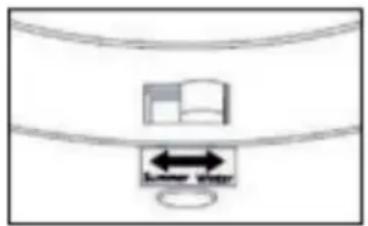
Winter function:
Push the switch on the motor to the right so that the blades move backwards and move the hot air on the ceiling down.
Summer function:
Push the switch on the motor to the left so that the blades create cool air.
Σημείωση:
- Make sure the switch is in either the left or right position when the fan is running to prevent injuries and damage to the motor.
Remote Control
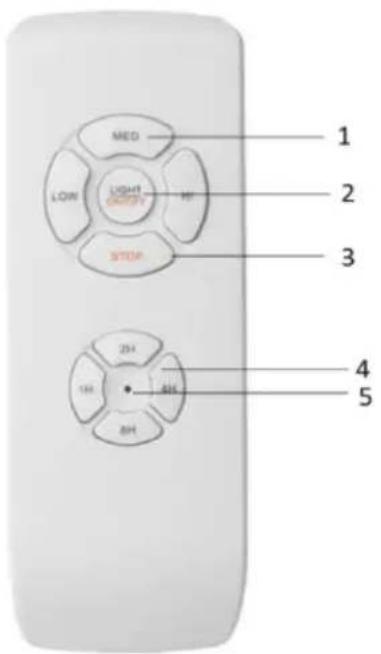
- SPEED/ON buttons
- "LOW" - Low speed
- "MED" - Medium speed
- "HI" - High speed
- "LIGHT ON/OFF" button 3 lighting functions:
-3000K
-4000K - 6000K
- "STOP" button
- Timer buttons
- "1H" - 1 hour
- "2H" - 2 hours
- "4H" - 4 hours
- "8H" - 8 hours
- Indication light
Note:
- Insert 2xAAA batteries into the controller (batteries are not included in the package).
ATTENTION: It is emphasized that extra care is required in addition to the above instructions when operating the fan.
Care and Cleaning
Before cleaning, switch off the fan, turn off the power and let it cool completely.
- Clean the unit using a soft cloth to wipe off any dust.
- Do not attempt to open the unit without a qualified electrician. Improper installation of the unit can be dangerous.
- Clean the appliance at least once a year.
Maintenance
- In case of possible damage, do not attempt to repair it yourself. Repairs should only be carried out by qualified electricians.
- Any repair by an unauthorized technician of the BENRUBI service centers CANCELED TH WARRANTY.
• Periodically check the cable for damage. - Do not use the appliance if the power cord is damaged or has fallen or been damaged in any way. If you suspect that the device is damaged, contact an authorized BENRUBI repair center.
Technical Information
Model: Ceiling fan with 5 blades IZ-9032
Voltage: AC 220\~240V
Frequency: 50/60Hz
Rated input: 85W-max 100W
LED lamp: included
Important Information for Correct Disposal of the Product in Accordance with EC Directive 2002/96/EC
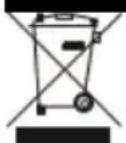
At the end of its working life, the product must not be disposed of as urban waste. It must be taken to a special local authority differentiated waste collection centre or to a dealer providing this service. Disposing of a household appliance separately avoids possible negative consequences for the environment and health deriving from inappropriate disposal and enables the constituent materials to be recovered to obtain significant savings in energy and resources.
As a reminder of the need to dispose of household appliances separately, the product is marked with a crossed-out wheeled dustbin.
Guarantee & Customer Service
- BENRUBI Company guarantees its products for any manufacturing defect or defective materials for a period of two (2) years from the date of purchase or delivery by presenting purchase receipt. If your product malfunctions or you find any defects, please revert to the retail location you have purchased it from or contact an authorized BENRUBI Service Centre. To find the nearest authorized BENRUBI Service Centre, visit our website www.benrubi.gr. It is in the discretion of BENRU Company to replace or repair the defective product.
- The warranty does not cover damages resulting from normal wear, breakage, scaling, improper installation or maintenance of the product, mishandling, abnormal working conditions, failure implement the instructions, conversion or repair of the product by an unauthorized technician who does not belong to the BENRUBI Service Centers.
Also, the warranty does not cover the following indicative factors:
• Stains, discoloration or scratches.
- Burns due to exposure to heat or flame.
- Damage from thermal shock (sudden temperature change or change of voltage).
FOR MORE INFORMATION PLEASE CONTACT:
(NEW) H. BENRUBI & FILS SA
27 Aghiou Thoma str, GR15124, Maroussi – Athens,
Tel./Customer Support: +30210 6156400, e-mail: benrubi-sda@benrubi.gr


Brand : Izzy
Model : IZ-9032
Category : Fan