
Linkr-LT2 - Remote control OMEGA - Free user manual and instructions
Find the device manual for free Linkr-LT2 OMEGA in PDF.


| Product Type | Remote Control |
| Model | Linkr-LT2 |
| Brand | Omega |
| Dimensions (approx.) | 145 x 48 x 22 mm |
| Weight (with batteries) | 95 g |
| Power Supply | 2 x AAA batteries (not included) |
| Battery Life (typical) | Up to 12 months under normal use |
| Operating Frequency | 433 MHz (RF) or IR |
| Range | Up to 10 meters (IR) / 30 meters (RF) |
| Control Buttons | Power, Volume +/-, Channel +/-, Menu, OK, Directional Pad, Numeric Keys (0-9), Mute, Input, Home, Back, Color Buttons (A/B/C/D), Media Controls |
| Compatible Devices | Omega Linkr LT2 compatible TVs, set-top boxes, and audio systems |
| Pairing | Automatic (RF) or manual code entry |
| Backlight | Yes, with motion sensor activation |
| Learning Function | Supports learning IR codes from original remotes |
| Macro Commands | Customizable sequences for multiple actions |
| Battery Low Indicator | LED flashes when batteries need replacement |
| Materials | ABS plastic with rubberized grip |
| Maintenance & Cleaning | Wipe with a soft, dry cloth. Do not use liquids or abrasive cleaners. |
| Safety Precautions | Avoid exposure to moisture, direct sunlight, and extreme temperatures. Do not disassemble. |
| Spare Parts & Repairability | Batteries are user-replaceable. For other repairs, contact Omega authorized service. |
| General Information | Designed for easy control of your Omega entertainment system. Refer to the user manual for detailed setup. |
Frequently Asked Questions - Linkr-LT2 OMEGA
User questions about Linkr-LT2 OMEGA
0 question about this device. Answer the ones you know or ask your own.
Ask a new question about this device
Download the instructions for your Remote control in PDF format for free! Find your manual Linkr-LT2 - OMEGA and take your electronic device back in hand. On this page are published all the documents necessary for the use of your device. Linkr-LT2 by OMEGA.
USER MANUAL Linkr-LT2 OMEGA
LINKR-LT/TELE-CONNECT QUICK INSTALL GUIDE
LINKR-LT_QIM_20200723
from ΩMEGA RESEARCH & DEVELOPMENT TECHNOLOGIES, INC.
support: 800-921-TECH (8324)
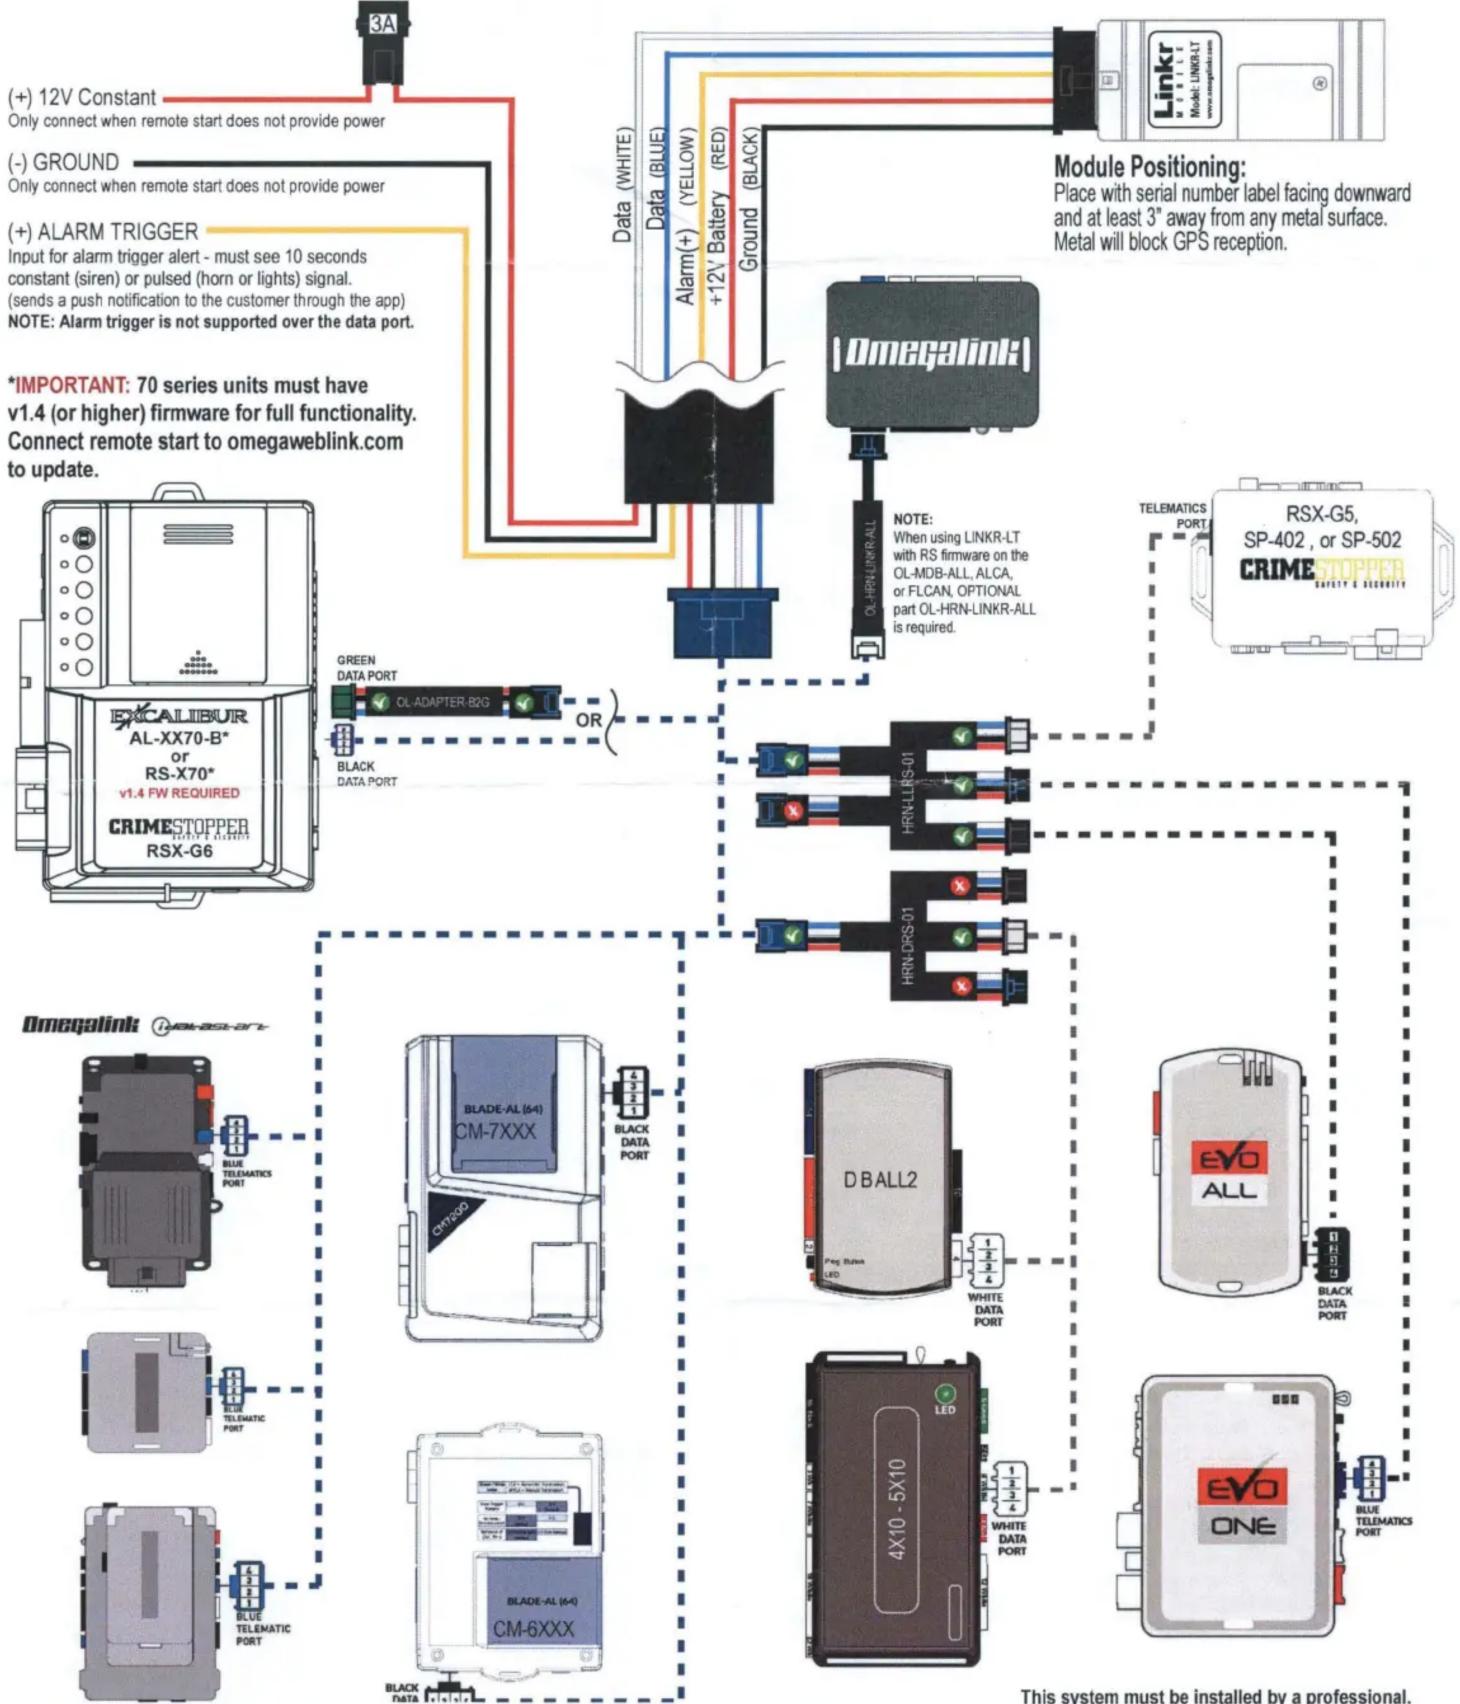
flowchart
graph TD
    A["3A"] --> B["+ 12V Constant Only connect when remote start does not provide power"]
    C["(-) GROUND Only connect when remote start does not provide power"] --> D["+ 12V Battery (RED) +12V Battery (RED)"]
    E["(-) ALARM TRIGGER Input for alarm trigger alert - must see 10 seconds constant (siren) or pulsed (horn or lights) signal. (sends a push notification to the customer through the app) NOTE: Alarm trigger is not supported over the data port."] --> F["Data (WHITE)"]
    F --> G["OL-HRN-LINKR-ALL"]
    G --> H["OMEGALINK Module Positioning: Place with serial number label facing downward and at least 3° away from any metal surface. Metal will block GPS reception."]
    I["GREEN DATA PORT OL-ADAPTER-BG OR BLACK DATA PORT"] --> J["OR"]
    K["TELEMATICS PORT RSX-G5, SP-402, or SP-502 CRIME STOPPER WHITE & RED"] --> L["OR"]
    M["OMEGALINK OEM-RS-ART"] --> N["BLUE TELEMATIC PORT"]
    O["BLADE-AL (64) CM-7XXX"] --> P["OR"]
    Q["DBALL2 Red LED White Data Port"] --> R["OR"]
    S["EVO ALL"] --> T["OR"]
    U["BLADE-AL (64) CM-8XXX"] --> V["OR"]
    W["4X10-5X10 LED White Data Port"] --> X["OR"]
    Y["Blue TELEMATIC PORT"] --> Z["OR"]
    AA["This system must be installed by a professional."] --> AB["OK"]
Federal Communications Commission (FCC) Compliance Statement. This device complies with part 15 of the FCC Rules. Operation is subject to the following conditions: (1) This device may not cause harmful interference and (2) this device must accept any interference received, including interference that may cause undesired operation. CAUTION Changes or modifications not expressly approved by the manufacturer responsible for compliance could void the user's authority to operate the equipment. NOTE: This equipment has been tested and found to comply with the limits for a Class B digital device, pursuant to part 15 of the FCC Rules. These limits are designed to provide reasonable protection against harmful interference in a residential installation. This equipment generates, uses and can radiate radio frequency energy and, if not installed and used in accordance with the instructions, may cause harmful interference to radio communications. However, there is no guarantees that interfered or damaged the equipment. The equipment is normally closed at the time of delivery. The equipment is normally closed at the time of delivery. The equipment is normally closed at the time of delivery.
1. CONFIGURE THE REMOTE STARTER
a. To configure the remote starter for use with the Linkr-LT/Tele-Connect, refer to the detailed installation guide at www.OmegaLinkr.com. Confirm that the remote start system is working properly before connecting the Linkr-LT/Tele-Connect device.
2. CONNECT
a. Connect the LINKR-LT/Tele-Connect to any compatible remote start (see the back of this page) or hardwired to the vehicle for GPS location only.
3. NETWORK CONNECTIVITY
a. Once the module has power, two LED's on the side of the module will display network and GPS connectivity status.
b. LED STATUS
» Green LED Status: Cellular connectivity status
» Red LED Status : GPS connectivity status
i. OFF: No Communication - Check Power
ii. Flashing: Connecting to Network
iii. On Solid : Connection established
NOTE: The vehicle may need to be outside in an open area in order to connect to a cellular and/or GPS network.
4. GET THE APP
a. Go to the App store (Apple) or Play store (Android)
b. Search for "Linkr LT"
c. Download and install the Free App.
5. CREATE AN ACCOUNT
NOTE: Already have an account? Go to the next step.
a. Launch the Linkr LT App
b. Click "Create an Account"
c. Fill in all the required fields
d. Once completed, press "Create your Account"
e. Open your email and look for an email from "MYCARCONTROLS"
f. Click the link in the email to activate your account and create your secure password.
g. Once done, Log into the App using your email and password.
6. ADD A DEVICE/VEHICLE
a. In order to Pre-Configure the device for the end user, click the "+" sign at the bottom right of the "My Garage" screen to temporarily add the device/vehicle to your account.
b. Enter the 16 digit "Serial Number" found at the back of the device or on the spare labels included. (SN: XXXXXX-XXXXXXXXXX)
c. Press "Submit the code"
7. CONFIGURING THE LINKR-LT/TELE-CONNECT FOR THE VEHICLE
a. From the "Settings" menu configure the following
b. Enter a Vehicle name.
c. Configure the Auxiliary functions: You can enable trunk release and associate all auxiliary functions (sent over data) as needed.
d. Edit the Vehicle image: Choose Year, Make, Model, Trim and Color of the vehicle to search for available images.
e. PROTOCOL SELECTION: (MANDATORY) The device data protocol must be set prior to use. To change the protocol, Tap and Hold the "TAP TO CONFIGURE" button for approximately 10 seconds.
f. Select the protocol. For Omega, Excalibur, & CrimeStopper use ADS protocol. For others, check the product's manual, press "Done".
8. TEST YOUR DEVICE
NOTE: Make sure the vehicle is in an open space outside and that it has network connectivity (check the status LEDs).
a. Once in the vehicle control panel, the device will be in "Test Mode" for a maximum time limit of 4 hours.
b. Once you are finished testing, the device can be released for customer delivery at anytime. You can do so by pressing "Release Vehicle" next to the vehicle name on the "My Garage" screen.
NOTE: After 4 hours, the device will be automatically released from your account and will be considered "Ready for Customer Delivery".
RESET PROCEDURE
a. Disconnect the Device main harness.
b. Wait 10 seconds
c. Reconnect the Device main harness
d. Reset completed.
This system must be installed by a professional.
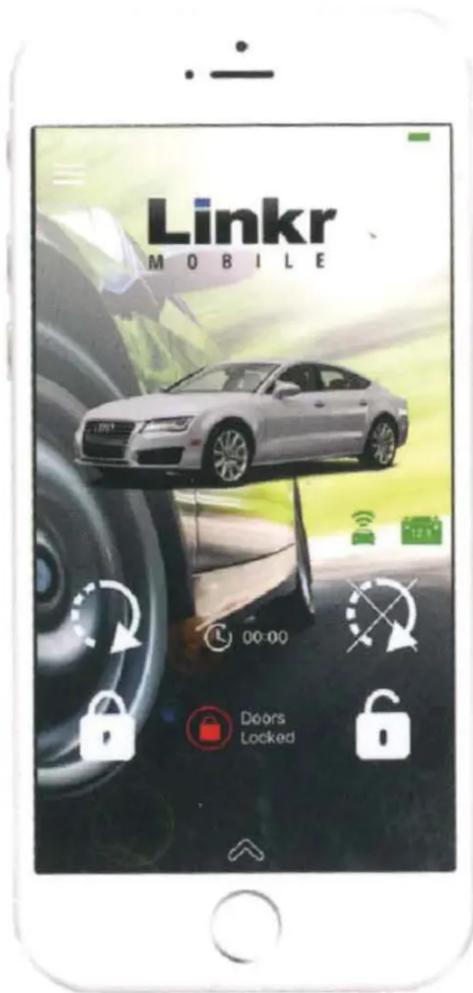
LINKR-LT QUICK REFERENCE GUIDE
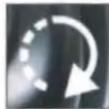
This button will activate your remote start. Once the engine is running, the clock will display the remaining engine run time. TIP: Press this button again to restart the engine run timer (only available on some remote start systems)

This button will cancel the current remote start cycle. The clock will change to 00:00:00

This button will lock the vehicle's doors. Linkr-LT must be connected to a compatible keyless entry system to use this feature.

This button will unlock the vehicle's doors. Linkr-LT must be connected to a compatible keyless entry system to use this feature.
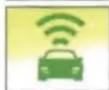
This icon indicates the Linkr's signal strength. GREEN=good, YELLOW=fair, RED=bad, GRAY=unavailable
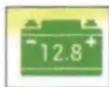
This icon indicates the vehicle's battery level. A healthy battery will be above 12.0 volts when the engine is not running.
This opens the auxiliary functions menu. Access the Locate Vehicle button and optional features like trunk release, sliding doors, etc. Consult your installer for more info.
This button will show you the last reported location of your vehicle with a time stamp.
Linkr MOBILE
Step 1: Download The App & Create Your Account
- Search the app store for "Linkr LT" and install it.
- Press "REGISTER", fill out the required information, & press "REGISTER"
- Check your email for an email from 'noreply@mycarcontrols.com' (make sure it's not in SPAM)
- Press the activation link in the email to activate your account & create your password.
- Return to the "Linkr LT" App and login with your new account
Place Device Info Sticker Here
Step 2: Add Your Linkr Device To The App
- Click on the "+" symbol in the bottom right corner of the 'My Garage' screen
- Enter your device's serial number found on the sticker above.
Example: SN:XXXXXXXX-XXXXXXXXXX - Press "Submit the code"
- Enjoy your new system!
Omega Linkr Customer Support:
800-554-4053
tech@caralarm.com
For Terms and Conditions, see the Terms and Conditions under the main menu in the app.
Linkr LT App
LINKR-LT_OC_20181129
- CONFIGURE THE REMOTE STARTER
- CONNECT
- NETWORK CONNECTIVITY
- GET THE APP
- CREATE AN ACCOUNT
- ADD A DEVICE/VEHICLE
- CONFIGURING THE LINKR-LT/TELE-CONNECT FOR THE VEHICLE
- TEST YOUR DEVICE
- RESET PROCEDURE
- LINKR-LT QUICK REFERENCE GUIDE
- Linkr MOBILE
- Step 1: Download The App & Create Your Account
- Place Device Info Sticker Here
- Step 2: Add Your Linkr Device To The App
Brand : OMEGA
Model : Linkr-LT2
Category : Remote control