
SPMS02 - Uncategorized KKT Kolbe - Free user manual and instructions
Find the device manual for free SPMS02 KKT Kolbe in PDF.


| Product Type | Tile Roof Mounting Kit |
| Brand | KKT Kolbe |
| Model | SPMS02 |
| Material | Aluminum alloy AL6005-T5 and stainless steel SUS304 |
| Corrosion Resistance | Strong |
| Application | Residential solar panel mounting on tile roofs |
| Components Included | Tile Roof Hook, Rail, Rail Connector, End Clamp, Mid Clamp, Earth Plate, Grounding Lug |
| Installation Tools | String, Electric tool (M6/M8), Hexagon sleeve (M6/M8), Drilling bit 9mm, Tape measure, Marking pen, Torque wrench (M8), 6# hexagonal wrench, Monkey wrench, Rubber hammer |
| Pre-assembled | High pre-assembled characteristics, saves installation time and cost |
| Installation Method | Tile Roof Hook attaches to purlin, Rail installed with Rail Clamp, Solar panels secured with End/Mid Clamps |
| Safety Precautions | Avoid body harm, protect head and eyes during installation |
| Fastener Handling | Use lubricant, ensure cleanliness, avoid overtightening, use torque wrench |
| Post-Installation | Retrieve small parts, tidy up to prevent loss or soiling |
| Compatibility | Tile roofs only |
| Grounding | Grounding Lug installed on end of Rail |
Frequently Asked Questions - SPMS02 KKT Kolbe
User questions about SPMS02 KKT Kolbe
0 question about this device. Answer the ones you know or ask your own.
Ask a new question about this device
Download the instructions for your Uncategorized in PDF format for free! Find your manual SPMS02 - KKT Kolbe and take your electronic device back in hand. On this page are published all the documents necessary for the use of your device. SPMS02 by KKT Kolbe.
USER MANUAL SPMS02 KKT Kolbe
Installationshandbuch
natural_image
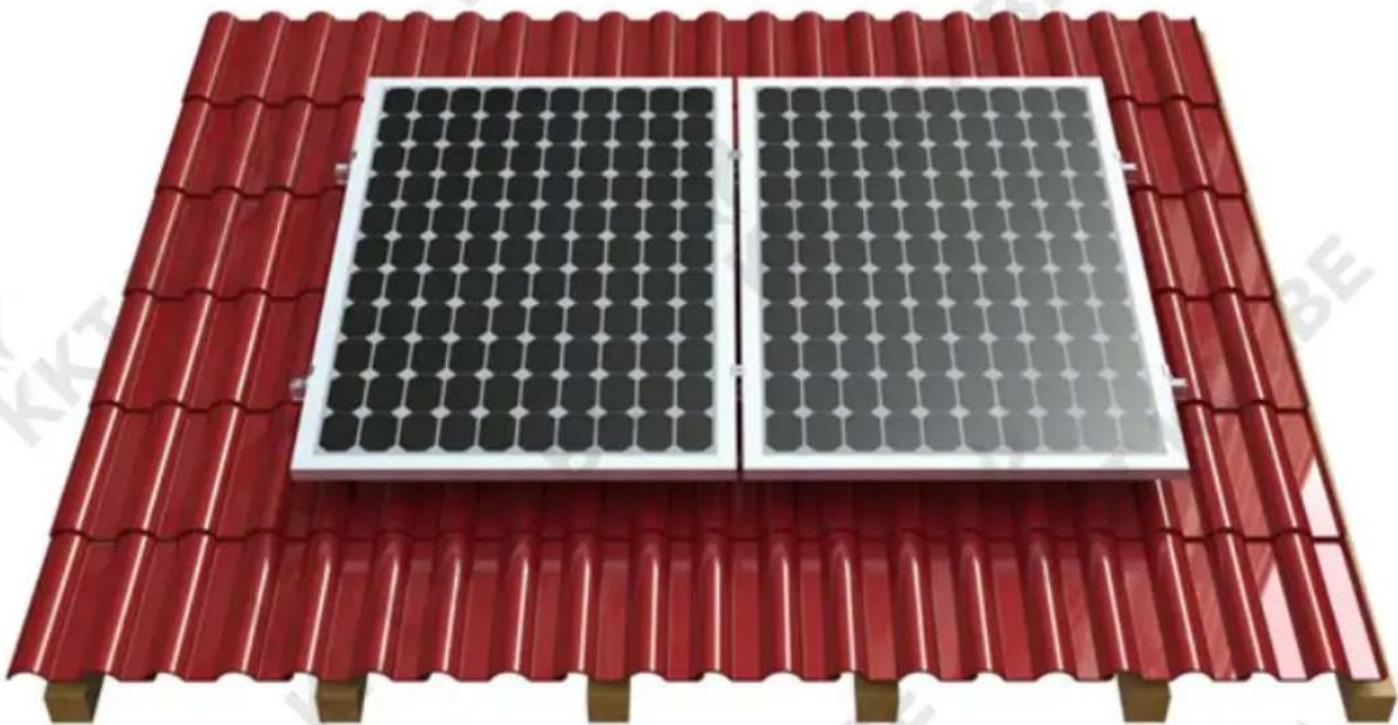
Two solar panels mounted on a red-tiled roof, one white and one black, with no visible text or symbols.
Version: 1.1 / 230317
Gliederung
natural_image
Red corrugated metal roof structure with white structural elements, inset shows close-up of a structural detail (no text or symbols)natural_image
Exterior view of a red-tiled roof solar panel with mounting bracket and mounting bracket details (no text or symbols)natural_image
Two solar panels mounted on a red corrugated roof, with an inset showing a mechanical device (no text or symbols visible)SPMS02 Tile Roof Hook 02 Mounting Structure
natural_image
Two solar panels installed on a red-tiled roof, one white and one gray, with no visible text or symbols.
Version: 1.1 / 230317
Catalog
- Product introduction
- Installation tools
- Components
- Intallation guide
4.1 Installation of Tile Roof Hook 3
4.2 Installation of Rail
4.3 Installation of Solar Panels 5
4.4 Installation of Grounding Lug 5
- Installation Notes
5.1 Safety Precautions
5.2 Stainless Steel Fasteners Notes 6
5.3 Notes after Finishing Work 6
1. Product Introduction
Tile roof mounting kit allow solar panel installed on tile roof.
It's a smart and simple PV mounting solution for residential projects.
The main material of this mounting structure is aluminum alloy AL6005-T5
and stainless steel SUS304. The product has strong corrosion resistance.
This mounting kit has high pre-assembled characteristics and saves installation time and cost greatly.
Please kindly read the whole manual carefully before installation.
2. Installation Tools
 |  | 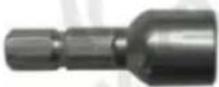 | 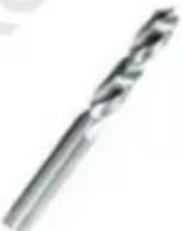 | 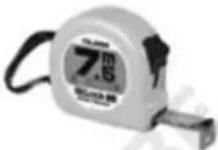 |
| String | Electric tool (M6/M8) | Hexagon sleeve (M6/M8) | Drilling Bit 9mm Tape measure | |
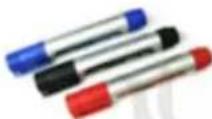 | 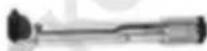 | 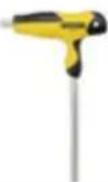 | 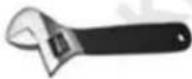 | 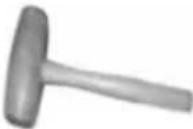 |
| Marking pen | Torque wrench (M8) | 6# hexagonal wrench | Monkey wrench Rubber Hammer | |
3. Components
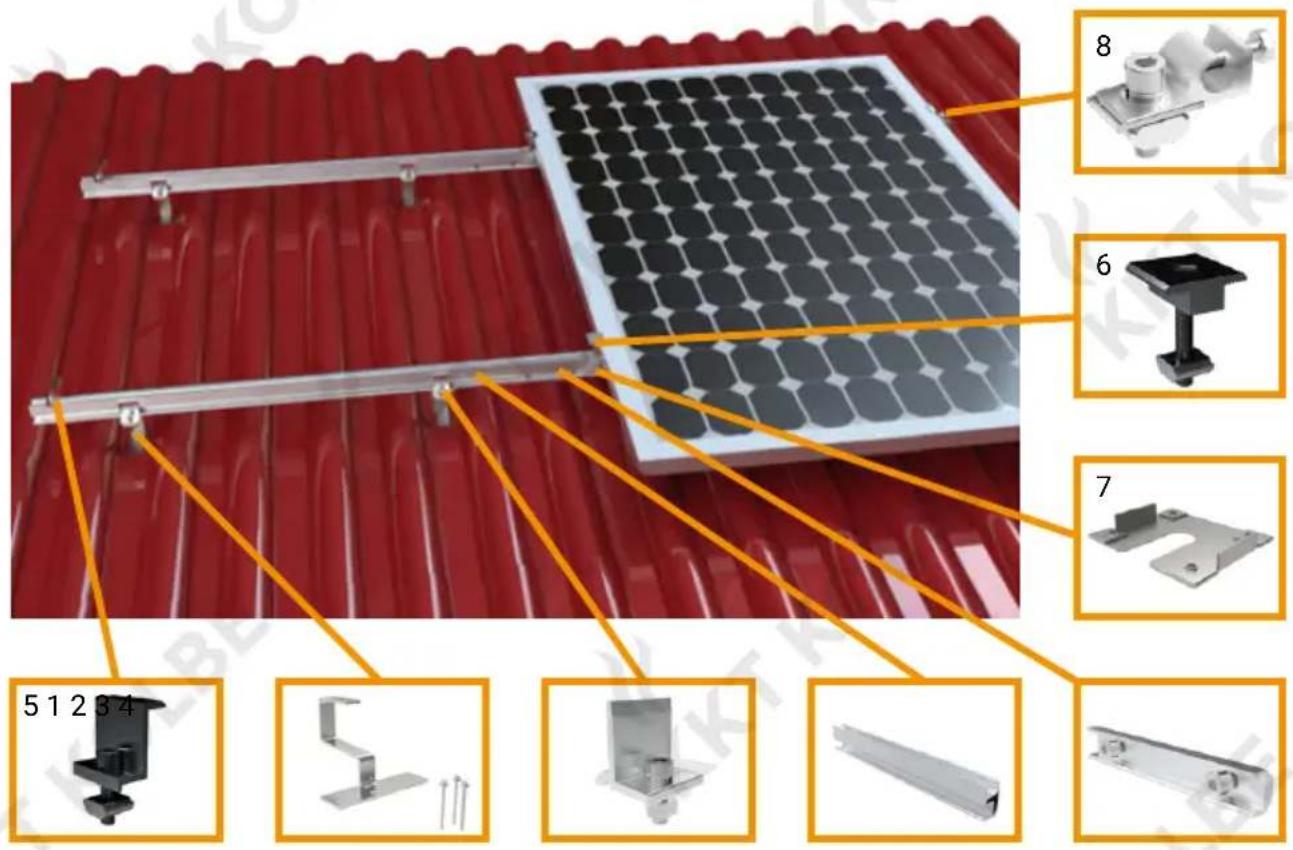
| 1234 | |||
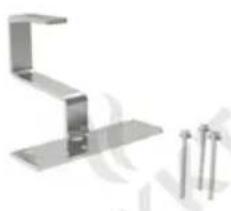 | 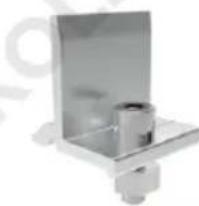 | 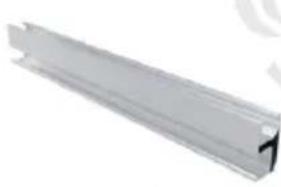 | 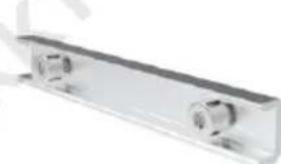 |
| Tile Roof Hook Rail | Clamp Rail Rail Connector | ||
| 5678 | |||
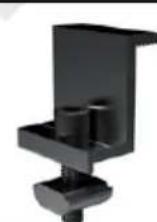 | 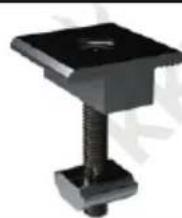 | 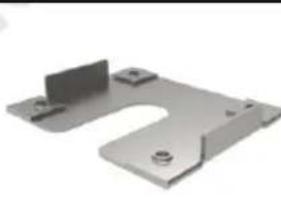 | 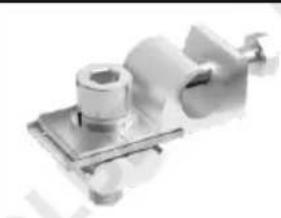 |
| End Clamp Mid Clamp Earth Plate Grounding Lug | |||
4. Installation Guide
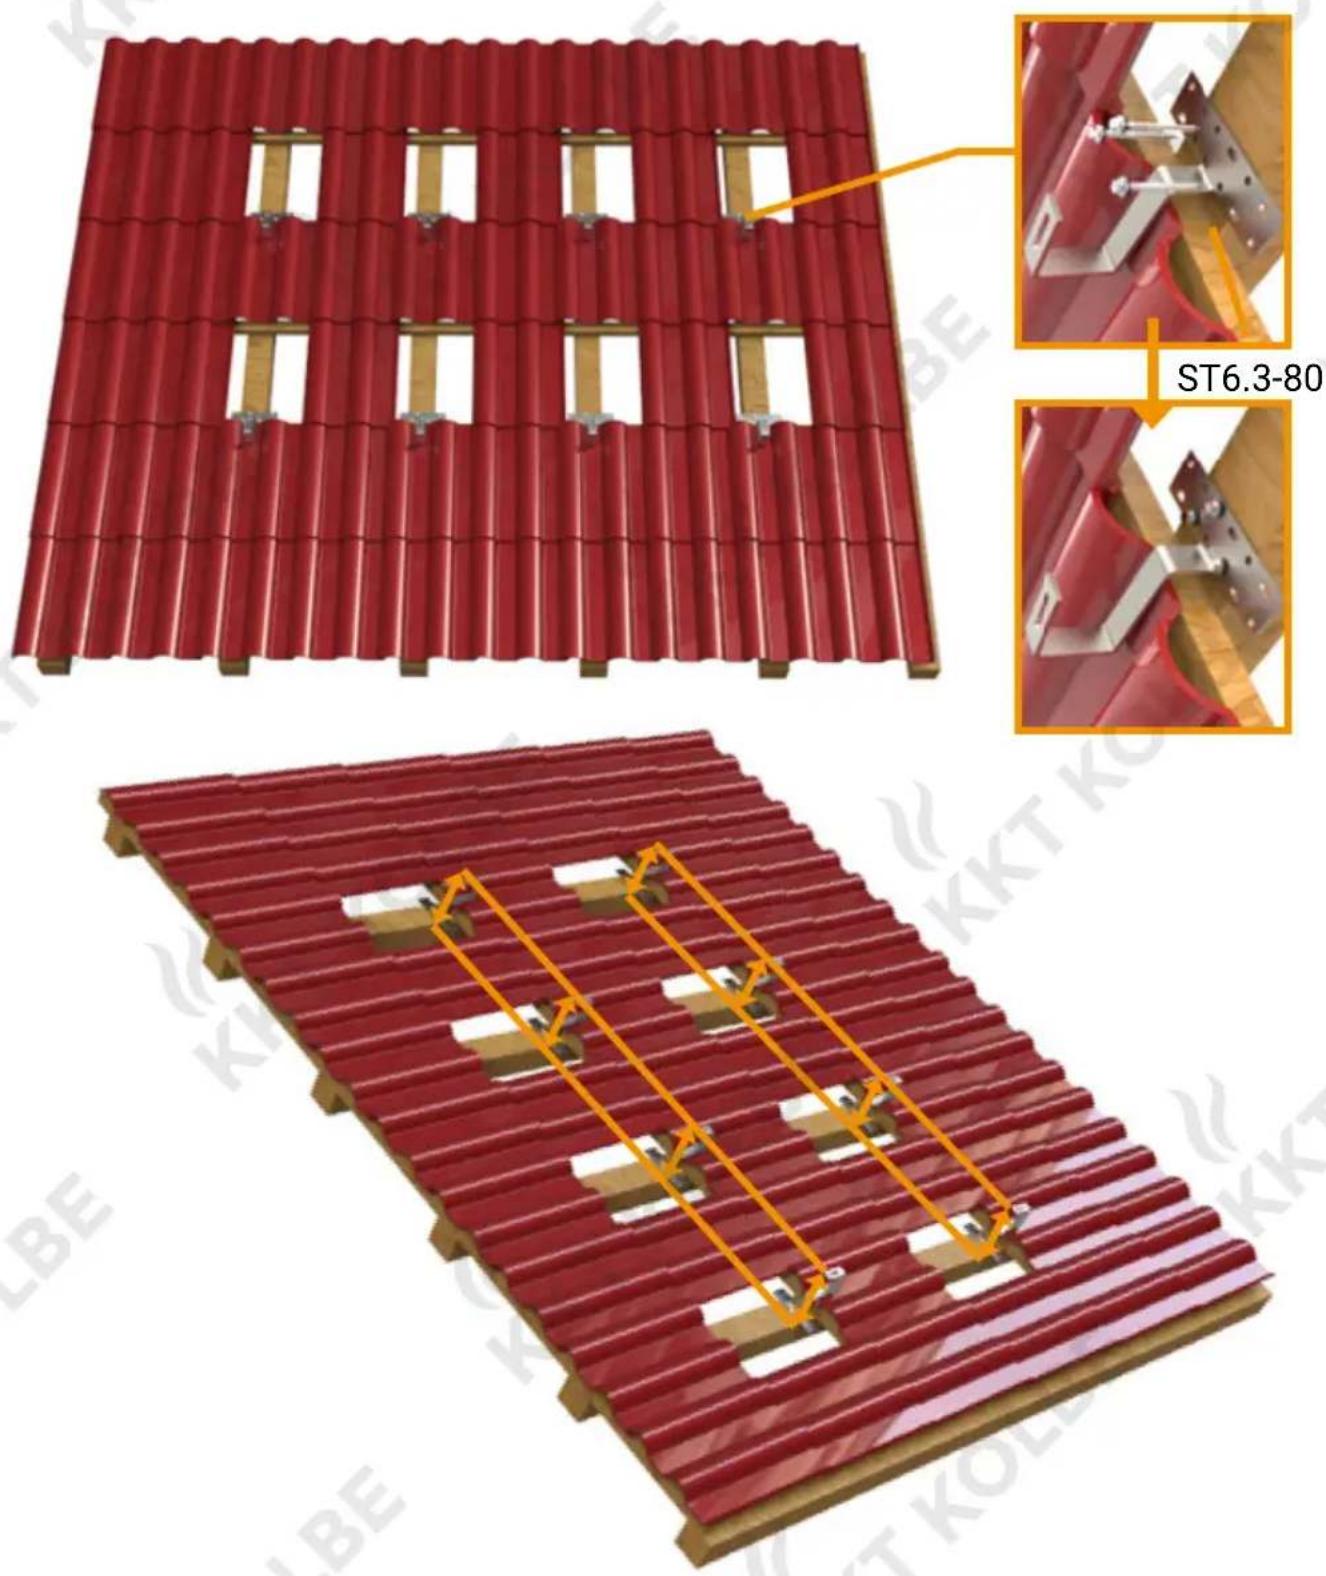
4.1 Installation of Tile Roof Hook
Lift the tiles and install the Tile Roof Hook on the roof purlin with the ST6.3*80 screws. Ensure the Tile Roof Hook are in same level then cover the tile.
4.2 Installation of Rail
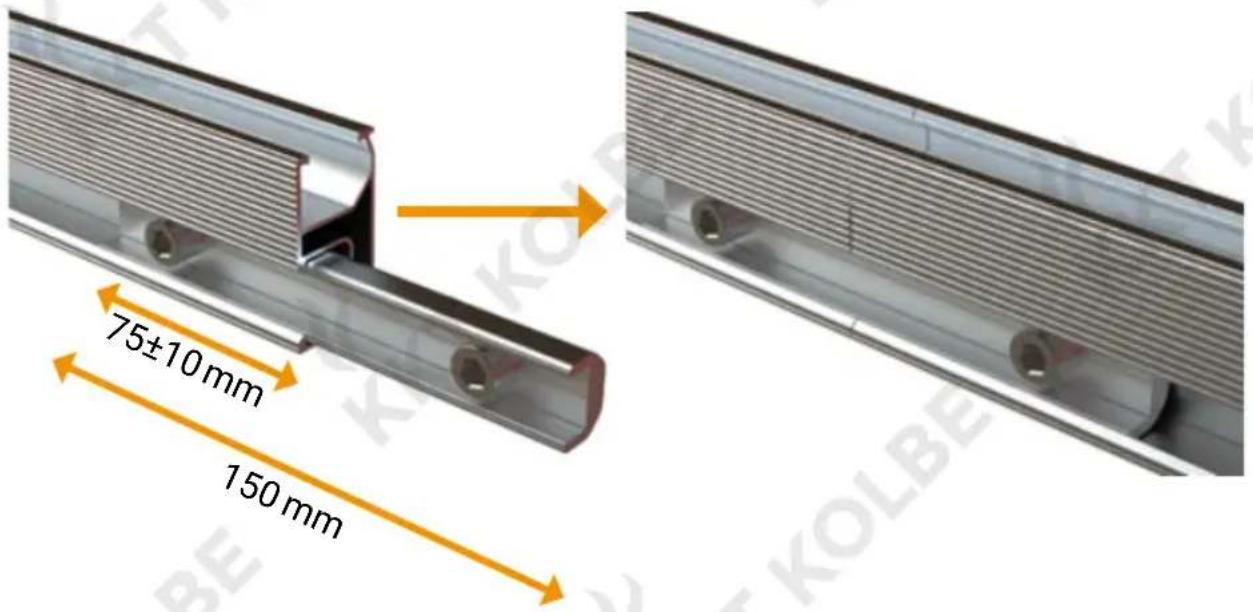
4.2.1 Rail connection (when Rail length is not enough)
Insert the Rail Connector into two Rail, use M8*10 bolt to fix well.
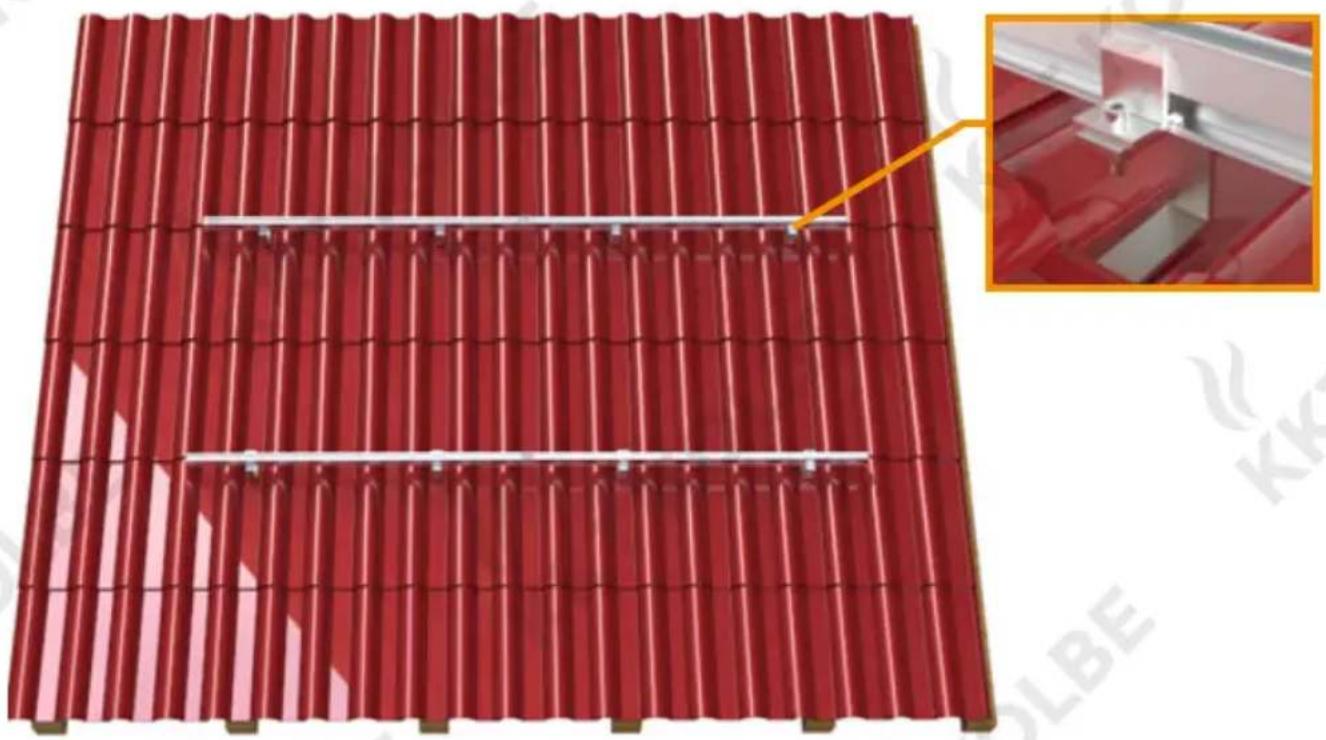
4.2.2 Install the Rail on the Tile Roof Hook with Rail Clamp, fasten the bolt tightly.
natural_image
Red corrugated metal roof structure with white structural elements, inset shows close-up of a structural detail (no text or symbols)4.3 Installation of Solar Panels
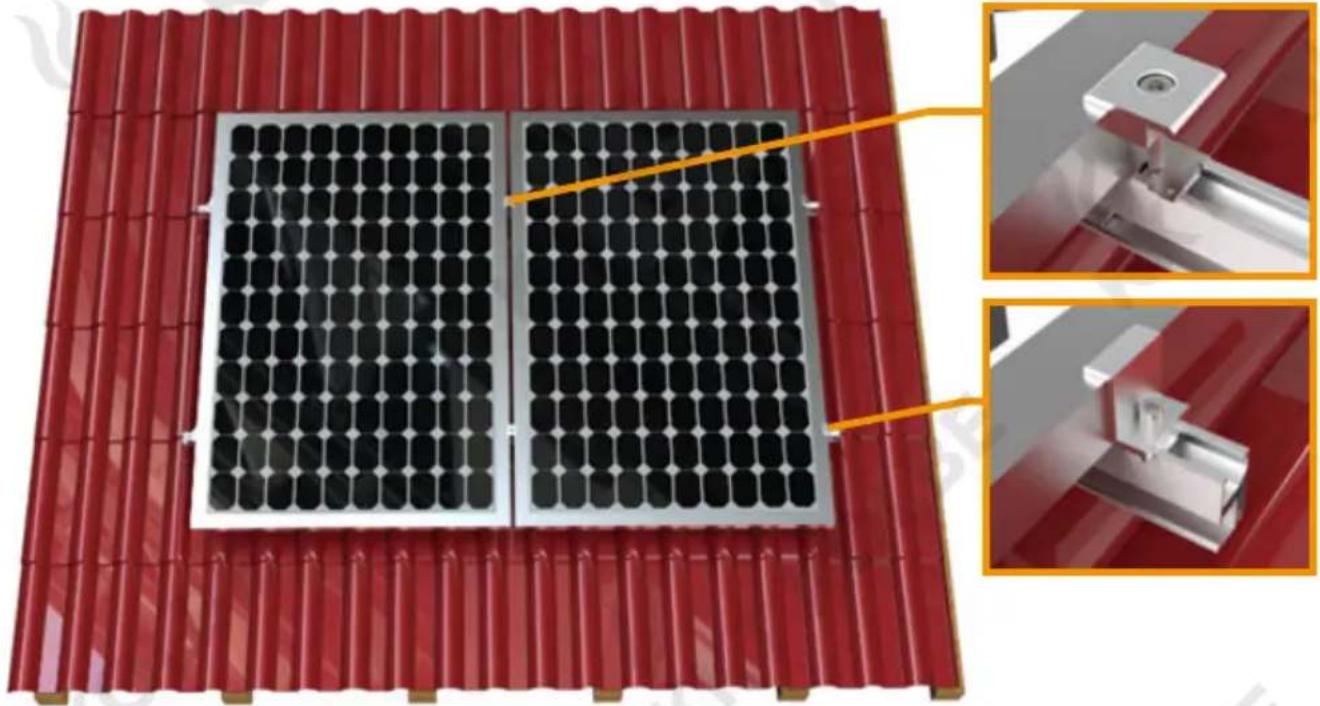
Install the Solar Panels on the Rail, use the End Clamp and Mid Clamp (with Earthing Plate) to fix and fasten the bolt tightly.
natural_image
Exterior view of a red-tiled roof solar panel with mounting bracket (no text or symbols)4.4 Installation of Grounding Lug
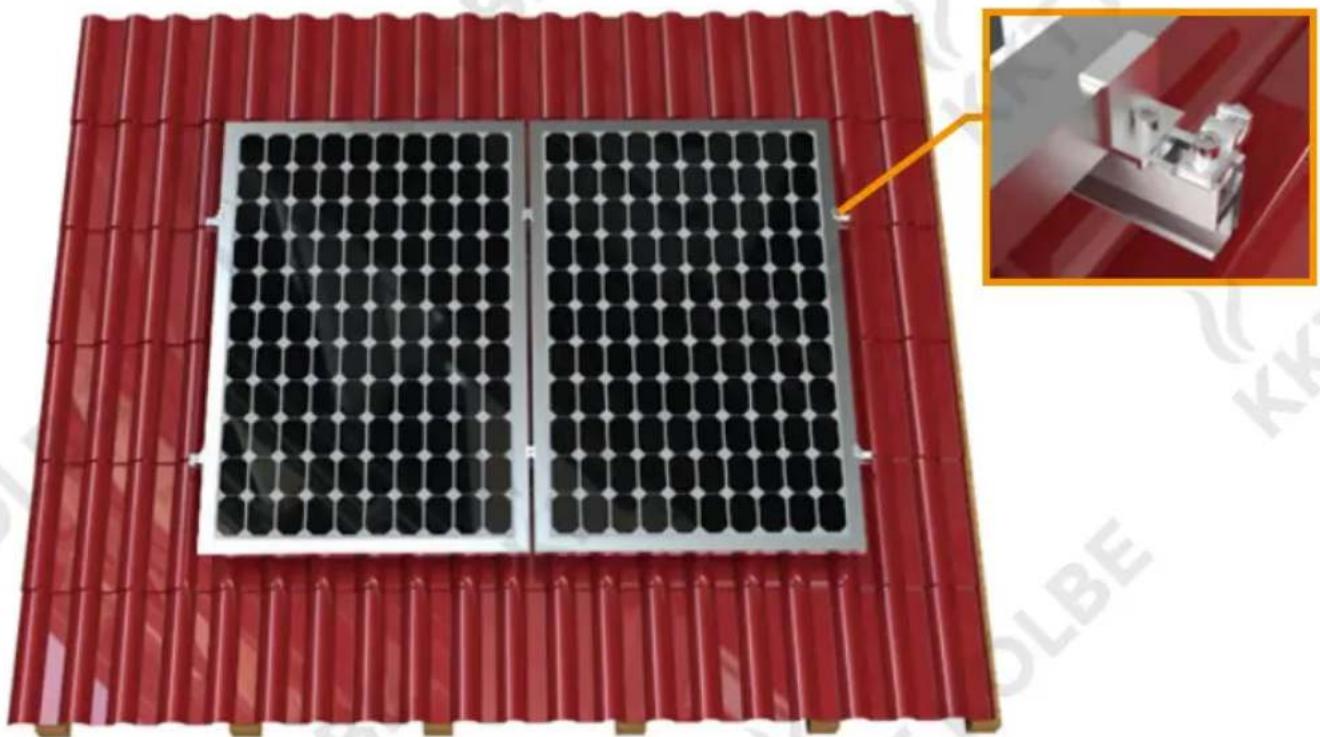
Install a Grounding Lug on the end of Rail.
natural_image
Two solar panels mounted on a red corrugated roof, with an inset showing a mechanical device (no text or symbols visible)5. Installation Notes
1. Safety Precautions
(1) The structure may cause harm to the body;
(2) The accessories of the structure may cause harm to the body;
(3) Pay attention to your head and eyes;
(4) In the working area, take careful of your action.
2. Stainless Steel Fasteners Notes
Because of its good ductility, stainless steel is essentially different from carbon steel; improper use will result in bolts and nuts can't be turned off. Prevention of this situation is mainly in the following aspects:
(1) Reduction of friction coefficient:
- Make sure the thread surface is clean, no ash, dirt, etc.
- It is recommended to use wax or lubricant, such as butter and 40# oil, on the surface of bolts when installing.
(2) Correct operation:
- When screwing, it must be perpendicular to the axis of the thread. Do not tilt.
- In the tightening process, the force must be uniform, and the tightening torque should not exceed the specified safety torque value.
- Use torque wrench or socket wrench as far as possible, avoid using movable wrench or electric wrench. If you need to use electric wrench, you should try to reduce the speed.
- Avoid high-temperature use, do not use fast rotation, avoid rapid temperature rise and lead to lock.
3. Notes after Finishing Work
(1) After the work is completed, the small parts left on the site, such as bolts, conductive sheets, etc., should be retrieved to avoid the missing of small parts in the final installation.
(2) When the weather is bad or need to stop work for a long time, please tidy up the parts to prevent soil fouling or loss.
- Installationshandbuch
- Gliederung
- SPMS02 Tile Roof Hook 02 Mounting Structure
- Catalog
- Product Introduction
- Installation Tools
- Components
- Installation Guide
- Installation of Tile Roof Hook
- Installation of Rail
- Rail connection (when Rail length is not enough)
- Installation of Solar Panels
- Installation of Grounding Lug
- Installation Notes
- Safety Precautions
- Stainless Steel Fasteners Notes
- Notes after Finishing Work
Brand : KKT Kolbe
Model : SPMS02
Category : Uncategorized