
9494-3 - Home Automation RADEMACHER - Free user manual and instructions
Find the device manual for free 9494-3 RADEMACHER in PDF.


| Product Type | DuoFern Wall Controller 1-channel (surface-mounted with battery) |
| Model Number | 9494-3 |
| Brand | RADEMACHER |
| Dimensions (Operating Unit) | 50 x 50 x 12 mm |
| Weight (Approximate) | 50 g |
| Power Supply | 3 V DC, 1 x CR2450 battery |
| Battery Life | Approximately 2 years (4 switching operations per day) |
| Radio Frequency | 434.5 MHz |
| Transmission Power | Max. 10 mW |
| Range (Indoors) | Approximately 30 m |
| Range (Outdoors) | Approximately 100 m |
| Maximum Number of Connected Devices | 16 DuoFern devices |
| Protection Class | II (dry rooms only) |
| Ambient Temperature | 0 °C to 40 °C |
| Intended Use | Control DuoFern devices (roller shutters, venetian blinds, lights, etc.) |
| Installation Method | Surface-mounted (adhesive strip or screws) |
| Included Accessories | Operating unit, wall bracket, frame, white and black central bars, adhesive strip, manual |
| Maintenance | Replace battery (CR2450); software reset available |
| Safety Features | Intended use only; not for safety-critical applications |
| Warranty | 24 months (conditions apply) |
Frequently Asked Questions - 9494-3 RADEMACHER
User questions about 9494-3 RADEMACHER
0 question about this device. Answer the ones you know or ask your own.
Ask a new question about this device
Download the instructions for your Home Automation in PDF format for free! Find your manual 9494-3 - RADEMACHER and take your electronic device back in hand. On this page are published all the documents necessary for the use of your device. 9494-3 by RADEMACHER.
USER MANUAL 9494-3 RADEMACHER
Translation of the Original installation and commissioning instruction manual.....33
Item no. 3250 19 73 / Type: 9494 -3 (surface-mounted with battery)
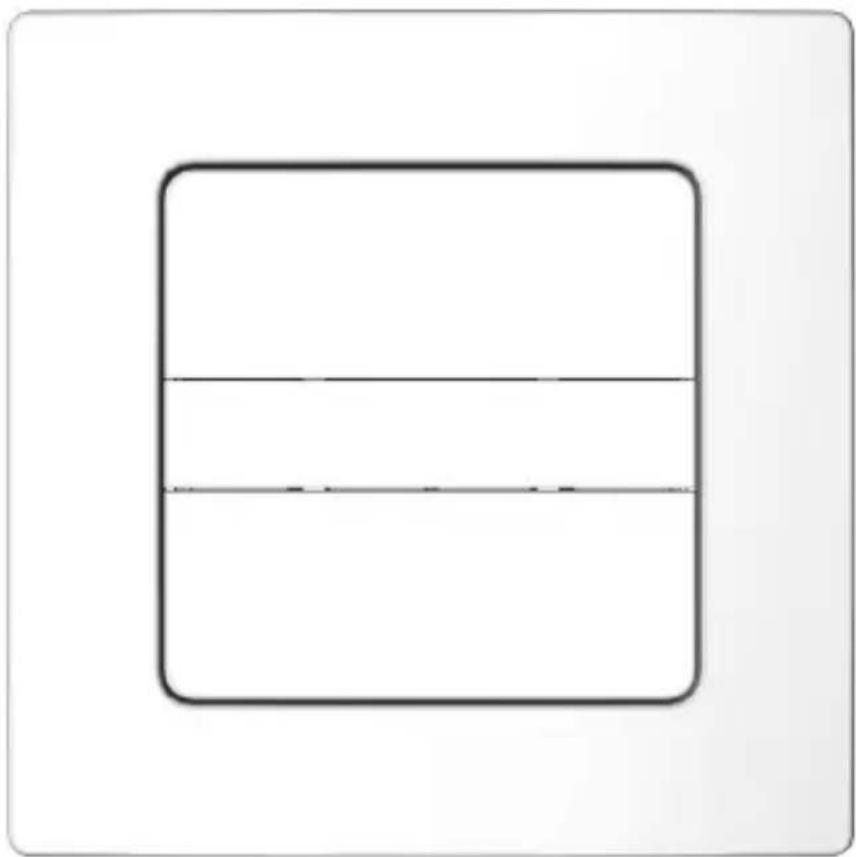
natural_image
Simple geometric shape: a rectangle with a horizontal line inside, no text or symbols present.natural_image
Two-step diagram showing a device with two blocks and directional arrows, before and after processing (no text or symbols)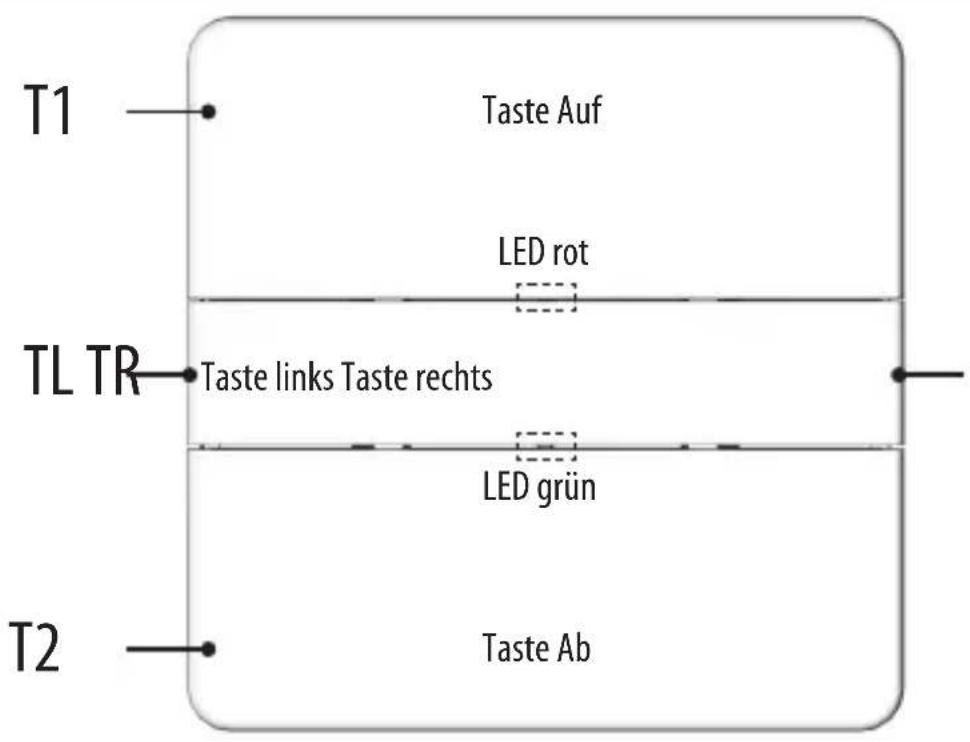

1 Sek.

1 Sek.

5 Sek.
natural_image
Mechanical component diagram showing a square frame with internal slots and two screws, no text or symbols present.natural_image
3D rendering of a mechanical component with a black cable inserted into a square housing (no text or symbols visible)natural_image
3D rendering of a wall-mounted device with internal components and directional arrows indicating movement (no text or symbols)service@rademacher.de
Translation of the Original installation and commissioning instruction manual.....33
Item no. 3250 19 73 / Type: 9494 -3 (surface-mounted with battery)
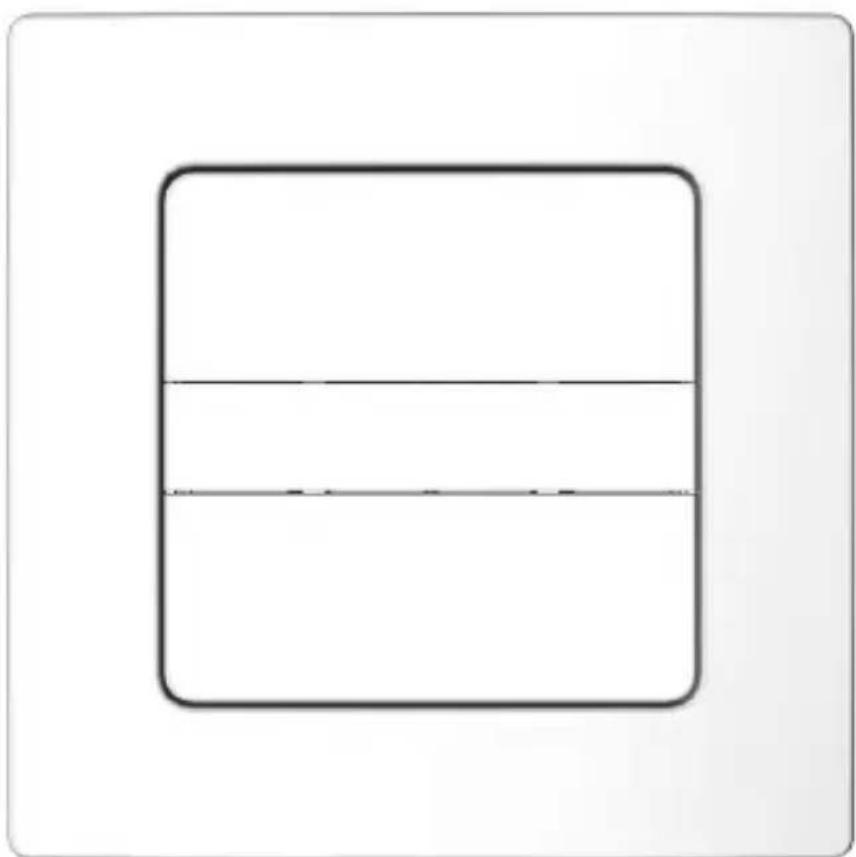
natural_image
Simple geometric shape: a rectangle with a horizontal line inside, no text or symbols present.1. This manual.... 36
1.1 How to use this manual 36
2. Hazard symbols 37
2.1 Levels of danger and signal words....37
2.2 Symbols and depictions used....38
3. Safety instructions....39
3.1 Intended use 39
3.2 Improper use....40
3.3 Expert knowledge required by the installer....40
3.4 Glossary - definition 40
4. Included in delivery 41
5. Front view of the operating unit 43
6. Product description 44
6.1 Button functions....45
6.2 Button combinations....46
7. Technical specifications 47
8. Installation......48
8.1 Selecting a suitable installation location....48
8.2 Installing the DuoFern Wall Controller 49
9. Commissioning....51
9.1 Logging on DuoFern Devices 52
9.2 Logging off DuoFern devices....54
9.3 Clearing the DuoFern network....55
10. Activating the jog mode 56
10.1 Operation in jog mode....57
11. Changing the rotation direction / mode...... 58
- Changing the battery 60
- Deleting all settings, software reset......61
- Dismantling....61
- Simplified EU declaration of conformity......62
- Warranty terms and conditions....63

1. This manual...
...describes the installation, commissioning and operation of your DuoFern Wall Controller 1-channel* 9494-3.
* Hereinafter referred to as "DuoFern Wall Controller"

1.1 How to use this manual
◆Before you begin, please read this manual through completely and follow all the safety instructions.
◆Please also read the instruction manuals of the logged on DuoFern devices as well as of the respective connected appliance.
◆This manual is part of the product. Please store it in an easily accessible place.
◆When passing the DuoFern Wall Controller on to a third party, this manual must be passed on as well.
◆Damage resulting from non-compliance with these instructions and safety instructions will void the warranty. We assume no liability for any consequential damage.

2. Hazard symbols
EN
The following hazard symbols are used in this manual:
Danger of fatal electric shock

Danger area / dangerous situation

2.1 Levels of danger and signal words

DANGER!
This hazard will lead to serious injury or death if not avoided.

WARNING!
This hazard may result in serious injury or death if not avoided.

CAUTION!
This hazard may result in minor or moderate injury if not avoided.

ATTENTION!
This hazard may lead to property damage.

2.2 Symbols and depictions used
EN
Depiction Description
- Procedures
2.
Itemisation
1) or a) Lists

Further useful information

Please read the active manual.

The use of defective equipment can lead to personal injury and damage to property.
◆Never use defective or damaged devices.
◆Check the DuoFern Wall Controller for damage.
◆Consult our customer service department in the event that you discover damage, see page 64.

3.1 Intended use
Only use the DuoFern Wall Controller to log on and control DuoFern devices.
Operating conditions
◆The associated tubular motor must be fitted with a mechanical or electronic end position switch.
◆Only use the DuoFern wall controller in dry rooms.
◆ The installation and operation of the radio systems is only permitted for those systems and devices where a malfunction in the transmitter or receiver would not cause a danger to personnel or property or where this risk is already covered by other safety equipment.
Using the DuoFern Wall Controller for any other purpose than previously mentioned is not permissible.

Improper use can lead to serious injuries or property damage.
Never use the radio system (e.g. DuoFern radio system) and its components for the remote control of appliances and systems with increased safety-relevant requirements or where there is an accident risk. Applications of this kind require additional safety equipment. Observe the respective statutory regulations for the installation of such systems.

3.3 Expert knowledge required by the installer
The installation and commissioning of the DuoFern Wall Controller must only be carried out in accordance with the instructions in this manual.

3.4 Glossary - definition
DuoFern
◆RADEMACHER radio technology for controlling compatible products.
HomePilot®
◆The HomePilot® is a central controller unit for RADEMACHER radio products.
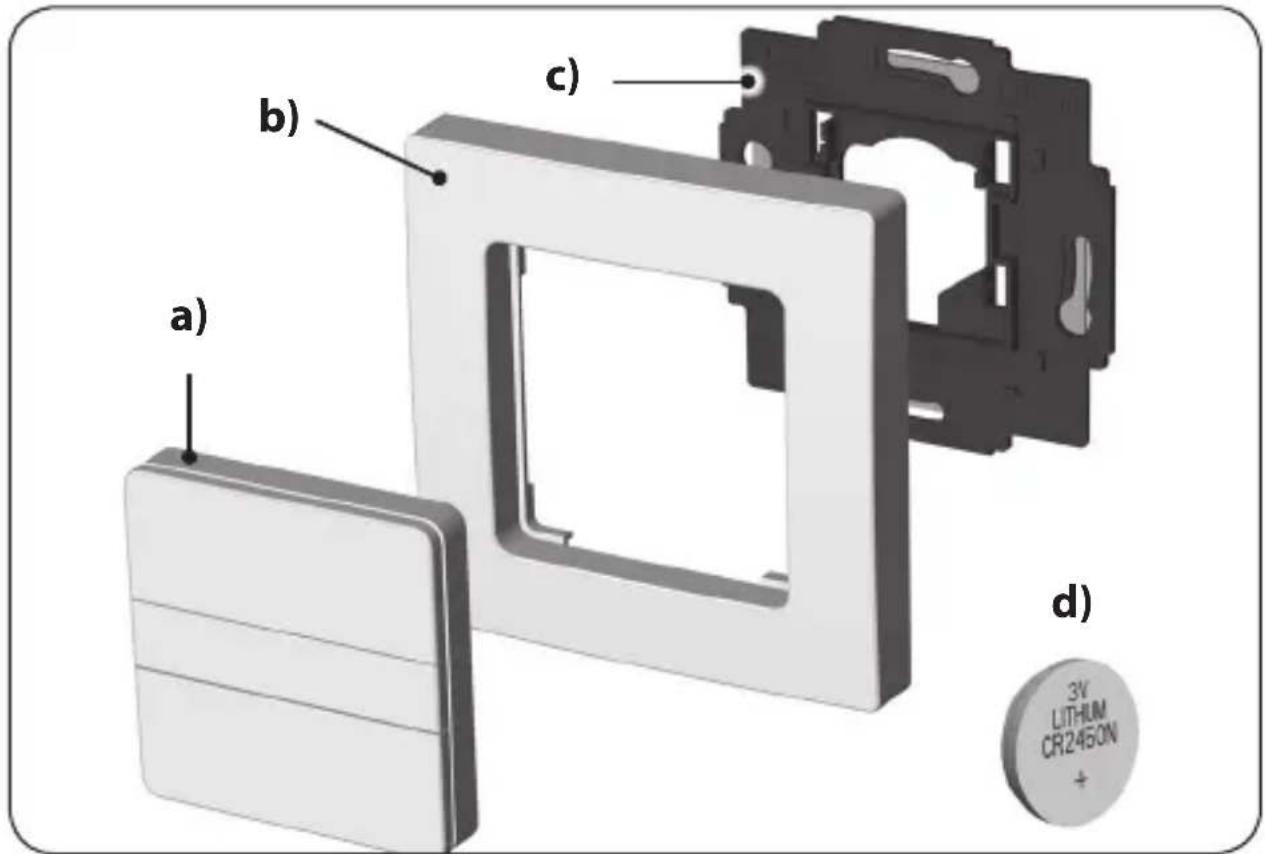
e) 1 x black central bar (optionally exchangeable)
f) 1 x double-sided adhesive strip
g) 1 x instruction manual
After unpacking please check and compare...
... the contents of the package with those specified above.
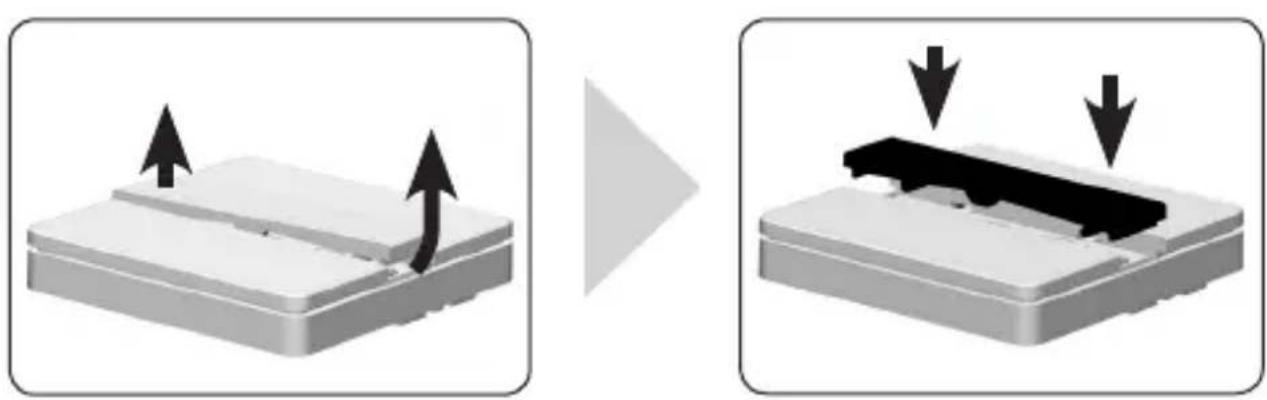
Changing the central bar if required
If required you can also replace the white central bar pre-installed at the factory with the black one supplied.
natural_image
Two-step diagram showing a device with two blocks and directional arrows, before and after processing (no text or symbols)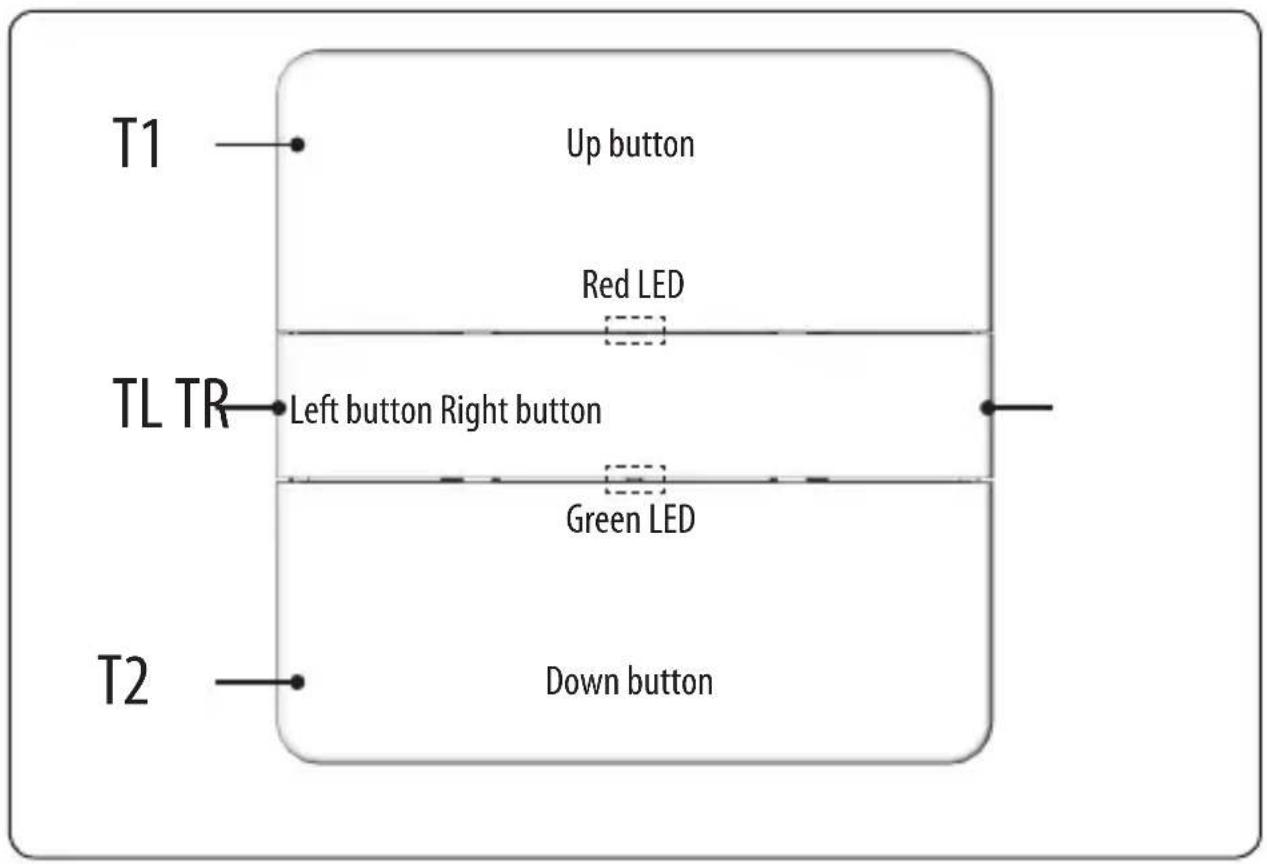
Symbol Description
T1 Operating button 1
T2 Operating button 2
TL Left set button
TR Right set button
Red LED
Green LED
Status LEDs
Function
The DuoFern Wall Controller serves to log on and control various DuoFern devices. You can transfer the desired control commands to the logged on DuoFern devices with the two operating buttons T1 and T2. Two LEDs (red/green) provide information on the respective status of the operation.
Max. number of DuoFern devices
A maximum of 16 DuoFern devices can be logged on. When logging on, the individual DuoFern devices are automatically detected and recognised by the DuoFern Wall Controller.
Jog mode
To control Venetian blinds with slats, the DuoFern Wall Controller can be switched to jog mode.
| Controller Design Function | 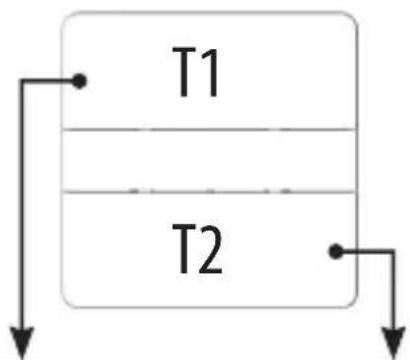 | |||
 | Activate or deactivate the light or appliance | 1 x tap ON OFF | ||
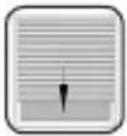 | Control roller shutters / Venetian blinds | 1 x tap UP DOWN | ||
| Tap again STOP STOP | ||||
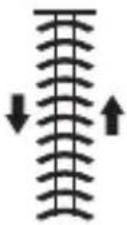 | Roller shutters / Venetian blinds in jog mode | 1 x tap Briefly UP Briefly DOWN | ||
| 1 x long UP DOWN | ||||
| Tap again STOP STOP | ||||
| 100% | Dim light or save intermediate values | 1 x tap 0 to 100 | % 100 % to 0 | |
| 2 x tap | Go directly to 100 % | Go directly to 0 | ||
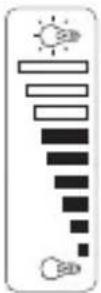 | 1 x tap in opposite direction | e.g. save 75 % e.g. save 45 % | ||
| Press and hold | 0 to 100 % 100 | % to 0 | ||
| 0% | Release e.g. save | 75 % e.g. save | 45 % | |
Recommendation for pressing the buttons simultaneously In order to avoid inadvertently switching off logged on devices, you should first press the middle button (right/left) and then press the respective operating button and hold both.
Activate the registering mode, see page 52.
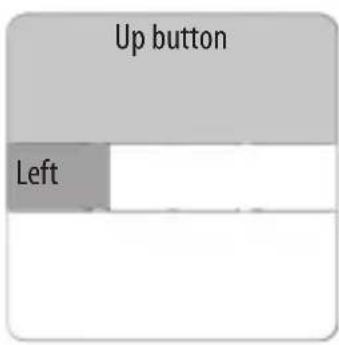

1 sec.
Clear the DuoFern network, see page 55.
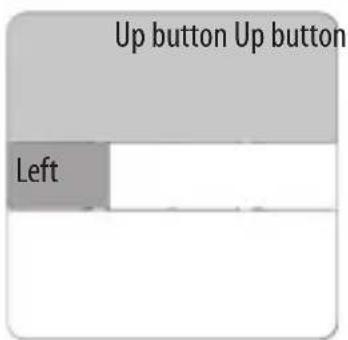

5 sec. 5 sec.
Change rotation direction/ mode, see page 58.
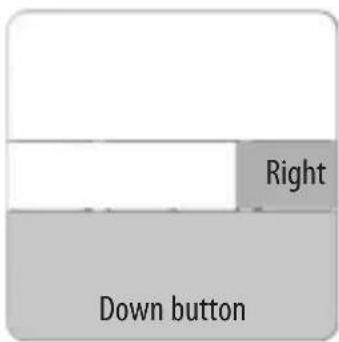

5 sec.
Activate the log-off mode, see page 54.
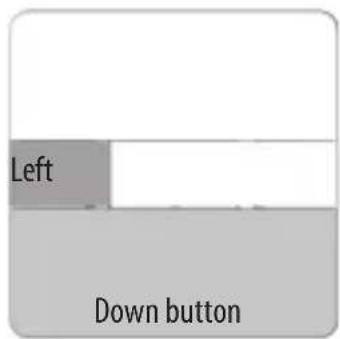

1 sec.
Activate the jog mode, see page 56.
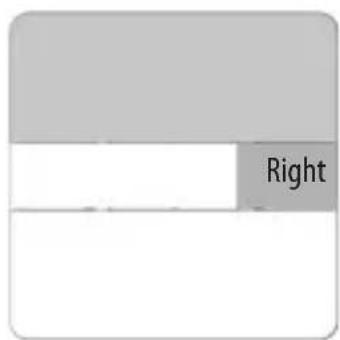

Software reset, see page 61.
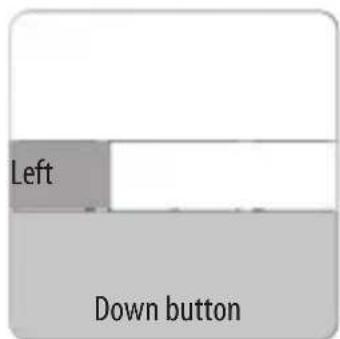

5 sec.
| General information | |
| Nominal voltage: 3 V (DC) | |
| Battery type: 1 x CR2450 | |
| Battery life: | 2 years, with four switching processes per day. ** Depending on the number of logged on DuoFern devices |
| Permissible ambient temperature: | 0 to 40°C |
| Protection class: II (only for use in dry rooms) | |
| Dimensions (W x H x D): 50 x 50 x 12 mm (operating unit) | |
| DuoFern radio technology | |
| Transmission frequency: 434.5 MHz | |
| Transmission power: max. 10 mW | |
| Range: | indoors: approx. 30 m *outdoors: approx. 100 m* Depending on the building structure |
| Maximum number of DuoFern devices: | 16 |
| Factory settings | |
| DuoFern devices: none | |
| Jog mode: deactivated | |

8. Installation
EN

8.1 Selecting a suitable installation location
Avoid installation near disturbing sources

Radio systems that transmit on the same frequency can cause interference.
◆Do not install the DuoFern Wall Controller in the proximity of powerful radio systems.
◆In order to ensure optimal operation, the DuoFern Wall Controller should not be installed on a metallic base or near metal objects.

8.2 Installing the DuoFern Wall Controller
EN
The DuoFern Wall Controller 9494-3 is intended for surface mounting. The supplied wall bracket can be screwed in place or stuck to the wall.
- Select and mark the desired installation position.
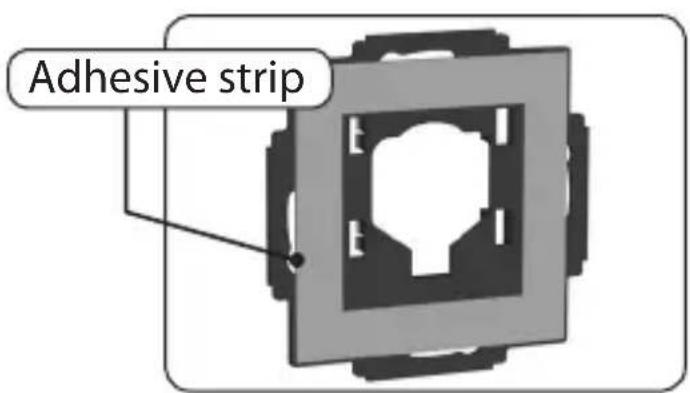
- Pull the protective film from the adhesive strip provided and stick it on the back of the wall bracket.
- Remove the second protective film and firmly press the wall bracket with the adhesive strip on to the wall.
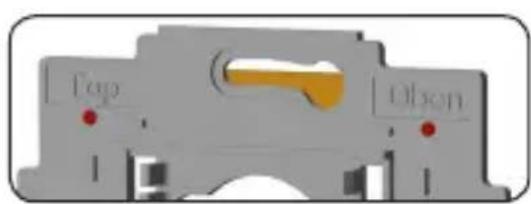
The labelling TOP/OBEN must point upwards.
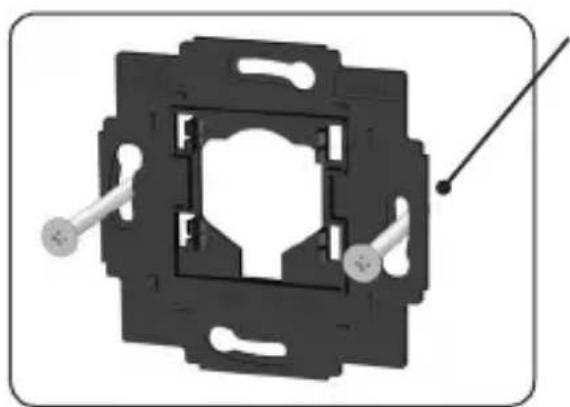
If you wish to screw the wall bracket on, you will need to drill the according installation holes and use appropriate wall plugs and screws.
natural_image
Mechanical component diagram showing a square frame with internal slots and a pointer (no text or symbols)* Screws not included in the scope of delivery.

8.2 Installing the DuoFern Wall Controller
EN
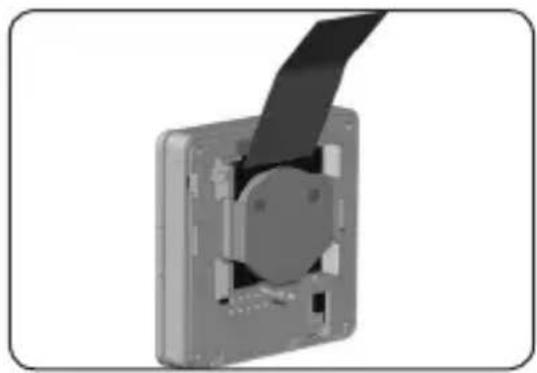
- Carefully pull the separating film from the battery compartment.
natural_image
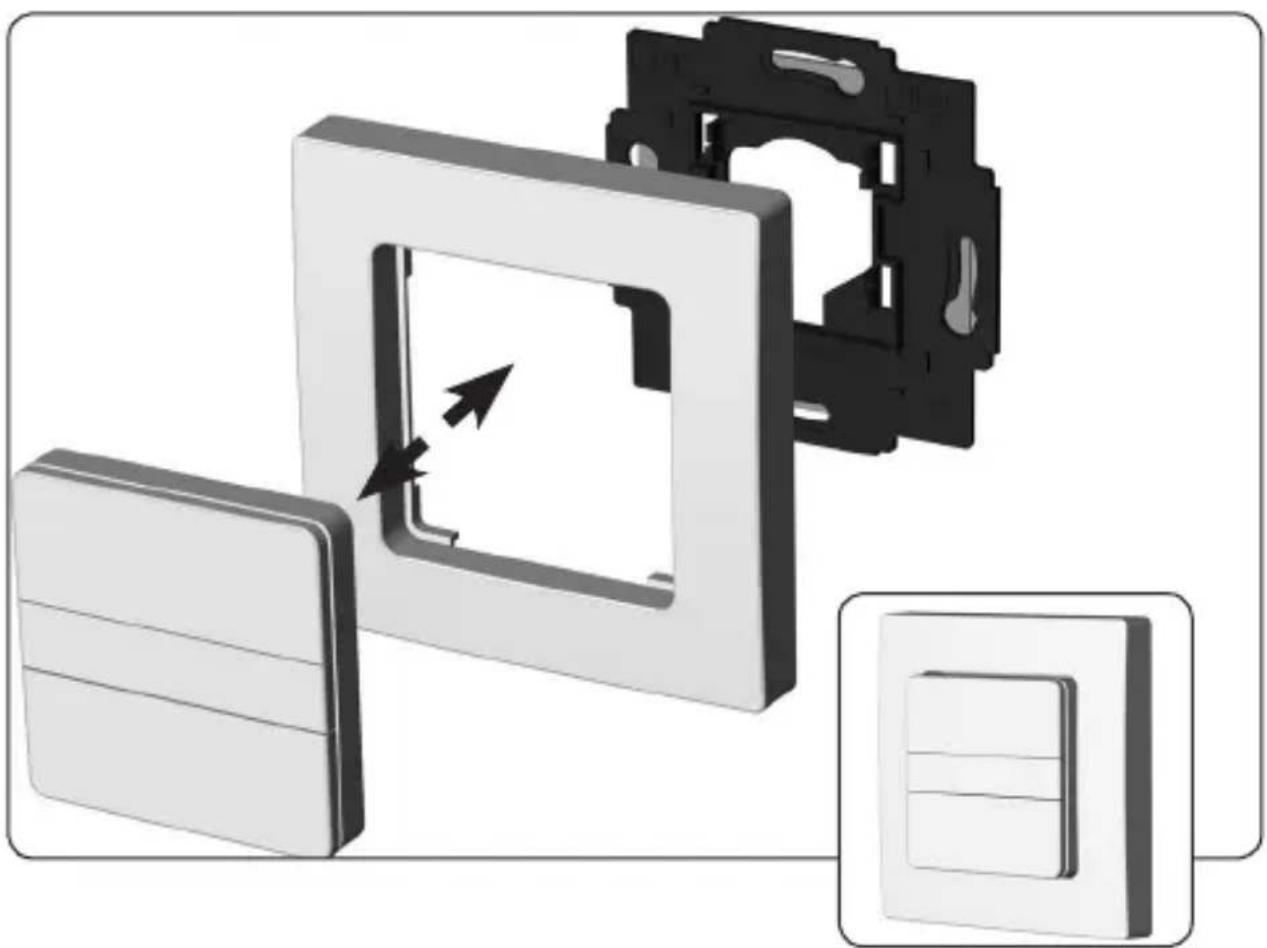
3D rendering of a mechanical component with a black cable inserted into a square housing (no text or symbols visible)- Finally, press the operating unit and the frame on to the wall bracket so that the frame lies flush with the wall.
natural_image
3D rendering of a wall-mounted device with internal components and directional arrows indicating movement (no text or symbols)Information for logging on DuoFern devices

Only the same DuoFern devices or device classes can be logged on to the wall controller.
When logging on, the individual DuoFern devices are automatically detected and recognised by the DuoFern Wall Controller.

Please read the instruction manual for the respective DuoFern device.
Max. number of DuoFern devices
A maximum of 16 DuoFern devices can be logged on.

9.1 Logging on DuoFern Devices
EN
Observe the red LED
The red LED flashes quickly if the log-on was unsuccessful. For example, if...
◆the maximum number of 16 DuoFern devices is reached.
◆an unsuitable device is logged on.
- Switch the desired DuoFern device to the registering mode (please refer to the relevant instruction manual).
- 1 sec. Activate the registering mode on the DuoFern Wall Controller.
Simultaneously press and hold buttons TL + T1 for 1 second.
The green LED flashes.

120 sec. The registering mode remains active for oprox. 120 seconds.
- If you have logged on successfully, the green LED lights up for approx. 2 seconds.
- Log on the next DuoFern device.

9.1 Logging on DuoFern Devices
EN
Logging on multi-channel actuators:
- Switch the desired DuoFern device to the registering mode (please refer to the relevant instruction manual).
- Activate the registering mode on the wall controller, as described above.
Both LEDs light up continuously if a multi-channel actuator is detected.

120 sec. The registering mode remains active for pprox. 120 seconds.
- Accepting the first channel (log on):
Tap on any random button briefly (< 5 seconds).
If the accept command is successful, the green LED flashes three times.
or
Skipping the first channel:
Press and hold any random button for 5 seconds.
If the skip command is successful, the red LED flashes three times.
If the command to accept or skip a channel is successful, both LEDs light up again continuously.
- Accept or skip the second channel.
Proceed as described in point 3.
- Log on the next DuoFern device.

9.2 Logging off DuoFern devices
EN
- Switch the desired DuoFern device to the log-off mode (please refer to the relevant instruction manual).
- 1 sec. Activate the log-off mode on the DuoFern Wall Controller.
Simultaneously press and hold buttons TL + T2 for 1 second.
The red LED flashes.

120 sec. The log-off mode remains active for oprox. 120 seconds.
- If you have logged off successfully, the green LED lights up for approx. 2 seconds.

9.3 Clearing the DuoFern network
EN
This function enables you to log off all DuoFern devices from the DuoFern Wall Controller that are no longer accessible via radio.

Not all battery-operated DuoFern devices can be logged off in this way.
A software reset must be carried out in order to log off and delete all DuoFern devices, see page 61.
- 5 sec. Activate the clearing function.
Simultaneously press and hold buttons TL + T1 for 5 seconds.
During the clearing function:
◆The green LED flashes first,
◆then the green LED lights up continuously and the red LED flashes until the clearing function is completed.
- If the clearing function has been successfully completed, the green LED then lights up for approx. 2 seconds.
Cancelling the clearing function
You can cancel the clearing function at any time by briefly pressing any random button.
In the jog mode, the DuoFern Wall Controller can be used, for example, to control Venetian blinds.
Displaying the jog mode status
- Simultaneously press and hold buttons TR + T1 briefly and release.
Then observe the LEDs:
If the green LED lights up, the jog mode is activated
If the red LED lights up, the jog mode is deactivated
Activating / deactivating the jog mode
- 5 sec. Simultaneously press and hold buttons TR + T1 for 5 seconds.
The LED will change from green to red or vice versa depending on the status.
Tilting the slats
Tapping the operating buttons briefly enables Venetian blind slats to be conveniently configured.
Driving the slats into the end position
Press the operating button longer to drive the Venetian blinds into the end point. The run can be stopped briefly by tapping the button again briefly, see page 45 - "Button functions".
This function can be used to change the rotation direction of a logged on radio tubular motor or the mode of a DuoFern Switch Actuator.

To use this function, only one component may be logged on to the wall controller.
Log on the desired DuoFern component to change the rotation direction or mode. If several devices are already logged on, these must first be logged off, for example, by carrying out a software reset on the wall controller.
Checking whether the rotation direction / mode can be changed
- Simultaneously press and hold buttons TR + T2 briefly and release.
Then observe the LEDs:
If the green LED flashes, they can be changed
If the red LED flashes, they cannot be changed
Changing the rotation direction / mode
- 5 sec. Simultaneously press and hold buttons TR + T2 for 5 seconds.
natural_image
Simple gray rectangular shape with no text or symbolsThe red LED lights up initially. Then the green LED lights up for 2 seconds if the rotation direction / mode has been changed.
The red LED lights up for 2 seconds if the change of rotation direction or mode has failed.

12. Changing the battery
EN
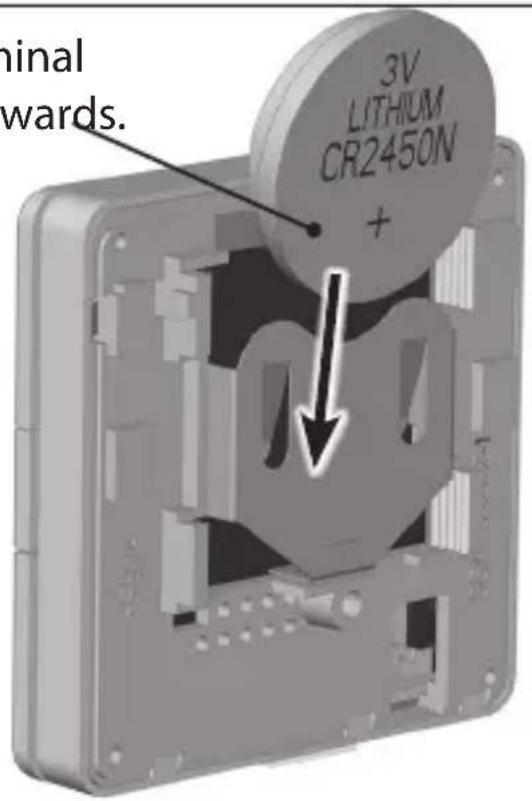
If the battery has discharged, the red LED flashes three times when any random button is pressed for a short time. The battery must be replaced.
- Carefully pull the operating unit out of the wall bracket.
- Carefully press the battery out of the battery compartment using a flat, non-conductive object (e.g. a plastic rod).
- Replace the battery with a battery of the same type "CR2450". Observe the correct polarity when inserting a new battery.
- Then insert the operating unit into the wall bracket again.
The positive terminal should point outwards.

13. Deleting all settings, software reset
EN
A software reset must be carried out to reset the DuoFern Wall Controller to the original factory settings.
1.
Simultaneously press buttons TL + T2
until the red LED lights up red continuously after initially flashing.
- All settings have been deleted and reset to the original factory settings. All logged on DuoFern devices have been automatically logged off.

14. Dismantling
-
Carry out a software reset to log off all DuoFern devices from the DuoFern Wall Controller.
-
Carefully pull the operating unit and then the frame out of the wall bracket.
-
Remove the wall bracket from the wall.
-
If required, remove the battery from the DuoFern Wall Controller.

RADEMACHER Geräte-Elektronik GmbH hereby declares that the DuoFern Wall Controller 9494-3 complies with the Directive 2014/53/EU (Radio Equipment Directive).
The full text of the declaration of conformity is available at the following website:
RADEMACHER Geräte-Elektronik GmbH will provide a 24-month warranty for new systems that have been installed in compliance with the installation instructions. All construction faults, material defects and manufacturing defects shall be covered by the warranty. Your statutory warranty claims remain unaffected by this warranty.
The following are not covered by the warranty:
◆Incorrect fitting or installation
◆Non-observance of the installation and operating manual
◆Improper operation or wear and tear
◆External influences, such as impacts, knocks or weathering
◆Repairs and modifications by third parties, unauthorised persons
◆Use of unsuitable accessories
◆Damage caused by unacceptable excess voltages (e.g. lightning)
◆Operational malfunctions caused by radio frequency overlapping and other such radio interference
A prerequisite for the warranty is that the new device must have been purchased from one of our approved specialist retailers. Proof of this must be provided by presenting a copy of the invoice. RADEMACHER will remedy any defects that occur within the warranty period free of charge either by repair or replacement of the affected parts or by supplying a new replacement unit or one to the same value. There is no general extension of the original warranty period by delivery of a replacement or by repair as per the terms of the warranty.
RADEMACHER
46414 Rhede (Germany)
info@rademacher.de
www.rademacher.de
Service:
Hotline 01807 933-171*
Fax +49 2872 933-253
service@rademacher.de
* 30 seconds free of charge, subsequently 14 cents / minute from German fixed line networks and max. 42 cents / minute from German cellular networks.

- This manual.... 36
- Hazard symbols 37
- Safety instructions....39
- Included in delivery 41
- Front view of the operating unit 43
- Product description 44
- Technical specifications 47
- Installation......48
- Commissioning....51
- Activating the jog mode 56
- Changing the rotation direction / mode...... 58
- This manual...
- How to use this manual
- Hazard symbols
- Danger of fatal electric shock
- Danger area / dangerous situation
- Levels of danger and signal words
- DANGER!
- WARNING!
- CAUTION!
- ATTENTION!
- Symbols and depictions used
- Depiction Description
- The use of defective equipment can lead to personal injury and damage to property.
- Intended use
- Operating conditions
- Improper use can lead to serious injuries or property damage.
- Expert knowledge required by the installer
- Glossary - definition
- DuoFern
- HomePilot®
- After unpacking please check and compare...
- Changing the central bar if required
- Symbol Description
- Function
- Max. number of DuoFern devices
- Jog mode
- Installation
- Selecting a suitable installation location
- Avoid installation near disturbing sources
- Installing the DuoFern Wall Controller
- Information for logging on DuoFern devices
- Logging on DuoFern Devices
- Observe the red LED
- The green LED flashes.
- Logging on multi-channel actuators:
- Skipping the first channel:
- Logging off DuoFern devices
- Clearing the DuoFern network
- During the clearing function:
- Cancelling the clearing function
- Displaying the jog mode status
- Then observe the LEDs:
- Activating / deactivating the jog mode
- Tilting the slats
- Driving the slats into the end position
- Checking whether the rotation direction / mode can be changed
- Changing the rotation direction / mode
- Changing the battery
- Deleting all settings, software reset
- 1.
- Dismantling
- The following are not covered by the warranty:
- RADEMACHER
- Service:
Brand : RADEMACHER
Model : 9494-3
Category : Home Automation