
Nano 60 - Camera ROLLEI - Free user manual and instructions
Find the device manual for free Nano 60 ROLLEI in PDF.


| Product Type | Compact Digital Camera |
| Brand | Rollei |
| Model | Nano 60 |
| Sensor Resolution | 16 Megapixels |
| Lens Type | Fixed focal length, f/2.8 aperture |
| Digital Zoom | 4x |
| Screen Size | 2.7-inch LCD |
| Video Resolution | 1920x1080 (Full HD) at 30 fps |
| Storage | SD/SDHC card (up to 32GB) |
| Power Source | Rechargeable lithium-ion battery (3.7V, 600mAh) |
| Battery Life | Up to 200 shots |
| Dimensions (WxHxD) | 90 x 60 x 20 mm |
| Weight | 120 g (including battery) |
| Interface | USB 2.0, HDMI micro |
| Tripod Mount | Yes, 1/4 inch thread |
| Flash | Built-in, auto/on/off/red-eye reduction |
| Self-Timer | 2s, 10s delay |
| Image Stabilization | Electronic |
| Focus Mode | Auto, Macro, Infinity |
| White Balance | Auto, Daylight, Cloudy, Fluorescent, Tungsten |
| ISO Range | Auto, 100, 200, 400, 800 |
| Shutter Speed | 1/2000s to 2s |
| File Format | JPEG, AVI (video) |
| Languages | English, French, German, Spanish, Italian |
| Color Options | Black, Silver |
Frequently Asked Questions - Nano 60 ROLLEI
User questions about Nano 60 ROLLEI
0 question about this device. Answer the ones you know or ask your own.
Ask a new question about this device
Download the instructions for your Camera in PDF format for free! Find your manual Nano 60 - ROLLEI and take your electronic device back in hand. On this page are published all the documents necessary for the use of your device. Nano 60 by ROLLEI.
USER MANUAL Nano 60 ROLLEI
Instructions for use
Rollei
natural_image
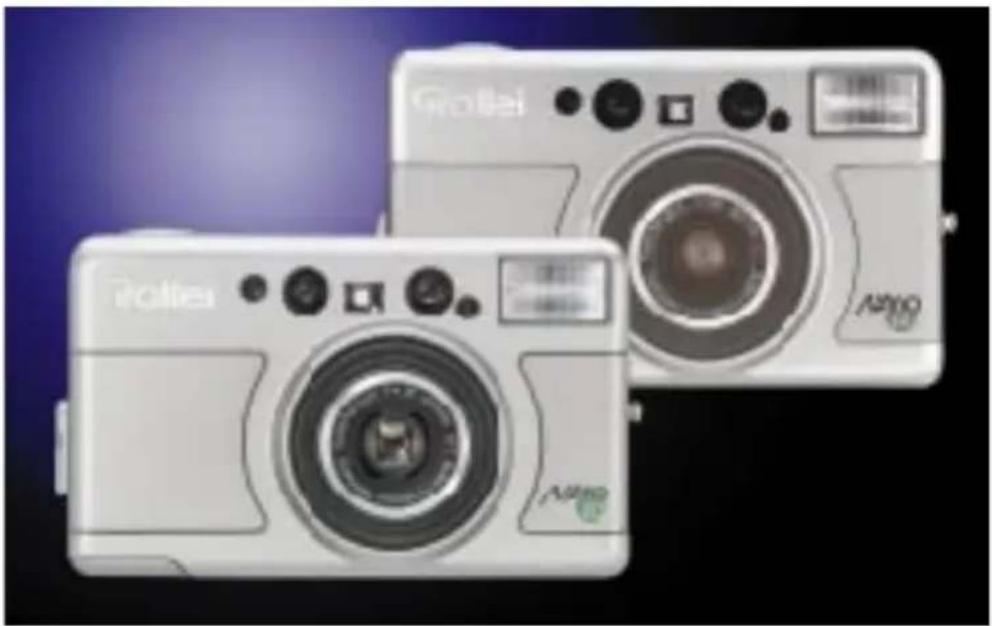
Two silver digital camera models against a blue background (no visible text or symbols)
ALLGEMEINES
Zur Kamera
natural_image
Grid of grayscale images showing various scenes with no visible text or symbols2. Index-Print
natural_image
Close-up of a computer control panel with a display and indicator lights, labeled 'size' (no readable text beyond symbols)Autofokus-LED
natural_image
Close-up of a camera lens with an arrow indicating rotation (no text or symbols visible)Batterie einlegen
natural_image
Close-up of a mechanical component with a circular arrow indicating rotation (no visible text or symbols)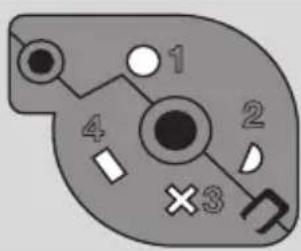

unbelichtet

teilbelichtet

natural_image
Close-up of a camera control panel with a circular dial indicator and 'M2E' label (no readable text or symbols beyond basic labels)natural_image
Close-up of a hand holding a small electronic device with an arrow pointing to it (no visible text or symbols)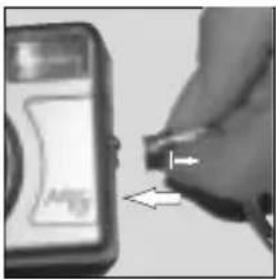
natural_image
Close-up of a hand holding a small electronic device next to a screen (no visible text or symbols)natural_image
Close-up of a hand holding a small electronic device with a cable (no visible text or symbols)natural_image
Close-up of a mechanical device with labeled ports (W, T) and directional arrows indicating movement or force (no readable text beyond labels)Bitte beachten:
natural_image
Two black-and-white photos showing a person holding a camera and another seated at a table, with no visible text or symbols.Kamerahaltung
natural_image
Two black-and-white photos showing a person taking a camera and another person playing a baseball on the beach (no text or symbols visible)Bitte beachten
Fotografieren
(28mm) (60mm / 80mm)
0,7-5,0 m 0,75
-2,2 m
flowchart
graph LR
    A["1: Image 1"] --> B["2: Image 2"]
    B --> C["3: Image 3"]
Schärfespeicher
natural_image
Exterior view of a large building with symmetrical windows and a central courtyard (no signage)Bildformate
natural_image
Exterior view of a large building with landscaped grounds and no visible text or symbols on the structure itself.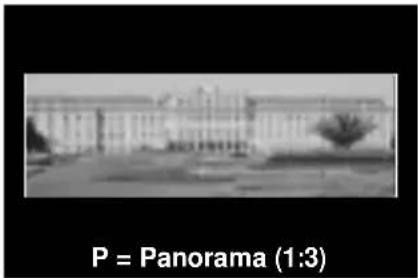
BLITZFUNKTIONEN
flowchart
graph LR
    A["Blitzautomatik Rotaugen-Reduzierung"] --> B["12 9 '98 24"]
    B --> C["12 9 '98 24"]
    C --> D["Aufhellblitz Langzeit-Synchronisation"]
    D --> E["12 9 '98 24"]
    E --> F["Blitz aus"]
Blitzfunktionen
natural_image
Black-and-white photo of a person sitting at a table, no visible text or symbols
natural_image
Black-and-white photo of a person sitting at a table, no visible text or symbolsnatural_image
Silhouette of a person sitting in a chair, possibly a train or office (no visible text or symbols)
natural_image
Black-and-white photo of a person sitting on a bench, no visible text or symbolsnatural_image
Black-and-white photo of two people posing together (no visible text or symbols)
natural_image
Black-and-white photo of two people posing together, no visible text or symbolsnatural_image
Interior view of a grand church with arched windows and ornate wooden podiums (no visible text or symbols)Bitte beachten
natural_image
Group photo of people posing in front of a building facade with windows (no visible text or symbols)Selbstauslöser
natural_image
Black-and-white photo of a car viewed from the side, showing urban buildings and a hilltop structure (no visible text or symbols)Bitte beachten
natural_image
Illustration of a vintage digital camera with lens and frame (no text or symbols)WIDE (28mm): ca. 0,7 - 5,0 m
TELE (60/80mm): 0,75 - 2,2 m
Anti-Rotaugen-Blitz,
Aufhellblitz,
Langzeitsynchro,
Blitz aus
Aufnahmefunktionen
Instructions for use
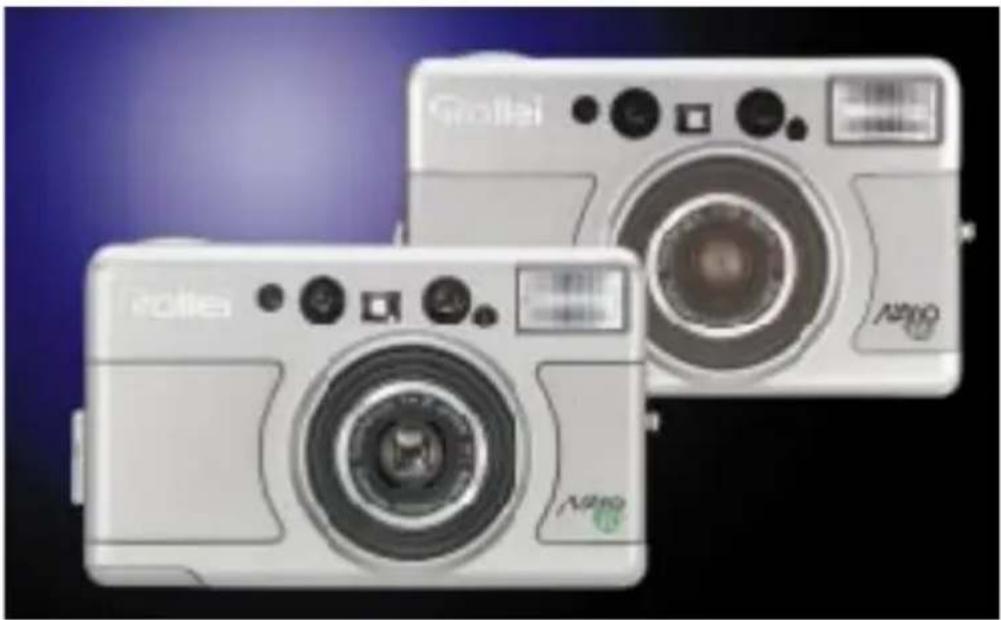
natural_image
Two silver digital camera models against a purple background (no visible text or symbols)
GENERAL
About the camera
» Never dismantle the camera yourself. It contains high-voltage elements which can be dangerous. This will also invalidate your guarantee.
» If the camera body is damaged, do not touch interior components as there is a risk of electric shock.
» If the camera gets wet, remove the battery for the same reason.
Battery instructions
» The camera will not operate without a battery.
» When inserting the battery make sure the plus and minus signs are the right way round.
» Do not recharge, short-circuit or dismantle the battery
Do not throw the battery into the fire.
Do not expose the battery to moisture
Keep away from children and animals.
Do not dispose of batteries with the household refuse
The Rollei Nano will not take pictures when ...
no battery is inserted or the battery is flat.
the lens slide is closed (camera switched off).
the zoom is operating or the film is being rewound.
the rewound film is still in the Rollei Nano.
the flash is not yet charged.
the film chamber is open.
no film has been inserted.
A microprocessor controls the Nano electronically. In rare cases strong electric or magnetic fields can cause interference.
If this happens, remove the battery for 2 – 3 minutes. When you put back the battery you should find that the interference has stopped.
TABLE OF CONTENTS
We wish you every success with your Rollei Nano. Please read through these instructions carefully before using the camera. This will help you to make the best use of the many features on your new camera.
Recommendation from the police crime prevention programme:
Put the fences out of business and save yourself unnecessary trouble: permanently, mark, photograph and list your valuables.
Preparation
| Components | > 40 |
| LCD-panel | > 40 |
| APS functions | > 41 |
| Viewfinder/autofocus LED | > 43 |
| Inserting the battery | > 44 |
| Battery monitoring | > 45 |
| Loading the film | > 46 |
| Rewinding the film | > 47 |
| Diopter adjustment/Attaching the carrying loop | > 48 |
| Switching on the camera/zooming | > 49 |
Taking pictures
| Holding the camera | > 50 |
| Taking pictures | > 51 |
| Focus lock | > 52 |
| Date imprinting | > 53 |
| Title backprinting | > 55 |
| Picture formats | > 56 |
| Flash functions | > 57 |
| Shooting functions | > 58 |
| Anti-red-eye flash | > 59 |
| Fill-in flash | > 60 |
| Slow sync mode | > 61 |
| Flash off | > 62 |
| Self-timer | > 63 |
| Infinity setting | > 64 |
Other information
| Care and storage | > 65 |
| Troubleshooting | > 66 |
| Specification | > 66 |
| Brief instructions | > 68 |
COMPONENTS
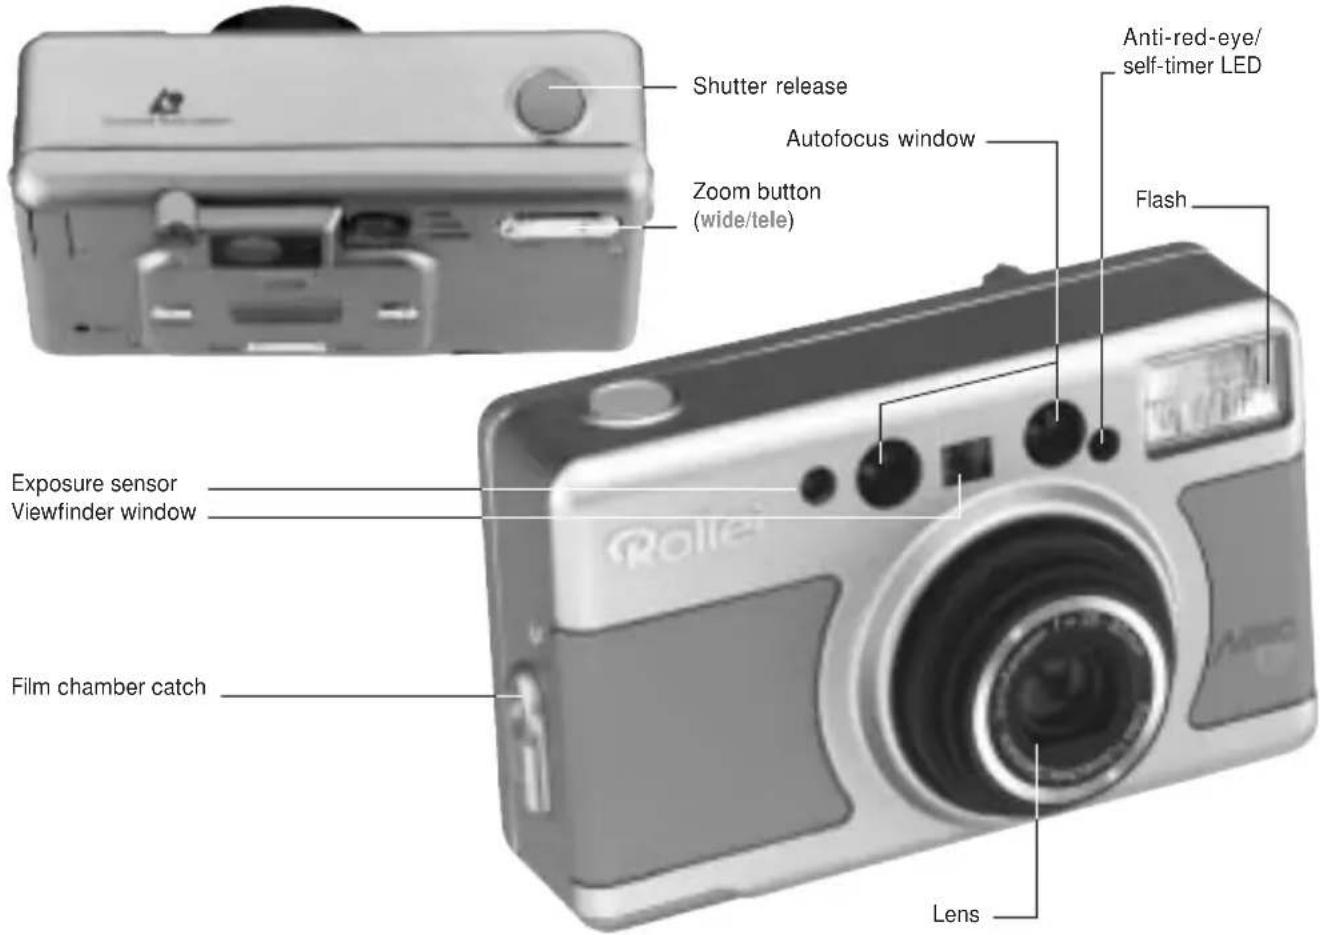
COMPONENTS
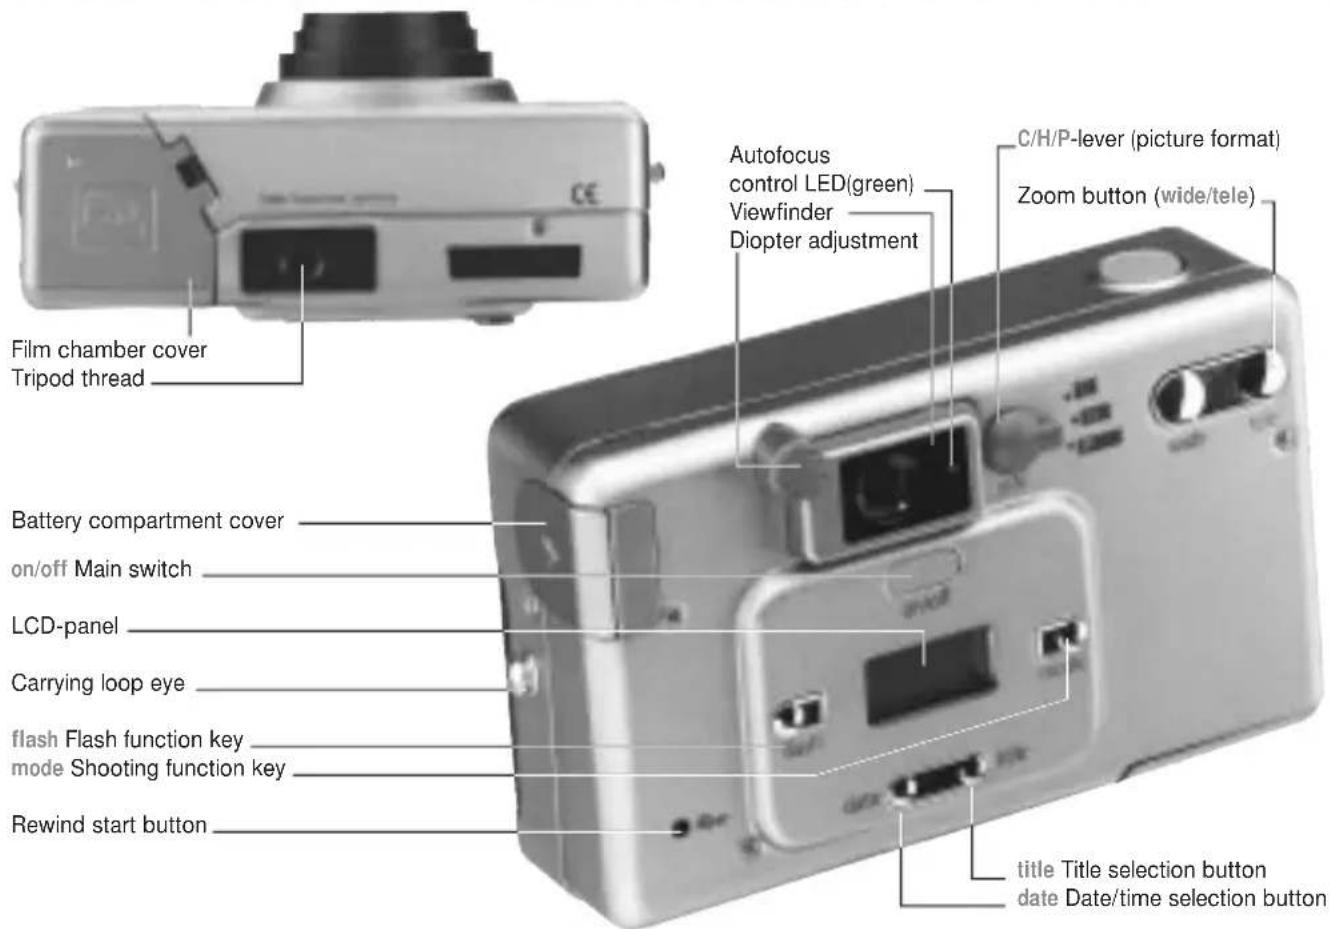
LCD-PANEL
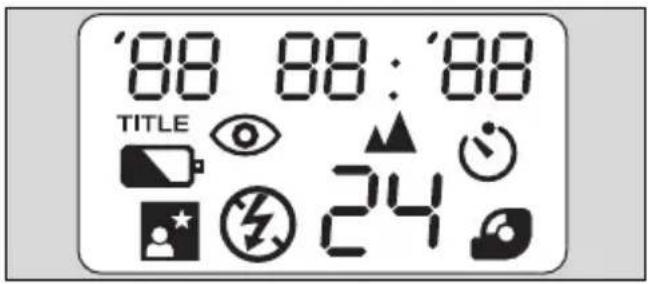
LCD-PANEL
00 00 00 Date/time/title number
TITLE


Battery monitoring S. 11
Infinity setting S. 30
Self-timer S. 29
Anti-red-eye function S. 25
Slow sync mode S. 27
Flash off S. 28
Fill-in flash S. 26
Frame counter
Film loading symbol
Please note
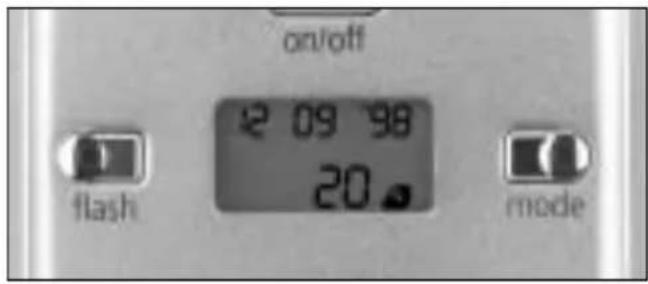
The LCD display shows the date and frame number when the camera is switched off.
APS (ADVANCED PHOTO SYSTEM) FUNCTIONS
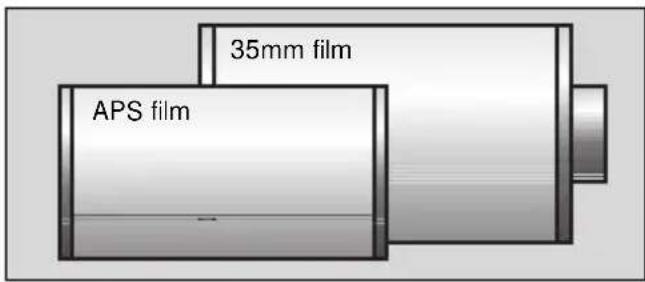
1. New film format IX-240
The cartridge is smaller than that of the normal 35mm film. So the APS film is completely protected before and after exposure.
Film loading is simpler and safer.
Index-Print
C = Classic
H = High vision
P = Panorama
natural_image
Grid of grayscale images showing various scenes with no visible text or symbols2. Index print
An index print is sent back with the processed film and the enlargements. The index print is a single sheet containing all the photos in 35 mm format with the frame number and the chosen format (C/H/P). The printed film identification number ensures reliable classification of film and index print.
3. Information exchange function (IX function)
All the information needed to process the film is recorded (magnetically or optically). The PQI (Print Quality Improvement) function allows the best possible enlargements to be made. The picture format and the title for backprinting can subsequently be changed by the processing laboratory or with an appropriate accessory.
Please note
Photo shops displaying the APS symbol guarantee expert processing.
VIEWFINDER/AUTOFOCUS LED
![① [ ]③ ②](/content/2026/05/818175/images/b1dc78c960267cd65493ac4c7a99940f4518197b4535b0f2955f578cee0b3fb8.jpg)
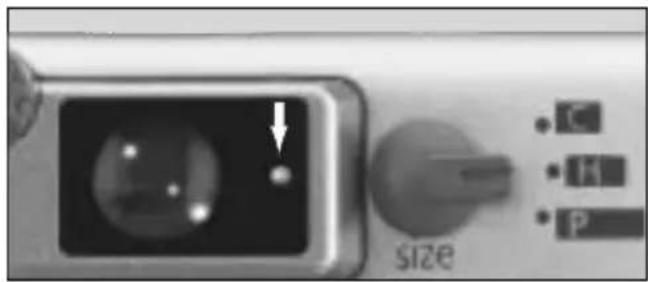
Viewfinder
① Image area outline with close-up (70 cm)
② Image area outline
③ Autofocus metering field
natural_image
Close-up of a device control panel with a display and indicator lights, labeled 'size' (no readable text beyond labels)Autofocus LED
The green LED lights up when the shutter release is pressed gently.
LED lit: shutter release possible
LED flashes quickly: Subject too close (under 70cm). The shutter release is locked.
LED flashes slowly: Danger of blurred pictures. Support camera or use a tripod.
INSERTING THE BATTERY
natural_image
Close-up of a camera lens component with an arrow indicating rotation (no text or symbols visible)Inserting the battery
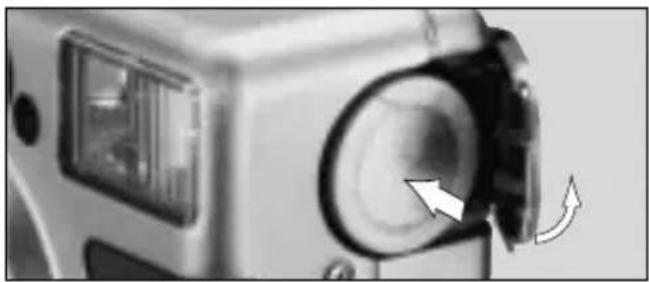
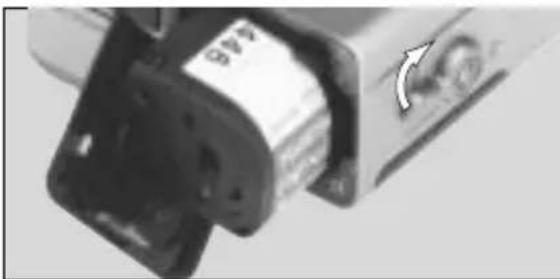
Open the battery compartment as shown.
Insert the new battery correctly (plus terminal at front).
Close the battery compartment.
Please note
Only use a CR2 lithium battery.
The Rollei Nano switches off automatically after not being used for 3 minutes to save power.
If the camera is not going to be used for longer periods, take out the battery.
Check the date setting after a battery change.
BATTERY MONITORING
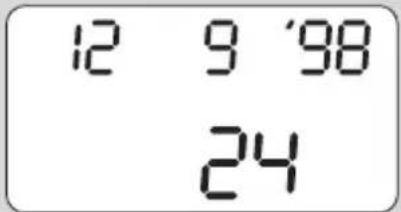
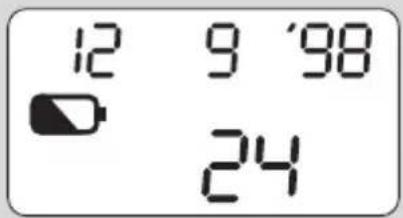

Battery monitoring
The LCD symbol informs you of the battery status.
No symbol - battery working OK
Symbol appears - still enough battery for a few films. Keep replacement battery handy.
Symbol flashes - battery flat, shutter release no longer possible. Insert new battery.
Please note
Only change the battery when the camera is switched off.
Take a spare battery with you in cold weather or on long journeys.
The battery power drops in low temperatures. In normal temperatures the battery regains its former power output.
The battery can be changed when the film is loaded.
LOADING THE FILM
natural_image
Close-up of a mechanical component with a circular arrow indicating rotation (no visible text or symbols)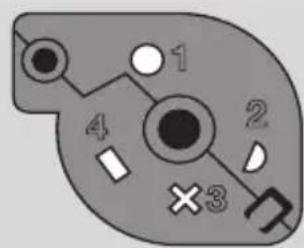

unexposed

partially exposed

fully exposed/unprocessed

processed
Loading the film
- Push catch in the direction of the arrow, open cover.
- Drop the film cartridge into the film chamber.
- Press the cover until it clicks in place. The camera automatically advances the film to the first frame.
- The film speed and the total number of frames are shown in the LCD display. (After 2 seconds the date is displayed instead of the film speed)
- If the film is not advanced properly, the E symbol flashes in the LCD display. If this happens, re-load the film as described.
Please note
This camera is suitable for APS films (IX-240)
The cartridge shows the film status.
○ unexposed
D partially exposed
✗ fully exposed/unprocessed
□ processed
The cartridge must show the symbol (Nano 80) or the symbol (Nano 60). The camera does not accept other films (symbols , , )
Only load the film when the battery is in the camera.
Only open the film chamber after rewinding the film.
Do not use force to close the film chamber.
The camera sets the film speed automatically. Examples of film speeds I-200(ISO 200)/I-400 (ISO 400)
The frame counter counts backwards and shows the number of shots left.
REWINDING THE FILM

Auto rewind
The fully exposed IX film is rewound automatically.
When the film is completely rewound, the frame counter shows 0 and the 🔒 symbol flashes.
Open the film chamber
Remove the film
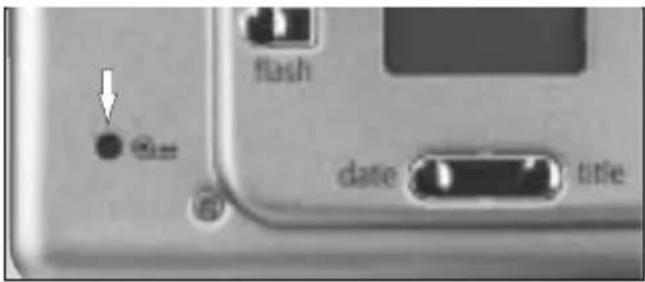
Manual rewind start
Partially exposed films can be rewound mid-roll by pressing the manual rewind button at any time. The film cartridge subsequently shows the symbol for partially exposed film. This film can be exposed further in a camera with the MRC function (Nano 80).
Please note
If the motor stops before the 0 appears, insert a new battery.
After inserting a new battery, do not open the camera back until the film is fully rewound.
DIOPTER ADJUSTMENT ATTACHING CARRYING LOOP
natural_image
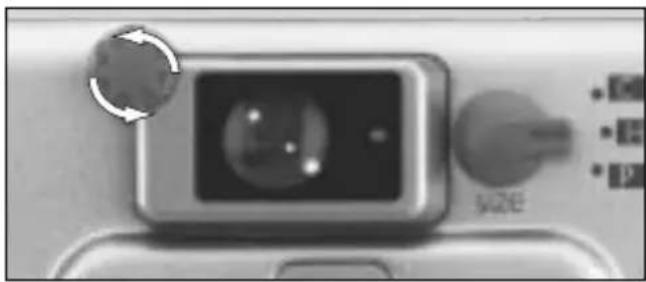
Close-up of a camera module with a circular dial indicator and 'M2E' label (no readable text beyond basic symbols)Diopter adjustment
Set the lens to tele and turn the diopter control until the picture appears sharp.
natural_image
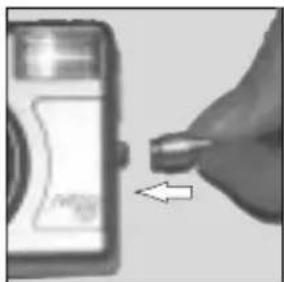
Close-up of a hand holding a small electronic device with an arrow pointing to it (no visible text or symbols)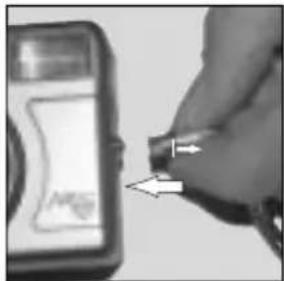
natural_image
Close-up of a hand holding a small electronic component next to a device (no visible text or symbols)Attaching carrying loop
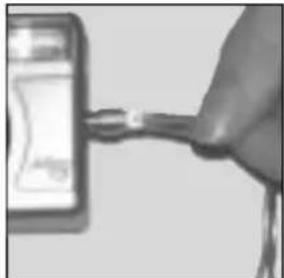
Attach the carrying loop as shown.
natural_image
Close-up of a hand holding a small tool interacting with a device (no visible text or symbols)SWITCHING ON THE CAMERA/ZOOMING
Switching on the camera/zooming
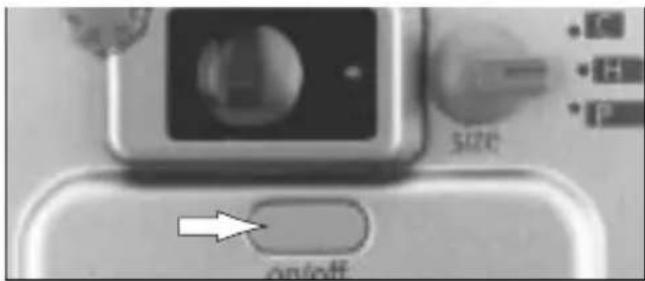
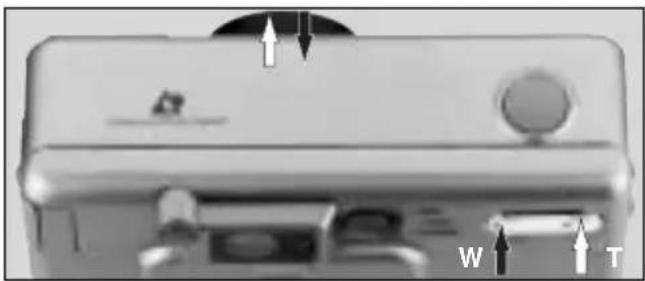
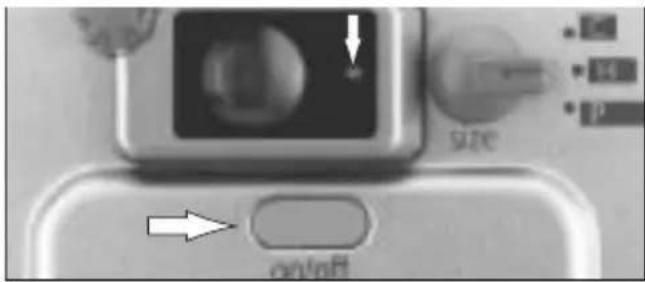
Press the main switch. The lens cover opens, the LCD displays light up.
If the camera is not used for more than 3 minutes it automatically switches off again.
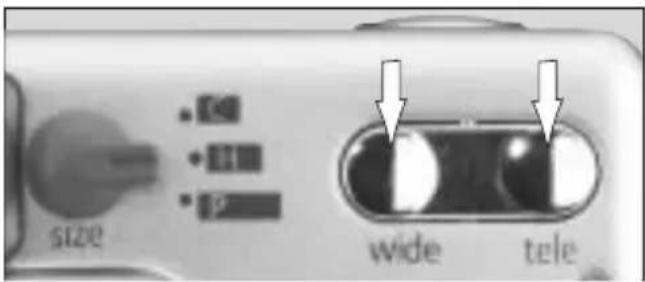
Point the viewfinder at the subject and select the desired framing with the zoom button.
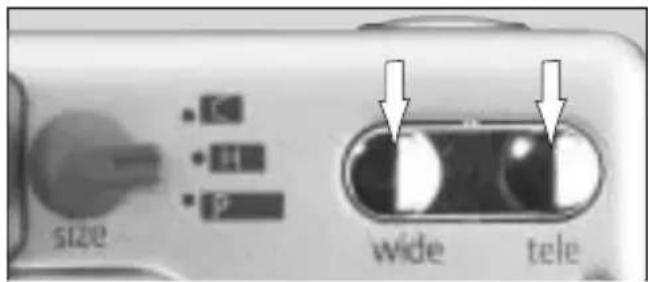
To magnify remote subjects or for close-ups press tele, for wide-angle shots press wide.
To switch the camera off press on/off again.
The lens automatically returns to the off position, the lens cover closes.
natural_image
Close-up of a mechanical device with labeled ports (W, T) and directional arrows indicating movement or force (no readable text beyond labels)Please note:
If the zoom movement is hindered, E appears on the LCD display. If this happens, switch the camera off and on again.
HOLDING THE CAMERA
natural_image
Two black-and-white photos showing a person with a camera and another person seated at a table (no visible text or symbols)Holding the camera
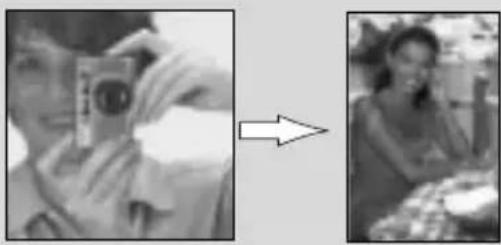
Put your hand through the loop to hold the camera securely.
Hold the camera steadily and firmly with both hands, especially when using tele so as not to avoid camera shake.
Where possible rest your elbow against your body.
Hold the camera near your eye so that you can see the whole picture.
Press the shutter release slowly, not abruptly.
natural_image
Two black-and-white photos showing a person taking a camera and another person playing a baseball on the beach (no text or symbols visible)Please note
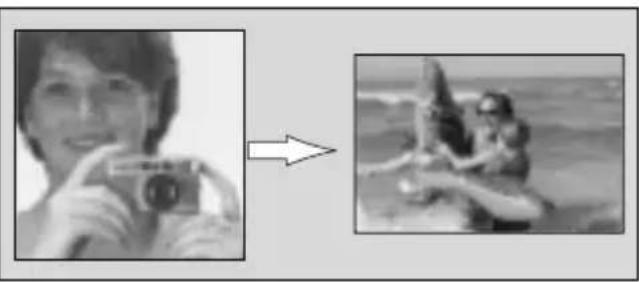
Make sure you do not obscure the lens, the autofocus and exposure sensor window or the flash with your fingers, hair or the carrying loop.
When taking pictures in portrait format hold the camera so that the flash is at the top. This makes sure that the light direction is as natural as possible.
TAKING PICTURES
Taking pictures
Make sure the subject is in the autofocus metering field in the middle of the viewfinder image (S. 43)
Press the shutter release gently. When the green LED lights up, the focus value is set.
Press the shutter release in completely to take the photograph.
Press the shutter release carefully to avoid camera shake.
With distances of less than 0.7 m for wide-angle (28mm) or 0.75 m for tele (80mm), the green AF-LED flashes and the shutter release is locked.
The Rollei Nano fires its flash automatically in poor lighting conditions.
Flash range for correct exposure (ISO 200)
Wide-angle Tele
(28mm) (60/80mm)
0.7-5.0 m 0.75
-2.2 m
While the flash is still charging, the shutter cannot be released.
FOCUS LOCK
flowchart
graph LR
    A["1"] --> B["2"]
    B --> C["3"]
Focus lock
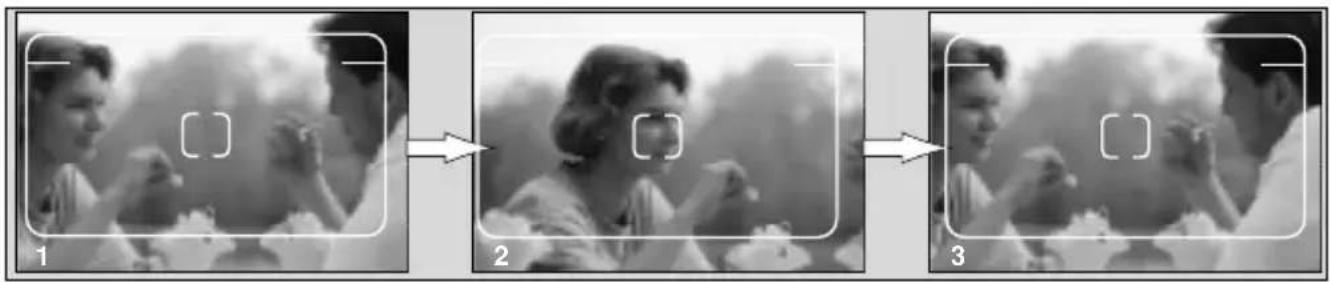
The focus lock is an aid for focusing on objects outside of the middle of the picture (1). It functions as follows:
1. Make sure the main subject is in the AF metering field. (2)
2. Gently press the shutter release (green LED lights up). Do not press too hard to avoid unintentional release.
1. Keep the shutter release pressed gently and select the desired framing.(3)
Keep the camera steady and then completely press down the shutter release.
When you take your finger off the shutter release the focus lock is cancelled.
DATE IMPRINTING
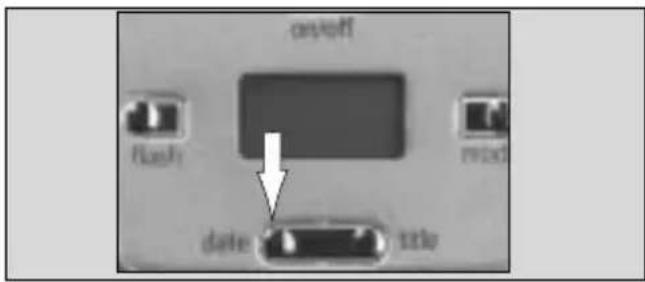
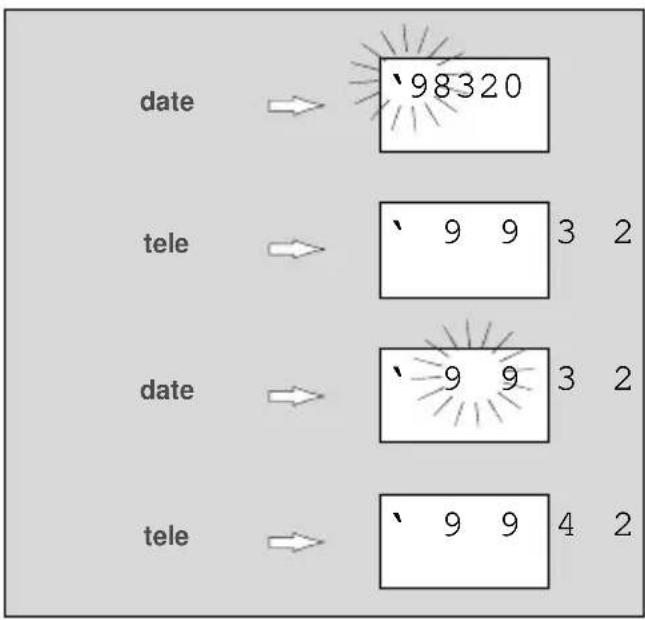
1. Setting the date format
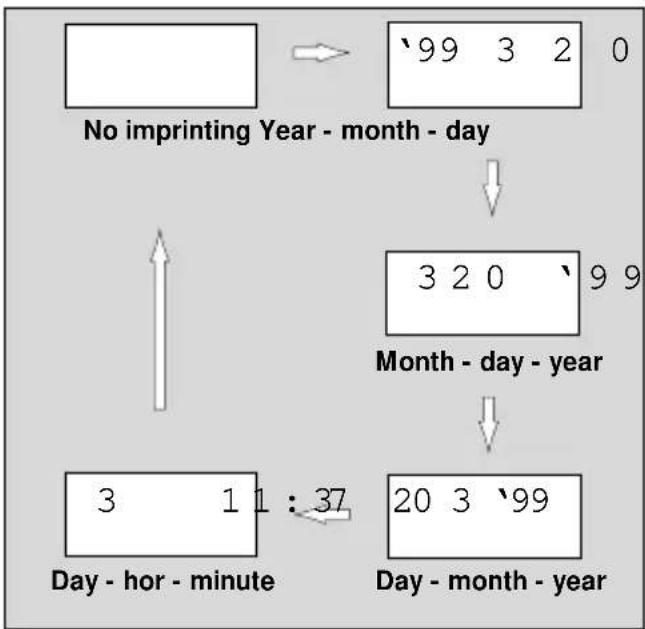
Press the date button to call up the individual formats. (For sequence see figure on right)
Display 1: no date imprinting
Displays 2, 3, 4, 5: The date is printed on the front and back of the picture in the chosen sequence. (Depending on the processing laboratory)
flowchart
graph TD
    A["No imprinting Year - month - day"] --> B["3 2 0"]
    B --> C["Month - day - year"]
    C --> D["20 3 '99"]
    D --> E["Day - month - year"]
    E --> F["Day - hor - minute : 37"]
    F --> G["↑"]
2. Date/time setting
Press the date button for 2 seconds until the first value flashes.
The following values are called up by pressing the button further.
To set the values press the zoom buttons (tele up, wide down)
After setting the last value, press the date button. The display should flash until the setting is stored.
Please note
After a battery change the date imprinting display shows -- -- -- (No date imprinting). Confirm the setting or change it as required.
00 stands for the year 2000.
PRINTING TITLES
Language codes and title texts
En ENGLISCH
GE GERMAN
SP SPANISH
Fr FRENCH
JP JAPANESE
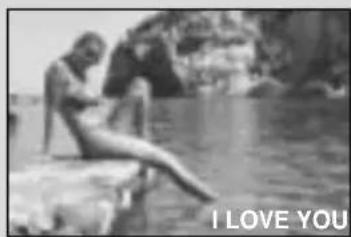
En -1 - I LOVE YOU
En -2 - THANK YOU
En -3 - SEASONS GREETINGS
En -4 - HAPPY BIRTHDAY
En -5 - CONGRATULATION
Printing titles
Various titles can be printed on the back of pictures.
1. Selecting a title
» Press the title button once. The title language (left) and number (right) appear in the LCD display.
» To change, first press the title button for 2 seconds. The language code flashes.
» Next select a language with the zoom buttons (English, French, German, Japanese or Spanish)
» Press title to select the title number.
This title is stored with this picture when shutter release is pressed.
Please note
» The chosen title is recorded with the picture for printing when TITLE appears in the LCD display below the language code.
A recorded title can be changed using suitable photofinishing equipment (APS-player for TV/computer).
» The title storage must be activated again for each picture, because it is automatically erased after the shutter release is pressed. The activated title storage is deactivated before the shot by pressing the date button or by switching off the camera.
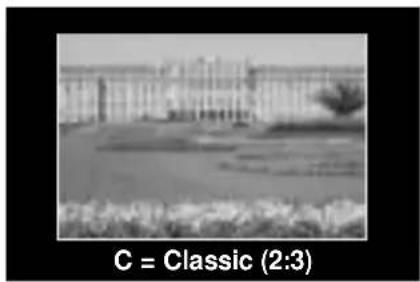
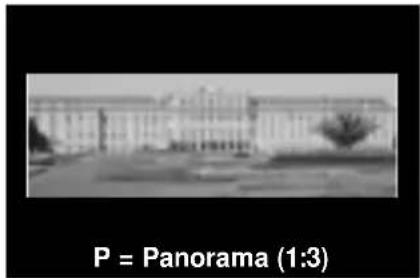
PICTURE FORMATS
Picture formats
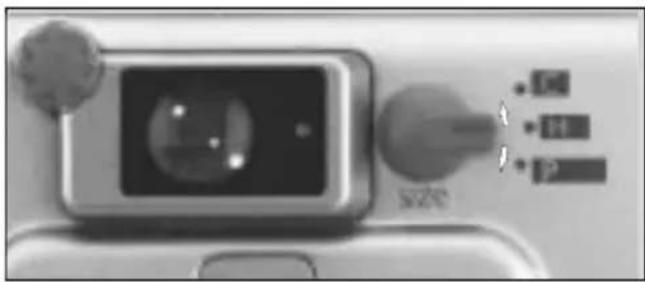
Choose the desired APS picture format with the C/H/P lever.
Picture formats can be changed later at the processing laboratory.
natural_image
Exterior view of a large classical building with symmetrical wings and landscaping (no signage)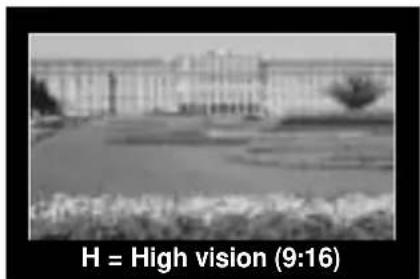
FLASH FUNCTIONS

flowchart
graph LR
    A["12 9 '98\n24"] --> B["12 9 '98\n24"]
    B --> C["12 9 '98\n4 24"]
    C --> D["12 9 '98\n24"]
    D --> E["12 9 '98\n24"]
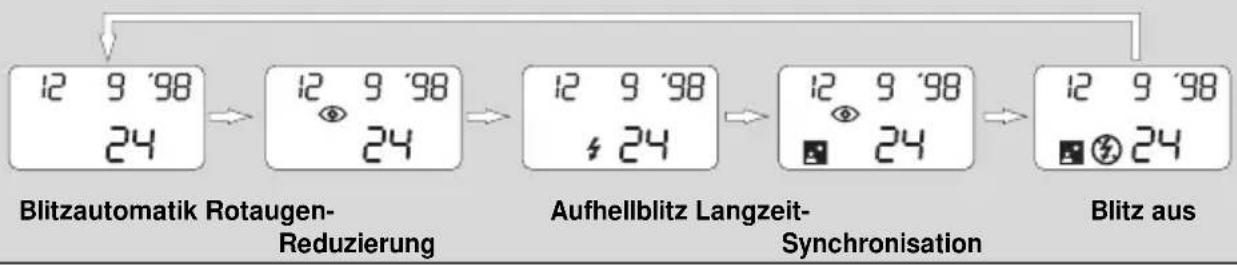
Auto flash Anti-red-eye flash Fill-in flash Slow sync mode Flash off
Flash functions
Using the flash button one of the following flash functions can be selected as required.
Auto flash
Anti-red-eye flash
Fill-in flash
Slow sync mode
Flash off
SHOOTING FUNCTIONS

flowchart
graph LR
    A["12 9 '98\n24"] --> B["12 9 '98\n24°"]
    B --> C["12 9 '98\n④24"]
Normal auto self-timer infinity
Shooting functions
Use the mode button to select one of the following shooting functions:
Normal auto
self-timer
infinity
ANTI-RED-EYE FLASH
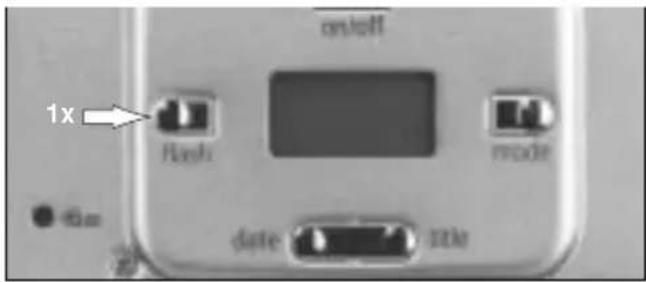
Anti-red eye flash
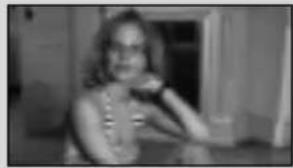
The red-eye effect mainly occurs when flash portraits are taken in the dark.
The anti-red-eye flash significantly reduces red-eye because the flash causes the pupils to close before the picture is taken.
Press the flash button once to activate this function.
natural_image
Black-and-white photo of a person sitting indoors, no visible text or symbolsNormal auto flash

natural_image
Black-and-white photo of a person sitting at a table, no visible text or symbolsAnti-red-eye-flash
Please note
With these functions the anti-red-eye LED lights up for 1 second.
This function remains active until another function is selected.
FILL-IN FLASH
Fill-in flash
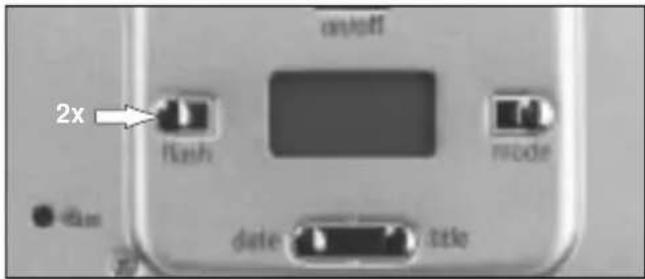
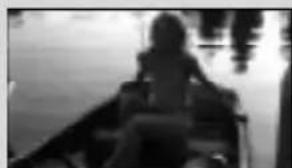
If the main subject is in the shade and the ambient brightness is too strong for the automatic flash to be triggered, fill-in flash will brighten up the shadow areas, thereby ensuring a balanced exposure.
Press the flash button twice to activate this function.
natural_image
Silhouette of a person sitting in a boat, possibly a ship or boat, with no visible text or symbols.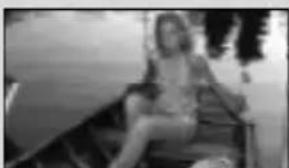
natural_image
Black and white photo of a person sitting on a bench, no visible text or symbolsNormal auto flash with fill-in flash
Please note
When these functions are selected, the flash is always fired independently of subject and background brightness.
SLOW SYNC MODE
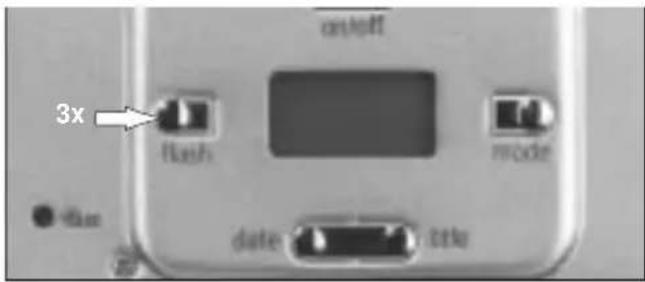
Slow sync mode
Using flash with the slow sync mode allows the available light to be utilized as well.
Press the flash button 3 times to activate this function.
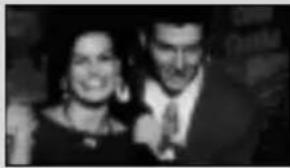
natural_image
Black-and-white photo of two people smiling and posing together (no visible text or symbols)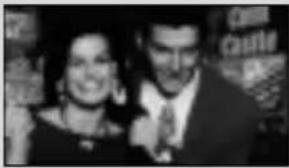
natural_image
Black-and-white photo of two people posing together, no visible text or symbolsNormal auto flash with slow sync mode
Please note
Support the camera on a firm base or use a tripod to avoid camera shake.
FLASH OFF
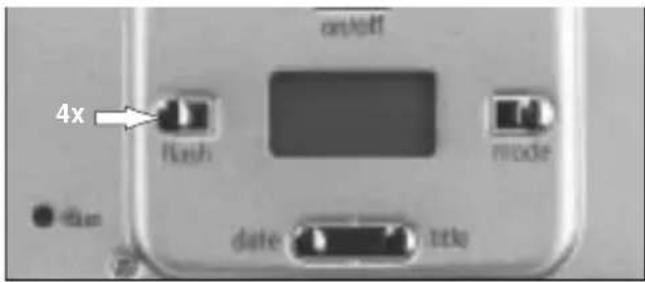
Flash off
To take pictures with the available light and when flash photographs are forbidden or disturbing to others, you can switch the flash off.
Press the flash button 4 times to activate this function.
natural_image
Interior view of a grand church with arched windows and ornate wooden podiums (no visible text or symbols)Please note
Support the camera on a firm base or use a tripod to avoid camera shake.
SELF-TIMER
natural_image
Group photo of people posing in front of a building with windows and a 'Z' sign (no readable text or symbols)Self-timer
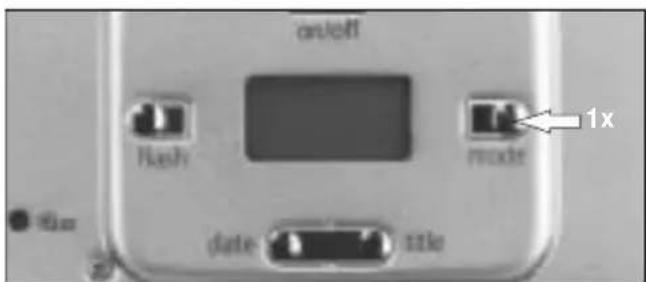
Press the mode button once to activate this function.
When the shutter release, the main subject or another detail at the same distance should be in the AF metering field.
After the shutter release is pressed, the self-timer LED lights up for 7 seconds and then flashes the last 3 seconds before the shot.
Support the camera on a firm base or use a tripod to avoid camera shake.
INFINITY SETTING
Infinity setting
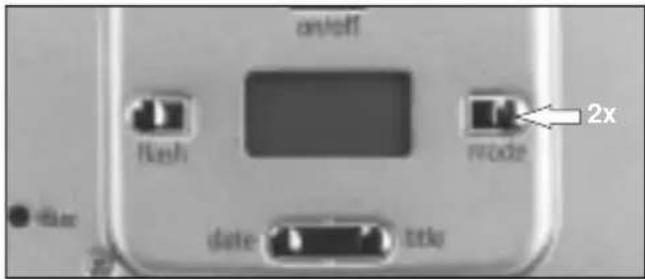
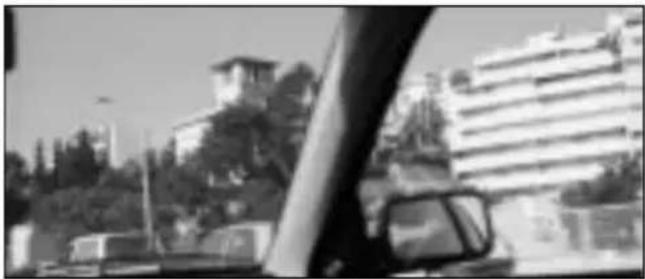
The infinity setting is particularly suitable for shooting remote or contourless subjects such as clouds, lights and smoke and shooting through windows or railings.
Press the mode button twice to activate this function.
natural_image
Black-and-white photo of a car viewed from the side, showing urban buildings and trees in the background (no visible text or symbols)Please note
With this function the flash is off.
In the case of poor lighting conditions, especially with tele, support the camera on a firm base or use a tripod to avoid camera shake.
CARE AND STORAGE OF THE CAMERA
natural_image
Illustration of a vintage digital camera with gray and white casing (no text or symbols)Care and storage of the camera
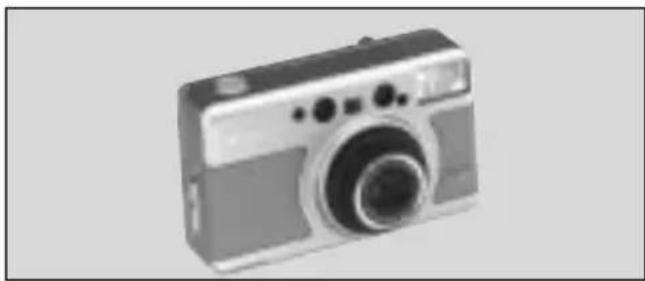
It is best to clean the camera with a soft, fluff-free cloth.
Do not use alcohol or other chemical solvents.
When cleaning the lens remove dust with a soft brush.
Carefully wipe away stubborn dirt, using lens cleaning paper or a cloth and special cleaning fluid.
Protect the camera against sand, dust and water.
Protect the camera against knocks and shaking. If the camera is dropped or knocked, check that it works properly.
Keep the front element and metering window clean.
Keep the camera in a dry, cool and dust-free place.
Do not leave the camera in heat, e.g. a parked car or direct sunlight.
The camera functions without problems in a temperature range from -10°C to +50°C.
When the camera is used for lengthy periods in cold weather, reduced battery power can impair the operation of the camera. Keep the camera and/or battery as warm as possible, e.g. in a bag next to your body.
If you have a problem with the camera, contact your photographic dealer or the authorized Rollei Service in your country.
TROUBLESHOOTING
The camera does not release page
Camera switched on?
» If not, press ON/OFF button. 49
Is battery correctly inserted?Check battery position. 44
Camera out of use for a long time?
» Change battery. 44
The pictures are not sharp
How is the subject shown in the AF metering field?
» Re-read the section on the "viewfinder". 43
Is the autofocus window being obscured?
» Make sure that it is not blocked by your finger or hair or by the carrying loop. 50
SPECIFICATION
Type
Fully-automatic APS leaf-shutter zoom camera film
Film
Typ: APS-Film IX-240 Automatic loading to frame "1" Automatic film transport Rewind: automatic, manual start possible (MRC-function, Nano 80)
Picture formats
C (Classic) 16.7 x 23.9 mm H (High vision) 16.7 x 30.2 mm P (Panorama) 9.6 x 30.2 mm
Lens
28 – 60mm f/4.0 - 8 motor zoom, Nano 60 28 – 80mm f/4.2 - 11 motor zoom, Nano 80
Focussing
Spot-AF-System with focus lock from 0.7 m
Exposure
Programmed auto exposure, working range (ISO 100)
Shutter
Program-controlled leaf shutter Shutter speeds 1/400 – 1/3 s
Viewfinder
Real image zoom viewfinder with autofocus metering field marking
Image area: 80%
Magnification: 0.4x - 0.92x
Flash
integral, guide number 10.5 ,flash range (ISO 100-Film)
wide (28mm): app. 0.7 - 5.0 m
tele (80/60mm): 0.75 - 2.2 m
Flash interval: app. 6 s
Flash functions
Anti-red-eye flash, fill-in flash, slow sync mode, flash off
Shooting functions
Infinity setting, 10 s self-timer
Frame counter
LC-Display, counts backwards
Auto cut-out
after camera not being used for 3 minutes
Power supply
1 x 3-Volt lithium battery (CR2)
Dimensions
98.4 x 59.2 x 35.5 mm (B X H X T)
Weight
approx. 185 g (with battery)
» Technical modifications reserved All information in accordance with Rollei standard tests.
BRIEF INSTRUCTIONS
Taste Function LCD
Picture format with C/H/P lever
Title selection
title
To change first, press title button for 2 seconds until the language code flashes. Choose a language with the zoom button. Press the title button to select a title number.
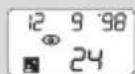
1x flash Red-eye reduction
to reduce red-eye when shooting portraits in the dark
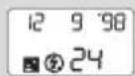
2x flash Fill-in flash
to fill in shadow areas in daylight
3x flash Slow sync mode
to use the available light as well
4x flash Flash off
when flash is disturbing or prohibited
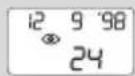
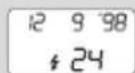
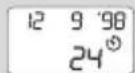
1x mode Self-timer
to release with 10 sec. delay
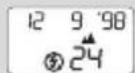
2x mode Infinity setting
for taking pictures of contourless subjects (clouds, fireworks) or through glass.
NOTES
Rollei
- Rollei
- ALLGEMEINES
- Zur Kamera
- Index-Print
- Autofokus-LED
- Batterie einlegen
- Bitte beachten:
- Kamerahaltung
- Bitte beachten
- Fotografieren
- Schärfespeicher
- Bildformate
- BLITZFUNKTIONEN
- Selbstauslöser
- Aufnahmefunktionen
- GENERAL
- About the camera
- Battery instructions
- The Rollei Nano will not take pictures when ...
- TABLE OF CONTENTS
- Recommendation from the police crime prevention programme:
- LCD-PANEL
- TITLE
- Please note
- APS (ADVANCED PHOTO SYSTEM) FUNCTIONS
- New film format IX-240
- Index-Print
- Index print
- Information exchange function (IX function)
- VIEWFINDER/AUTOFOCUS LED
- Viewfinder
- Autofocus LED
- INSERTING THE BATTERY
- BATTERY MONITORING
- LOADING THE FILM
- REWINDING THE FILM
- Auto rewind
- Manual rewind start
- DIOPTER ADJUSTMENT ATTACHING CARRYING LOOP
- Diopter adjustment
- Attaching carrying loop
- SWITCHING ON THE CAMERA/ZOOMING
- Please note:
- HOLDING THE CAMERA
- TAKING PICTURES
- Wide-angle Tele
- FOCUS LOCK
- DATE IMPRINTING
- Setting the date format
- Date/time setting
- PRINTING TITLES
- Language codes and title texts
- Selecting a title
- PICTURE FORMATS
- FLASH FUNCTIONS
- SHOOTING FUNCTIONS
- ANTI-RED-EYE FLASH
- Anti-red eye flash
- FILL-IN FLASH
- SLOW SYNC MODE
- FLASH OFF
- SELF-TIMER
- INFINITY SETTING
- CARE AND STORAGE OF THE CAMERA
- TROUBLESHOOTING
- The camera does not release page
- The pictures are not sharp
- SPECIFICATION
- Type
- Film
- Lens
- Focussing
- Exposure
- Shutter
- Flash
- Frame counter
- Auto cut-out
- Power supply
- Dimensions
- Weight
- BRIEF INSTRUCTIONS
- Taste Function LCD
- Title selection
Brand : ROLLEI
Model : Nano 60
Category : Camera