
AR8123BLK - Wardrobe APC - Free user manual and instructions
Find the device manual for free AR8123BLK APC in PDF.


| Type | Server Rack Enclosure |
| Model | AR8123BLK |
| Brand | APC by Schneider Electric |
| Color | Black |
| Rack Units | 23U |
| Width | 600 mm (23.6 in) |
| Depth | 1070 mm (42.1 in) |
| Height | 1022 mm (40.2 in) |
| Weight | 130 kg (287 lb) |
| Maximum Load Capacity | 1021 kg (2250 lb) |
| Material | Steel |
| Front Door | Perforated steel, lockable |
| Rear Door | Perforated steel, lockable |
| Side Panels | Removable, lockable |
| Mounting Rails | Adjustable, front and rear |
| Cooling | Perforated doors for airflow, top panel fans optional |
| Cable Management | Top and bottom cable entry, D-ring channels |
| Grounding | Built-in grounding studs and bonding |
| Security | Keyed lock on front and rear doors, side panels |
| Leveling | Adjustable leveling feet |
| Standards | EIA-310, IEC 60297 |
| Maintenance | Clean with dry cloth; do not use abrasive cleaners |
| Spare Parts | Keys, mounting rails, doors, side panels available |
| Repairability | Modular design; components can be replaced individually |
Frequently Asked Questions - AR8123BLK APC
User questions about AR8123BLK APC
0 question about this device. Answer the ones you know or ask your own.
Ask a new question about this device
Download the instructions for your Wardrobe in PDF format for free! Find your manual AR8123BLK - APC and take your electronic device back in hand. On this page are published all the documents necessary for the use of your device. AR8123BLK by APC.
USER MANUAL AR8123BLK APC
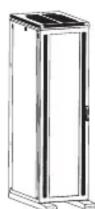
The 100-lb Sliding Shelf (AR8123) mounts into an American Power Conversion (APC) NetShelter enclosure. The Sliding Shelf:
- Holds servers and peripherals weighing up to 100 pounds
• Slides forward for access to mounted equipment - Has adjustable rails (28–40 in.)
- Can be mounted upside down to function as a tray
- Comes with four friction pads for securing your equipment to the shelf
• Is ready for use with the APC Cable Management Arm (AR8129)
Inventory
| Item Qty Figure | ||
| Sliding Shelf 1 | 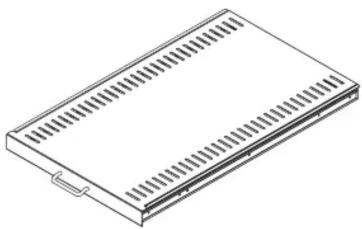 | |
| Stationary Rail 2 | 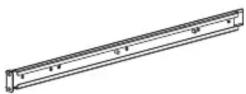 | |
| Moveable Rail 2 | 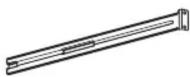 | |
| M6 Caged Nut 8 |  | |
| M6 Plastic Cup Washer 8 |  | |
| M6 × 16 mm Pan Head Slotted/Phillips Screw | 8 |  |
| M6 Flanged Nut 4 |  | |
| Friction Pad | 4 | 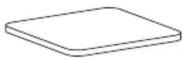 |
Tools Required
- Screwdriver (flat head)
- Pencil
Mounting Instructions
| Step Action Figure | ||
| 1 | Choose the location for the Sliding Shelf on the vertical mounting rails of the enclosure. Using a pencil, mark the bottom mounting hole of the chosen U-space on the front and rear vertical mounting rails. (One U-space consists of a notched mounting hole and one hole immediately above and below it.)Caution: Plan to place heavier components towards the bottom of the enclosure. | 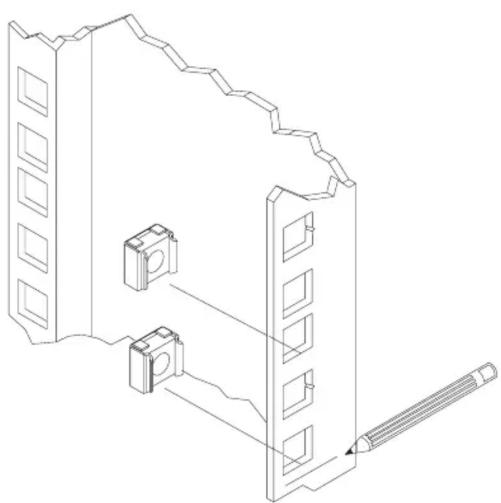 |
| 2 | Install a caged nut in the top and bottom mounting holes of the U-space chosen in Step 1. Repeat for each of the four vertical mounting rails.Caution: Install the caged nuts horizontally, as pictured; that is, the ears of each caged nut should engage the sides of the mounting hole, not the top and bottom. | |
| 3 Assemble the adjustable rails:A. Slide a moveable rail into a slide-stationary rail assembly.B. Using two flanged nuts, fasten the rails loosely enough to allow them to slide.C. Repeat for the other adjustable rail. | 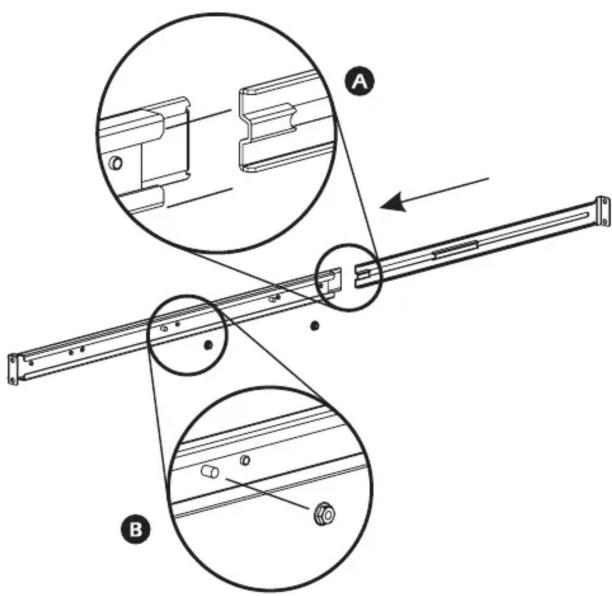 | |
| 4 | Align the holes at the end of each rail-slide assembly with the caged nuts installed in Step 2. Loosely fasten to the enclosure using the screws and cup washers provided.Note:The length of the Sliding Shelf rails should adjust to match rack depth. Loosen the 3/8" nuts, if necessary, to adjust the length. | 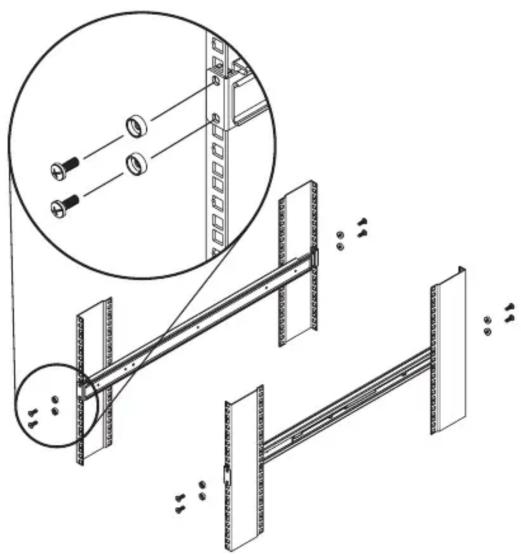 |
| 5 | Install the shelf assembly (refer to steps A and B shown at right):A. Fit the rear of the shelf slide into the front end of the slide on the mounted rail-slide assembly and slide forward until it stops with a click (about 8").B. Push the release lever on each side of the rail assembly and push the shelf the rest of the way forward. | 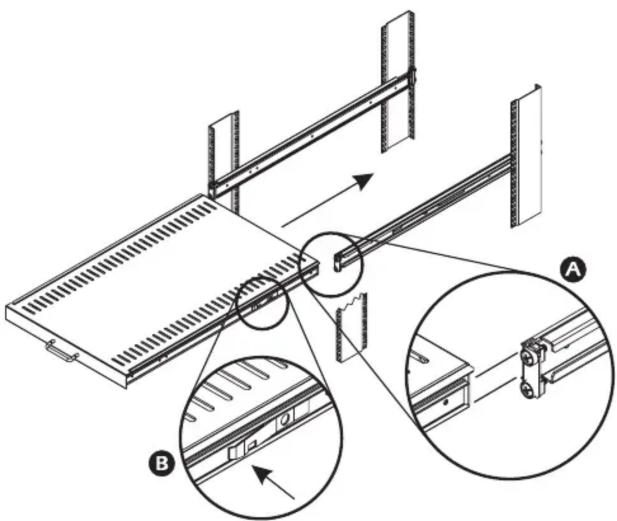 |
| 6 | Tighten the 8 screws on the vertical mounting rails. | |
| 7 | Tighten the nuts on the adjustable rail. | |
| 8 | Place the 4 friction pads on the shelf according to the footprint of the equipment you are installing on the shelf. Place the edges of the friction pads parallel to the edges of the shelf. | |
| 9 | Carefully lower the equipment onto the friction pads. | |
| Step Action Figure | ||
| 10 | If you are installing the Cable Management Arm (AR8129):Align the plungers on the Cable Management Arm with the holes on either side of the rear of the Sliding Shelf.Fasten the other end of the Cable Management Arm to the vertical mounting rail according to the instructions supplied with AR8129.Note: You will be using the same screws that were used in Step 4 to attach both Sliding Shelf and Cable Management Arm to the enclosure.Caution: Install the Cable Management Arm before placing any equipment on the Sliding Shelf. | 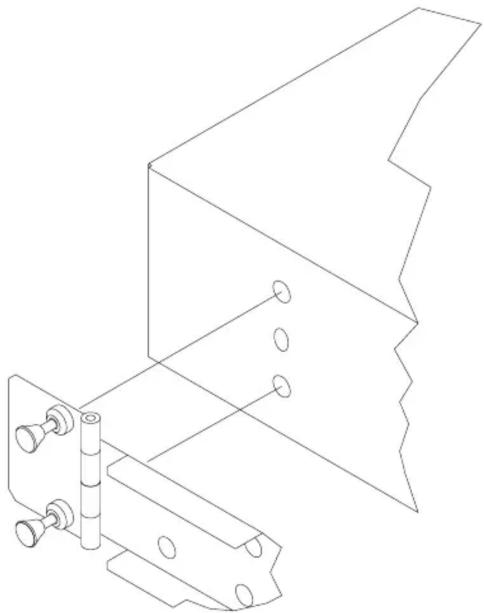 |

Brand : APC
Model : AR8123BLK
Category : Wardrobe