
Element X500 - Headphones JPL - Free user manual and instructions
Find the device manual for free Element X500 JPL in PDF.


| Product Type | Wireless DECT Headset |
| Brand | JPL |
| Model | Element X500 |
| Technology | DECT Level A wireless |
| Talk Time | 6 hours |
| Standby Time | ~140 hours |
| Charging Time | 60–90 minutes |
| Wireless Range | Up to 100 m (300 ft) |
| Maximum Users per Base | 30 users in 50 m² |
| Microphone Type | Surround Shield™ noise-cancelling |
| Hearing Protection | Sound Shield™ |
| Headset Weight | 65 g (monaural) / 80 g (binaural) |
| Ear Cushion Material | 50 mm smooth protein leather |
| Boom Arm Adjustment | 270° rotation, flexible boom |
| Indicator Light | In‑use / busy LED on speaker housing |
| Volume Control | On headset (up/down/mute) |
| Compatibility | MS Lync, desk phones with headset or handset port |
| Base Unit Ports | Handset, Telephone, DC Jack, AUX |
| Optional Modules | USB 2.0 cartridge, Bluetooth cartridge (sold separately) |
| Included Accessories | Base unit, monaural headband, binaural headband, microphone boom arm, power supply with multi‑country adapters, telephone cord, USB cables |
| Optional Accessories | JPL‑DECT Lifter, EHS adapter, USB charging cable (Type‑A to Micro‑USB) |
| Warranty | 24 months repair or replacement |
| Maintenance | Clean ear cushions with soft cloth; do not pull boom arm to detach |
| Spare Parts | Ear cushions, microphone windscreens (consumables) |
Frequently Asked Questions - Element X500 JPL
User questions about Element X500 JPL
0 question about this device. Answer the ones you know or ask your own.
Ask a new question about this device
Download the instructions for your Headphones in PDF format for free! Find your manual Element X500 - JPL and take your electronic device back in hand. On this page are published all the documents necessary for the use of your device. Element X500 by JPL.
USER MANUAL Element X500 JPL
- User changeable headband from single ear to dual ear
- Universal patented base with slot-in cartridge drawer to accept Bluetooth or USB modules (Optional accessories - sold separately)
• DECT wireless technology level A - Surround Shield™ noise cancelling microphone
• Sound Shield™ hearing protection
• Max 100m (300ft) coverage
• Max 30 users in 50 square meters - 6 hours talk time (stand by \~ 140 hours)
• Quick recharge time (60 to 90 mins)
• Volume control on headset - Boom arm adjustable through 270^
• In use / busy light indicator on speaker housing - 50mm smooth protein leather ear cushion
- Headset weight 65g/80g
- Compatible with MS-Lync
- Patented design
• Full range of EHS cords available
• 24 Month repair or replacement warranty
IMPORTANT AUTO SET UP NOTICE
This headset will auto configure to your desk phone.
The compatibility switch should be used in the alternative position, if no dial tone is heard in the headset when active. It will take up to 3 minutes for the phone and headset to establish the optimum call quality with our Auto Setup feature, ensuring the best sound. Simply make a test external call and the headset will configure to the required settings for your phone.
Helpful Setup Videos Found Here - https://www.jpltele.com/jpl-tutorials.aspx

What's included
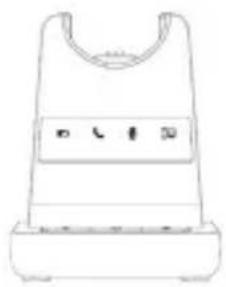
natural_image
Line drawing of a stylized object resembling a device or container with a handle and base (no text or symbols)Base Unit
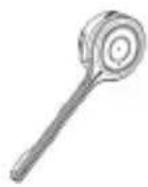
Microphone
Boom Arm
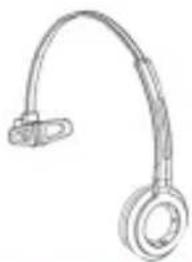
natural_image
Line drawing of a medical ear with adjustable bandage and connector (no text or symbols)Monaural Headband
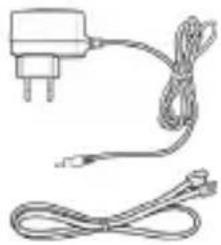
natural_image
Simple line drawing of a plug connected to a coiled cable (no text or symbols)Switch Mode Power Supply with Multi Country Adapters & Telephone Cord
Optional Accessories
natural_image
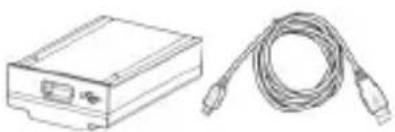
Line drawing of a device with a rectangular box and a coiled cable (no text or symbols)USB 2.0 Module and USB Cable Type-A to Mini-B
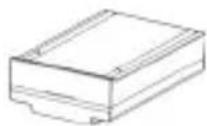
Bluetooth Module
natural_image
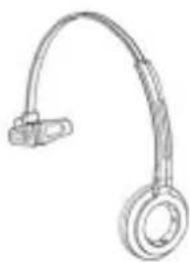
Line drawing of a medical or laboratory device with a curved arm and circular ends (no text or symbols)Monaural Headband
natural_image
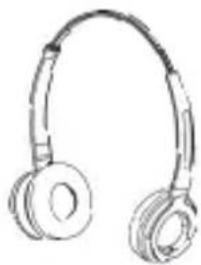
Line drawing of a pair of earbuds (no text or symbols)Binaural Headband
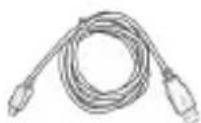
USB Cable Type-A to Micro USB for optional headset charging method
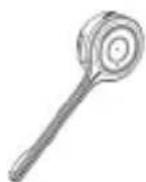
Microphone Boom Arm
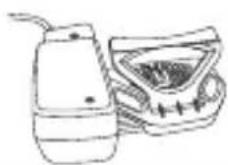
JPL-DECT Lifter Electronic Hook
Switch (EHS)
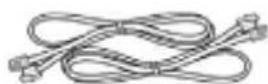
Type of lead varies depending on phone model. Please refer to EHS Guide www.jpltele.com/ehs-cables
Attaching the headband
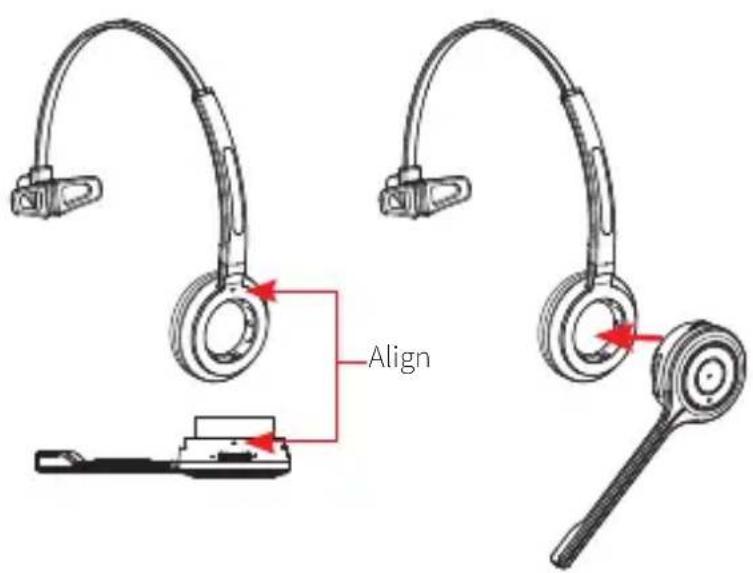
To attach the microphone boom arm to the headband, align the triangle shape on the microphone boom arm with the triangle shape on the headband and push to click into place. The microphone boom arm will then rotate to your required position.
Detaching the headband
natural_image
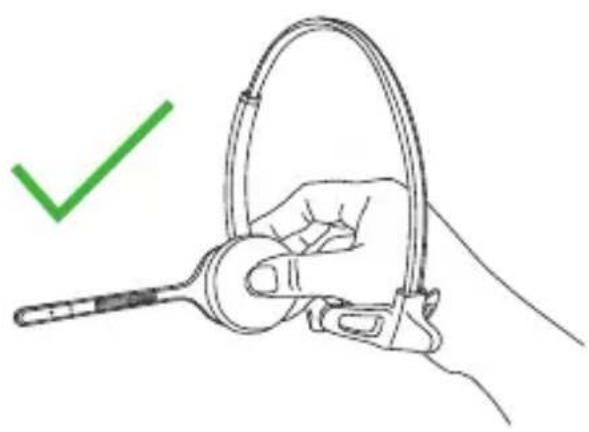
Hand holding a hard hat with a green checkmark indicating approval (no text or symbols on the diagram itself)To detach the microphone boom arm from the headband, gently push the microphone speaker from inside the ear cushion. This will pop the microphone boom away from the headband.
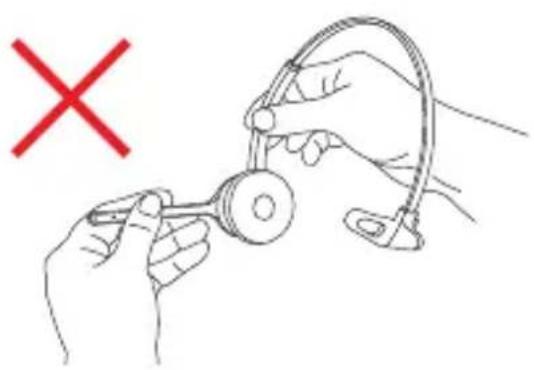
DO NOT pull on the microphone boom to remove it from the headband.
Positioning the Microphone

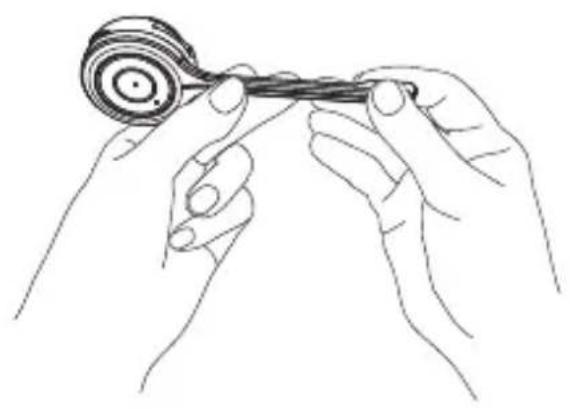
The microphone boom arm is flexible, so you can gently bend the boom and position it to suit the curve of your face.
The ideal position for the microphone is at the corner of the mouth approximately 30mm (2 finger width) away from the mouth.
natural_image
Line drawing of two hands holding a spiral-shaped object (no text or symbols)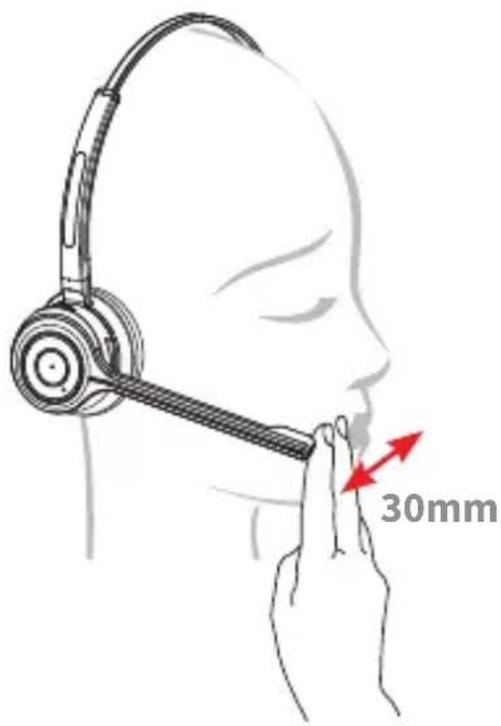
Microphone Boom Volume Control
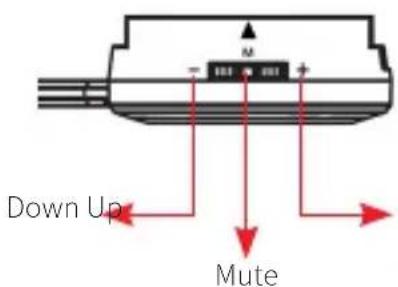
To change the speaker volume: roll the volume switch towards the 'plus' sign to increase the volume and roll the switch towards the 'minus' sign to reduce the volume and press the switch to activate the microphone mute mode.
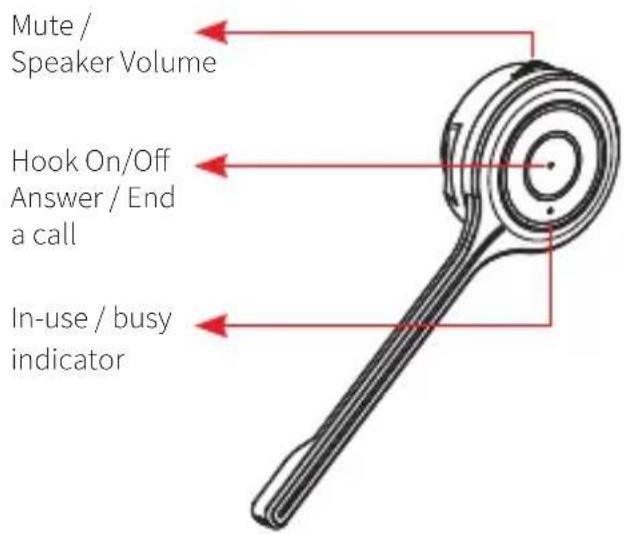
Connecting the Base Unit to your Desk Phone
Helpful Setup Videos Found Here - https://www.jpltele.com/jpl-tutorials.aspx

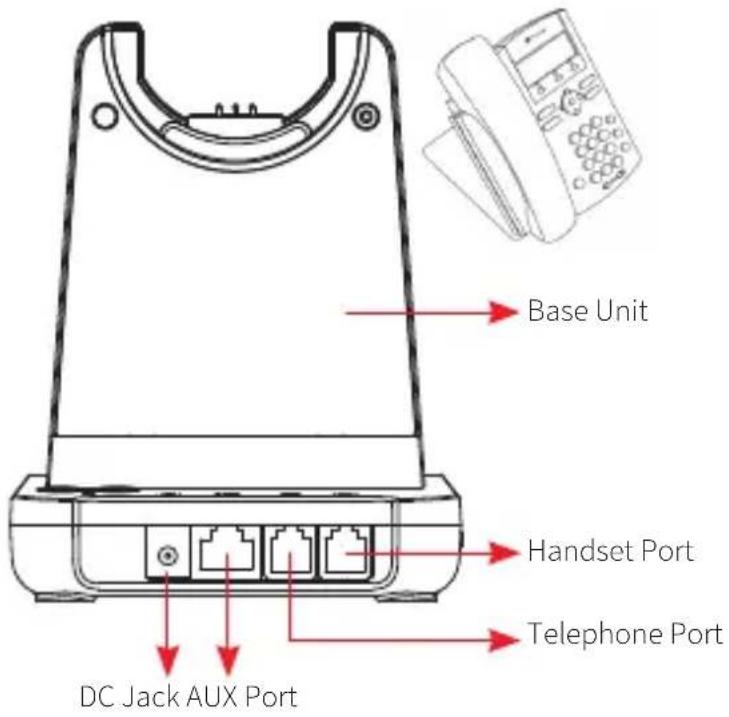

Desk Phone with Headset Port
- Plug the supplied telephone cord into the TEL port of the base unit
- Connect the other end of the telephone cord to the HEADSET port of the desk phone

Desk Phone without Headset Port
- On the desk phone, unplug the handset cable from the phone
- Plug the handset cable into the HANDSET port on the base unit
- Plug the telephone cord into the TEL port on the base unit and plug the other end of the telephone cord into the HANDSET port on the desk phone
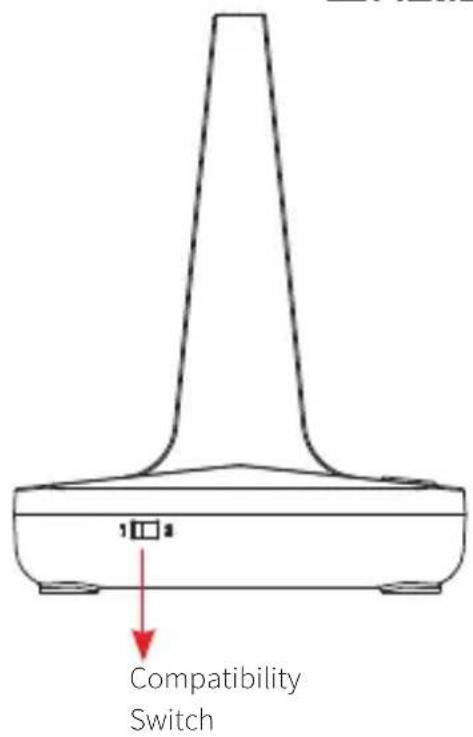
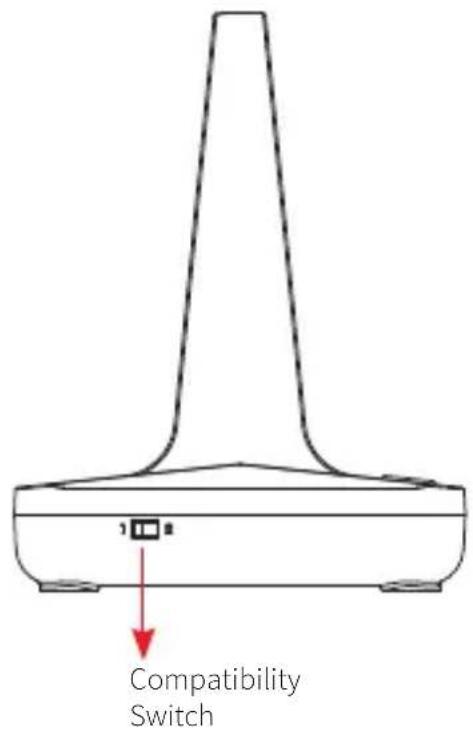
Compatibility Switch
- Select '1' or '2' until a dial tone is heard via the telephone connection
IMPORTANT AUTO SET UP NOTICE
This headset will auto configure to your desk phone.
The compatibility switch should be used in the alternative position, if no dial tone is heard in the headset when active. It will take up to 3 minutes for the phone and headset to establish the optimum call quality with our Auto Setup feature, ensuring the best sound. Simply make a test external call and the headset will configure to the required settings for your phone.
Operating Instructions
Please note: Your JPL-Element-X500 is supplied paired to the base unit straight out of the box.
However, if after charging the headset, the 'GREEN' TEL light doesn't activate when the headset is removed from the base unit, then you should follow these instructions.
Pairing a headset to the base unit:
1) Take the headset off the base unit
2) Make sure there is no power to the base unit
3) Place the headset on the base unit
4) Plug in the power cord to the base unit and the 'GREEN' TEL light will flash.
Now the base station is in pairing mode
5) Press the 'mute button' on the headset for 2-3 seconds until the 'BLUE' indicator light on the headset starts to flash (indicating pairing mode)
6) During pairing, the base station's 'GREEN' light will flash and the 'BLUE' light on the headset will flash
7) When pairing has successfully completed, there is a confirmation beep tone on the headset's earpiece speaker. Then both lights will stop flashing.

Pairing a second headset to a base station:
1) One headset should already be paired to this base unit, if so it needs to be turned off
2) To turn the headset off, firstly take it off the base unit and press the call accept/reject button to deactivate the green phone light on the base unit
3) Hold the call accept/reject button for 3 seconds, you should hear a short beep and then a longer beep signifying the first headset is off
4) Follow the steps in 'Pairing a headset to a base unit' above to connect the second headset
5) Once the second headset is connected turn the first headset back on with a short press to the call accept/reject button
6) Test the headsets by calling the phone system connected to the base unit and each headset should ring.
Please note: Pairing two headsets to one base unit allows each headset to answer the incoming call, (a maximum of five headsets can be paired to one base unit) however, only the person (the first to answer the call) will be able to hear and interact with the caller.
Base Unit
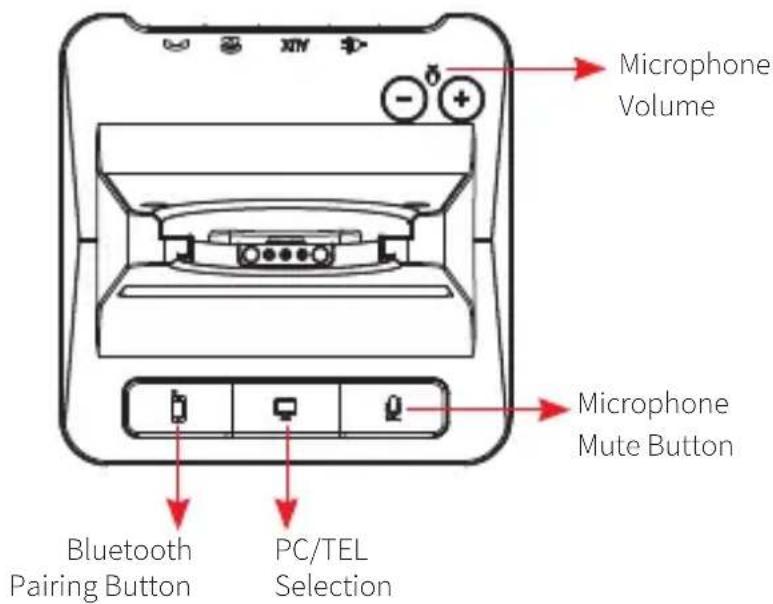
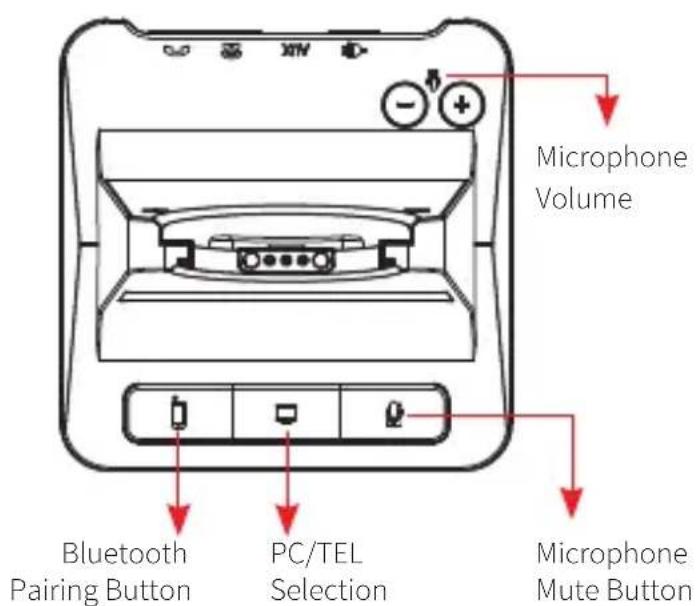
Bluetooth Button This function works when the Bluetooth module is inserted
PC/TEL Selection This function works when the USB cartridge is inserted
Microphone Mute Button Press to mute the call
Microphone Volume Your headset has automatic audio configuration, (this can take a few minutes to settle) however, if required, you can adjust the volume level for the speakers and microphone to suit
Compatibility Switch Select '1' or '2' until a dial tone is heard via the telephone connection
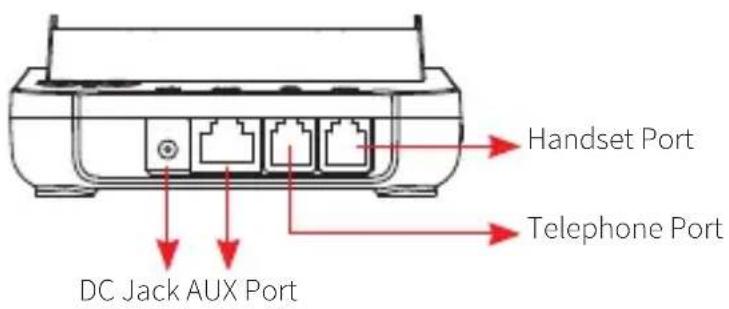
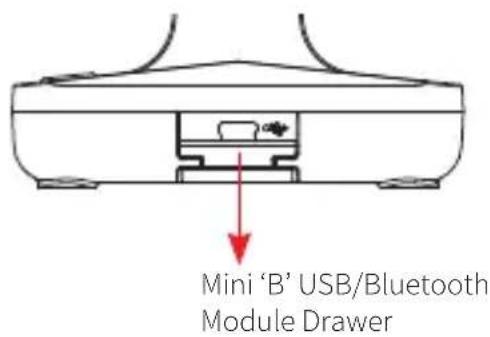
DC Jack Connect Power Adapter to DC Jack
AUX port Connection for Handset Lifter or EHS Adapter (optional extra)
Telephone Port Connect telephone cord to the headset port or handset port of a telephone / base unit
Handset Port Plug Handset cord from the phone to Handset port
Base Unit
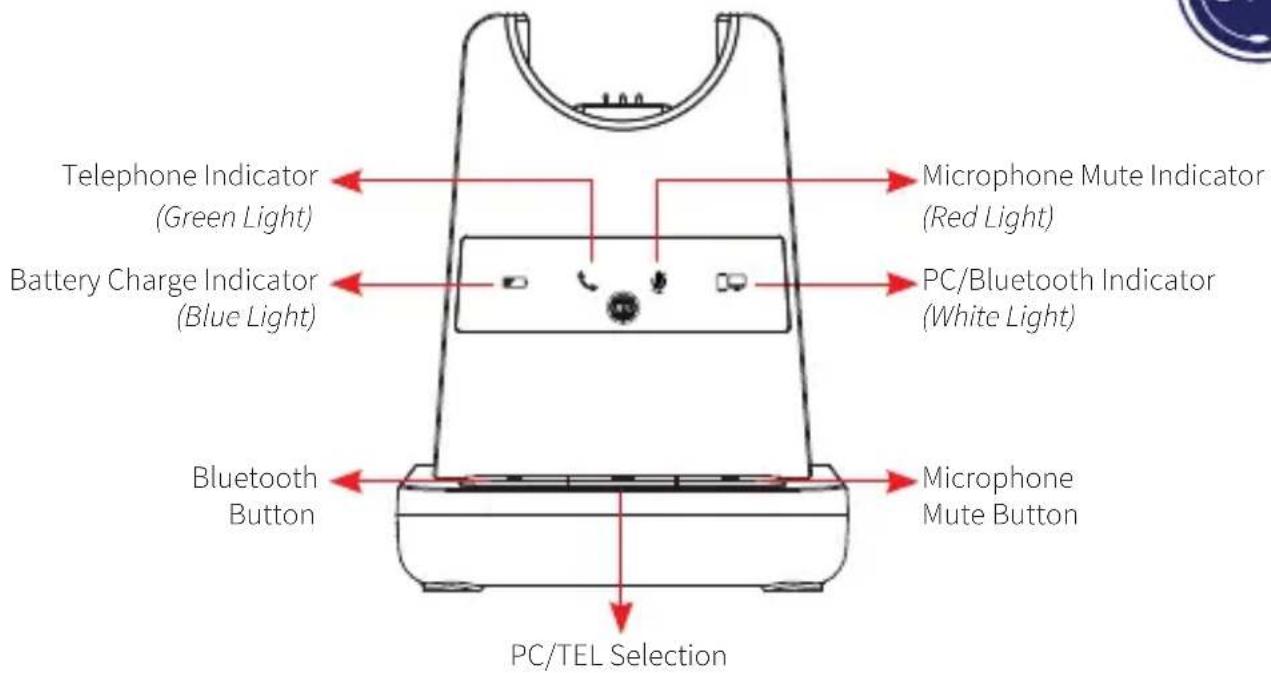
Visual Indicator
Charging Status LED Status
| Charging Battery Indicator: ‘Flashing’ 1 sec-ON, 1 sec-OFF |
| Fully Charged Battery Indicator: ‘ON’ |
| Low Battery Battery Indicator: ‘Flashing’ 0.5 sec-ON, 0.5 sec-OFF |
Event LED Status
| Press Microphone Mute Mute Indicator: ‘ON’ |
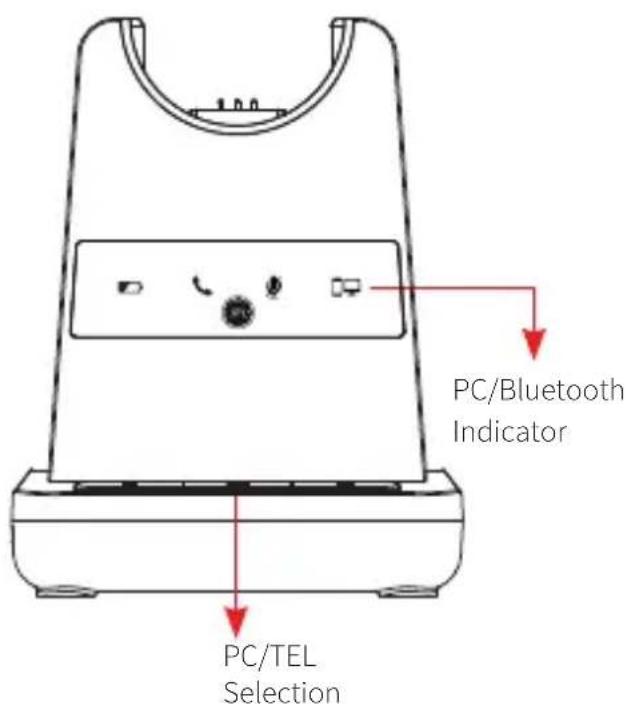
| Press PC/TEL Selection PC/TEL Indicator - TEL: ‘OFF’ PC: ‘ON’ |
| Hook Off Selected Mode Indicator: ‘ON’ |
Audio Indicator
Event Sound Effect
| Speaker / Microphone Volume Beep Sound 'UP' - High Tone, 'DOWN' - Low Tone |
| Max/Min Speaker Volume Double beep |
| Max/Min Microphone Volume Double Beep |
| Microphone Mute/Unmute Beep / Double Beep |
| Mute Reminder Beep (every 3 seconds) |
| Hook Off / On Double Beep (High Tone / Low Tone) |
| Low Battery Continuous beep in headset when battery is low |
Trouble Shooting
1. Cannot hear a dial tone.
- Check the PC/TEL button. TEL Mute: PC/TEL indicator – 'OFF'
- Please check the cable connection between base unit and phone.
- Check that the power adapter is plugged in and has power
- Please check the compatibility switch. Adjust compatibility switch until you can hear the dial tone.
2. Microphone volume (TX) is low / dead.
- Make sure that the microphone (TX) mute function is deactivated.
- Check the position of the boom arm and make sure that the microphone is placed as close as possible to your mouth (approx. 2 fingers distance).
- Adjust the microphone (TX) volume on the bottom of base unit.
3. Buzzing sound on the headset
- Telephone may not be fully immune to the radio transmission between your headset and base unit. To overcome this problem, move the base unit to at least 30 cm/12" away from the phone.
4. Headset echoes
- Adjust the telephone's volume. If necessary, adjust your microphone volume on the headset to a lower setting.
5. EHS doesn't work with the telephone
- Make sure the telephone is compatible with the wireless headset. Refer to the EHS guide.
6. Headset was working, but it has stopped.
- Headset may need pairing to the base unit again. Refer to the 'Operating Instructions'
- Headset battery may be dead. Return the headset to the cradle on the base unit for charging.
For more information, please contact: Support@jpltele.com and share the following information:
- Your name
- Your phone number
- Your email address
- Phone number
- Region
- Fault with product
- Barcode serial number (found on the bottom of the base unit)
- Number of units
We will endeavour to respond to you within the next full working day.
Helpful Setup Videos Found Here - https://www.jpltele.com/jpl-tutorials.aspx

Additional Accessories
X500 Cartridge Module for USB Connection
- Softphone interoperability through USB/computer with 3CX, Avaya One-X, Cisco Jabber, Counter Path and Skype with assistance from the JPL Gateway.
- JPL Gateway software must be installed and running for remote call control functions to work with supported softphones. www.jpltele.com/gateway
- Before inserting your USB cartridge, make sure that the base unit is powered-off.

• After inserting the cartridge, connect the power and then connect the USB cable.
- To make a USB call, press the "PC/TEL" button.
- When you press the "PC/TEL" button, the "PC/TEL" LED will flash on and off.
Additional Accessories
X500 Cartridge Module for Bluetooth Connection
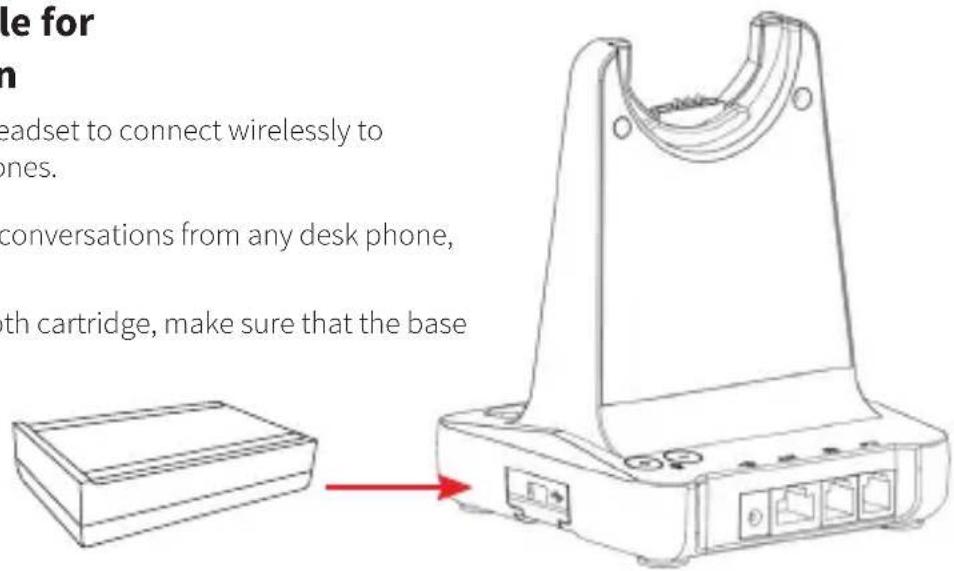
- Bluetooth allows the DECT headset to connect wirelessly to Bluetooth enabled smartphones.
- This headset allows wireless conversations from any desk phone, softphone and mobile.
- Before inserting your Bluetooth cartridge, make sure that the base unit is powered-off.
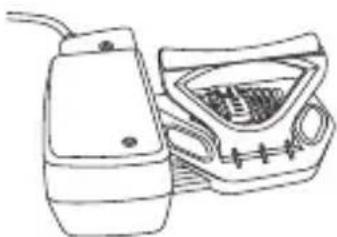
JPL-DECT Lifter
- The JPL-DECT Lifter remotely lifts the desk phone handset to make or answer a call.
www.jpltele.com/accessories
(Refer to the JPL-DECT Lifter installation guide).
natural_image
Line drawing of a portable electronic device with a triangular cover and ports (no text or symbols)Electronic Hook Switch (EHS) Adapter
- EHS Adapter enables an incoming call to be answered or ended by using the On/Off button on the Headset.
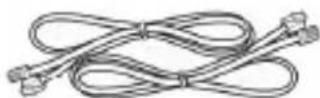
Type of lead varies depending on phone
www.jpltele.com/ehs-cables Refer to the EHS Compatibility Table to see which adapter you need for your desk phone. (Refer to the EHS Adapter installation guide to see how to install your EHS cable).
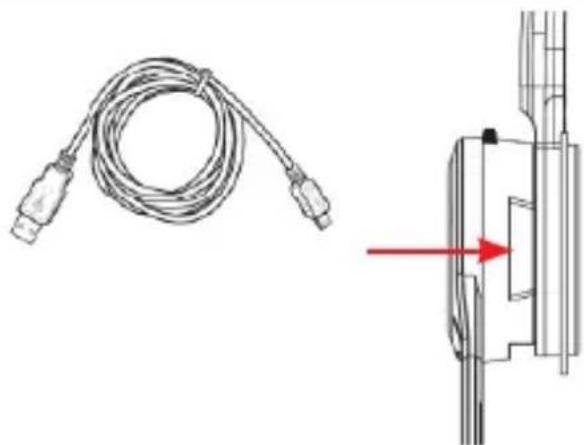
USB Cable Type-A to Micro USB
- Optional method for charging the headset. Connect the micro USB jack to the micro USB port located on the side of the headset
natural_image
Technical illustration of a cable and its connector (no text or symbols)Register for 24 Month Warranty on-line at http://www.jpltele.com/product-registration.
Your JPL product has been carefully manufactured and 100% tested using high quality assured components. It is guaranteed against faulty workmanship and materials for a period of 24 months from the date of purchase. In the unlikely event that a failure should occur, please contact the JPL dealer from which you purchased this product or visit www.jpltele.com and follow our product returns procedure. You will be given a RMA number and instructions on how to return your headset.
Further help can be found on-line at www.jpltele.com on our FAQs page.
Note: Removing the factory-applied warranty label on the back of the control unit will void the warranty. Specifically exempt from warranty are limited-life consumable components subject to normal wear and tear, such as microphone windscreens, ear cushions and other accessories. Your statutory rights under common law are in no way affected by this guarantee. The warranty does not cover cosmetic damage or damage due to misuse, abuse, negligence, acts of nature, accident, disassembling or modification of, or to any part of, the product. The warranty does not cover damage due to improper operation, maintenance or installation, or attempted repair by anyone other than JPL Telecom. Any unauthorised repairs will void this warranty.
LIMITED WARRANTY
Consequential and incidental damages, including without limitation, loss of property and those arising from breach of any express or implied warranty, are not the responsibility of JPL Telecom and to the extent permitted by law, are excluded.
In accordance with its policy of progressive product design, JPL Telecom reserves the right to change product specifications without prior notice.
* Repair or replacement is at the discretion of the manufacturer.
REGISTERED ADDRESS
UK Office: JPL Telecom Limited
Unit 1, Church Close Business Park, Church Close, Todber, Sturminster Newton, Dorset, DT10 1JH England
USA Office: JPL Telecom LLC
445 W Merritt Ave, Merritt Island, FL 32953, USA
Registered in England No. 5250754
(NB. For product returns, please follow instructions and returns department address provided on our website. Returned products received at the registered addresses are likely to be returned to sender).
www.jpltele.com
- IMPORTANT AUTO SET UP NOTICE
- What's included
- Optional Accessories
- Attaching the headband
- Detaching the headband
- Positioning the Microphone
- Microphone Boom Volume Control
- Connecting the Base Unit to your Desk Phone
- Desk Phone with Headset Port
- Desk Phone without Headset Port
- Compatibility Switch
- This headset will auto configure to your desk phone.
- Operating Instructions
- Please note: Your JPL-Element-X500 is supplied paired to the base unit straight out of the box.
- Pairing a headset to the base unit:
- Pairing a second headset to a base station:
- Base Unit
- Visual Indicator
- Audio Indicator
- Trouble Shooting
- Cannot hear a dial tone.
- Microphone volume (TX) is low / dead.
- Buzzing sound on the headset
- Headset echoes
- EHS doesn't work with the telephone
- Headset was working, but it has stopped.
- Additional Accessories
- X500 Cartridge Module for USB Connection
- X500 Cartridge Module for Bluetooth Connection
- JPL-DECT Lifter
- Electronic Hook Switch (EHS) Adapter
- USB Cable Type-A to Micro USB
- Register for 24 Month Warranty on-line at http://www.jpltele.com/product-registration.
- Further help can be found on-line at www.jpltele.com on our FAQs page.
- LIMITED WARRANTY
- REGISTERED ADDRESS
- UK Office: JPL Telecom Limited
- USA Office: JPL Telecom LLC
Brand : JPL
Model : Element X500
Category : Headphones