
10034415 - Washing machine Klarstein - Free user manual and instructions
Find the device manual for free 10034415 Klarstein in PDF.


| Product type | Washing machine |
| Brand | Klarstein |
| Model | 10034415 |
| Loading type | Front-loading |
| Washing capacity | 8 kg |
| Maximum spin speed | 1400 rpm |
| Energy efficiency class | A+++ |
| Annual energy consumption | 176 kWh |
| Annual water consumption | 9500 L |
| Wash noise level | 52 dB(A) |
| Spin noise level | 76 dB(A) |
| Dimensions (W x D x H) | 60 x 55 x 85 cm |
| Net weight | 65 kg |
| Power supply voltage | 220-240 V, 50 Hz |
| Connected load | 2200 W |
| Motor type | Induction motor |
| Number of programs | 15 |
| Programs | Cotton, Synthetic, Wool, Silk, Quick 15 min, Delicate, Rinse, Spin, Drain, Drum clean |
| Additional functions | Delayed start, Child lock, Foam control, Easy iron |
| Care and cleaning | Drum clean, Lint filter, Removable detergent drawer |
| Safety | Water jet protection, Anti-overflow system |
| Repairability | Repairability index 8/10 |
Frequently Asked Questions - 10034415 Klarstein
Perform this operation every month.
User questions about 10034415 Klarstein
0 question about this device. Answer the ones you know or ask your own.
Ask a new question about this device
Download the instructions for your Washing machine in PDF format for free! Find your manual 10034415 - Klarstein and take your electronic device back in hand. On this page are published all the documents necessary for the use of your device. 10034415 by Klarstein.
USER MANUAL 10034415 Klarstein
KLARSTEIN NIEIJSRATK TEIN NIEIJSRATK KLAR KLARSTEIN NIEIJSRATK TEIN NIEIJSRATK KLAR KLARSTEIN NIEIJSRATK TEIN NIEIJSRATK KLAR KLARSTEIN NIEIJSRATK
KLARSTEIN
Washing Machine with Shoe Cleaner
INHALTSVERZEICHNIS
natural_image
Simple line drawings of a bell, a bowl with liquid, and a folding paper with scissors (no text or symbols)natural_image
Top-down view of a circular mechanical component with radial slots and central hub (no text or symbols visible)Korb Druckabdeckung
natural_image
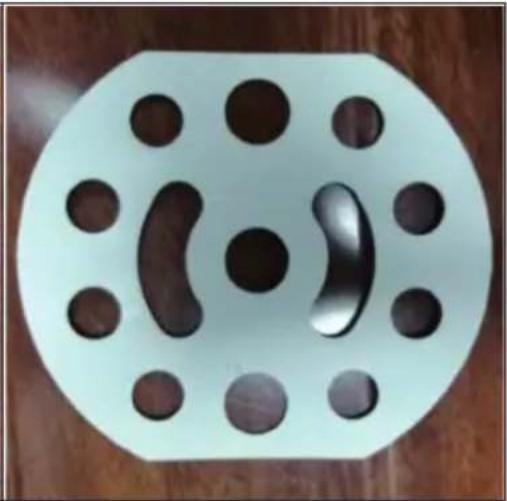
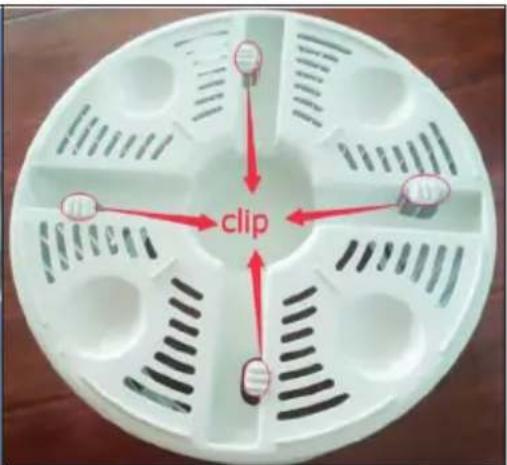
White octagonal plate with multiple circular holes and a central oval indentation, placed on a wooden surface (no text or symbols)card slot = Einbauschlitz clip = Klammer
natural_image
Close-up of a hand pressing down on a circular device component, showing internal structure and part of the interior (no text or symbols visible)natural_image
Close-up of hands operating a blue industrial machine component, showing internal components and wiring (no visible text or symbols)SCHLEUDERFUNKTION
natural_image
Symbol of a trash bin crossed with a diagonal line, no text or numbers presentCongratulations on purchasing this equipment. Please read this manual carefully and take care of the following hints to avoid damages. Any failure caused by ignoring the items and cautions mentioned in the instruction manual is not covered by our warranty and any liability. Scan the QR code to get access to the latest user manual and other information about the product.

CONTENT
Safety Instructions 16
Product Overview 17
Use and Operation 18
Dehydration Function 21
Shoe Cleaning 22
Cleaning and Care 23
Troubleshooting 24
Hints on Disposal 25
Declaration of Conformity 25
TECHNICAL DATA
| Item number 10034415 | |
| Power supply 220-240 V ~ 50/60 Hz |
SAFETY INSTRUCTIONS
- Do not place the appliance in a bathroom or any other place where it may become wet.
- Use a grounded power outlet for operation.
- Connect the appliance directly to the wall outlet. Do not use multiple plugs.
- Keep the appliance away from heat or open fire that may deform the cabinet.
- Only connect the appliance to an outlet with the appropriate voltage.
- The electrical components of the unit must not come into contact with water during maintenance.
- Do not place any heavy or hot objects on top of the unit, as this may damage the cabinet.
- The unit may only be operated by qualified personnel.
- If the mains plug is dirty, clean it before plugging it into a socket.
- Do not use water warmer than 55^ , as this could deform the plastic parts.
- Never touch the drum or clothing before the drum has stopped completely.
- If the power plug is damaged, do not use the machine.
- Never put garments into the machine that have recently been cleaned with a solvent such as benzine.
- If the drum does not stop 15 seconds after opening the cover, contact the seller.
- Never pull the power cord, always pull the plug directly.
- When not in use or before cleaning/maintenance, unplug the appliance from the wall outlet. Never touch the plug with wet hands.
PRODUCT OVERVIEW
Note: The appearance of the washing machine may differ slightly from this illustration. Some models have only 1 switch for disinfection and washing.
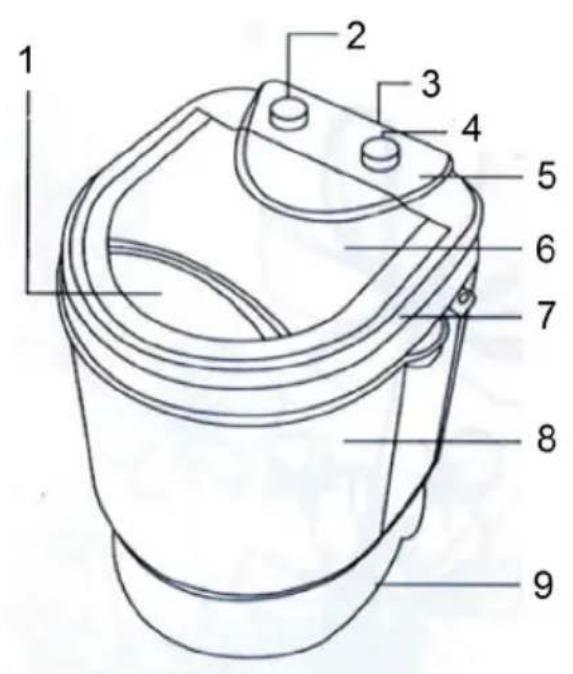
| 1 | Grip | 6 | Cover |
| 2 | Washing switch | 7 | Frames |
| 3 | Disinfection switch | 8 | Case |
| 4 | Timer | 9 | Motor foot |
| 5 | Control panel |
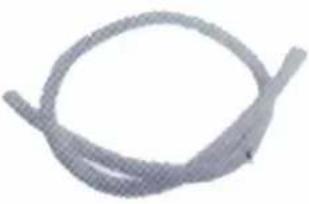 | 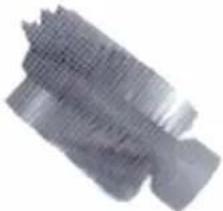 |
| Inlet pipe Brush |
USE AND OPERATION
Commissioning
- The socket must be earthed.
- Lay out the drain hose so that the water can drain off well.
- Plug the mains plug into the socket.
- Connect the water supply: insert the hose into the opening provided until you hear a click.
Overview washing process
| 123 | ||
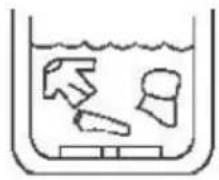 | 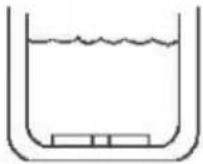 | 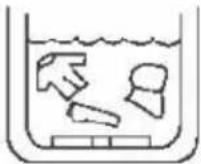 |
| Washing half-way | drain Cleaning |
Caution: If the water level is too high, the water will spill out of the drum.
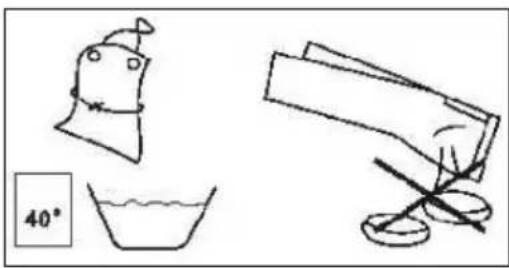
To avoid deformation of the clothing, you should fold it up and close zippers (e.g. for trousers). Prepare the clothes as shown in the picture. All pockets must be emptied. Remove coins, nails, etc. Fur trimming or other decorations must be pulled to the left. Strong colours should be washed individually.
natural_image
Simple line drawings of a bell, a bowl with liquid, and a folding paper with scissors (no text or symbols)Dissolve washing powder directly
- Add the washing powder when the water level is low.
- Select a program.
- Start the machine and allow the water to mix for 1 minute.
- After the washing powder has completely dissolved, you can add more water.
- Select the correct washing time.
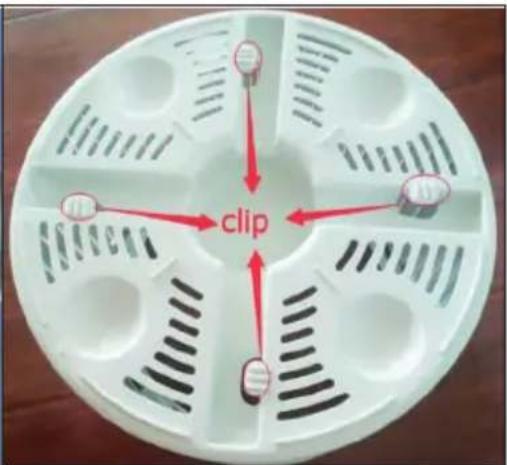
How to use the laundry basket
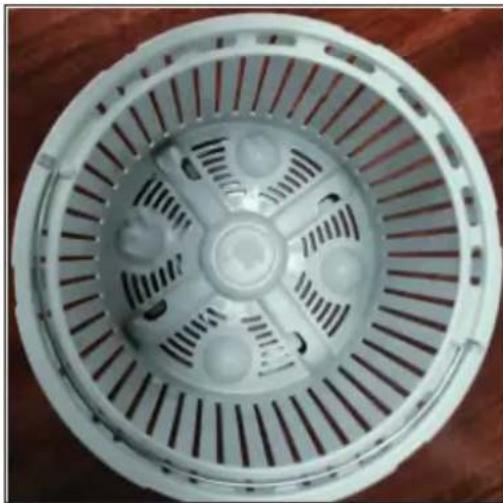
- Have the following accessories ready:
natural_image
Top-down view of a circular mechanical component with radial slots and central hub (no text or symbols visible)Basket Pressure cover
natural_image
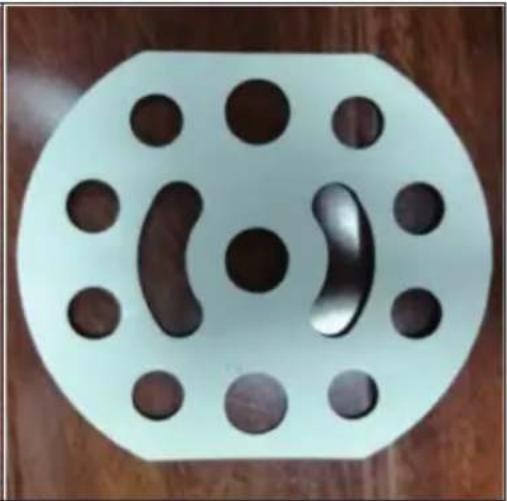
White octagonal plate with circular holes and a metallic oval cutout, placed on a wooden surface (no text or symbols)- Check the position of the clip and the card slot
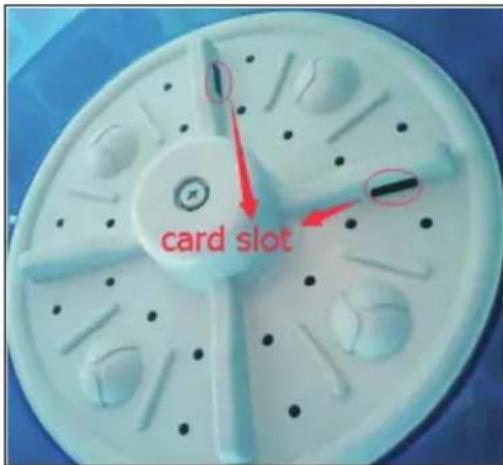
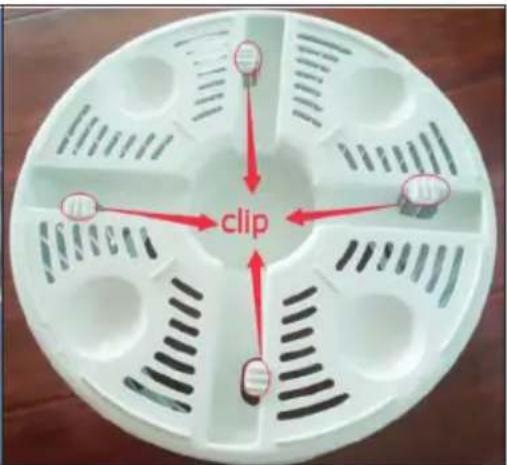
- Put the basket into the washing machine and match the clip and the card slot, rotate it in place.
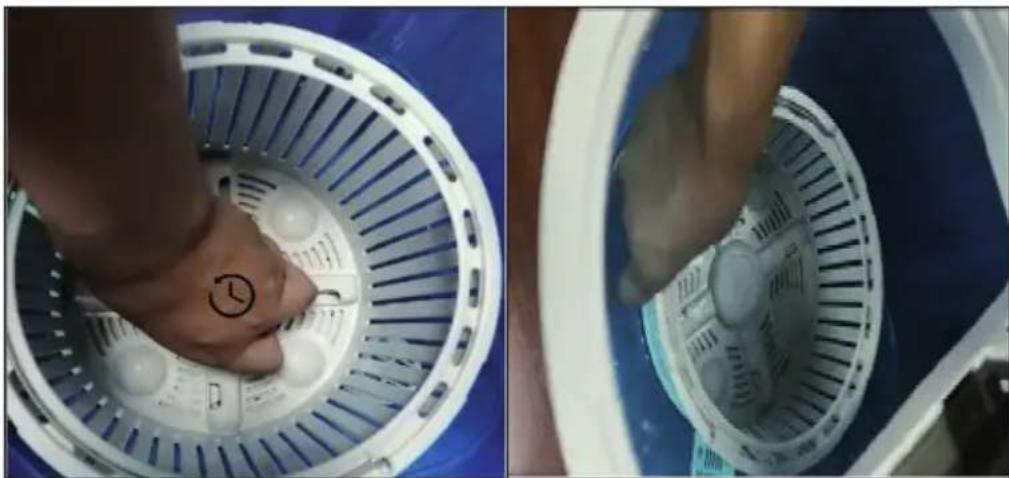
natural_image
Close-up of a hand pressing down on a circular mechanical component, showing internal structure and part outline (no text or symbols visible)- Put clothes should be evenly flat, and covered with a pressure cover.
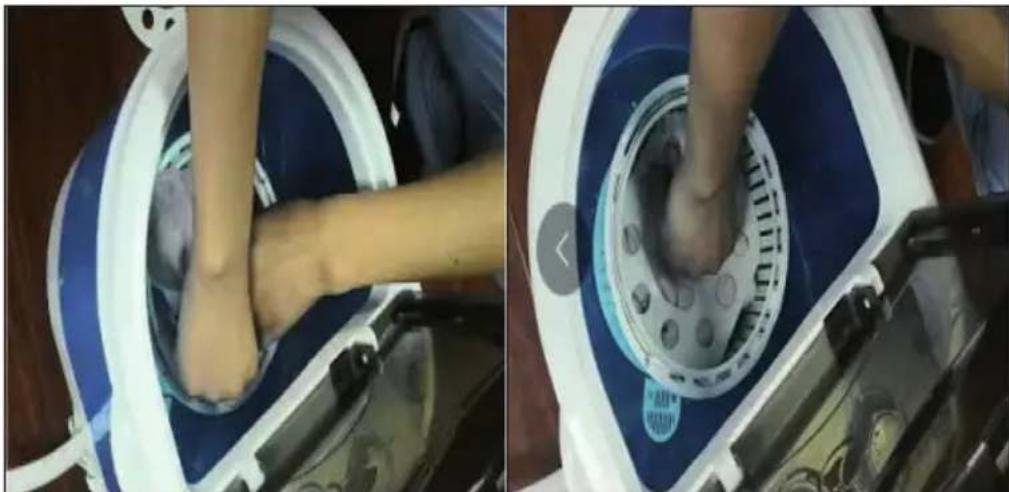
natural_image
Close-up of a person's leg and foot positioning inside a blue medical device, showing mechanical components and a circular component (no visible text or symbols)DEHYDRATION FUNCTION
- After the washing is completed, put down the drain, clean the water inside the barrel.
- Place the dewatering basket on the pulsator and turn the dewatering basket counterclockwise to snap into the groove of the pulsator.
- Put the laundry in the dewatering basket and press it into the cover (to prevent clothes from running out when it is dehydrated), cover the top cover, place the program selector switch in the „dewatering“ position, rotate the timer knob. Select the dehydration time according to the type of clothing and begin to dehydrate. If the time setting is too long, or halfway to stop, you can rotate the timer spin counterclockwise to the „off“ position, the dehydration basket will soon stop spinning.
Note: clothes should be evenly flat, and covered with a pressure cover, to avoid the uneven placement of the machine caused by shaking.
-
To be dehydrated to the time (dehydration end), open the cover, remove the cover, and take out the clothes to dry.
-
Turn the dewatering basket clockwise and pull it out of the dewatering basket.
Note: When washing, please remove the basket, washing method see the manual. The product of the dewatering basket can only be dehydrated to the clothes without dripping, but can not dry the clothes.
SHOE CLEANING
| 1 | 2 | ||
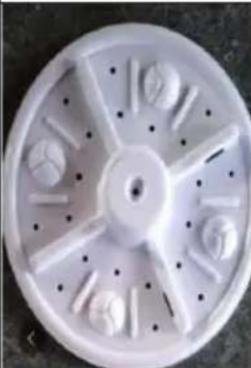 | 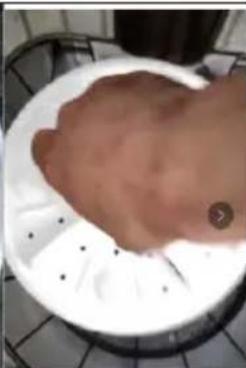 | 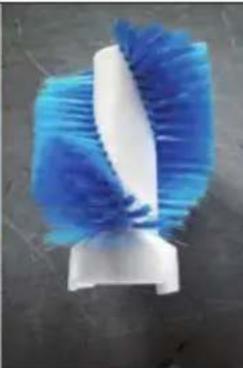 | 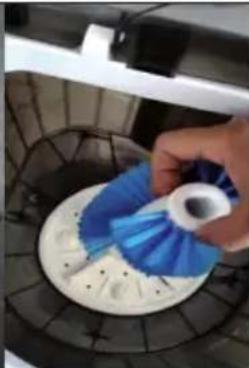 |
| Insert the shoe cleaning attachment into the bottom of the washing machine. | Attach the brush to the shoe cleaning attachment. | ||
| 3 | 4 | ||
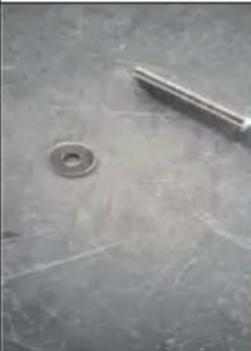 | 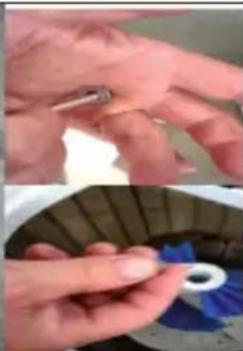 | 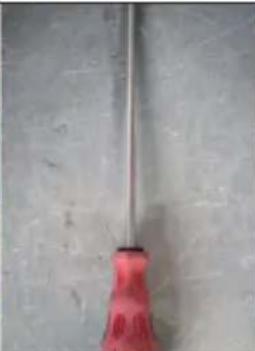 | 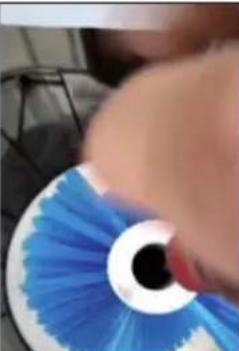 |
| Slide the washer onto the screw and insert both parts into the circular hole in the middle of the brush. | Tighten the screw clockwise using a Phillips screwdriver. You can now clean your shoes in the washing machine. | ||
CLEANING AND CARE
- Disconnect the device from the power supply. Observe the safety instructions.
- After you have drained the water from the washing drum, set the controller of the pumps back to standard.
- Remove the lint filter and disassemble it by pressing on the floor from the inside. Clean the fluff filter in warm water.
- After cleaning, reassemble the fluff filter and reinsert it. As soon as it sits properly, you will hear a click.
- Disconnect the appliance from the water supply and attach the drain hose to the appliance.
- Rub off the housing. Use only mild detergents.
- Close the cover and place the washing machine in a well-ventilated place.
Important cleaning instructions
- The electrical components of the device must not come into contact with water during maintenance.
- If the mains cable is damaged, it must be replaced immediately by a specialist workshop.
TROUBLESHOOTING
| Problem Possible cause Solution approach | ||
| The washing machine isn't running. | Power outage. Check to see | if there was a blackout. |
| Poor contact in the socket or blown fuse. | Check the power outlet and fuse. | |
| The timer knob has not been turned. | Turn the timer knob on the top of the washing machine to select the desired washing time. | |
| The washing machine is not running. | The triangular strap has loosened during transport. | Open the rear cover, loosen the motor foot fixing screw, and move the motor back until the triangle strap is firmly seated. |
| The washing machine suddenly stops. | The triangle band has loosened during transport. | Attach the triangular strap |
| Voltage too low. Connect the device only to sockets which correspond to the voltage of the device. | ||
| The seal is leaking. Contact a qualified service company for repair. | ||
| The water drains off badly or not at all. | The drain is not deep enough. | Lay out the drain hose so that the water can drain well. |
| The drain hose is kinked. Remove the kink. | ||
HINTS ON DISPOSAL
natural_image
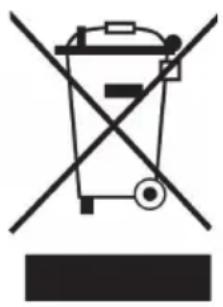
Symbol of a trash bin crossed with a diagonal line, no text or numbers presentAccording to the European waste regulation 2012/19/EU this symbol on the product or on its packaging indicates that this product may not be treated as household waste. Instead it should be taken to the appropriate collection point for the recycling of electrical and electronic equipment. By ensuring this product is disposed of correctly, you will help prevent potential negative consequences for the environment and human health, which could otherwise be caused by inappropriate waste handling of this product. For more detailed information about recycling of this product, please contact your local council or your household waste disposal service.
DECLARATION OF CONFORMITY
CE
Producer:
Chal-Tec GmbH, Wallstraße 16, 10179 Berlin, Germany.
This product is conform to the following European Directives:
2014/30/EU (EMC)
2014/35/EU (LVD)
2011/65/EU (RoHS)
Estimado cliente,
ÍNDICE
natural_image
Simple line drawings of a bell, water bowl, and paper roll (no text or symbols)natural_image
Top-down view of a circular mechanical component with radial slots and central hub (no text or symbols visible)natural_image
White octagonal plate with multiple circular holes and a central metallic oval feature (no text or symbols)card slot = ranura de inserción clip = |pinza
natural_image
Close-up of a hand pressing down on a circular device component, showing internal structure and part of the interior (no text or symbols visible)natural_image
Close-up of hands operating a blue industrial machine with a circular component, showing mechanical assembly (no visible text or symbols)natural_image
Symbol of a trash bin crossed with a diagonal line, no text or numbers presentSOMMAIRE
natural_image
Simple line drawings of a bell, water bowl, and paper roll (no text or symbols)natural_image
Top-down view of a circular mechanical component with radial slots and central hub (no text or symbols visible)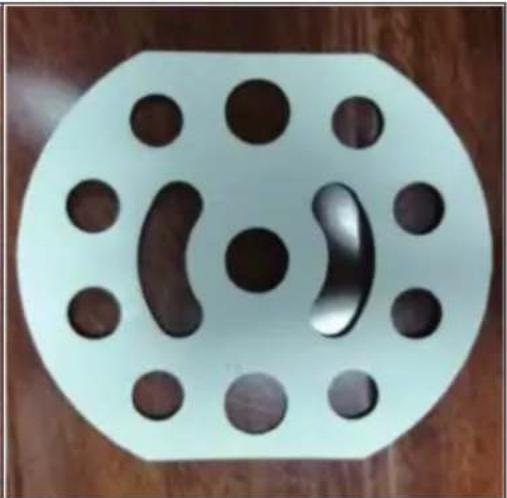
natural_image
Top-down view of a white octagonal plate with multiple circular holes and a central metallic oval feature (no text or symbols)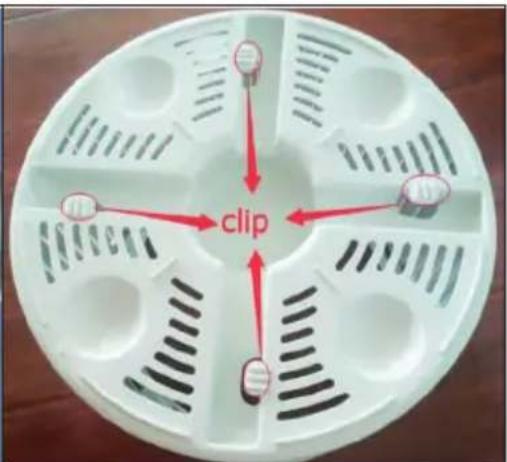
card slot = fente d'insertion clip = pince
natural_image
Close-up of a hand pressing down on a blue circular device component, showing internal structure and part outline (no text or symbols visible)natural_image
Close-up of hands performing a medical procedure on a blue medical device, showing mechanical components and tubing (no visible text or symbols)FONCTION CENTRIFUGE
natural_image
Symbol of a trash bin crossed with a diagonal line, no text or numbers presentDÉCLARATION DE CONFORMITÉ
CE
Fabricant :
Chal-Tec GmbH, Wallstraße 16, 10179 Berlin, Allemagne.
INDICE
natural_image
Simple line drawings of a bell, a bowl with a 40° angle, and a folding sheet (no text or symbols)natural_image
Top-down view of a circular mechanical component with radial slots and central hub (no text or symbols visible)natural_image
White octagonal plate with multiple circular holes and a central metallic oval feature (no text or symbols)natural_image
Close-up of a hand pressing down on a blue circular device with a circular mark and a hand adjusting the interior (no visible text or symbols)natural_image
Close-up of hands performing a medical procedure on a blue medical device, showing mechanical components and tubing (no visible text or symbols)FUNZIONE CENTRIFUGA
natural_image
Symbol of a trash bin crossed with a diagonal line, no text or numbers present- KLARSTEIN NIEIJSRATK TEIN NIEIJSRATK KLAR KLARSTEIN NIEIJSRATK TEIN NIEIJSRATK KLAR KLARSTEIN NIEIJSRATK TEIN NIEIJSRATK KLAR KLARSTEIN NIEIJSRATK
- KLARSTEIN
- INHALTSVERZEICHNIS
- SCHLEUDERFUNKTION
- CONTENT
- SAFETY INSTRUCTIONS
- PRODUCT OVERVIEW
- USE AND OPERATION
- Commissioning
- Overview washing process
- Dissolve washing powder directly
- How to use the laundry basket
- DEHYDRATION FUNCTION
- SHOE CLEANING
- CLEANING AND CARE
- Important cleaning instructions
- TROUBLESHOOTING
- HINTS ON DISPOSAL
- DECLARATION OF CONFORMITY
- Producer:
- Estimado cliente,
- ÍNDICE
- SOMMAIRE
- FONCTION CENTRIFUGE
- DÉCLARATION DE CONFORMITÉ
- Fabricant :
- INDICE
- FUNZIONE CENTRIFUGA
Brand : Klarstein
Model : 10034415
Category : Washing machine