
Explore SJ 400 HD - Camcorder Tracer - Free user manual and instructions
Find the device manual for free Explore SJ 400 HD Tracer in PDF.


| Product Type | Camcorder / Action Camera |
| Brand | Tracer |
| Model | Explore SJ 400 HD |
| Dimensions | 59.27 x 41.13 x 29.28 mm |
| Battery Capacity | 900 mAh |
| Battery Life | Approximately 3 hours |
| Charging Time | Approximately 4 hours via USB 5V/1A |
| Video Resolution | HD 720p (1280x720 @30fps), VGA (640x480 @30fps) |
| Photo Resolution | 5MP, 3MP, 2MP, 1MP |
| Video Format | AVI with H.264 compression |
| Lens | 120° A+ HD wide-angle |
| Display | 2-inch LCD |
| Memory Support | Micro SDHC up to 32 GB (Class 4 or higher recommended) |
| Waterproof Housing Depth | Up to 30 meters |
| USB Interface | USB 2.0 |
| Frequency | 50Hz / 60Hz selectable |
| Loop Recording | Yes (5-minute intervals) |
| Photo Modes | Single, Burst, Time Lapse |
| Menu Languages | Polish, English, German, French, Portuguese, Spanish, Italian, Chinese, Japanese, Russian |
| Package Contents | Waterproof housing, handlebar/pole mount, clips, mounts, bandages, adhesives, USB cable, battery, manual |
| Operating System Compatibility | Windows XP/Vista/7 or higher, Mac OS |
| Charge Requirements | 5V/1A recommended charger |
Frequently Asked Questions - Explore SJ 400 HD Tracer
User questions about Explore SJ 400 HD Tracer
0 question about this device. Answer the ones you know or ask your own.
Ask a new question about this device
Download the instructions for your Camcorder in PDF format for free! Find your manual Explore SJ 400 HD - Tracer and take your electronic device back in hand. On this page are published all the documents necessary for the use of your device. Explore SJ 400 HD by Tracer.
USER MANUAL Explore SJ 400 HD Tracer
Tracer eXplore SJ 400 HD Silver User's manual
PL
Tracer eXplore
SJ 400 HD Silver
Instrukcja obsługi
Opis urządzenia
Shutter/Select button Micro SD slot
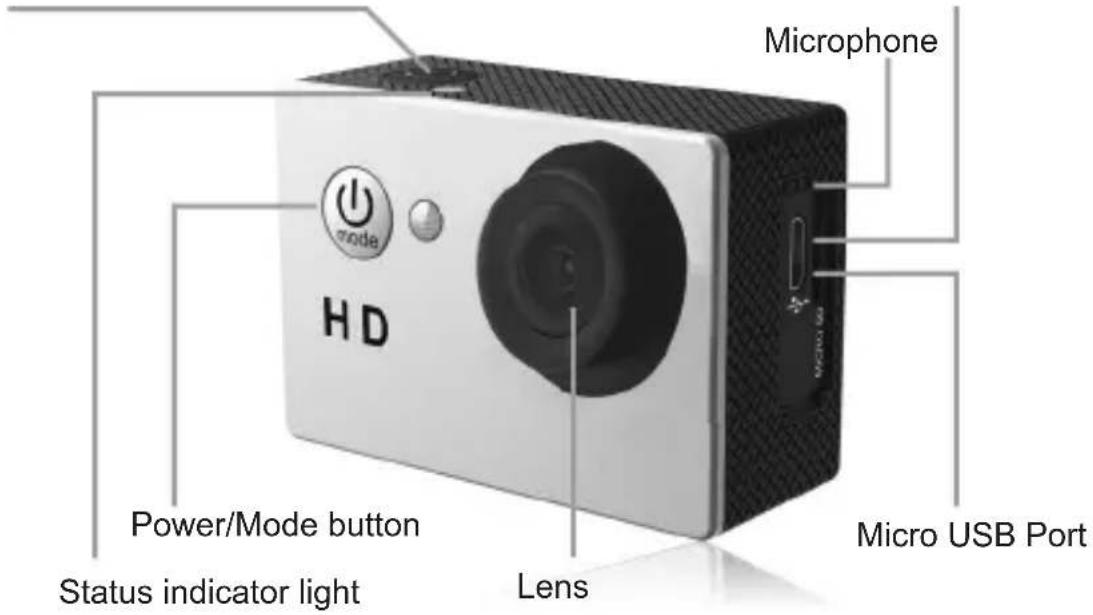
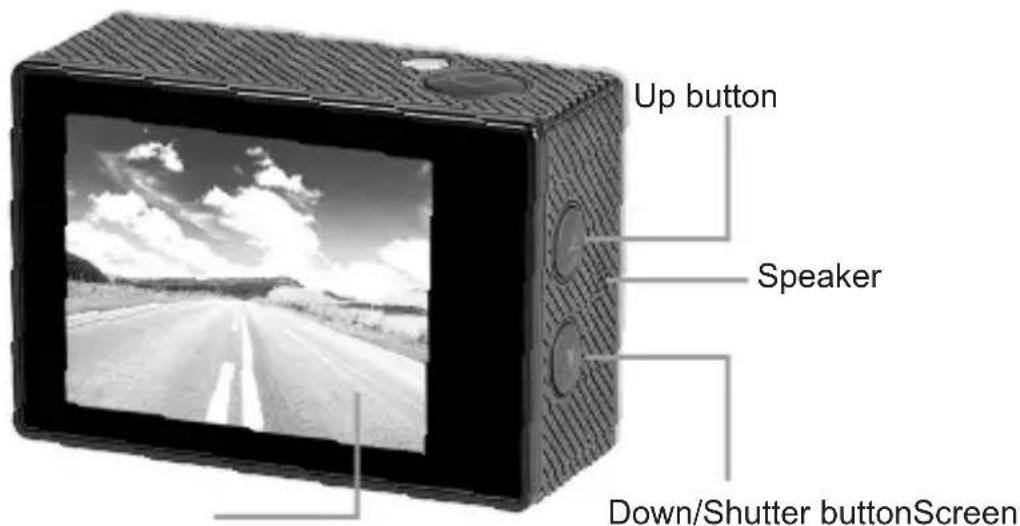
EN
Tracer eXplore SJ 400 HD Silver
User's manual
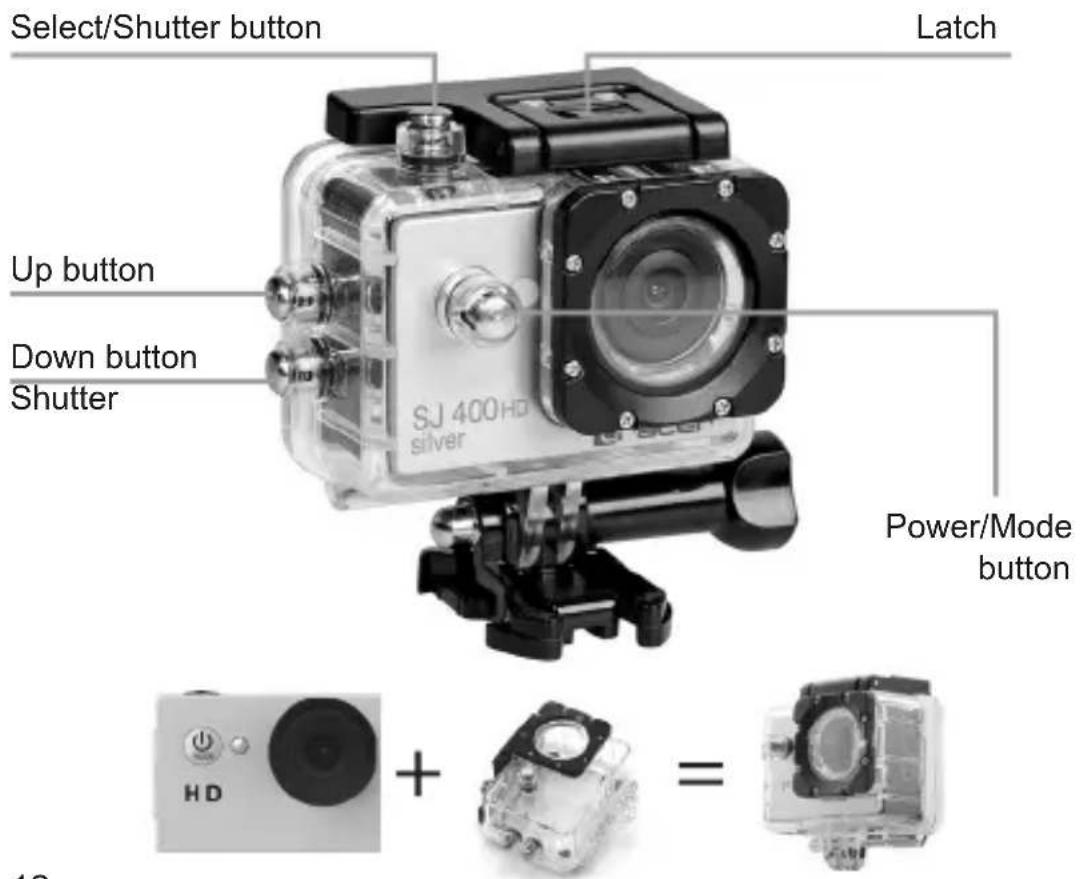
Waterproof housing
Accessories
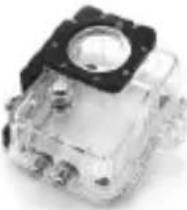 | 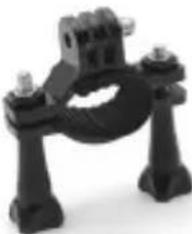 | 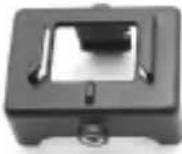 | 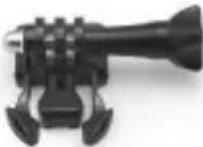 |
| Waterproof Housing | Handle Bar/Pole Mount | Clip 1 | Mount 1 |
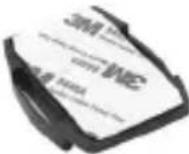 | 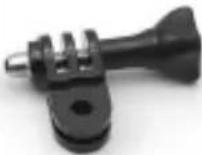 | 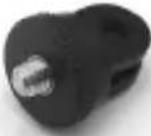 | 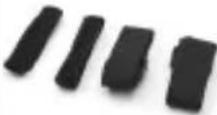 |
| Mount 2 | Mount 3 | Mount 4 | Bandages |
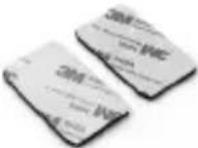 | 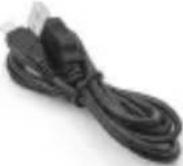 | 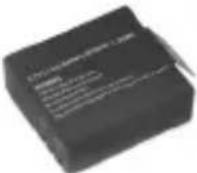 |  |
| Adhesives | USB Cable | Battery | Manual |
EN
Tracer eXplore
SJ 400 HD Silver
User's manual
Mounting Your camera
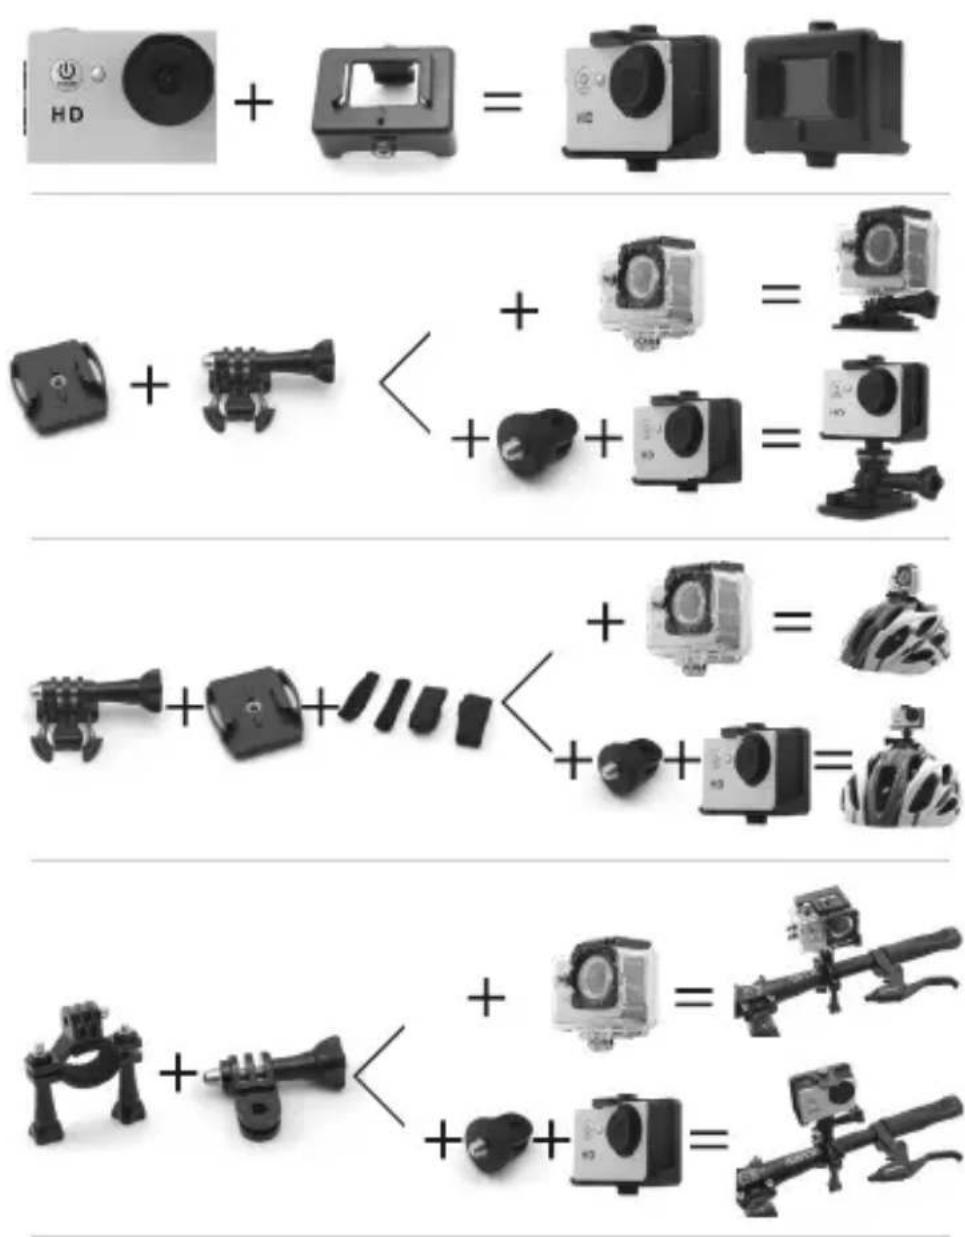
Thank you for purchasing our camera! With high performance components, this device can record high-definition video files with excellent image quality. The camera has a unique ultra-portable design, which allows it to be used in different situations, making daily life convenient, safe and full of color. Please read these instructions carefully and keep them for future reference.
This manual has been prepared based on the latest information. Screenshots and illustrations included in this manual are intended to provide more detailed and direct information regarding the digital camera. There may be discrepancies between the screen shots and illustrations contained in this manual and the actual state of your digital camera, due to technological progress and differences between manufacturing batches. In such case, the overriding importance should be attributed to the actual functions of the video camera.
Safety measures
Waterproof casing:
• Maximum immersion depth of the casing is 30 meters.
- Before installing the waterproof casing, make sure that it is clean; a single hair or grain of sand can cause it to lose its seal. The casing may be tested by closing it without putting the camera in. Immerse the casing completely in water for about a minute. Remove the casing from the water, wipe the outer part with a towel and then open it. If the inside of the casing is dry, it means that it can be safely used under water.
• After each use of the casing in salt water, rinse the outer part in fresh water, then dry. Failure to follow this instruction may cause corrosion of the hinge pin and accumulation of salt in the gasket, which in turn may completely damage the casing.
EN
Tracer eXplore
SJ 400 HD Silver
User's manual
- To clean the gasket, rinse it in fresh water and shake (drying with cloth may cause snagging of the gasket). Re-insert the gasket into the grooves in the back flap of the waterproof casing.
- If using the camera as a drive recorder, always follow the relevant local regulations. Illegal use of the product will result in legal consequences. In some countries, the use of drive recorders (or, in particular, publishing the recordings on the Internet) may be illegal. We suggest that you familiarize yourself with the current regulations in force.
- The product must be used with an appropriate level of lighting. Do not point the camera directly at the sun or other strong light sources, as this may cause damage to the optical system of the device.
- This product is a precision electronic device that cannot be exposed to very strong vibrations and shocks. It cannot be used in close proximity to strong magnetic or electric fields.
- Due to the standard process of battery wear, the manufacturer warranty is given for up to three months.
Karta TF:
- The camera supports TF (Micro SD) high-speed (minimum calss4) high capacity cards – up to 32 GB.
- Before using the card for the first time or after using the card in another device, format the card.
Camera:
- Store the camera in a dry and dark place.
- Protect your camera from falls and other mechanical damage.
- Do not touch the camera lens with your fingers, protect the lens from scratches.
Instructions for use
1. Insert the TF card port
Be sure to insert the card with the top side facing the screen. The bottom of the card with connectors should be directed towards the front of the camera.
2. Installation and battery replacement
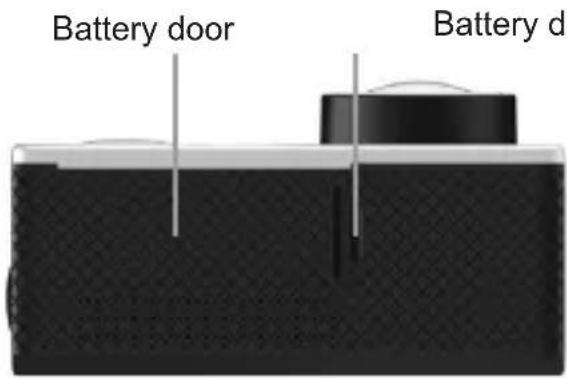
A. Pry up the battery door latch and lift the battery door simultaneously.
B. Insert the battery in the proper direction so that the battery contacts fit the appropriate +/- connectors on the camera. Once the inserting the battery, replace the battery compartment cover.
C. The battery indicator on the screen shows the level of battery charge.
D. In order to replace the battery, open the battery compartment, as shown in point A, and take out the battery by pulling on the tie. Insert the new battery following instructions in point B.
3. Charging
A. The battery in the Tracer eXplore SJ 400 HD camera can be charged by connecting the device via USB cable to any USB port on a computer or a charger. The battery will be fully charged after around 4 hours.
B. The camera can record while charging.
4. Turning the camera ON and OFF
A. Press and the On/Off button to turn the camera on and press and hold the On/Off button for 3 to 5 seconds to turn the camera off.
B. The screen turns off automatically according to the menu settings. In order to turn on the screen, press the OK button.
C. The camera can turns off automatically according to the menu settings. (Power Save settings)
EN
Tracer eXplore
SJ 400 HD Silver
User's manual
4. Recording material
1. Video recording
Switch the camera to Video mode. The 📄 icon indicates that the Video mode is on Video recording
Switch the camera to Video mode. The icon indicates that the Video mode is on. To start recording, press „OK”. The indicator on the top of the camera and the top LED next to the screen will also begin to blink. Press „OK” again and the camera will stop recording - all indicators will stop flashing.
2. Photo mode
Press the Shutter/Select Button to start/stop recording. Press the Down/Shutter Button to take a picture. You can also change video and photo settings in the Settings menu.
3. Playback mode
Press up and down buttons to switch between materials. Press OK button to play it.
4. Menu mode
You can switch between menu sections by pressing OK button. Inside a menu section you can switch between options by pressing up and down buttons. You can go into options and confirm by OK button.
Main options:
Movie Size – resolution HD 720p or VGA
Loop recording – Loop recording means that the camera continuously records hands-free without stopping. These cameras record video files in 5 minute intervals until the memory card fills up, then they erase the oldest file and replace it with the newest file.
| LCD display 2" | |
| Lens 120°A+ HD | |
| Menu language: | Polski/ Angielski / Niemiecki / Francuski / Portugalski / Hiszpański / Włoski / Chiński / Japoński / Rosyjski |
| Resolution of recordings | 20P (1280*720) 30FPS VGA (640*480) 30FPS7 |
| Movie format AVI | |
| Video compression format H.264 | |
| Resolution of photos 5Mpix/ 3Mpix/ 2Mpix/ 1 Mpix | |
| Supported memory standard Micro SDHC do 32 GB | |
| Photo modes Single / Burst / Time Lapse | |
| Frequency 50Hz / 60Hz | |
| USB connection USB 2.0 | |
| AC charging recommended 5V 1A | |
| Battery capacity 900 mAh | |
| Battery life About 3 hours | |
| Time needed to fully charge | Windows XP/Vista /Win7/lub wyżej Mac os |
| Compatible with (OS) | 59,27x41,13x29,28 mm |
| Dimensions | 59,27x41,13x29,28 mm |
- PL
- Opis urządzenia
- EN
- Safety measures
- Waterproof casing:
- Tracer eXplore
- SJ 400 HD Silver
- User's manual
- Karta TF:
- Camera:
- Instructions for use
- Insert the TF card port
- Installation and battery replacement
- Charging
- Turning the camera ON and OFF
- Recording material
- Video recording
- Photo mode
- Playback mode
- Menu mode
Brand : Tracer
Model : Explore SJ 400 HD
Category : Camcorder