
P1 - SSD Crucial - Free user manual and instructions
Find the device manual for free P1 Crucial in PDF.


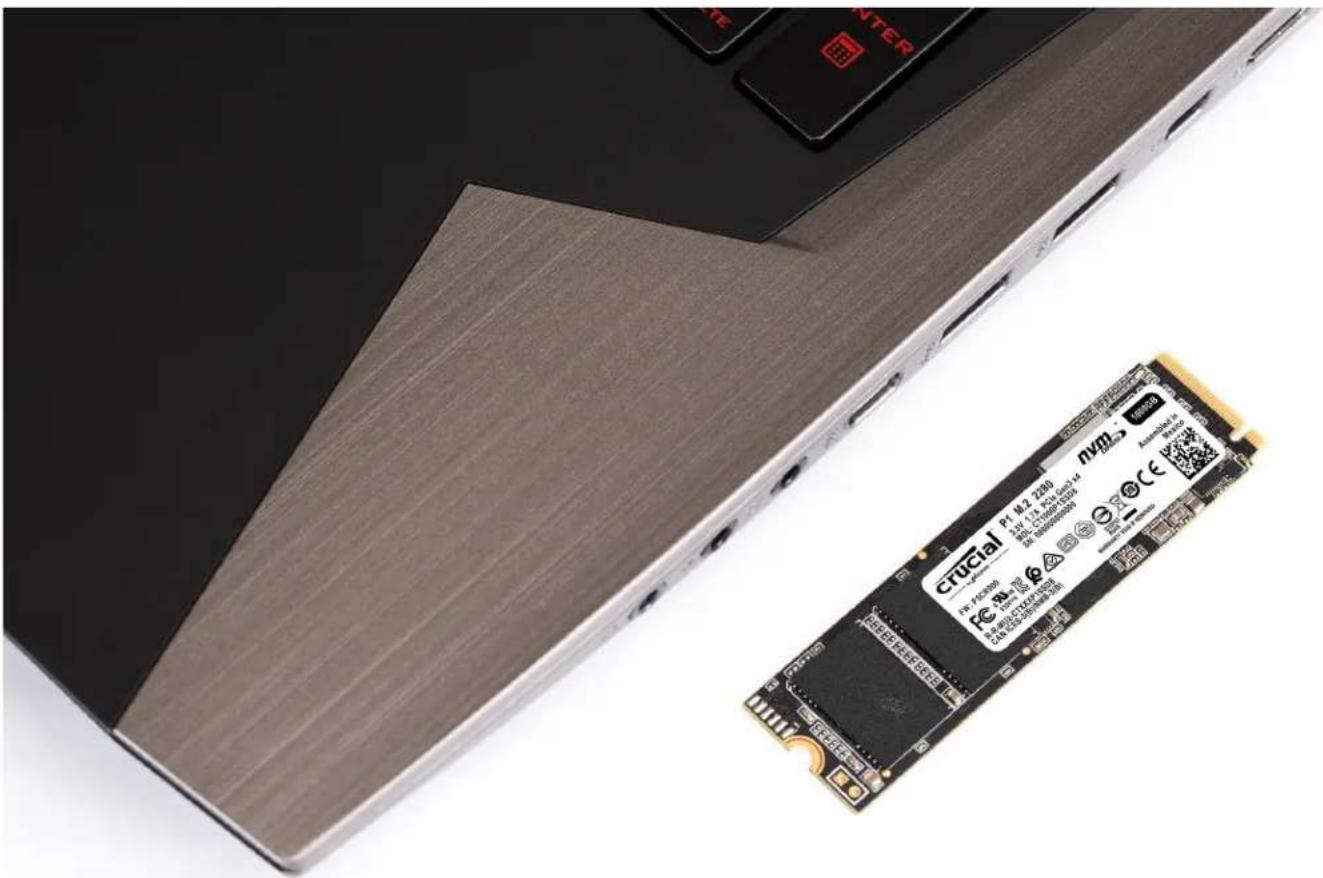
| Product Type | Internal Solid State Drive (SSD) |
| Brand | Crucial |
| Model | P1 |
| Form Factor | M.2 2280 |
| Interface | NVMe PCIe Gen 3 x4 |
| Capacity | 500GB, 1TB, 2TB (varies by variant) |
| NAND Flash Type | 3D NAND |
| Sequential Read Speed | Up to 1900 MB/s |
| Sequential Write Speed | Up to 950 MB/s (1TB model) |
| Random Read (IOPS) | Up to 90,000 |
| Random Write (IOPS) | Up to 220,000 |
| Power Consumption (Idle) | Low power (typical under 50 mW) |
| Power Consumption (Active) | Average 5.5 W during reads/writes |
| Shock Resistance | 1500 G / 0.5 ms |
| Operating Temperature | 0°C to 70°C |
| Dimensions (L x W x H) | 80 mm x 22 mm x 2.35 mm |
| Weight | Approximately 8 g |
| Warranty | 5-year limited warranty |
| Included Software | Acronis True Image for Crucial (cloning), Crucial Storage Executive |
| Special Features | Momentum Cache (up to 10x faster), Self-Monitoring and Reporting (S.M.A.R.T.), TRIM, NVMe support |
| Compatibility | Windows 7/8/10 (NVMe support may require hotfix or driver for Windows 7) |
Frequently Asked Questions - P1 Crucial
User questions about P1 Crucial
0 question about this device. Answer the ones you know or ask your own.
Ask a new question about this device
Download the instructions for your SSD in PDF format for free! Find your manual P1 - Crucial and take your electronic device back in hand. On this page are published all the documents necessary for the use of your device. P1 by Crucial.
USER MANUAL P1 Crucial
Installing a Crucial SSD is easy and makes your computer significantly faster!
PART 1: PREPARE
natural_image
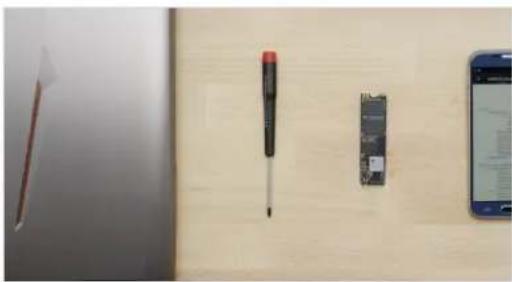
Close-up of a wooden desk with a screwdriver, a small electronic device, and a smartphone displaying a webpage (no visible text or symbols on the devices)1. Gather supplies
You'll need your computer, a screwdriver, your new Crucial SSD, and your computer's owner's manual.
natural_image
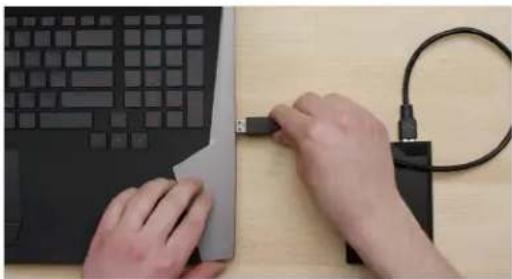
Close-up of hands inserting a USB into a laptop keyboard and cable (no text or symbols visible)2. Back up important files
Before starting the install process, save any important files on your computer to an external storage drive, a USB flash drive, or cloud storage.

natural_image
Top-down view of a laptop keyboard and a small electronic circuit board on a wooden surface (no text or symbols visible)3. Go slowly and deliberately
The information you need is all here. Your computer will likely look different than the ones shown, but the process is the same. Read each step thoroughly and consult our Helpful Tips for more info.
HELPFUL TIP
NVMe SSD support and drivers are not available for Windows ^® 7. Your computer or motherboard manufacturer might be able to add support. There is also a hotfix available from Microsoft ^® that can be applied to natively support NVMe drives for Windows 7.
DID YOU KNOW...?
Clearing your workspace helps prevent the buildup of static electricity that could damage your new drive.
PART 2: INSTALL
natural_image
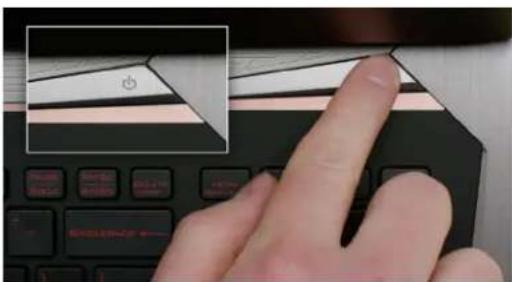
Close-up of a finger pressing on a keyboard with a highlighted button (no text or symbols visible)1. Shut down your system
Turn off your computer completely.
natural_image
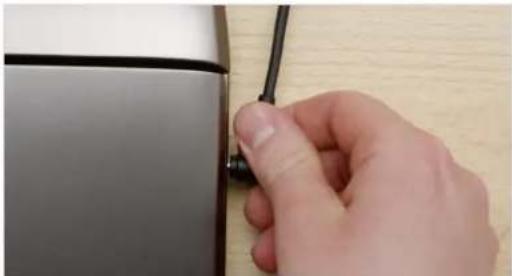
Hand holding a small black cable inserted into a metallic device (no visible text or symbols)2. Remove the power cable and battery
Now remove the power cable and battery. The battery removal step applies only to laptops when it's possible to remove the battery. To see how to remove the battery, refer to your owner's manual.
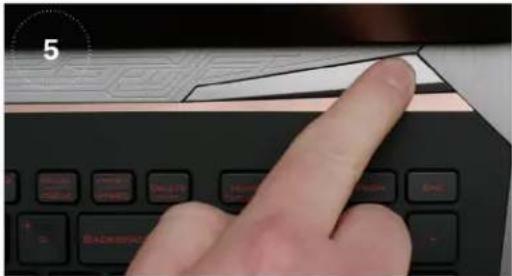
3. Discharge residual power
If your laptop has a removable battery, remove it, and hold the power button for five seconds to discharge any electricity left in the system.
natural_image
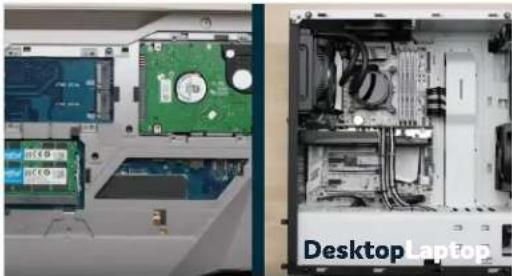
Interior view of a desktop computer setup showing CPU socket, drive bays, and connected hardware (no visible text or symbols)4. Open the case
How you do this will vary from system to system, so consult your owner's manual for exact instructions.
natural_image
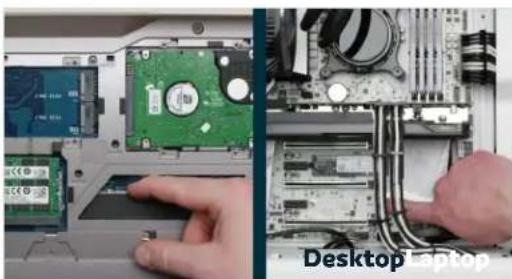
Close-up of a computer setup showing a green CPU socket on the left and a close-up of a desktop computer tower with visible circuitry (no text or symbols)5. Ground yourself
Touch an unpainted metal surface to ground yourself. This protects your computer's components from the static electricity that's naturally present in your body – grounding is an extra safeguard.
natural_image
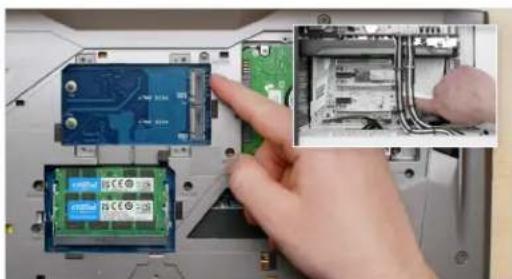
Close-up of hands installing a circuit board component into an electronic device (no visible text or symbols)6. Locate the M.2 PCIe slot
This slot is usually easy to find in desktops, but in laptops the location will vary – it's typically under the bottom panel, or under the keyboard. Refer to your owner's manual for the exact location, as every system looks slightly different.
natural_image
Close-up of a hand inserting a PCI3C ODBC into an electronic device chassis (no visible text or symbols)7. Insert the SSD
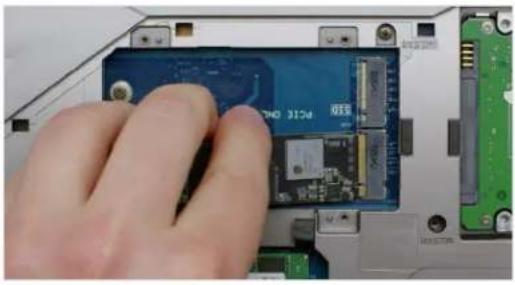
Depending on your computer, there might be a heat sink or screw that needs to be removed prior to inserting your new NVMe PCIe SSD. To insert your Crucial NVMe PCIe SSD, hold the SSD carefully by the sides. Do not touch the gold connector pins. Align the notches in the SSD with the ridges in the PCIe slot, then insert at a 30-degree angle. Do not force the connection.
To secure the drive, it might be necessary to insert the screw into the provided mount on the motherboard. Do not overtighten the screw.
natural_image
Close-up of hands holding a white plastic sheet with visible slots and patterns, placed on a laptop (no text or symbols)8. Reassemble your system
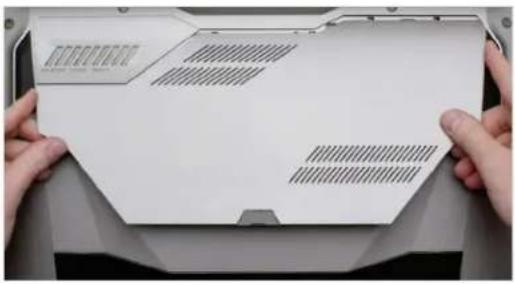
After the SSD is securely seated in the slot, put your computer back together and reconnect the battery if it was removed.
natural_image
Close-up of a hand pressing a finger on a keyboard (no visible text or symbols)9. Turn on your computer
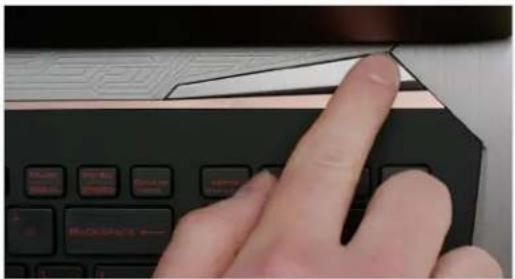
Turn on your computer. Unless you removed your old storage drive in a previous step, the computer is booting from the old drive. Part 3 will walk you through how to clone your data to use your new drive to boot up.
HELPFUL TIP
With some motherboards, you might see some messages about configuring to increase speeds of NVMe SSDs or about enabling and disabling shared bandwidth of SATA and NVMe ports. This is not a malfunction. You can configure your hardware for optimal performance and avoid malfunctions by obtaining detailed information about your motherboard from the manufacturer.
Amount of data on old hard drive Time it may take to copy to new SSD
Less than 256GB 20-30 minutes
256-512GB 30-60 minutes
512GB-1TB 60-90 minutes
More than 1TB 90+ minutes
DID YOU KNOW...?
The longest part of the SSD install process is copying everything from your old drive to your new SSD. Before you start, get a sense of how long this'll take by referring to our chart on the left.
PART 3: COPY

1. Download the cloning software
On the computer with the SSD, go to www.crucial.com/clone to download the software that will copy your old drive to your new SSD. This software comes free with Crucial SSDs.
2. Install the software you downloaded
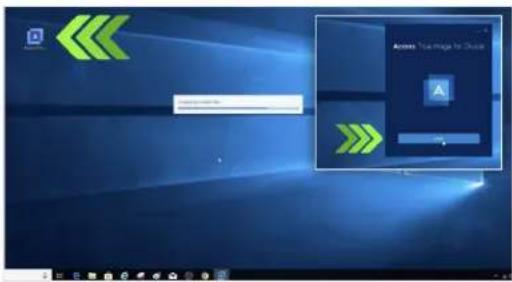
Open the file you downloaded and accept all of the prompts. A screen will then pop up. Click Install. After installation is complete, start the application.
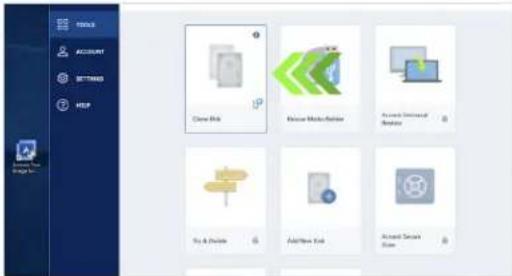
3. Prepare to copy (clone) your data
You'll now see several options in the software. Select the Clone Disk option. You'll then be asked to select a clone mode. If you've never done this before, we recommend the Automatic method, then click the Next button.
HELPFUL TIP
If your old storage drive is 128GB (for example) and you copy its contents to a 275GB SSD, the SSD may show up in your system as a 128GB drive, even though it's actually the size that you bought. No need to fear – you can still store more on it, but you'll need to make some adjustments to the drive's settings. This doesn't usually happen, but if it does, we want to let you know that it's OK and that it's based on your system, not you.
DID YOU KNOW...?
Millions of people have used this software to copy data, from everyday home users with passwords and precious home photos to corporate users who have lots of proprietary information. The security and privacy of your data is important to us, and we don't compromise that. Copying is a safe, secure process.
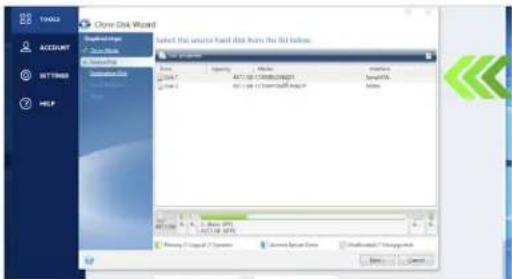
4. Select source and destination drives
Your “source” drive is your existing drive (disk). Select it by clicking on it, then click Next. Now select your “destination” drive (your new SSD) and click Next. On the following screen, click Proceed to start copying your data.

natural_image
Hand holding an orange plastic container next to a black laptop keyboard (no text or symbols visible)5. Wait for your data to copy
It'll take a while for everything to copy, but the Acronis software will keep you updated on the progress.
natural_image
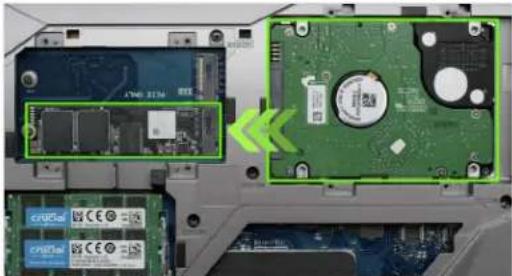
Laptop chassis showing internal components including a green hard drive and a CD-ROM drive, with no visible text or symbols.6. Change your primary or boot drive
When everything has copied over, you'll need to tell your operating system to use your new SSD as the primary drive. This can be done by removing the old drive, which will force your system to use the new drive. Check your computer's owner's manual or contact the computer manufacturer for instructions on how to change the primary drive.
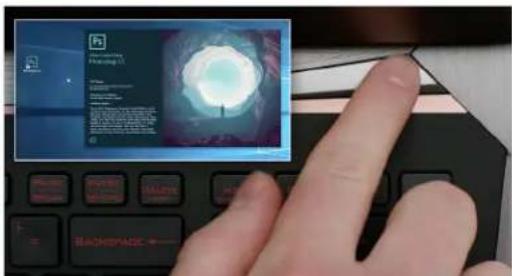
7. Have some fun
See how fast your favorite apps open when you click on them! Your SSD is installed, but you can make it even faster by enabling a special feature.
PART 4: DOWNLOAD
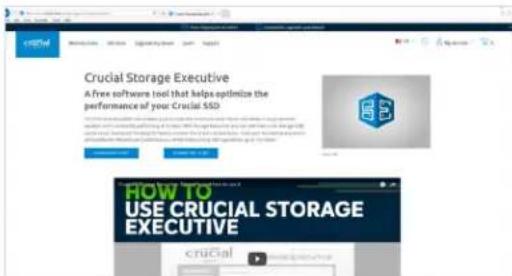
1. Enable Storage Executive
This free software enables your SSD to receive performance updates and to improve the performance of your new SSD by using system resources to increase performance.
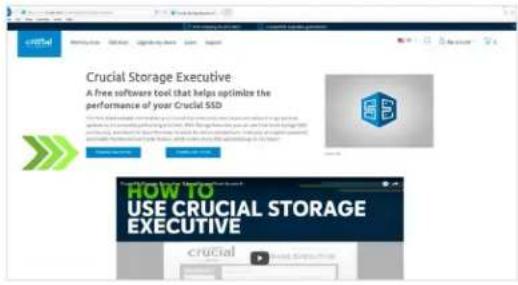
2. Click on one of the "Download" buttons
Download times will vary based on your internet connection, but average 1–3 minutes.
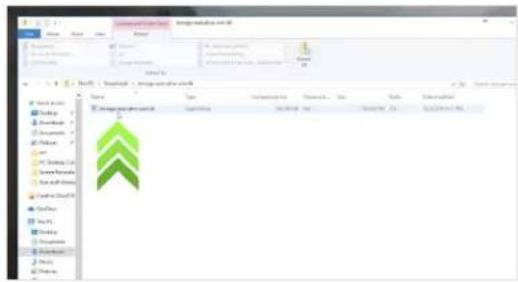
3. Install and run Storage Executive
Click on the file you just downloaded. If it doesn't open right away, double-click on it, then save it to your desktop and open it from there. Follow the onscreen prompts and instructions to install and start using the software.
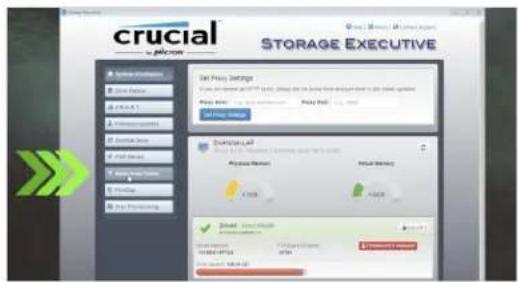
4. Enable Momentum Cache and make your SSD even faster
In the left menu, click on Momentum Cache. Enabling this feature forces your computer to restart, which is normal. The feature doesn't work with RAID arrays.
HELPFUL TIP
Download the 64-bit version of the software if you have a 64-bit operating system (most users). Download the 32-bit version if you have a 32-bit operating system. Not sure which one you have? Follow the steps in our chart below.
Operating system How to know if you have the 32-bit or 64-bit version
| Windows® 10 | In the Start menu, type This PC into the Windows search bar, but don't hit enter. Right click on the This PC option that displays, then select Properties and your type of operating system will be displayed onscreen. |
| Windows *8 | Move your mouse to the upper right side of the screen and click on the search tool that appears. Type Computer into the search field, then right click on it and select Properties. Your type of operating system will be displayed onscreen. |
| Windows *7 | In the Start menu, right click on Computer, then select Properties and your type of operating system will be displayed onscreen. |
If you see anything other than 64-bit, download the 32-bit version of the software.
DID YOU KNOW...?
You can use Storage Executive to see how much storage you've used, monitor your drive's temperature, and enable the Momentum Cache feature, which makes many SSD operations up to 10x faster.
natural_image
Close-up of a laptop with a visible 3D MSCI drive and a close-up of its internal components (no text or symbols on the hardware surface)Congratulations!
Now that you're an expert installer, watch out! Your friends and family might start asking you to do their installs;)
Customer Service and Technical Support
North and South America
http://www.crucial.com/usa/en/support-contact
Asia, Australia, and New Zealand
ANZ: http://www.crucial.com/usa/en/support-contact
JP: http://www.crucial.jp/jpn/ja/support-contact
CN: https://www.crucial.cn/采购咨询
Europe
UK: http://uk.crucial.com/gbr/en/support-contact

- PART 1: PREPARE
- Gather supplies
- Back up important files
- Go slowly and deliberately
- HELPFUL TIP
- DID YOU KNOW...?
- PART 2: INSTALL
- Shut down your system
- Remove the power cable and battery
- Discharge residual power
- Open the case
- Ground yourself
- Locate the M.2 PCIe slot
- Insert the SSD
- Reassemble your system
- Turn on your computer
- PART 3: COPY
- Download the cloning software
- Install the software you downloaded
- Prepare to copy (clone) your data
- Select source and destination drives
- Wait for your data to copy
- Change your primary or boot drive
- Have some fun
- PART 4: DOWNLOAD
- Enable Storage Executive
- Click on one of the "Download" buttons
- Install and run Storage Executive
- Enable Momentum Cache and make your SSD even faster
- Congratulations!
- Customer Service and Technical Support
Brand : Crucial
Model : P1
Category : SSD